Crochet Advent Calendar Pattern (24 Days)
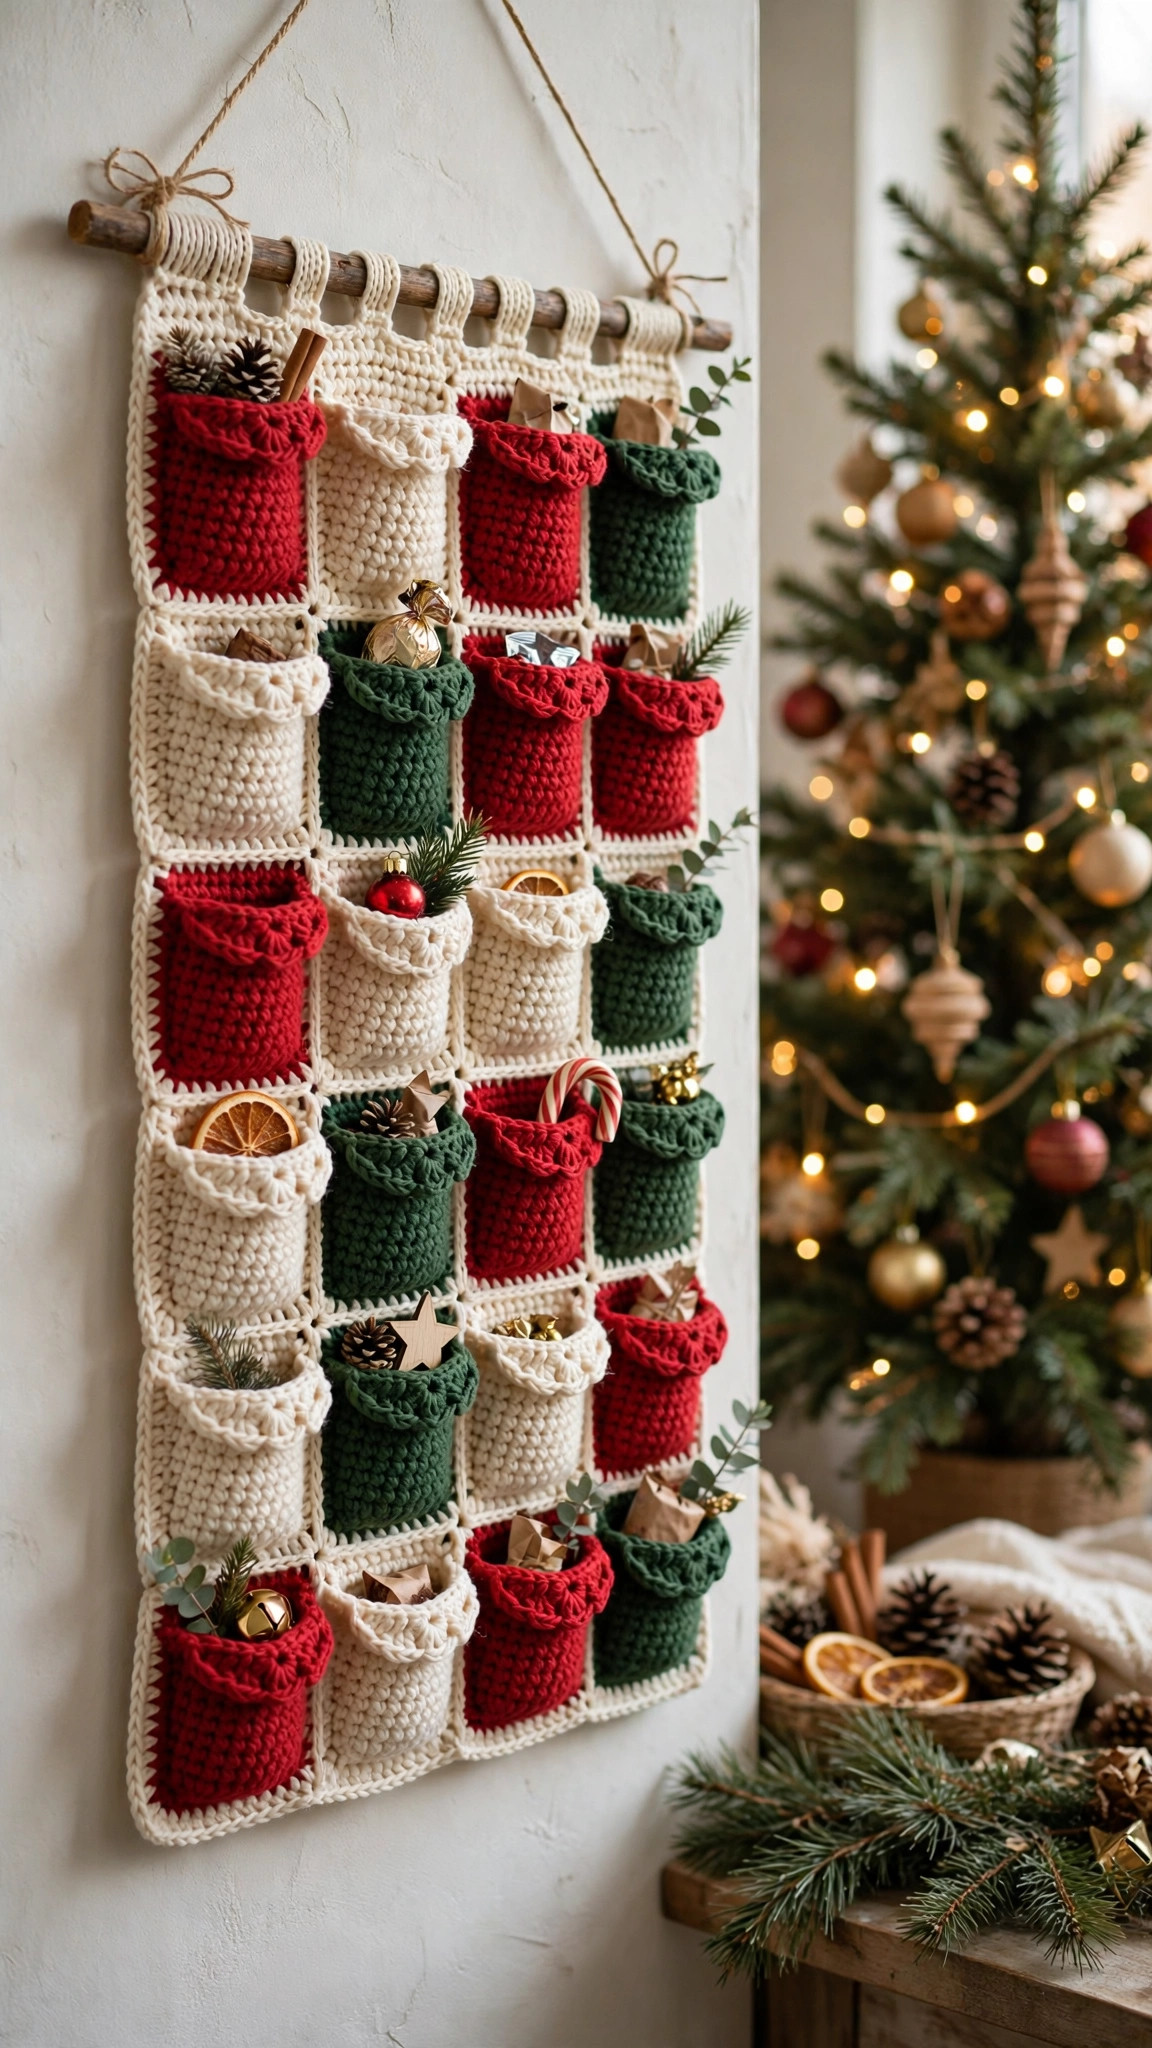
Crochet a reusable advent calendar wall hanging with 24 pockets, one surprise for every day until Christmas Eve.

Home Decor · Crochet
- Finished size
- 24 x 32 in, 24 pockets
- Making time
- 18 to 25 hours
- Hook
- US H-8 (5.0 mm)
- Set
- Panel + 24 pockets + hanging guide
- Skill
- Easy
In this post
- Key Takeaways
- Table of Contents
- Why a Crochet Advent Calendar Beats a Cardboard One
- Finished Size, Skill Level, and Time
- Materials You Need
- Abbreviations (US Terms)
- Gauge and Sizing Notes
- The Design: How This Calendar Is Built
- Pattern: Striped Backing Panel
- Pattern: The 24 Pockets
- Pattern: Dowel Casing and Hanging Loop
- Assembling the Calendar
- Filling Ideas for 24 Days
- Variations to Try
- Troubleshooting
- Care and Storage
- Frequently Asked Questions
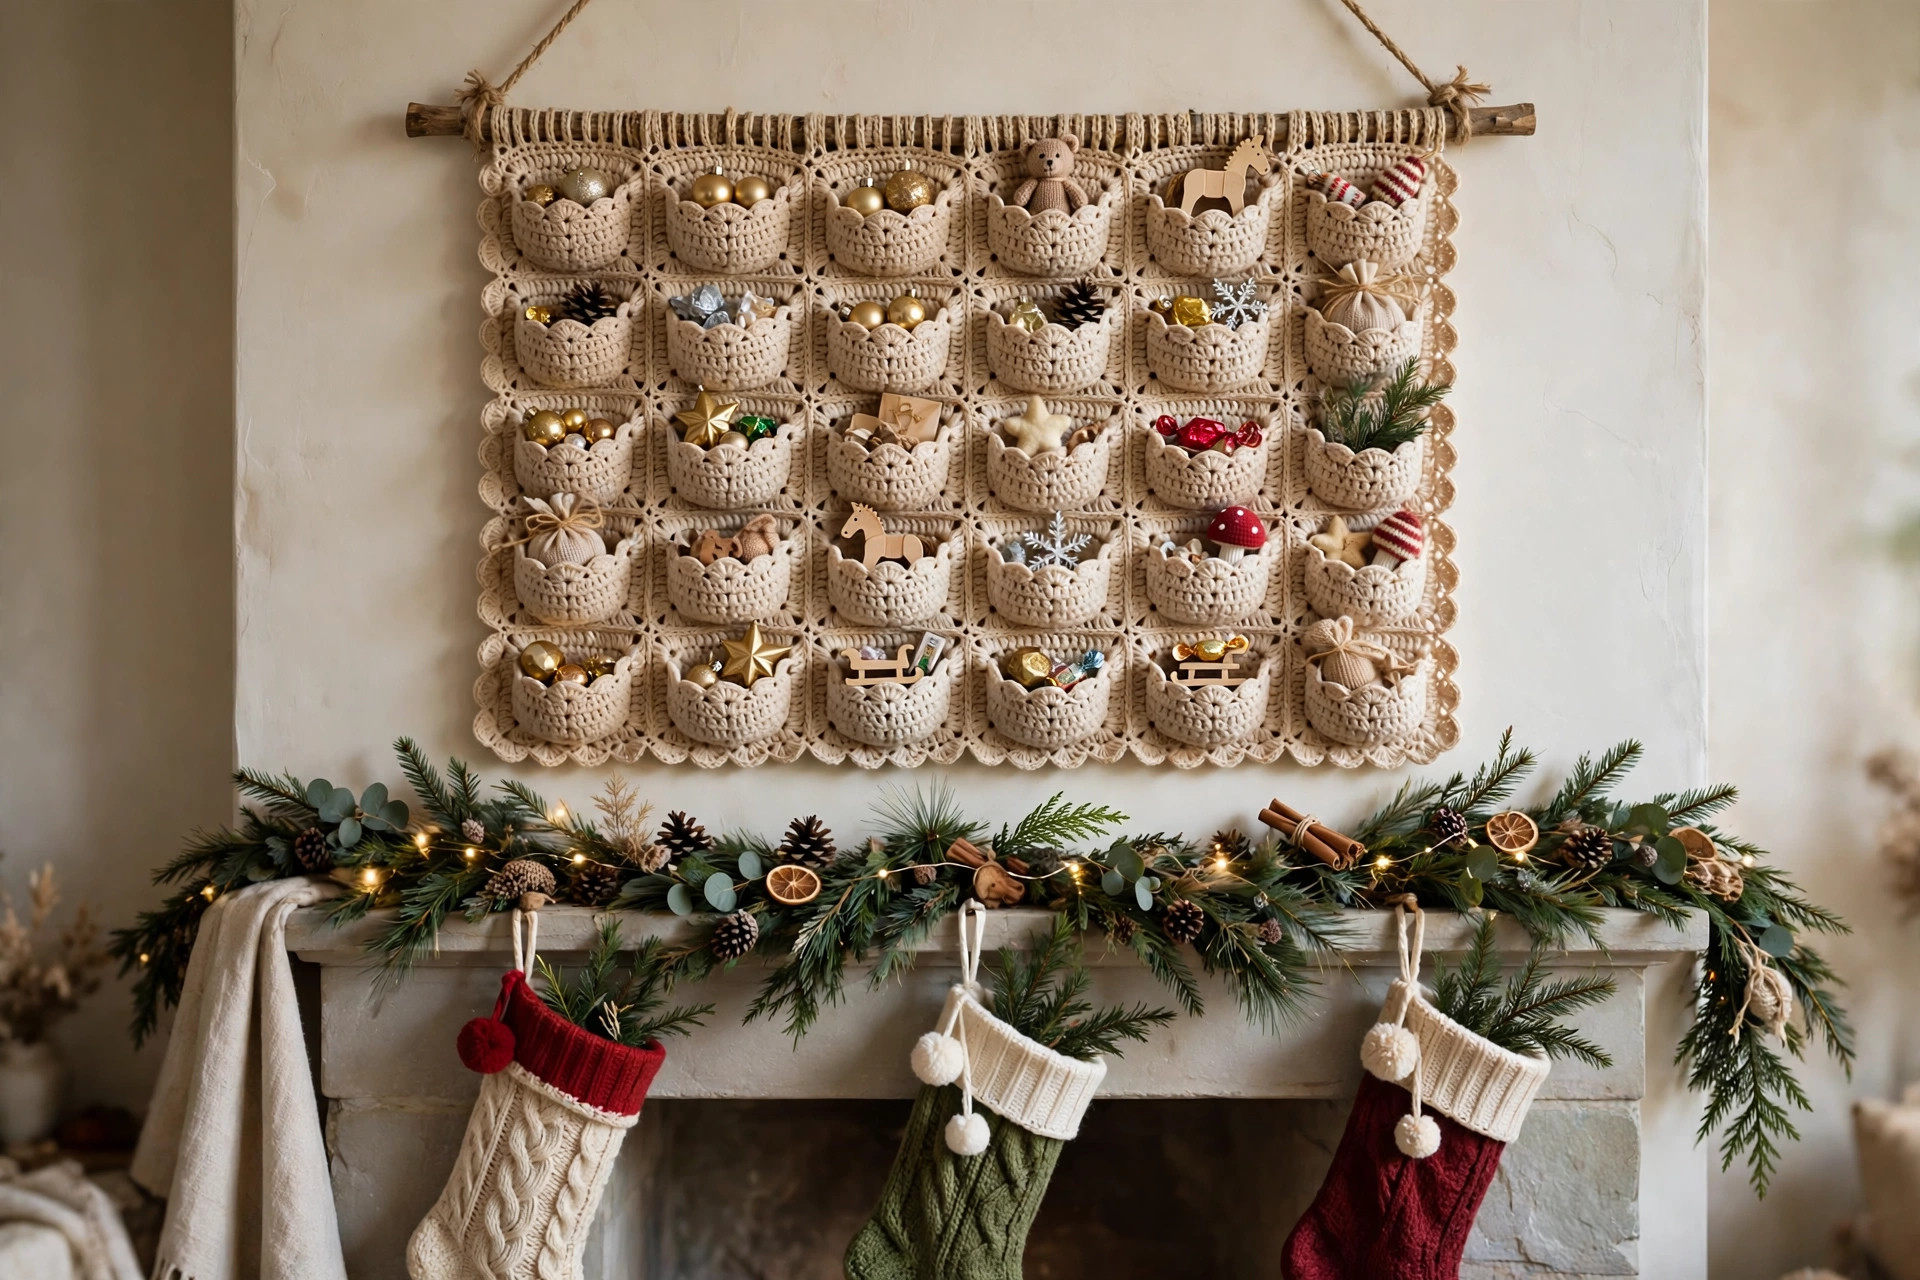
Counting down to Christmas is half the fun of December, and a handmade advent calendar makes that countdown a daily little celebration. This crochet advent calendar pattern creates a beautiful wall hanging with 24 small pockets, one to open on each day from December 1st through Christmas Eve, each one hiding a tiny treat, a sweet note, or a miniature surprise.
This is an original Little Loop Finds design, written in US crochet terms, and it is completely free. The calendar is worked as a flat striped panel, and then 24 pockets are crocheted separately and sewn on in neat rows. There is no complicated construction and no fiddly hardware, just straightforward crochet, a wooden dowel for hanging, and a ribbon loop.
Unlike a cardboard advent calendar that gets recycled in January, this one comes back year after year and becomes part of your family's traditions. Children love discovering what is hidden in each pocket, and adults love that it looks like a proper piece of Christmas decor, not a disposable box. Make it now, fill it on November 30th, and enjoy 24 days of tiny surprises.
Key Takeaways
- A complete free pattern: striped backing panel, 24 pockets, dowel casing, hanging loop, and assembly, all in US terms.
- 24 real pockets: four columns by six rows, each pocket sized for small treats, notes, and mini toys.
- Reusable every year: sturdy cotton yarn and simple construction mean this calendar lasts for many Christmases.
- Beginner friendly: the panel and pockets use only single crochet, half double crochet, and double crochet.
- A family tradition: fill the pockets together on November 30th and open one a day through December.
Table of Contents
- Why a Crochet Advent Calendar Beats a Cardboard One
- Finished Size, Skill Level, and Time
- Materials You Need
- Abbreviations (US Terms)
- Gauge and Sizing Notes
- The Design: How This Calendar Is Built
- Pattern: Striped Backing Panel
- Pattern: The 24 Pockets
- Pattern: Dowel Casing and Hanging Loop
- Assembling the Calendar
- Filling Ideas for 24 Days
- Variations to Try
- Troubleshooting
- Care and Storage
- Frequently Asked Questions
Why a Crochet Advent Calendar Beats a Cardboard One
Cardboard advent calendars are fun for a day or two, and then the chocolate is gone and the box is in the recycling. A crocheted advent calendar is the opposite: it gets better with every year it is used. The pockets hold whatever you choose, from fancy chocolates to handwritten notes, and the calendar itself becomes a decoration you look forward to hanging up.
There is also a lovely ritual in filling it. On the last evening of November, sit down with your treats and tuck a surprise into each pocket. Children who help with the filling learn patience in the best possible way, because they know something wonderful is waiting, but they also know the rule: one pocket per day, no peeking ahead.
Crochet is ideal for this project because the fabric is soft, sturdy, and forgiving. Pockets stretch just enough to hold a small gift, and cotton yarn keeps its shape after being filled and emptied many times. If a pocket ever wears out, you can simply crochet a replacement and sew it on, which you definitely cannot do with cardboard.
If you are building a full handmade Christmas, pair this calendar with our Christmas tree pattern for the mantel and our candy cane pattern as tree decorations. For a beautiful Nativity display nearby, our Nativity set pattern makes a lovely companion piece.
Finished Size, Skill Level, and Time
This pattern makes one wall hanging advent calendar.
- Panel width: 24 inches
- Panel height: 32 inches (including dowel casing)
- Pockets: 24 pockets, each about 4 inches wide and 4.5 inches tall
- Layout: 4 columns by 6 rows
- Hanging: wooden dowel with a ribbon loop
Skill level: Easy. You should be comfortable with chains, single crochet, half double crochet, and double crochet. The pockets are simple rectangles, and sewing them on uses a basic whip stitch.
Time: Expect 18 to 25 hours at a relaxed pace. The panel works up quickly in double crochet, and the pockets are small, satisfying makes that you can finish one or two at a time. Most makers complete the calendar in two to three weeks of evening sessions.
Materials You Need
| Material | Details |
|---|---|
| Yarn A (red) | #4 medium (worsted) weight cotton or cotton blend, 400 yards |
| Yarn B (cream) | #4 medium (worsted) weight cotton or cotton blend, 400 yards |
| Yarn C (forest green) | #4 medium (worsted) weight cotton or cotton blend, 300 yards |
| Hook | US H-8 (5.0 mm) |
| Wooden dowel | 28 inches long, about 0.5 inch diameter |
| Ribbon | 24 inches, for the hanging loop |
| Tapestry needle | For sewing pockets and weaving in ends |
| Scissors | Sharp, for clean yarn cuts |
| Stitch markers | Optional, helpful for marking pocket placement |
Cotton or a cotton blend is the best choice for this project because it holds its shape under the weight of treats, unlike soft acrylic which can stretch over time. If you prefer acrylic, choose a firm, sturdy one and consider making the pockets slightly smaller so they stay snug.
Abbreviations (US Terms)
- ch: chain
- sc: single crochet
- hdc: half double crochet
- dc: double crochet
- sl st: slip stitch
- st(s): stitch(es)
- sp: space
- inc: increase (work 2 stitches in the same stitch)
- dec: decrease (work 2 stitches together)
- RS: right side
- WS: wrong side
- rep: repeat
- sk: skip
Gauge and Sizing Notes
Gauge for this pattern is 14 double crochet stitches and 8 rows per 4 inches, worked with a US H-8 (5.0 mm) hook. Crochet a small swatch before you begin, since the pocket layout depends on the panel being close to 24 inches wide.
If your swatch is wider than 4 inches across 14 stitches, switch to a smaller hook. If it is narrower, switch to a larger hook. The pockets are forgiving, but a panel that is several inches off will throw off the whole layout.
The pocket grid is designed with a little breathing room: each pocket is 4 inches wide, and the gaps between pockets are about 1.5 inches horizontally and 1 inch vertically. If your panel comes out slightly wider or narrower, you can adjust the gaps rather than remaking anything.
The Design: How This Calendar Is Built
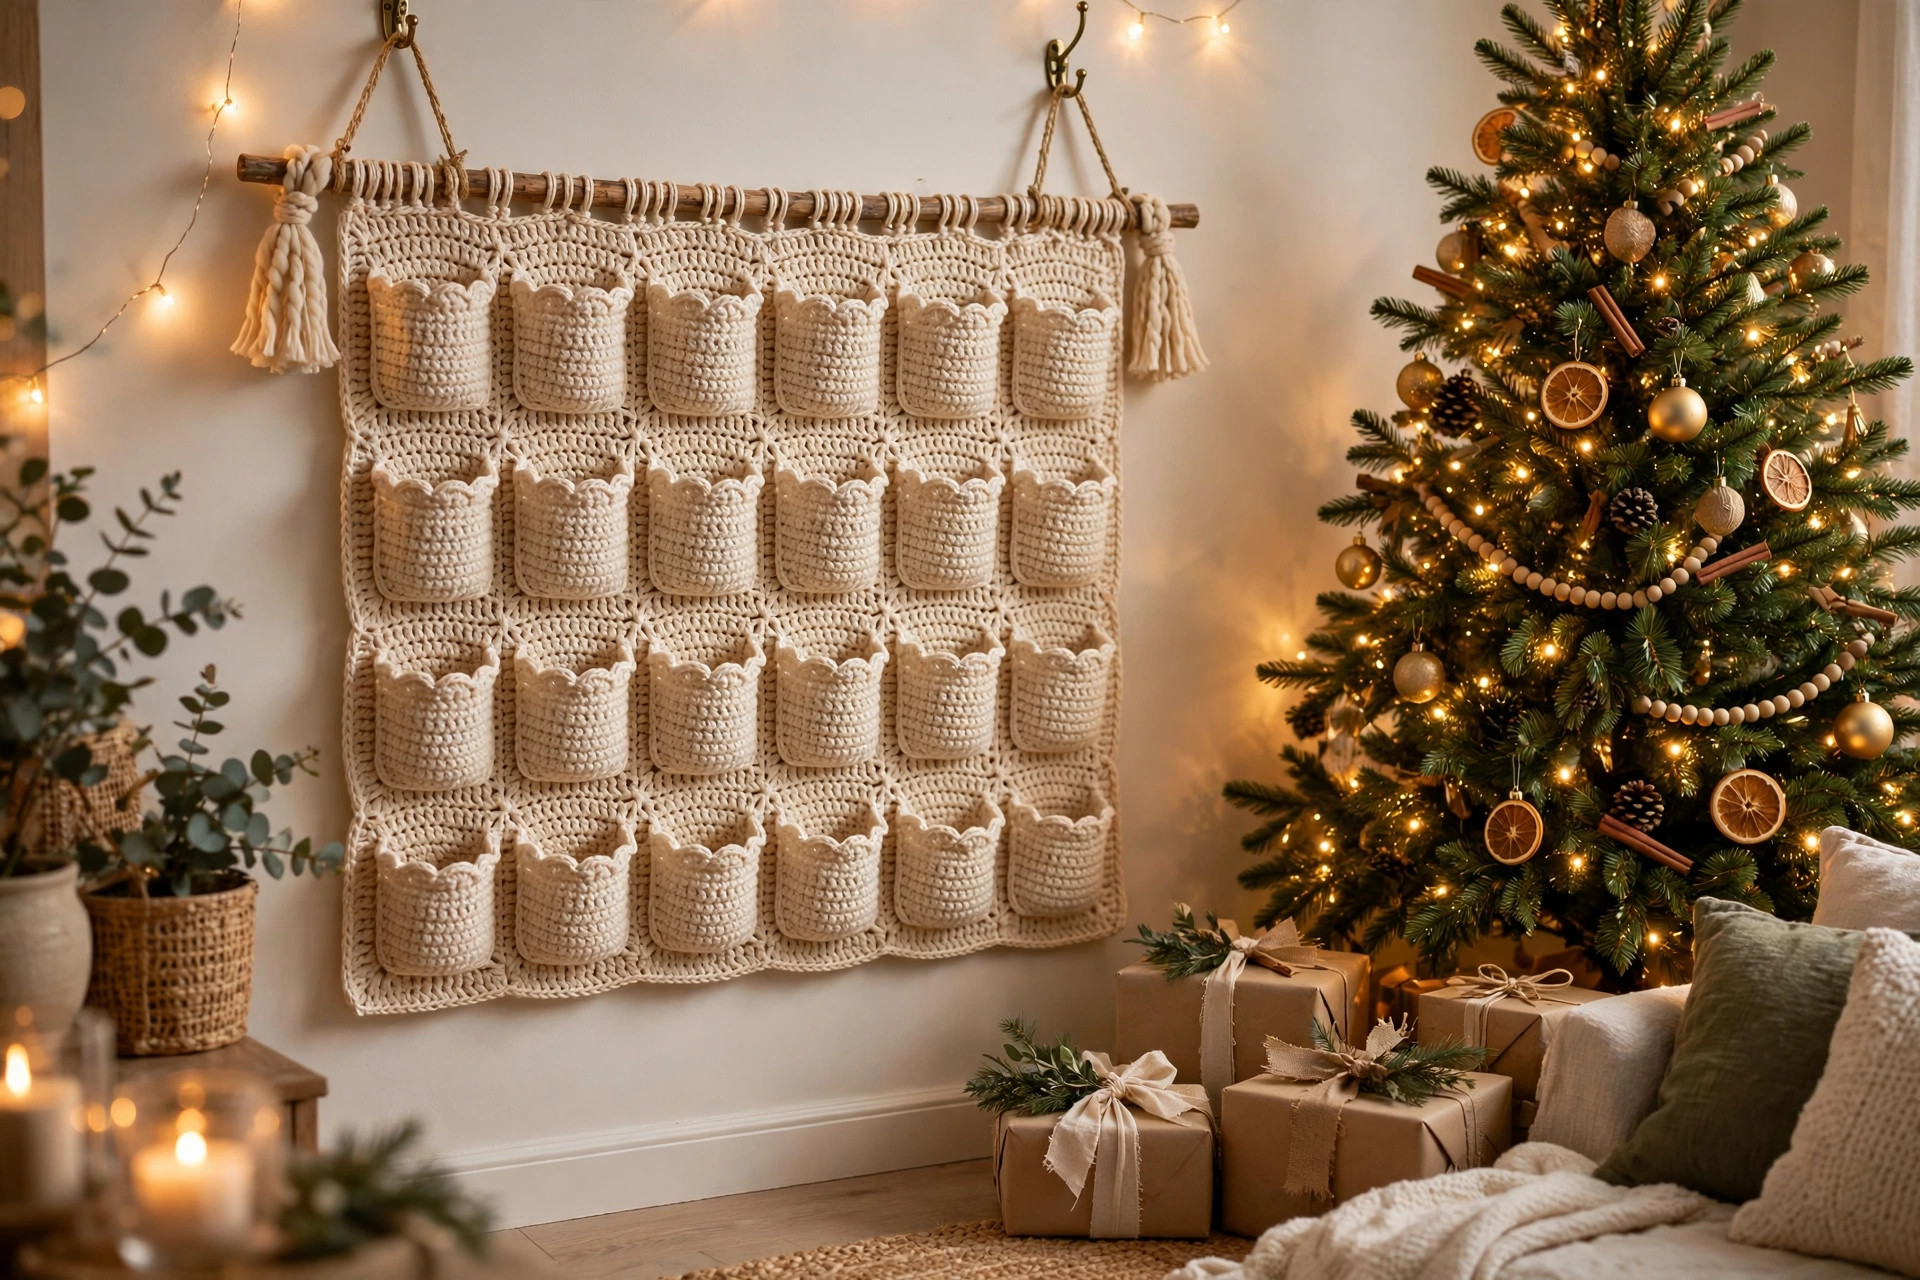
This calendar has three parts: a striped backing panel, 24 pockets, and a dowel casing at the top. Each part is simple on its own, and they come together with straightforward sewing.
The backing panel is worked in rows in a repeating stripe sequence of red, cream, and green. It is a flat rectangle, worked in double crochet, with no shaping. The stripes give the calendar its festive look without any extra effort.
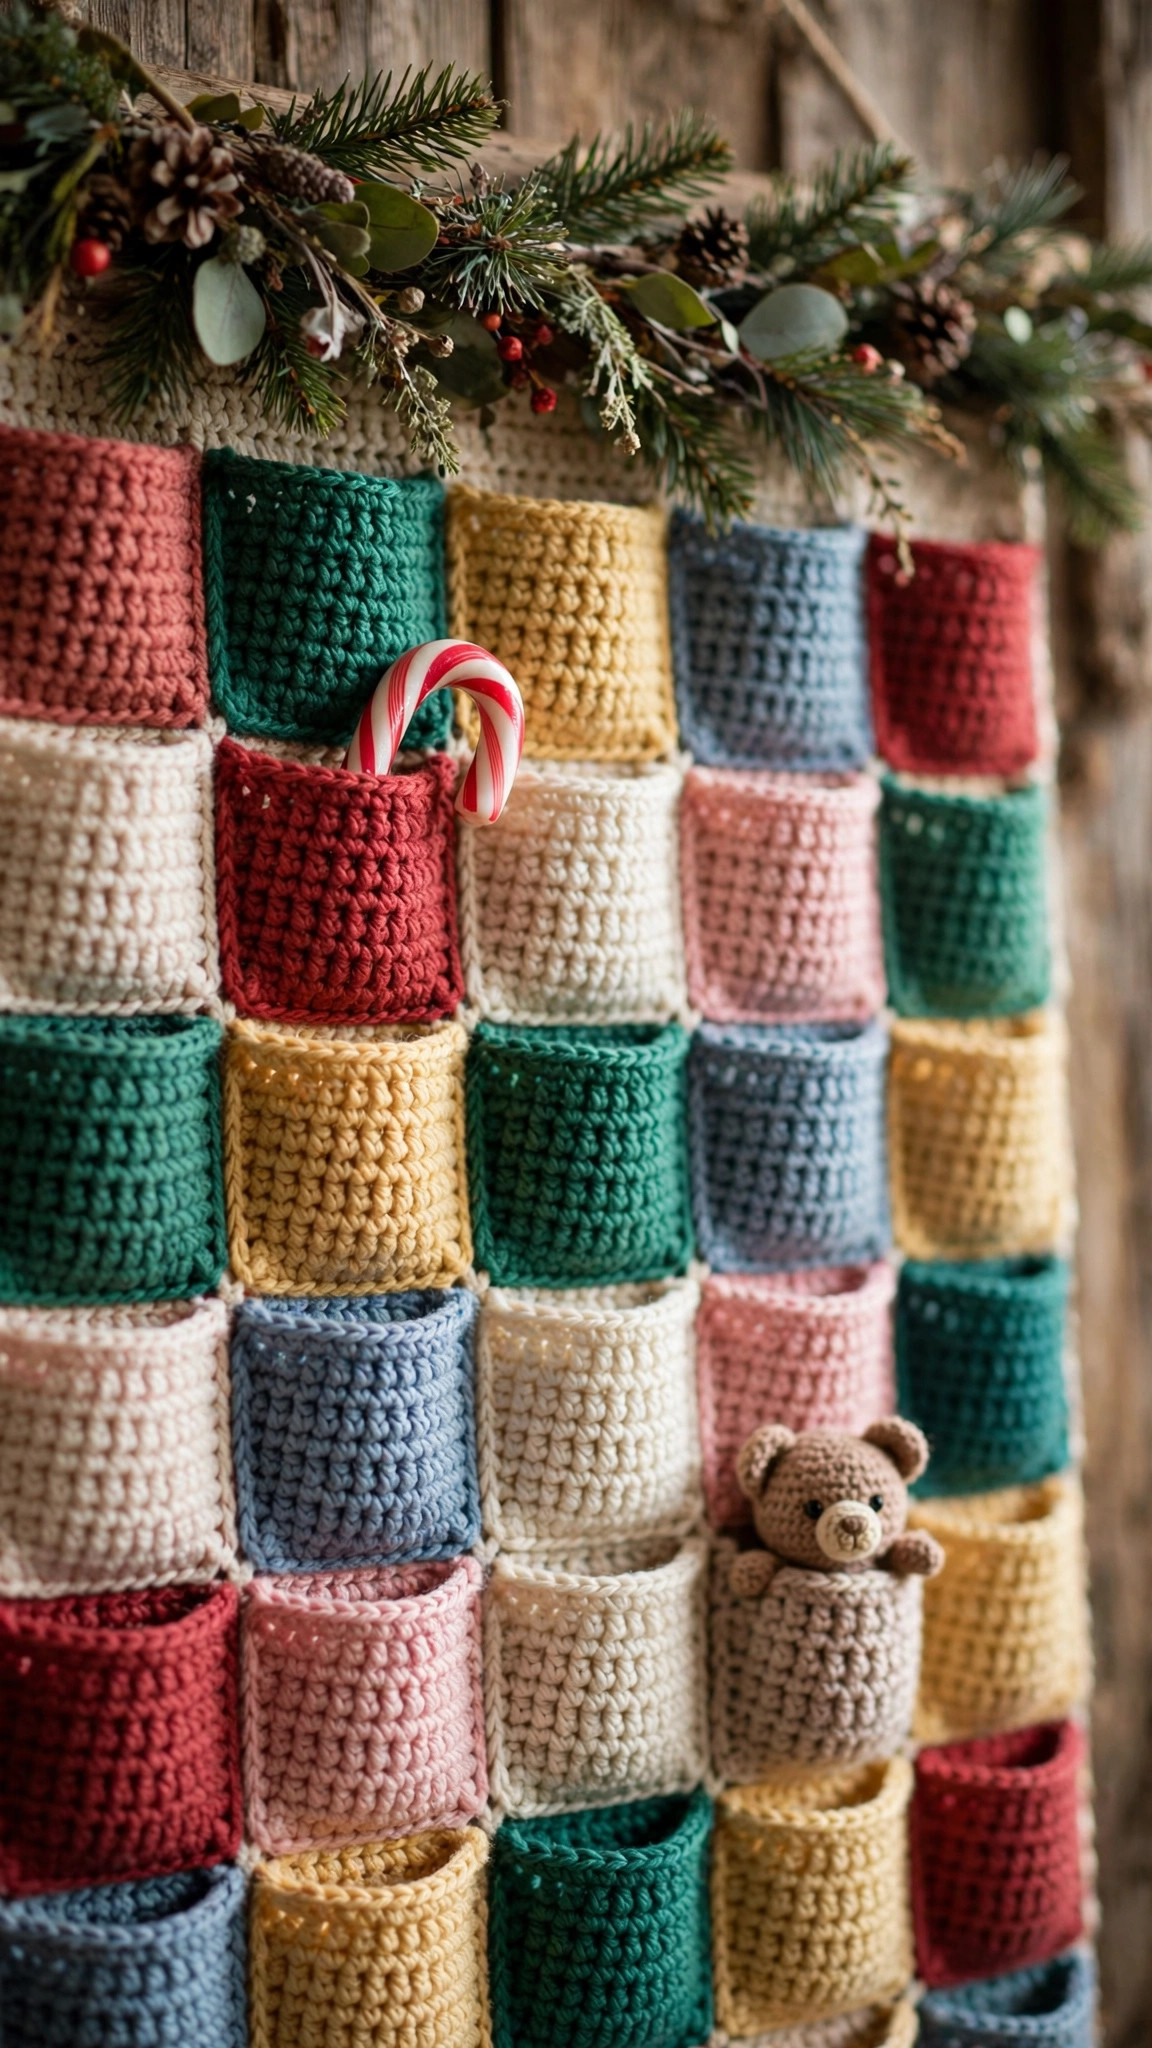
Each pocket is a small rectangle worked in single crochet, which creates a dense, sturdy fabric that holds its shape. Pockets are worked in alternating colors, red, cream, and green, so the grid looks cheerful and varied. A small contrasting top edge on each pocket finishes it neatly and makes the opening easy to find.
The dowel casing is a folded flap at the top of the panel that the wooden dowel slides through. A ribbon loop tied to each end of the dowel hangs the calendar on a hook or nail. The whole thing weighs very little, even when full, so it hangs safely on any wall.
Pattern: Striped Backing Panel
Work in rows, turning at the end of each row. Change color on the last yarn over of the final stitch of a row.
Foundation: With Yarn A (red), ch 86.
Row 1 (RS): Dc in 4th ch from hook (counts as first dc), dc in each ch across. (84 dc)
Rows 2 to 4: Ch 3 (counts as first dc), dc in each st across. (84 dc)
Stripe sequence: Continue in double crochet, working 4 rows of each color in this order: cream, green, red, cream, green, red, cream. That is 7 stripes of 4 rows each, 28 rows, plus the first 4 red rows, for a total of 32 rows before the casing.
Dowel casing rows: Work 6 more rows in red double crochet. These rows will fold over to form the casing. Do not fasten off yet; you will use the working yarn to help join the casing later if you wish, or fasten off and sew it separately.
Your panel should measure about 24 inches wide and 32 inches tall including the casing rows. If it is a little short, add one more stripe of 4 rows before the casing rows. If it is a little long, work fewer casing rows, but keep at least 4 so the dowel fits comfortably.
Pattern: The 24 Pockets
Each pocket is worked the same way, in single crochet for a dense fabric. Make 8 pockets in red, 8 in cream, and 8 in green, and work a contrasting top edge on each one. For a red pocket, use cream for the top edge; for a cream pocket, use green; for a green pocket, use red.
Foundation: With your pocket color, ch 16.
Row 1: Sc in 2nd ch from hook, sc in each ch across. (15 sc)
Rows 2 to 14: Ch 1, sc in each st across. (15 sc)
Top edge row: Change to the contrasting color. Ch 1, sc in each st across, then work one more row of single crochet in the same contrasting color for a neat double thick top edge. Fasten off, leaving a long tail of about 12 inches for sewing.
Each pocket measures about 4 inches wide and 4.5 inches tall. Make all 24 pockets before you start sewing, and lay them out in your chosen color arrangement. A simple approach is to alternate colors across each row so no two neighboring pockets match, which looks joyful and balanced.
Tips for tidy pockets: Keep your single crochet tension firm but not tight. If your pockets curl at the edges, a quick steam with an iron held above the fabric will flatten them. Do not worry about perfect edges, since the sewn seam will tidy the sides and bottom.
Pattern: Dowel Casing and Hanging Loop
Fold the 6 casing rows at the top of the panel to the back, so the fold sits just above the last stripe row. Pin it in place, then whip stitch the folded edge to the back of the panel along the full width, leaving both side ends open so the dowel can slide through.
Slide the 28 inch wooden dowel through the casing, letting about 2 inches stick out on each side. Cut the ribbon into two equal pieces, and tie one piece securely around each end of the dowel, just outside the casing. Join the two ribbon ends at the top with a firm knot to form a hanging loop, and trim any excess.
If you prefer a cleaner look, you can sew the ribbon ends together into a single loop before tying it to the dowel.
Assembling the Calendar
Lay the backing panel flat on a table, right side up, with the dowel casing at the top. Mark the pocket positions lightly with pins: 4 columns and 6 rows, starting about 2 inches below the casing and 2 inches in from each side. Leave about 1.5 inches between columns and 1 inch between rows.
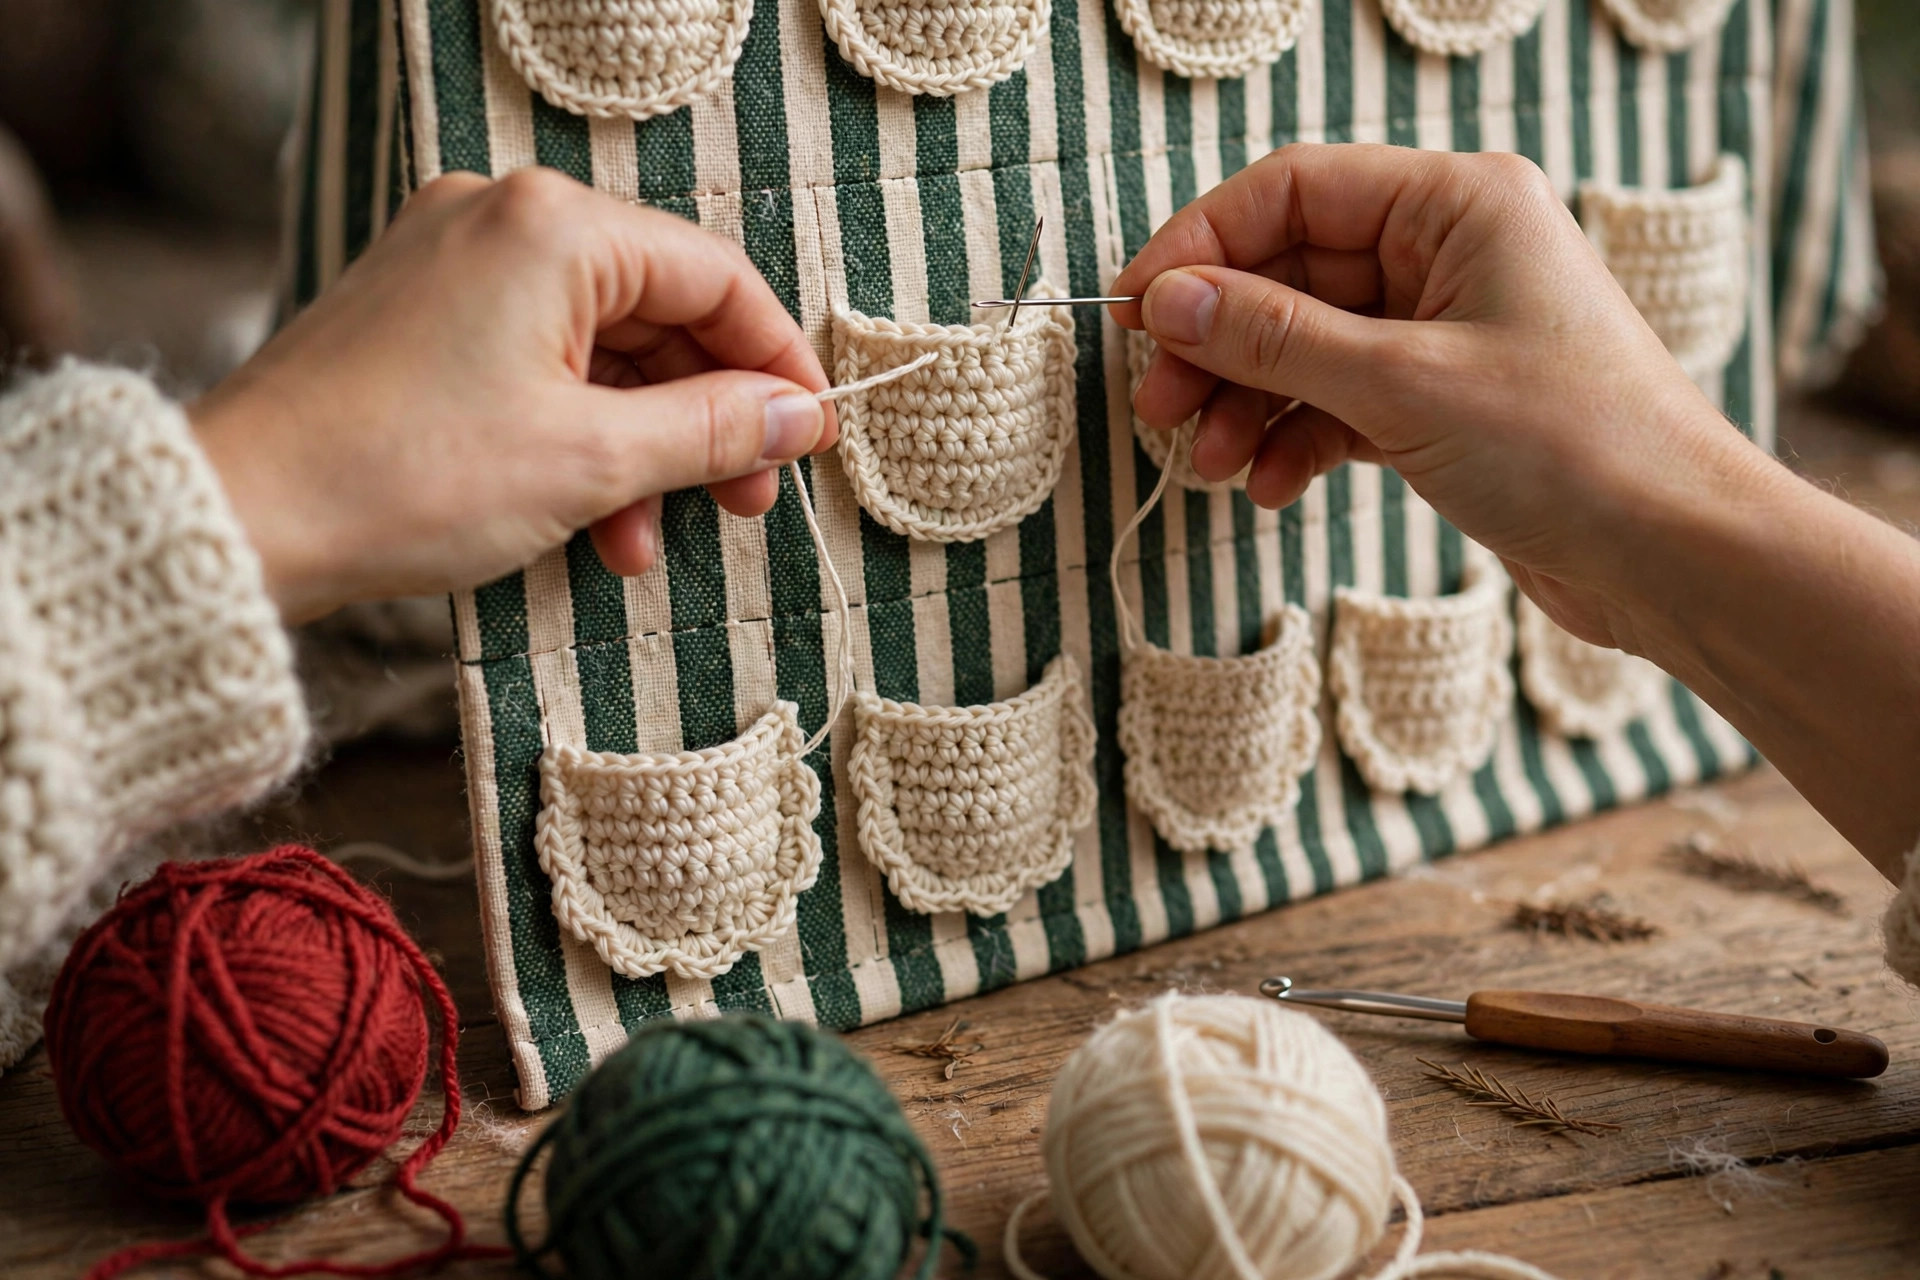
Place the first pocket in the top left position, and whip stitch it to the panel along the two sides and the bottom, leaving the top edge open. Use the long tail left on each pocket, and work your stitches through the edge stitches of the pocket and into the panel fabric. Keep your stitches small and even so they are barely visible from the front.
Work across the first row, then down the rows, checking as you go that your columns stay straight. Once all 24 pockets are sewn on, weave in any remaining ends on the back of the panel.
Give the finished calendar a light steam or mist blocking on the back only, avoiding the pockets so they keep their shape. Hang it up, step back, and admire 24 little pockets of Christmas excitement.
Filling Ideas for 24 Days
Half the joy of an advent calendar is deciding what goes inside. Here are ideas for all ages, from toddlers to grandparents:
- Sweet treats: mini chocolate bars, wrapped candies, jelly beans, small cookies, or a single fancy chocolate each day.
- Tiny toys: mini erasers, small figurines, stickers, bouncy balls, or hair clips for children.
- Notes and jokes: a handwritten joke, a kind message, a Christmas riddle, or a coupon for a special activity like baking cookies together.
- Craft supplies: beads, buttons, small charms, or a piece of a puzzle that comes together by Christmas Eve.
- Self care treats: tea bags, lip balm samples, scented sachets, or a favorite snack for adults.
- Activity cards: write one small festive activity on each card, such as decorating the tree, watching a holiday film, or making hot cocoa.
Mix expensive days with simple ones, and save the best surprise for December 24th.
Variations to Try
- Neutral winter palette: Use cream, soft gray, and dusty blue instead of traditional red and green for a calm, modern look.
- Woodland theme: Make the pockets in browns and greens, and add small crocheted leaf appliques to a few pockets for a forest feel.
- Mini calendar: Chain 62 for the panel and make 12 pockets instead of 24, for a twelve days of Christmas version that works up faster.
- Personalized pockets: Sew a small wooden button or a felt shape to each pocket top. Avoid sewn on numbers if small children will play with the calendar, since tiny pieces can come loose.
- Gift version: Make the calendar as a gift for a grandparent or a friend, and fill it yourself before giving it on December 1st. It is a present and an experience in one.
For more small festive makes to hang alongside the calendar, our ornament patterns and garland pattern are quick and cheerful. And for a cozy companion project, our Christmas blanket pattern (this batch's sister post) uses the same red, cream, and green palette.
Troubleshooting
My panel is wider than 24 inches. Check your gauge first. If your stitches are simply larger, you can still use the panel by spacing the pockets a little further apart. The grid is forgiving, and a slightly wider calendar still looks great.
My pockets gape open. Pockets worked too loosely will gape. Work your single crochet firmly, and if a pocket still gapes, add a second row to the top edge in the contrasting color to stiffen the opening.
My pockets sag when filled. Sagging usually means the sewing stitches are too far apart or the yarn is too soft. Sew with small, close stitches, and use cotton yarn as recommended. For heavy treats, keep them small and light.
My calendar does not hang level. Check that the dowel is centered in the casing and that both ribbon ends are the same length. A small adjustment to one ribbon tie usually fixes a tilt.
My stripes look uneven. Uneven stripes are almost always a tension issue at color changes. Change color on the last yarn over, keep your turning chains consistent, and count your stitches every few rows.
Care and Storage
Spot clean the calendar with a damp cloth and mild soap if it gets dusty or sticky from treats. For a deeper clean, hand wash in cool water, reshape the panel flat, and lay it flat to dry. Do not machine wash a finished calendar with the dowel attached; remove the dowel first, and wash gently.
Store the calendar flat or rolled loosely in a clean bag during the year, with the pockets empty. Avoid folding it sharply, since creases in cotton can be stubborn. Hang it back up each December, and it will look just as festive as the first year.
Frequently Asked Questions
What size treats fit in these advent calendar pockets?
Each pocket is about 4 inches wide and 4.5 inches tall, so it fits mini chocolate bars, wrapped candies, small toys, notes, and tiny trinkets. It will not fit large items, so choose small, light surprises. If you want bigger pockets, chain 20 instead of 16 and work 16 rows for each pocket.
Is this crochet advent calendar pattern suitable for beginners?
Yes. The panel is simple double crochet stripes, and each pocket is a small single crochet rectangle. The only new skill is whip stitching the pockets onto the panel, which is easy and forgiving. If you can single crochet and double crochet, you can make this calendar.
How long does it take to crochet an advent calendar?
Most makers finish in 18 to 25 hours, spread over two to three weeks of evening sessions. The pockets are quick wins, so the project feels like it moves fast, and you can make a few pockets at a time whenever you have a spare half hour.
Can I reuse a crochet advent calendar every year?
Absolutely, and that is the point. Cotton yarn holds its shape, the pockets can be refilled each November, and the calendar becomes a family tradition. Store it flat or rolled during the year, and it will be ready again next December.
What can I put in an advent calendar for adults?
Tea bags, small chocolates, lip balm, scented sachets, handwritten notes, activity coupons, or a tiny piece of jewelry all work well. Mix a few luxurious days with simple ones, and save the best surprise for Christmas Eve.
Do I need to number the pockets?
No, numbering is optional. Many families simply open one pocket per day from the top left across each row, which is easy to follow without numbers. If you want numbers, sew on felt numbers or pin on small tags rather than gluing anything, so the calendar stays washable and safe for children.


