Worry Worm Crochet Pattern (Free)
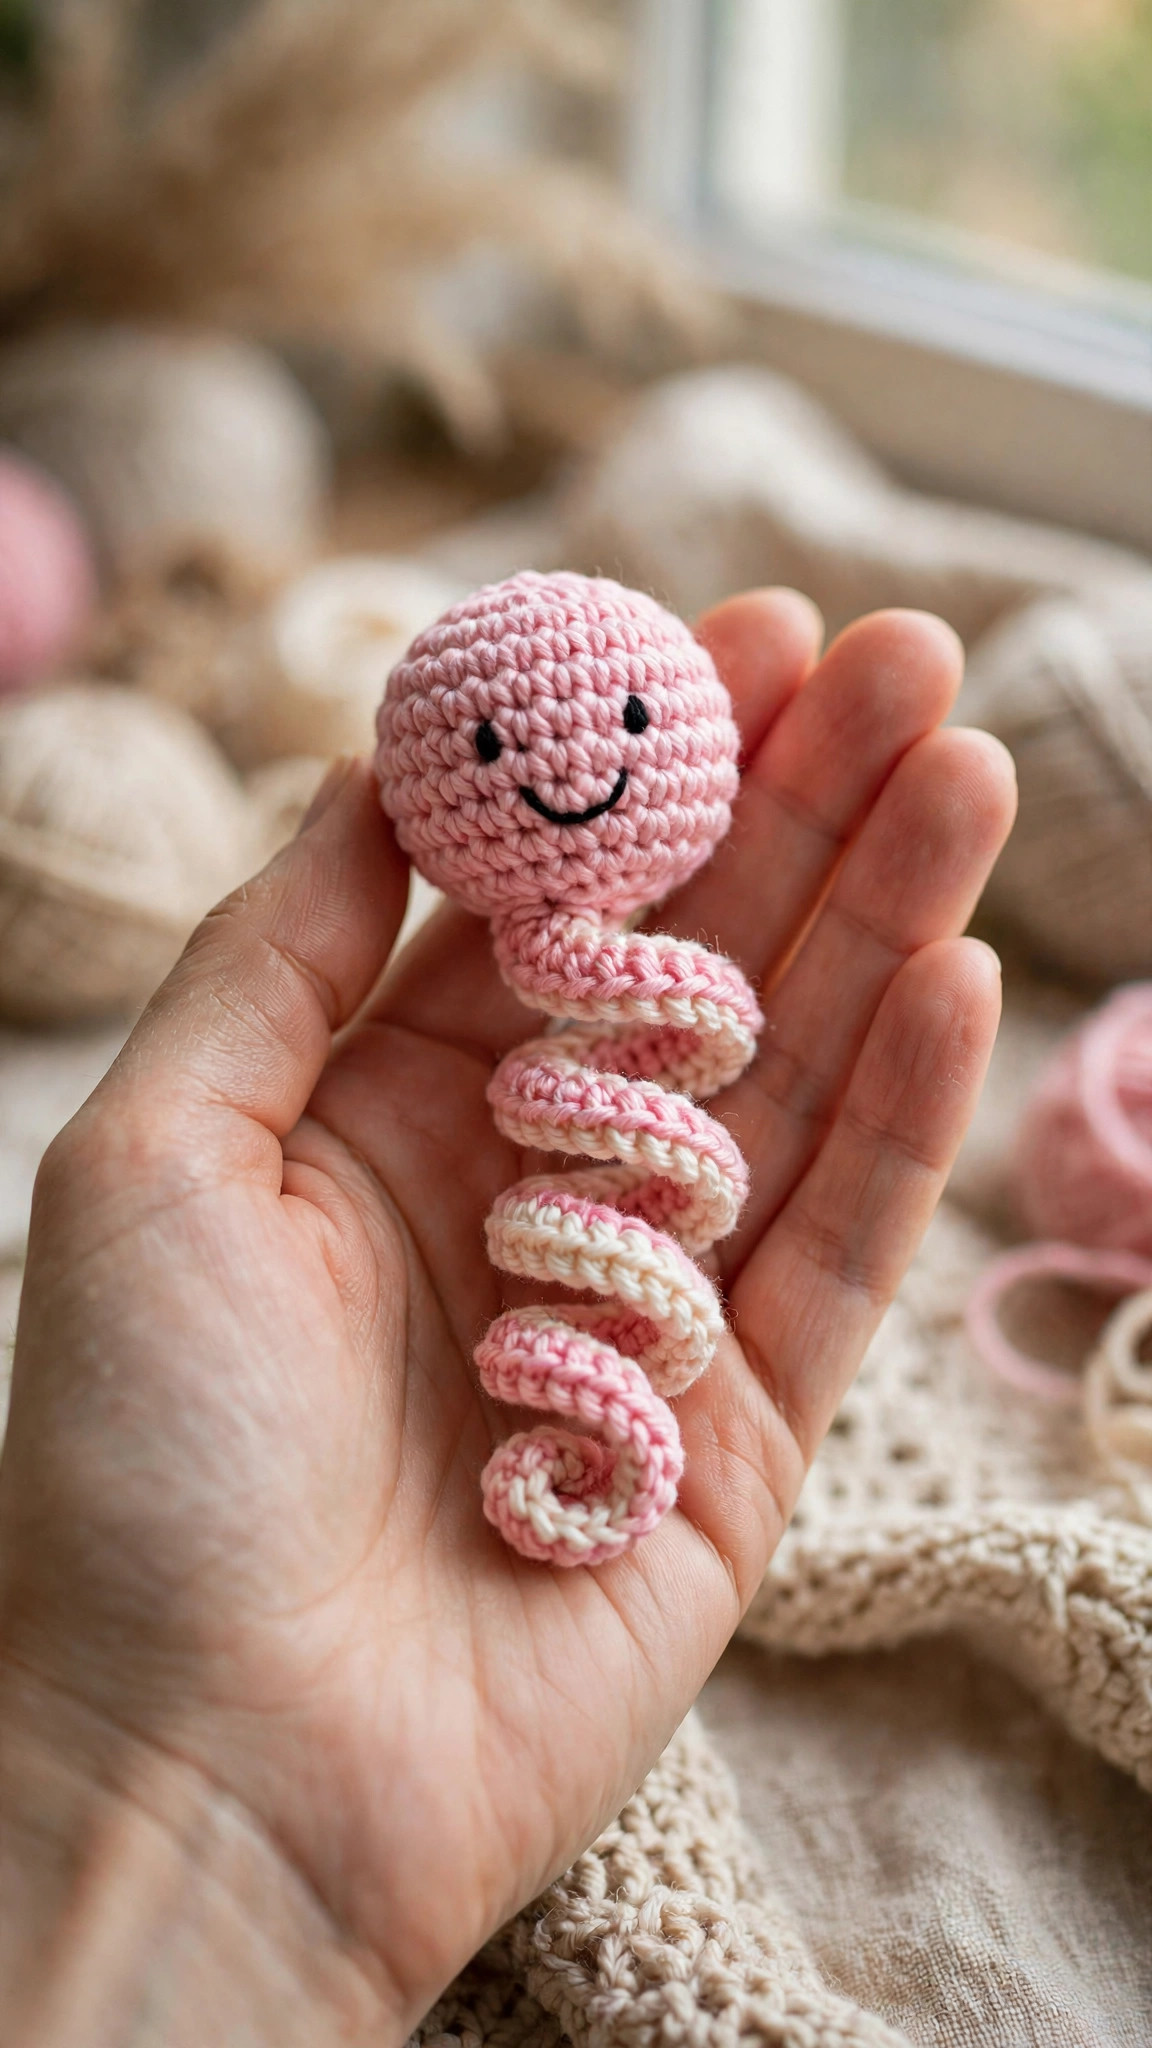
Stitch a tiny worry worm with a round head, a smiling face and a curly body, then give it to someone who needs a little comfort.

Patterns · Crochet
- Finished size
- 4 in long, 1.5 in head
- Making time
- About 1 hour per worm
- Hook
- US E-4 (3.5 mm)
- Set
- Head, curly body, face
- Skill
- Easy
In this post
- Key Takeaways
- Table of Contents
- Why You Will Love This Worry Worm
- Finished Size, Skill Level, and Time
- Materials You Need
- Abbreviations (US Terms)
- Gauge and Sizing Notes
- Part 1: The Head
- Part 2: The Curly Body
- Part 3: The Face and Finishing
- Variations: Colors, Sizes, and Uses
- Troubleshooting Worry Worms That Lose Their Curl
- Care Instructions
- Frequently Asked Questions
A worry worm is a tiny pocket friend with a big job. You hold it in your hand, squeeze it when life feels heavy, and let the soft curly body and the sweet little face remind you that you are not alone. This free worry worm crochet pattern shows you how to make a small amigurumi worm in about an hour, with a round head, a curly body, and a cheerful face, all worked in the round with simple stitches.
This is an original Little Loop Finds design, written in US terms and completely free. The worm uses only single crochet, increases, and decreases, so it is a perfect first amigurumi project. There is no sewing of separate parts beyond the face and no special techniques. If you can crochet a magic ring and work in a spiral, you can make this worry worm.
A quick note on scope: this post is about one specific pocket worry worm, a tiny comfort amigurumi with a face and a curly body. If you want a longer worm for a keychain or a classroom gift, the variations section shows how to change the length and the curl. If you are new to amigurumi, our mini amigurumi patterns free roundup is a good place to see what else you can make with the same skills.
Key Takeaways
- Free original pattern: this worry worm crochet pattern is a Little Loop Finds original design, written in US terms, and completely free.
- A tiny comfort friend: a round head, a sweet face, and a curly body that fits in a pocket, a pencil case, or the palm of a hand.
- Beginner friendly amigurumi: only single crochet, increases, and decreases, worked in a spiral, with a stitch count at the end of every round.
- Quick to make: one worm takes about an hour, and you can make a whole basket of them in an evening from scraps of yarn.
- Made to give away: worry worms are perfect for classrooms, hospital visits, care packages, and anyone who needs a small reminder that somebody cares.
Table of Contents
- Why You Will Love This Worry Worm
- Finished Size, Skill Level, and Time
- Materials You Need
- Abbreviations (US Terms)
- Gauge and Sizing Notes
- Part 1: The Head
- Part 2: The Curly Body
- Part 3: The Face and Finishing
- Variations: Colors, Sizes, and Uses
- Troubleshooting Worry Worms That Lose Their Curl
- Care Instructions
- Frequently Asked Questions
Why You Will Love This Worry Worm
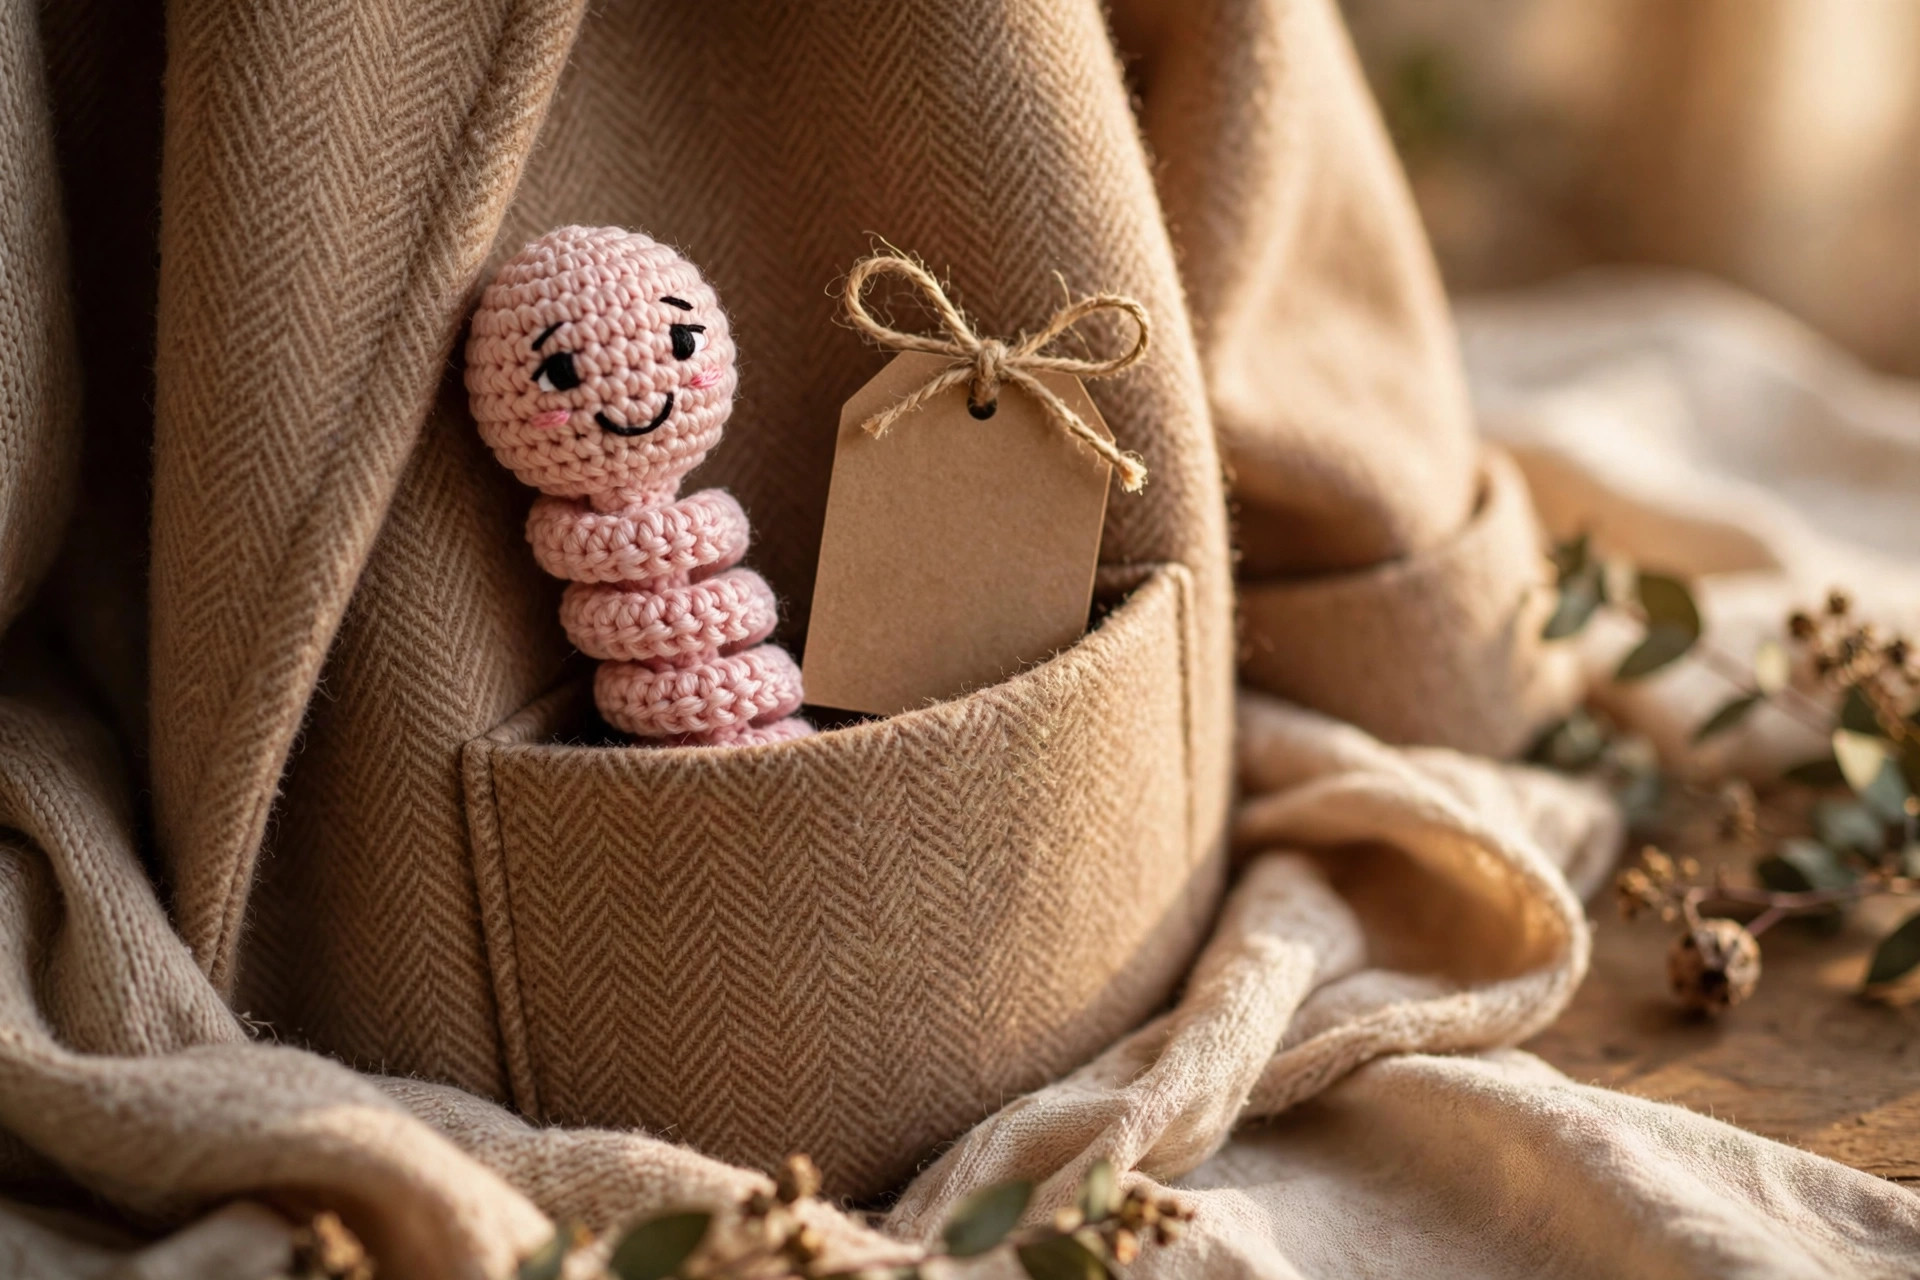
A worry worm is the smallest kind of comfort you can crochet. It has no moving parts and no batteries, just a soft body and a friendly face, and somehow that is exactly what a worried hand needs. Children carry them to school, adults keep them on a desk or in a coat pocket, and nurses and teachers hand them out by the dozen.
The worry worm is also one of the kindest projects in crochet. It uses up the smallest scraps of yarn, the ones too short for a hat or a scarf but too pretty to throw away. One worm needs only a few yards of yarn, a pinch of stuffing, and a scrap of black yarn for the face.
If you have never tried amigurumi, this worm is the gentlest possible start. The head is a simple sphere, the body is a chain of curly stitches, and the face is two embroidered eyes and a smile. Every round ends with a stitch count, so you can check your work as you go. A worm that is slightly lumpy is still a worm, and it is still loved.
Finished Size, Skill Level, and Time
- Finished size: about 4 inches long and 1.5 inches wide at the head, in DK weight yarn. The body curls into a loose spiral about 2.5 inches across.
- Skill level: Easy. You need a magic ring, chains, slip stitches, single crochet, increases, and invisible decreases. The curly body is just chains with three single crochets in each chain, and the pattern explains it step by step.
- Time: about 1 hour per worm: roughly 20 minutes for the head, 20 minutes for the curly body, and 20 minutes for the face, stuffing, and finishing. A basket of six worms takes a relaxed evening.
Materials You Need
| Item | What to get |
|---|---|
| Yarn, head | DK weight (size 3) yarn in any color, about 10 yards per worm |
| Yarn, body | DK weight (size 3) yarn in a matching or contrasting color, about 15 yards per worm |
| Yarn, face | A scrap of black DK or embroidery yarn for the eyes and smile |
| Hook | US E-4 (3.5 mm), or the size that gives you tight stitches with no stuffing showing through |
| Notions | Tapestry needle, scissors, stitch marker, polyester fiberfill stuffing, safety eyes optional |
DK weight yarn is the best choice for a worry worm because it makes a small, neat worm with crisp stitch definition, and the head holds its round shape. Worsted weight yarn works too, and it makes a slightly larger worm, about 5 inches long. Choose soft yarns in cheerful colors, because a worry worm is meant to be held, squeezed, and carried around.
Abbreviations (US Terms)
- ch = chain
- sl st = slip stitch
- sc = single crochet
- inc = increase, 2 sc in the same stitch
- dec = invisible decrease, single crochet two stitches together through the front loops only
- st(s) = stitch(es)
- rnd(s) = round(s)
- rep = repeat
- MR = magic ring
- BLO = back loop only
Gauge and Sizing Notes
Gauge for a worry worm is about keeping the stuffing inside, not about hitting an exact number. Work the first 3 rounds of the head and look at the fabric. The stitches should be tight and even, with no gaps where the white stuffing can peek through. If you can see stuffing between the stitches, go down a hook size. If the stitches are so tight that your hand aches, go up half a hook size and check again.
To make a smaller worm, use fingering weight yarn and a 2.75 mm hook, for a worm about 3 inches long. To make a larger worm, use worsted weight yarn and a 4.0 mm hook, for a worm about 5 inches long. The stitch counts stay the same in every size, only the yarn and hook change, so the pattern works at any scale.
Part 1: The Head
The head is a small sphere worked in a spiral, starting with a magic ring and increasing evenly until it is wide enough, then working straight for a few rounds, then decreasing evenly until it closes. Place a stitch marker in the first stitch of each round, and move it up as you go, so you always know where the round begins.
Head Rounds
With the head color, MR.
- Rnd 1: 6 sc in MR. (6 sc)
- Rnd 2: inc in each st around. (12 sc)
- Rnd 3: (sc in next st, inc in next st) rep 6 times. (18 sc)
- Rnd 4: (sc in next 2 sts, inc in next st) rep 6 times. (24 sc)
- Rnd 5: (sc in next 3 sts, inc in next st) rep 6 times. (30 sc)
- Rnd 6 to 9: sc in each st around. (30 sc)
- Rnd 10: (sc in next 3 sts, dec) rep 6 times. (24 sc)
- Rnd 11: (sc in next 2 sts, dec) rep 6 times. (18 sc)
Stop here and stuff the head. Fill it firmly but not hard, so it feels like a soft ball, not a rock. Use small pieces of fiberfill and push them in with the blunt end of your hook, so the stuffing spreads evenly and no lumps show through the stitches.
- Rnd 12: (sc in next st, dec) rep 6 times. (12 sc)
- Rnd 13: dec 6 times. (6 sc)
Fasten off, leaving a long tail. Thread the tail through the front loops of the last 6 stitches and pull gently to close the hole, then weave the tail inside the head so it disappears. Your finished head should be a neat round ball about 1.5 inches across, firm enough to hold its shape and soft enough to squeeze.
Part 2: The Curly Body
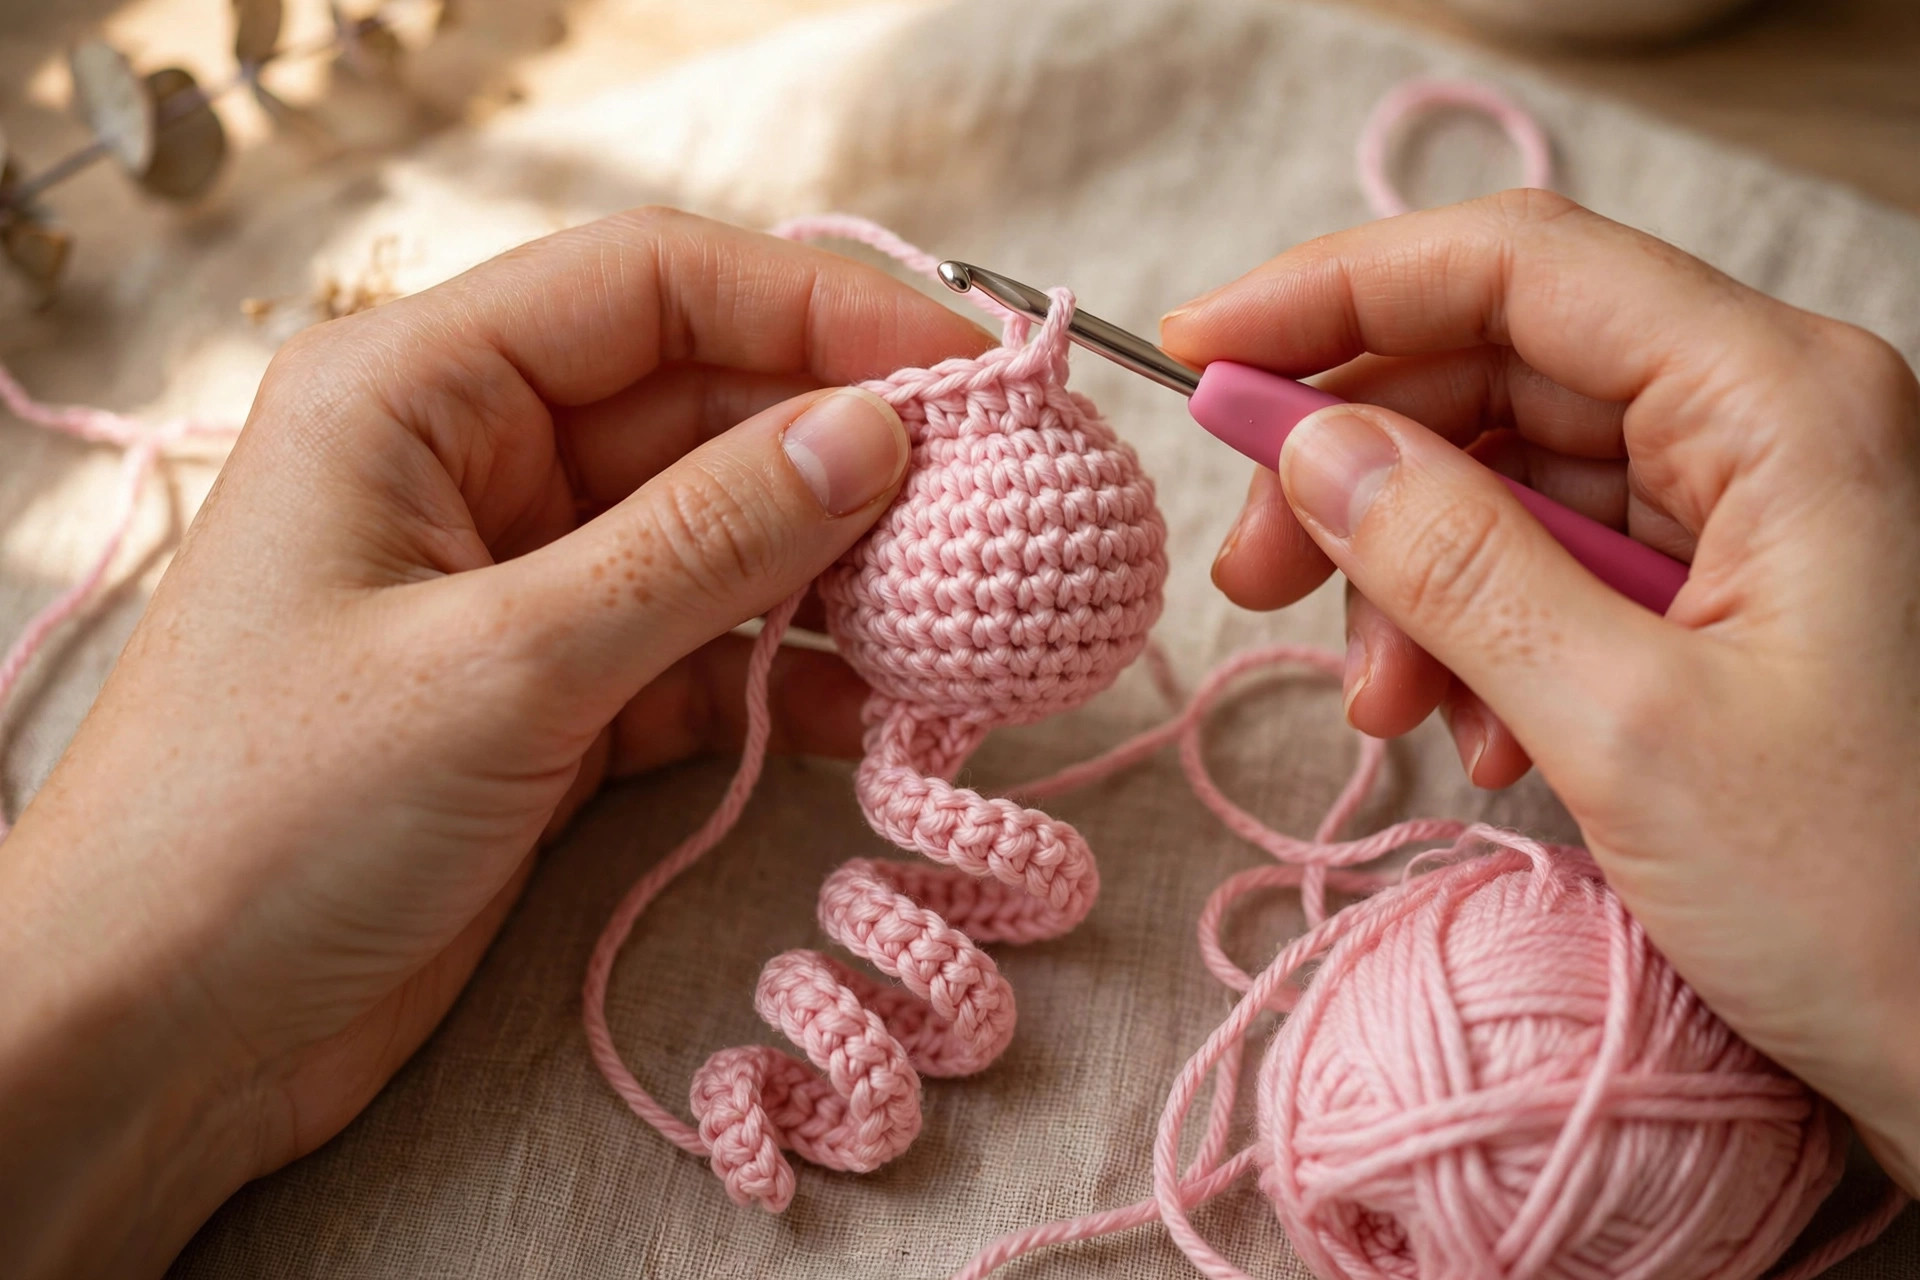
The curly body is what makes a worry worm a worm. It is a chain worked back along itself with three single crochets in each chain, which forces the chain to curl into a tight spiral. The curl happens on its own as soon as you work the second stitch into each chain.
Curly Body
With the body color, join with a sl st to the bottom of the head, at the closed end opposite the magic ring.
- Ch 25. This chain is the spine of the body. Work back along the chain, starting in the second chain from the hook.
- Row 1: 3 sc in each ch across, working back toward the head. (72 sc)
- Sl st into the bottom of the head to anchor the body. Fasten off and weave in the end.
As you work the three single crochets into each chain, the body will curl into a spiral right in your hands. Do not try to straighten it. The curl is the point. When you reach the head, slip stitch into the base of the head to lock the curl in place, then weave the tail inside the head so it cannot work loose.
If you want a longer worm, chain 30 instead of 25 and work 3 sc in each chain, for a body of 87 stitches and a longer, looser curl. If you want a shorter worm for a keychain, chain 18 and work 3 sc in each chain, for a body of 51 stitches and a tight little curl. The number of stitches is always three times the number of chains minus three, so you can scale the body to any length you like.
Part 3: The Face and Finishing
The face is what turns a curly worm into a friend. Two simple eyes and a smile are all it needs, and embroidery gives you the most control over the expression. Take your time here, because the face is the first thing anyone looks at.
Embroidered Face
Thread black yarn on a tapestry needle. Work on the front of the head, in the middle of the round section, about two rounds above the center.
- Eyes: make two small French knots or two short vertical stitches, about 4 stitches apart, at the same height. A French knot is made by wrapping the yarn twice around the needle before you pull it through the fabric, which makes a small round dot.
- Smile: make a small curved smile below and between the eyes, using a backstitch in a shallow U shape, about 3 stitches wide.
- Cheeks (optional): with pink yarn, make two tiny French knots just below and outside the eyes, for a blushing look.
Step back and look at the face from arm's length. The eyes should be level, the smile should sit in the middle, and the whole face should look friendly. If an eye is crooked, pull the yarn out gently and stitch it again. Embroidery is forgiving, and a second try is always better than a lopsided face.
Final Finishing
Weave in every tail with a tapestry needle, working the yarn back through the stitches on the inside of the head for about an inch, then trim the excess close to the fabric. Give the worm a gentle squeeze to settle the stuffing, and shape the curl with your fingers so it spirals neatly. Your finished worry worm should be about 4 inches long, with a round head, a cheerful face, and a curly body that springs back when you stretch it.
Variations: Colors, Sizes, and Uses
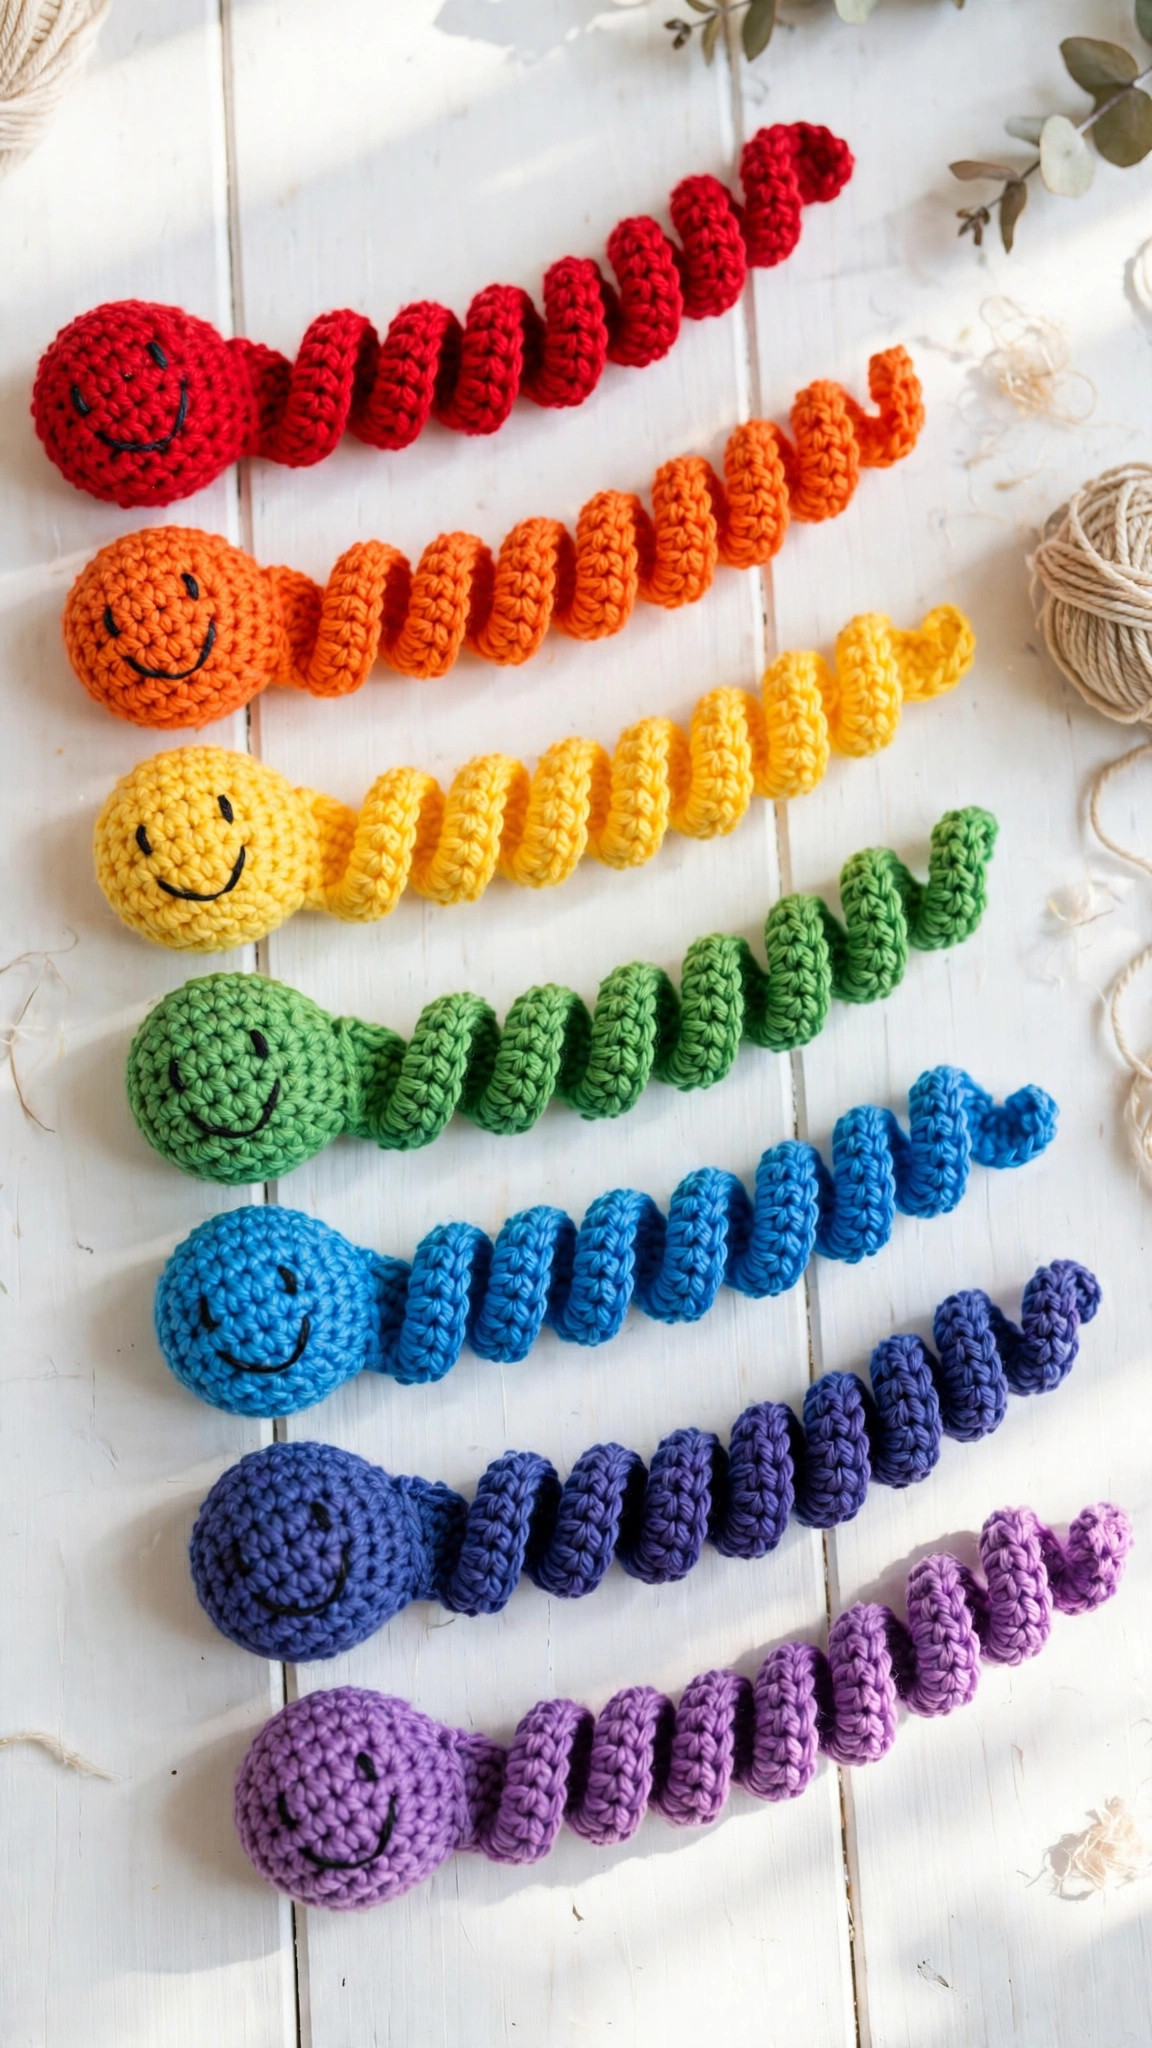
- Rainbow worm: work the head in one color and the body in a second color, or change the body color every 8 chains for a striped curl. Our crochet snake pattern uses the same curly body technique in a longer form.
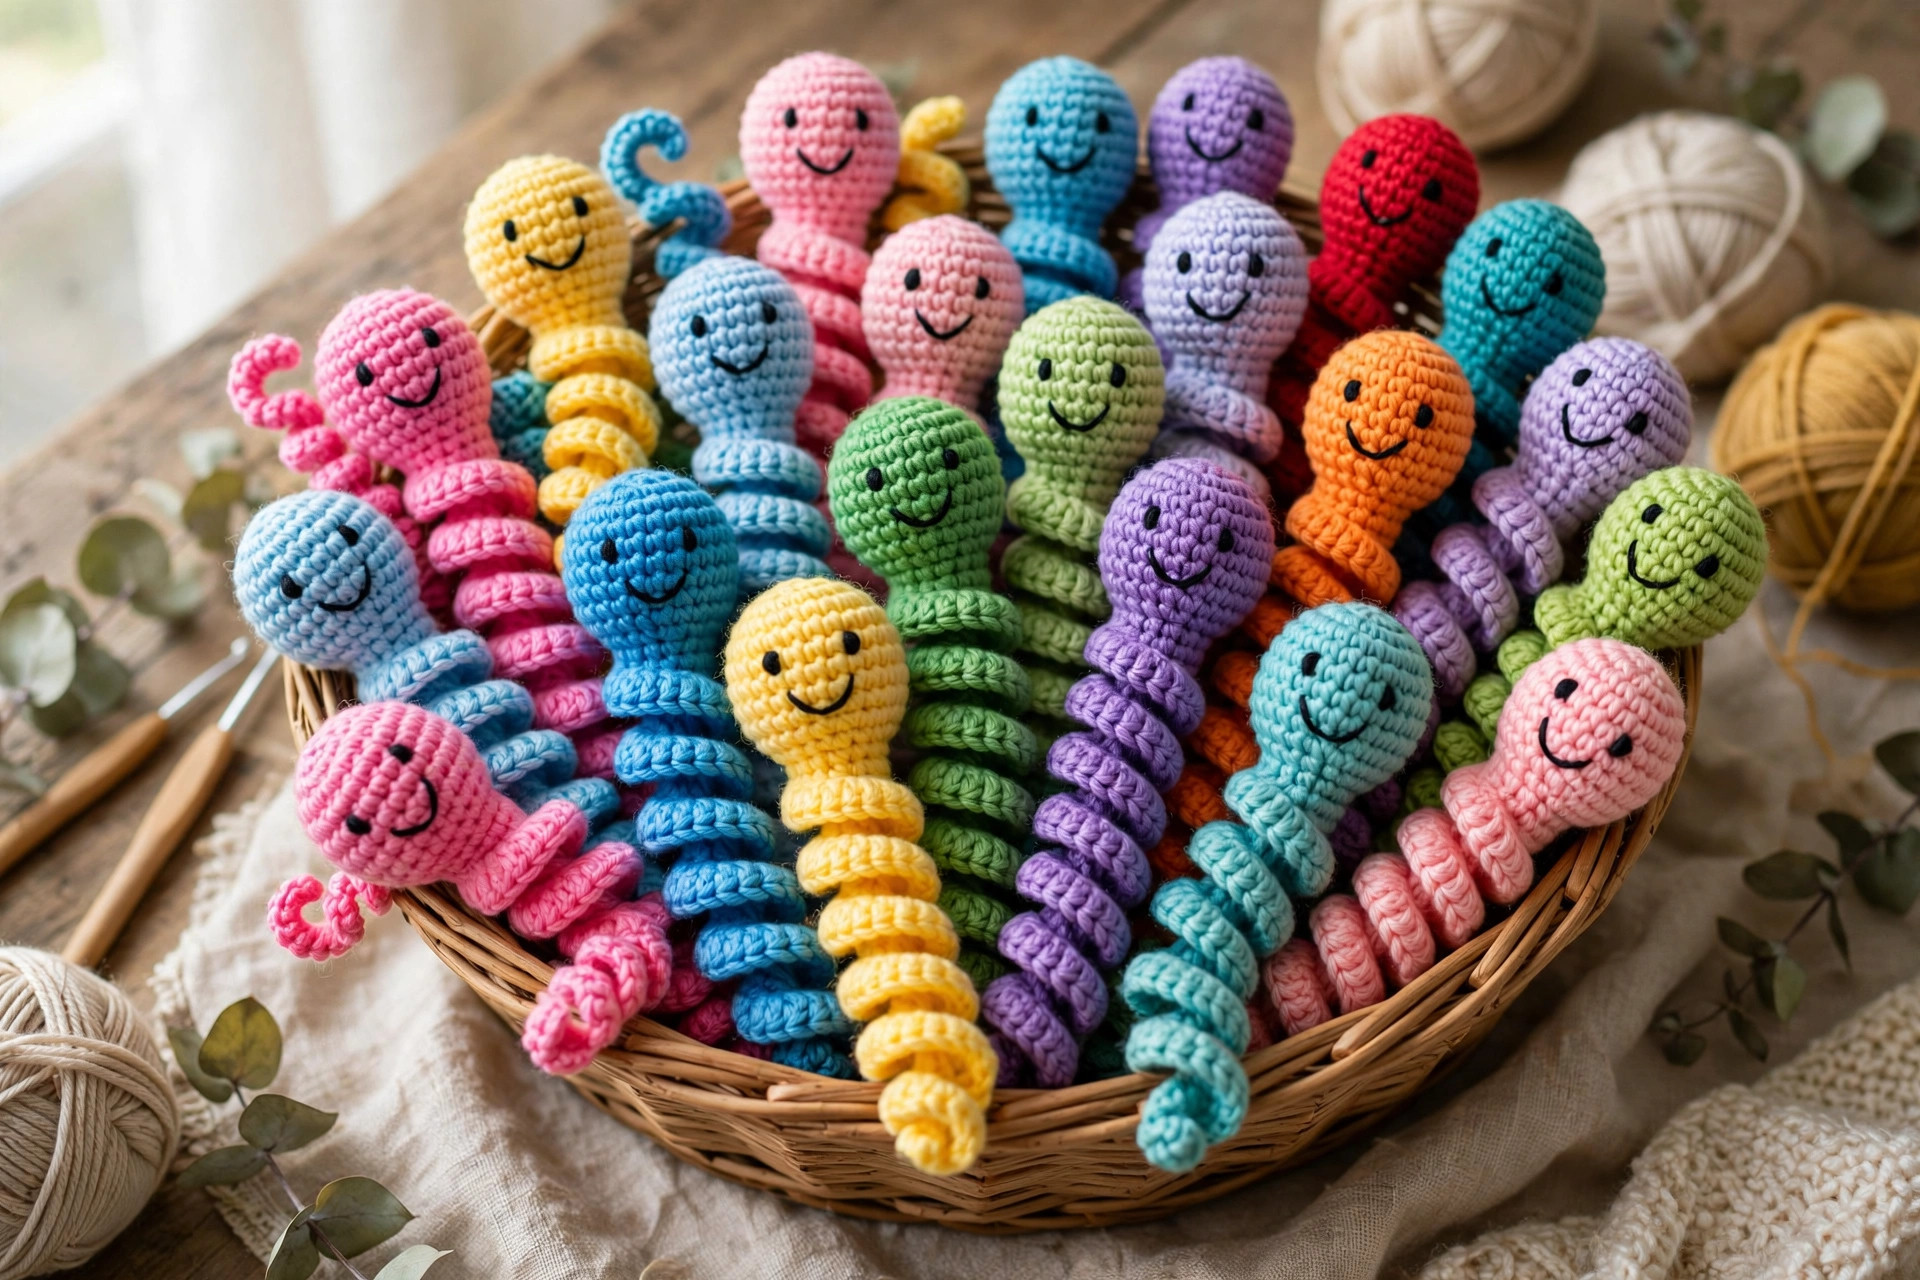
- Classroom set: make a dozen worms in different colors and hand them out on the first day of school, so every child has a pocket friend. Our crochet frog pattern free makes a matching classroom companion.
- Keychain worm: chain 18 for the body, then add a key ring through the top of the head with a small jump ring, for a worm that clips to a bag or a backpack. Our mini octopus crochet pattern is another small amigurumi that works well as a keychain.
- Glow worm: use glow in the dark yarn for the body, so the worm glows softly at night on a bedside table. Our crochet ghost pattern free is another glow in the dark favorite.
- Christmas worm: work the head in red and the body in green, add a tiny crocheted Santa hat, and tuck the worm into a stocking. Our owl crochet pattern from this same batch makes a matching woodland gift.
- Jellyfish friend: pair the worry worm with a soft jellyfish for a sea themed comfort set, using the same easy amigurumi skills.
If you enjoyed the curly body in this worm, try another small amigurumi next, in the same yarn and the same easy stitches.
Troubleshooting Worry Worms That Lose Their Curl
- My body does not curl. You worked too few stitches in each chain. The curl needs three single crochets in every chain. If you worked only two, the body stays nearly straight. Frog the body and work 3 sc in each chain.
- My body curls too tightly and knots up. Your tension is very tight, or you chained too few stitches. Work the body with a slightly looser tension, or chain 30 instead of 25 for a longer, looser curl.
- My head is lumpy. The stuffing is in big clumps. Pull the stuffing out, tear it into small pieces, and push it in a little at a time with the blunt end of your hook, so it spreads evenly.
- My head has a hole at the top. The magic ring was not pulled tight. Pull the ring tail firmly before you start round 2, and weave the tail through the center stitches so the ring cannot loosen.
- My face looks surprised. The eyes are too far apart or too high. Embroidered eyes should sit about 4 stitches apart and just above the middle of the head. Pull them out and stitch them again, a little lower and closer together.
- My worm flops over when it sits down. The head is stuffed too softly, or the body is too long for the head. Stuff the head a little firmer, and shorten the body to 20 chains for a worm that sits upright.
Care Instructions
Hand wash worry worms gently in cool water with a tiny amount of mild soap, squeeze gently without wringing, and lay them flat to dry so the head keeps its round shape and the curl stays springy. If the yarn label says machine washable, use a gentle cycle in a mesh laundry bag, and lay the worm flat to dry. Do not put a worry worm in the dryer on high heat, because the head can shrink unevenly and the curl can go limp. Keep finished worms out of direct sunlight, so the colors stay bright, and store them in a basket or a drawer, not hanging, so the curl does not stretch out.
Frequently Asked Questions
Is this worry worm pattern good for beginners?
Yes, it is one of the best first amigurumi projects. You need to know a magic ring, single crochet, increases, and invisible decreases, and every round ends with a stitch count. The curly body is just chains with three single crochets in each chain, and one worm takes about an hour.
What yarn is best for a worry worm?
DK weight yarn is the best choice, because it makes a small, neat worm with crisp stitch definition and a head that holds its shape. Worsted weight yarn works too, and it makes a slightly larger worm, about 5 inches long. Avoid fuzzy yarns, because they hide the face and the worm loses its friendly look.
How big is the finished worry worm?
About 4 inches long and 1.5 inches wide at the head, in DK weight yarn with a 3.5 mm hook. Use fingering weight yarn for a small 3 inch worm, or worsted weight yarn for a large 5 inch worm. The stitch counts stay the same in every size.
Can I sell worry worms made from this pattern?
Yes, you may sell finished worms made from this free pattern, with credit to Little Loop Finds. Please do not sell or republish the pattern text itself. Worry worms are popular at craft fairs, and a basket of them in rainbow colors sells well.
Are worry worms safe for small children?
Yes, when the face is embroidered. Use embroidered eyes and a smile, not safety eyes, for children under three, because safety eyes can come loose with hard chewing. The embroidered face in this pattern is safe for all ages, and the worm has no small parts to come off.
Why does my worm not curl?
The curl comes from working three single crochets in each chain. If you worked only one or two stitches per chain, the body stays straight. Frog the body, chain 25 again, and work 3 sc in each chain, and the spiral will form on its own as you work.
How do I make the worm longer or shorter?
Change the starting chain. Chain 30 for a long worm, or chain 18 for a short keychain worm, then work 3 sc in each chain back toward the head. The stitch count is always three times the number of chains minus three, so you can scale the body to any length you like.
Happy stitching, and may your little worm bring comfort to every hand that holds it.