Sloth Crochet Pattern (Free Amigurumi Plush)
Crochet a soft amigurumi sloth with long arms and a sleepy smile, then hang it from a branch or give it as a gift.

Patterns · Crochet
- Finished size
- 10 in tall
- Making time
- 5 hours per sloth
- Hook
- US G-6 (4.0 mm)
- Set
- Sloth, branch
- Skill
- Easy
In this post
- Key Takeaways
- Table of Contents
- Why You Will Love This Crochet Sloth
- Finished Size, Skill Level, and Time
- Materials You Need
- Abbreviations (US Terms)
- Gauge and Sizing Notes
- Part 1: The Head and Body
- Part 2: The Arms, Legs, and Branch
- Part 3: The Face and Finishing
- Variations: Colors, Sizes, and Uses
- Troubleshooting a Sloth That Will Not Sit Right
- Care Instructions
- Frequently Asked Questions
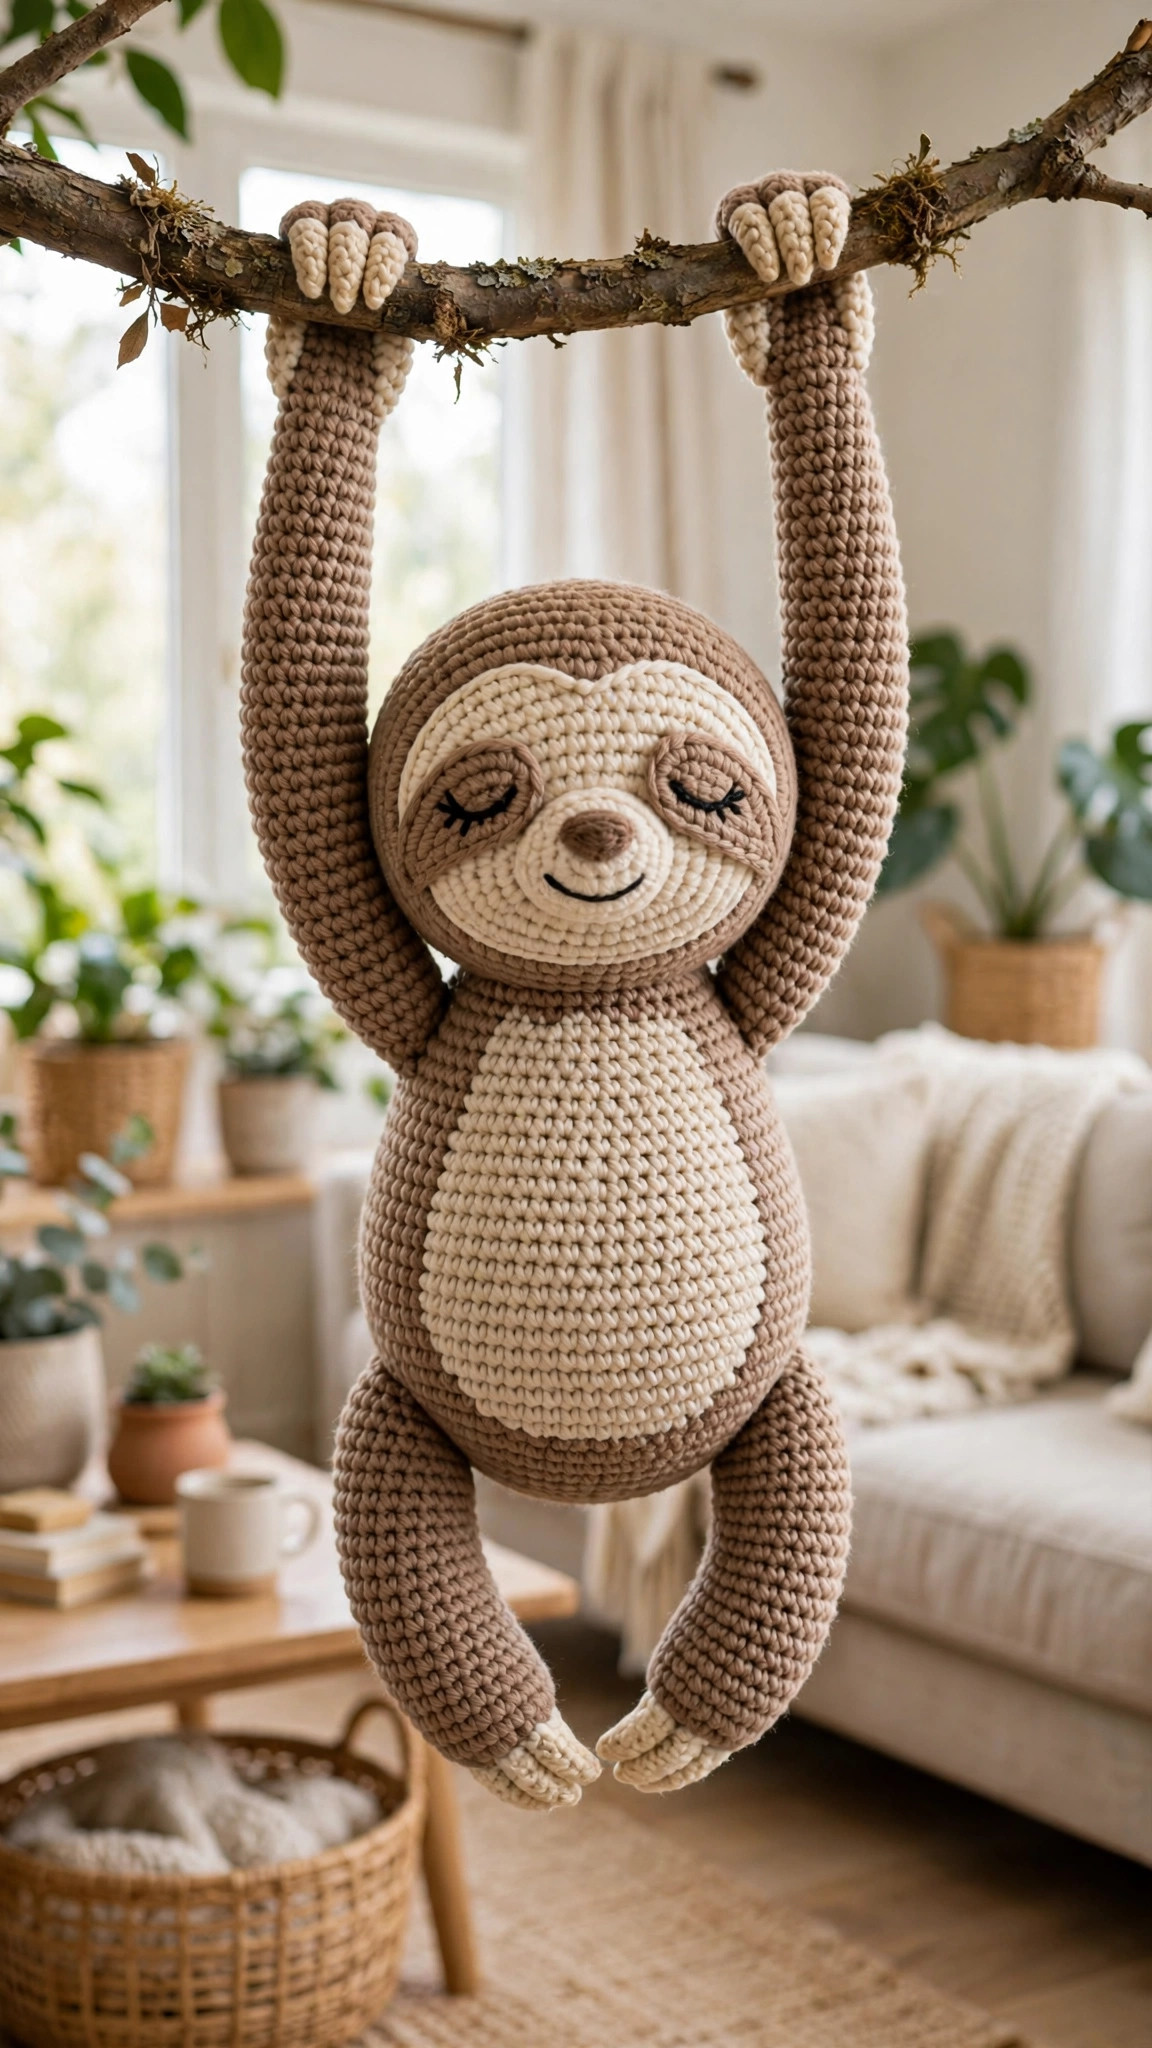
A crochet sloth is the slowest, sweetest project you will ever make. This free sloth crochet pattern makes a soft amigurumi sloth plush with long arms made for hanging from a branch, a sleepy smile, and a calm little face.
This is an original Little Loop Finds design, written in US terms and completely free. The sloth is worked in the round with single crochet and simple increases and decreases. If you can crochet a magic ring, a single crochet, and an increase and a decrease, you can crochet this sloth.
A quick note on scope: this post is about one specific amigurumi sloth, a hanging plush about 10 inches tall with long arms and a sleepy stitched face. It is not a sloth blanket or a sloth hat. If you want another slow and cuddly animal, our crochet panda bear pattern free is a round little friend in the same style.
Key Takeaways
- Free original pattern: this sloth crochet pattern is a Little Loop Finds original design, written in US terms, and completely free.
- A sleepy hanging sloth: long arms made for draping over a branch, a round belly, and a calm, smiling face.
- Beginner friendly amigurumi: single crochet in the round only, with increases and decreases explained stitch by stitch.
- A quick weekend project: one sloth takes about 5 hours, spread over a few relaxed evenings.
- Three ways to use it: hang it from a branch on a nursery wall, sit it on a shelf, or give it as a baby shower gift.
Table of Contents
- Why You Will Love This Crochet Sloth
- Finished Size, Skill Level, and Time
- Materials You Need
- Abbreviations (US Terms)
- Gauge and Sizing Notes
- Part 1: The Head and Body
- Part 2: The Arms, Legs, and Branch
- Part 3: The Face and Finishing
- Variations: Colors, Sizes, and Uses
- Troubleshooting a Sloth That Will Not Sit Right
- Care Instructions
- Frequently Asked Questions
Why You Will Love This Crochet Sloth
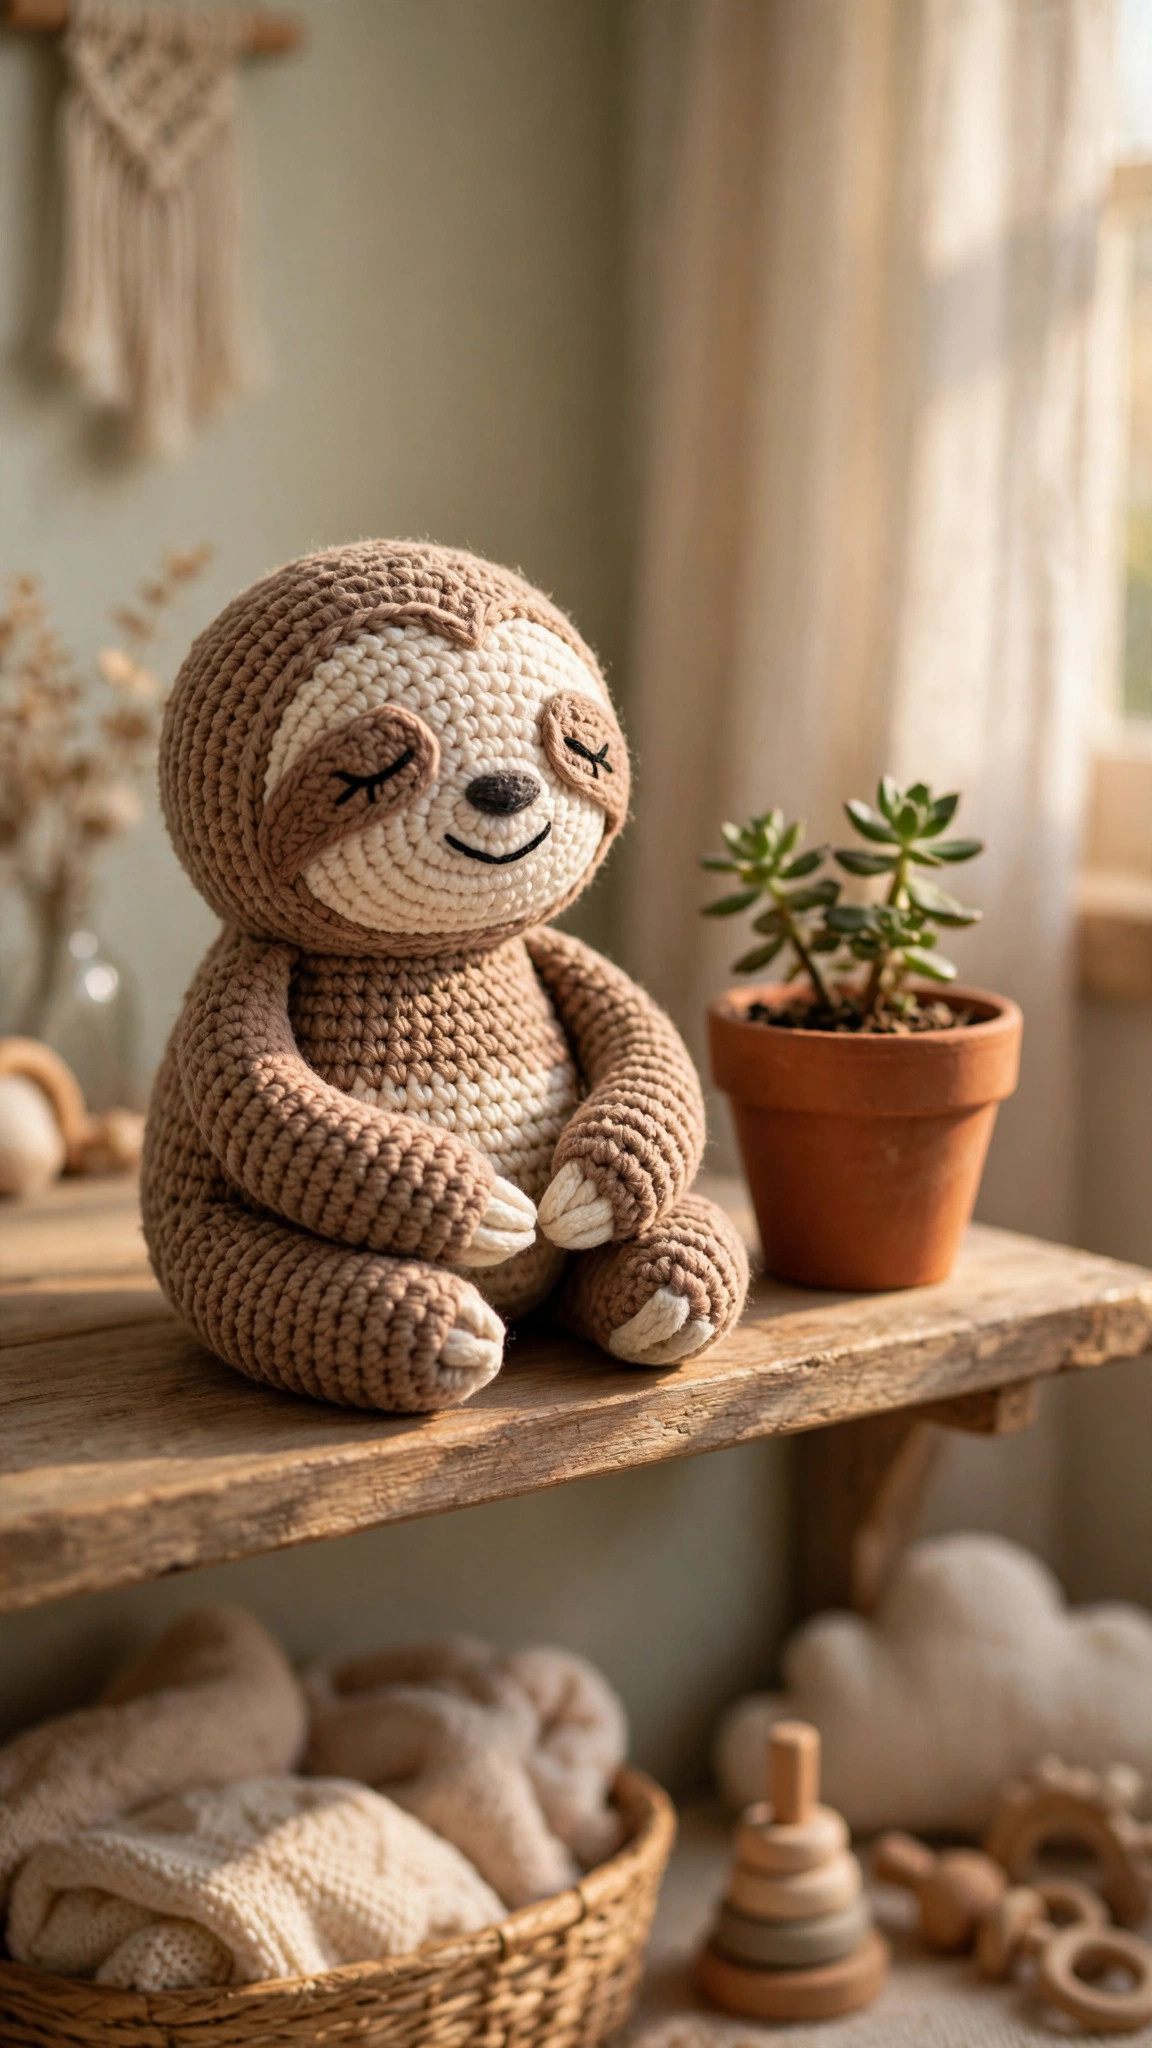
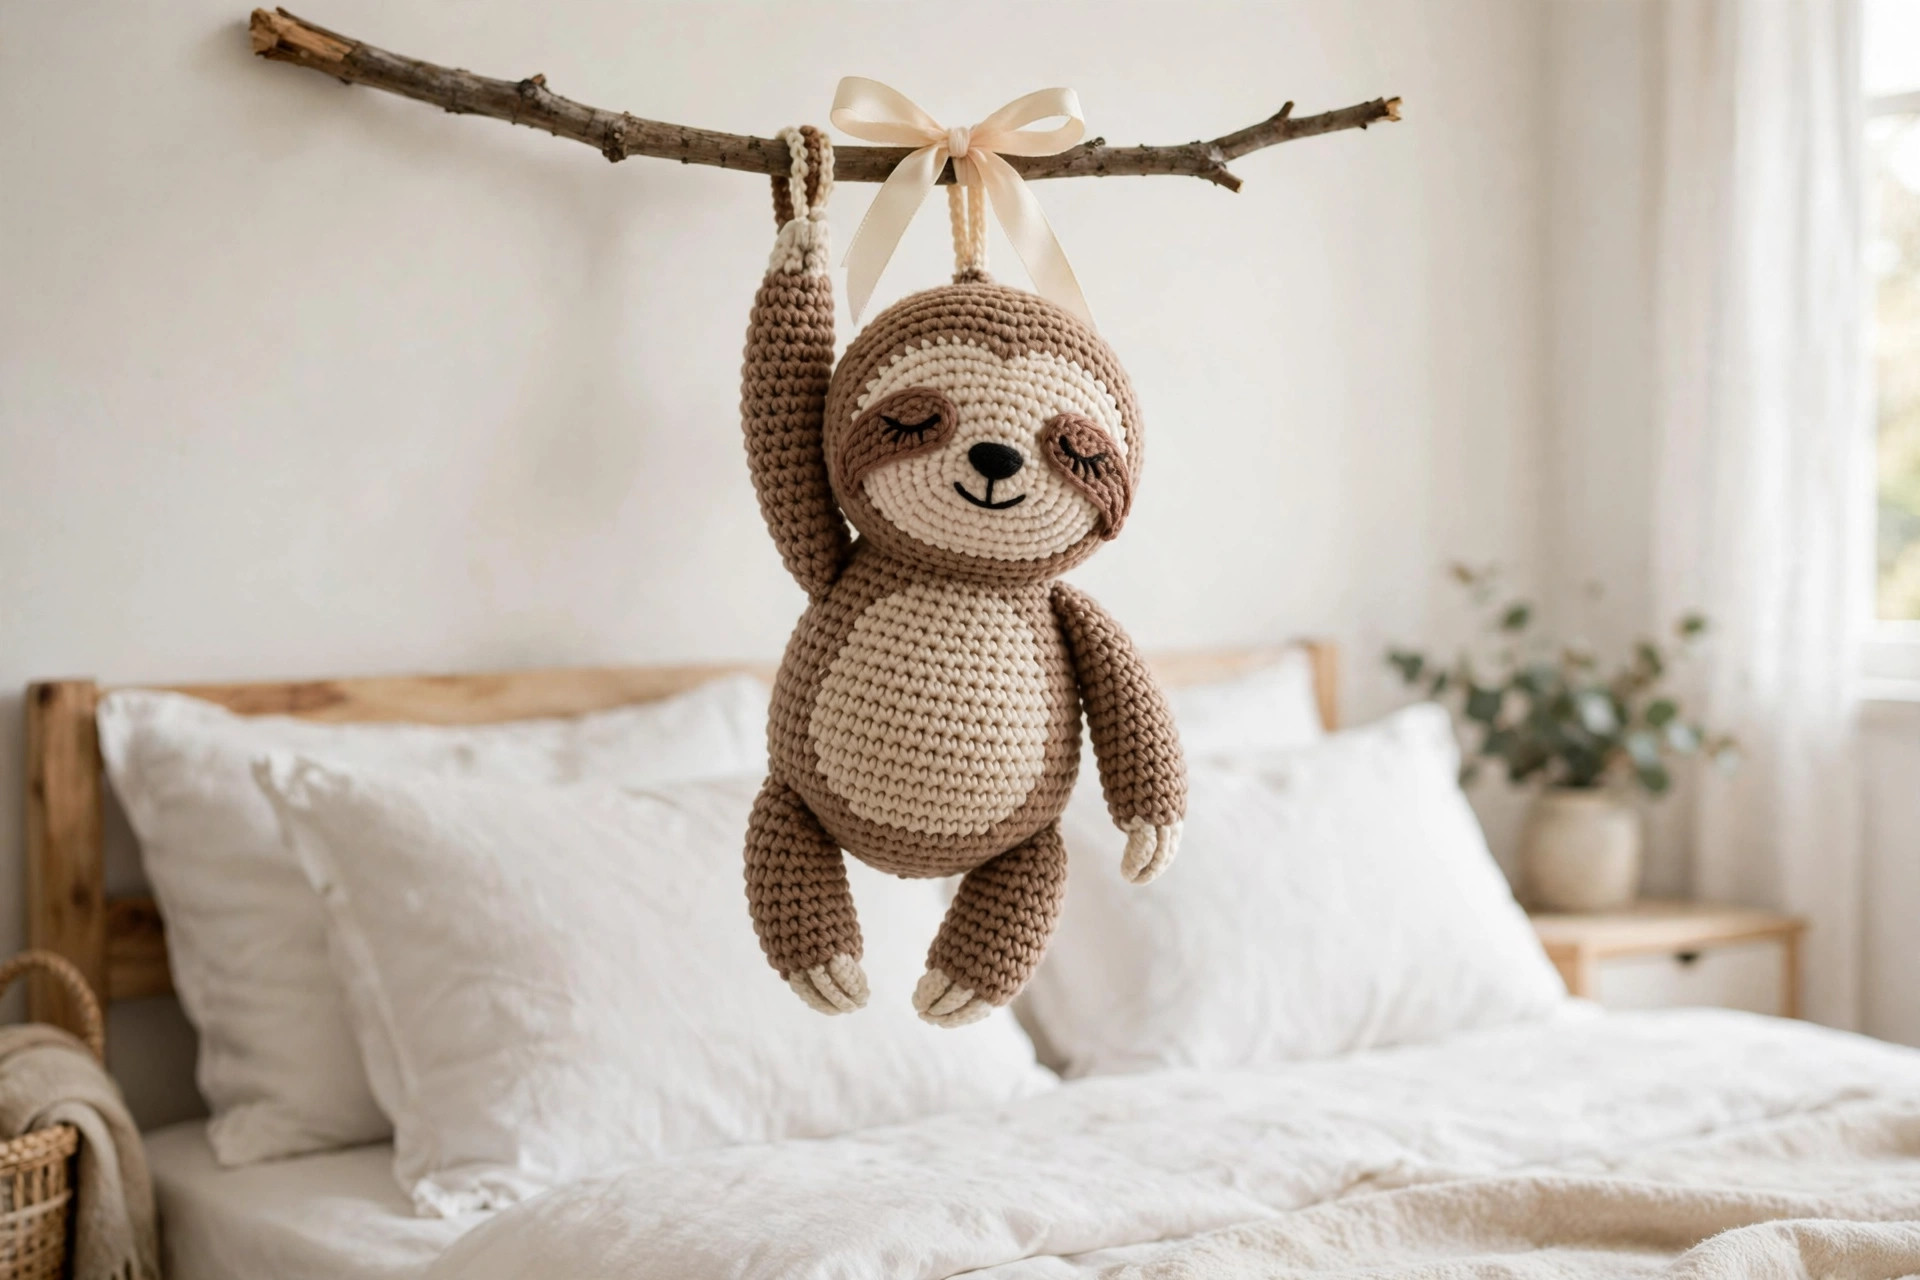
Sloths are funny because they are in no hurry, and this little crochet sloth is the same. It hangs from its branch with its long arms wrapped around the wood and its eyes closed in a content little smile.
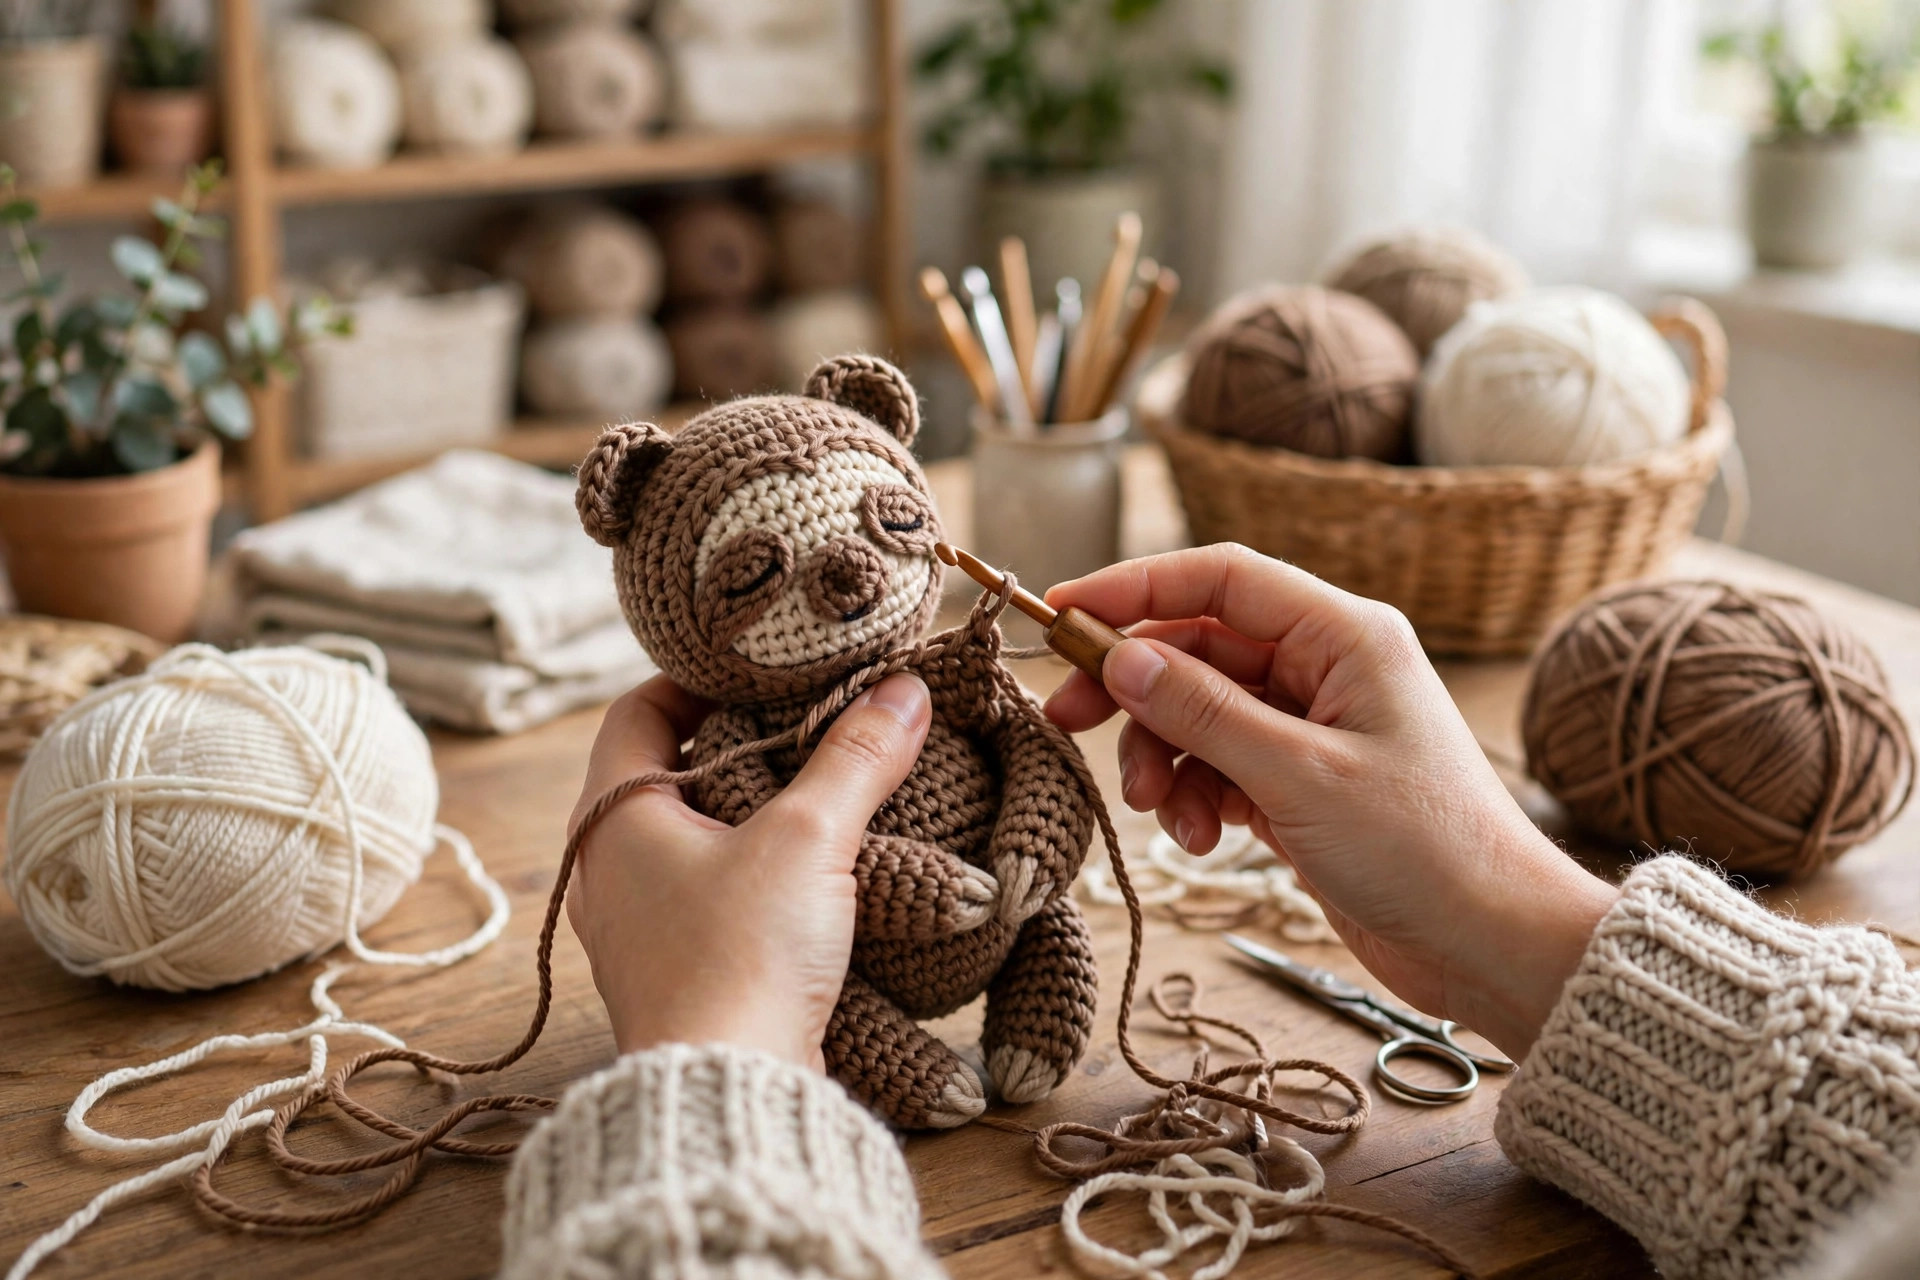
A crochet sloth is also a wonderful first amigurumi project. The shapes are simple rounds and tubes, the face is stitched on with a needle, and the long arms hide any small wobble in your stitch count. If your first sloth is a little lopsided, it still looks charming, because sloths are supposed to look relaxed. Our 30 free amigurumi animal patterns collection has more slow and cuddly friends if this one gets you hooked.
Finished Size, Skill Level, and Time
- Finished size: about 10 inches tall from the top of the head to the bottom of the feet, not counting the branch, and about 6 inches wide across the belly. The arms are about 7 inches long.
- Skill level: Easy. You need a magic ring, single crochet, increases, decreases, and simple sewing with a tapestry needle.
- Time: about 5 hours per sloth: 2 hours for the head and body, 1 hour for the arms and legs, 1 hour for the branch and face, and 1 hour for stuffing and finishing.
Materials You Need
| Item | What to get |
|---|---|
| Yarn, color A | Worsted weight (size 4) yarn in medium brown, 150 yards |
| Yarn, color B | Worsted weight (size 4) yarn in cream, 60 yards |
| Yarn, color C | Worsted weight (size 4) yarn in dark brown, 30 yards |
| Hook | US G-6 (4.0 mm), or the size that gives you the gauge below |
| Notions | Tapestry needle, scissors, stitch markers, polyester stuffing, 12 mm safety eyes or black yarn for stitched eyes, a small wooden branch about 12 inches long |
Worsted weight yarn is the best choice for an amigurumi sloth because it works up quickly, the stitches are tight enough to hold the stuffing inside, and the finished plush is soft but holds its shape. A smooth acrylic or cotton blend works well, because it shows clean stitch definition and washes easily. Choose a medium brown for the body, cream for the face patch and belly, and dark brown for the claws and the branch wrap. Avoid fuzzy yarns, because they hide the shaping and make the face hard to stitch. If this sloth is for a baby or a small child, stitch the eyes with black yarn instead of using safety eyes, and skip small beads or buttons entirely.
Abbreviations (US Terms)
- ch = chain
- sl st = slip stitch
- sc = single crochet
- inc = increase (2 sc in the same stitch)
- dec = decrease (single crochet 2 together)
- st(s) = stitch(es)
- rep = repeat
- rnd = round
- RS = right side
Gauge and Sizing Notes
Gauge for amigurumi matters because the stitches need to be tight enough that the stuffing does not poke through. Work a small swatch of 10 sc stitches and 10 rows in color A. It should be about 2.5 inches wide. If you can see gaps between the stitches when you hold it up to the light, go down a hook size. If it is narrower, go up a hook size.
Work in continuous rounds, and place a stitch marker in the first stitch of every round. Count your stitches at the end of every round.
Part 1: The Head and Body
The head and the body are worked as one piece, starting at the top of the head and working down to the belly, so there is no seam to sew between them.
The Head
With color A, make a magic ring.
- Rnd 1: 6 sc in the ring. (6 sts)
- Rnd 2: inc in each st around. (12 sts)
- Rnd 3: (sc in the next st, inc in the next st) rep around. (18 sts)
- Rnd 4: (sc in the next 2 sts, inc in the next st) rep around. (24 sts)
- Rnd 5: (sc in the next 3 sts, inc in the next st) rep around. (30 sts)
- Rnd 6: (sc in the next 4 sts, inc in the next st) rep around. (36 sts)
- Rnd 7: (sc in the next 5 sts, inc in the next st) rep around. (42 sts)
- Rnds 8-14: sc in each st around. (42 sts)
After round 14, the head is a smooth ball about 4 inches across. If you are using safety eyes, place them now, between rounds 11 and 12, about 7 stitches apart. If you are stitching the eyes, add them in Part 3.
The Neck and Body
The body grows out of the head with a few more increases, then narrows again toward the bottom for a round, soft belly.
- Rnd 15: (sc in the next 6 sts, inc in the next st) rep around. (48 sts)
- Rnds 16-22: sc in each st around. (48 sts)
- Rnd 23: (sc in the next 6 sts, dec) rep around. (42 sts)
- Rnd 24: (sc in the next 5 sts, dec) rep around. (36 sts)
- Rnd 25: (sc in the next 4 sts, dec) rep around. (30 sts)
Start stuffing the head now, before the opening gets too small. Add small handfuls of stuffing and push them gently into the cheeks with the back of your hook. The head should feel firm but still soft when you squeeze it.
- Rnd 26: (sc in the next 3 sts, dec) rep around. (24 sts)
- Rnd 27: (sc in the next 2 sts, dec) rep around. (18 sts)
- Rnd 28: (sc in the next st, dec) rep around. (12 sts)
Stuff the body firmly now, shaping the belly into a round curve as you go. The bottom of the body should be flat enough that the sloth can sit up on its own when you set it down.
- Rnd 29: dec around. (6 sts)
Fasten off, leaving a long tail. Thread it through the front loop of each remaining stitch, pull tight to close the hole, and weave the end inside. The head and body piece is now done, about 7 inches tall and 6 inches wide.
The Belly Patch
The cream belly patch is a flat oval sewn onto the front of the body.
With color B, make a magic ring.
- Rnd 1: 6 sc in the ring. (6 sts)
- Rnd 2: inc in each st around. (12 sts)
- Rnd 3: (sc in the next st, inc in the next st) rep around. (18 sts)
- Rnd 4: (sc in the next 2 sts, inc in the next st) rep around. (24 sts)
- Rnd 5: (sc in the next 3 sts, inc in the next st) rep around. (30 sts)
- Rnd 6: sc in each st around. (30 sts)
Fasten off, leaving a long tail for sewing. Pin the oval to the front of the body, centered below the face, and sew it on with small whip stitches around the edge.
Part 2: The Arms, Legs, and Branch
The long arms are the whole joke of a sloth, so make them properly long. They are simple tubes, worked in the round, with three little claws on the end of each one. The legs are shorter and help the sloth sit upright.
The Arms (Make 2)
With color A, make a magic ring.
- Rnd 1: 6 sc in the ring. (6 sts)
- Rnd 2: (sc in the next st, inc in the next st) rep around. (9 sts)
- Rnds 3-16: sc in each st around. (9 sts)
Stuff the arm very lightly and leave the top 2 inches unstuffed so it bends easily around a branch. Fasten off, leaving a long tail for sewing, then flatten the top and sew it closed.
To add the claws, cut three short lengths of color C, each about 4 inches long. Stitch a short line about half an inch long across the tip of the arm for each claw, spacing them evenly, and trim the ends close. Our crochet fox pattern free uses the same little claw trick on its paws.
The Legs (Make 2)
With color A, make a magic ring.
- Rnd 1: 6 sc in the ring. (6 sts)
- Rnd 2: inc in each st around. (12 sts)
- Rnds 3-7: sc in each st around. (12 sts)
- Rnd 8: (sc in the next 2 sts, dec) rep around. (9 sts)
- Rnds 9-10: sc in each st around. (9 sts)
Stuff the leg lightly, fasten off, and leave a long tail for sewing. Add two small claws to each leg in the same way as the arms, using color C, then sew the legs to the bottom front of the body, about 2 inches apart.
Attaching the Arms
Sew the arms to the sides of the body, just below the head. Work several small stitches through the arm and the body so the joint is strong.
The Branch
Find a clean, dry branch about 12 inches long and 1 inch thick, or cut a wooden dowel to the same size. Sand any rough spots smooth, then wrap the middle 6 inches with color C yarn, winding it snugly and evenly, and tie it off at the back.
To hang the sloth, wrap the arms around the branch so they cross over the top, and tuck the claws into the yarn wrap. If the sloth slides, tie a short length of yarn around the arms and the branch.
Part 3: The Face and Finishing
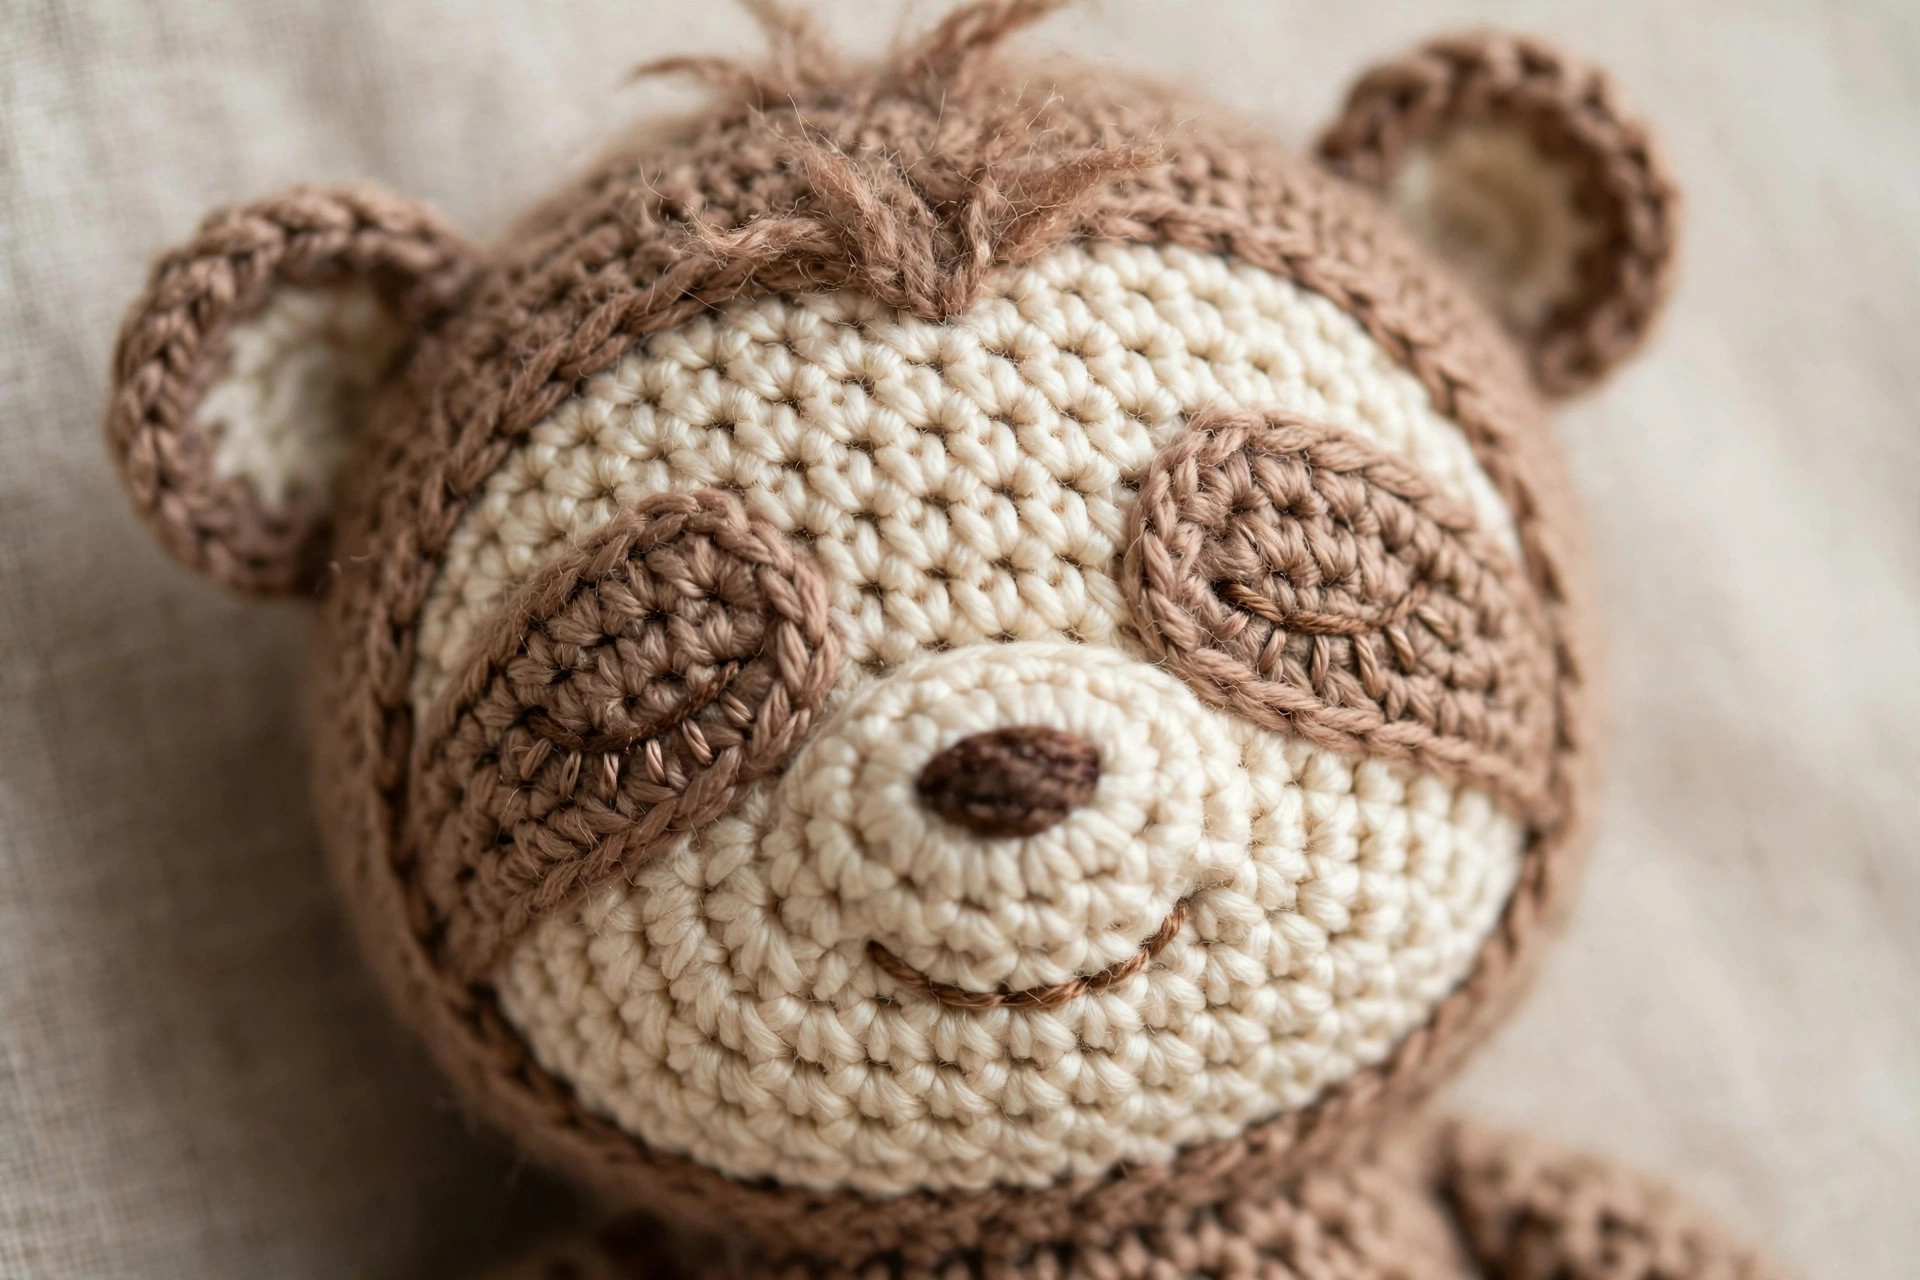
The face is what turns a brown ball into a sloth. A cream face patch, two sleepy eyes, a small nose, and a gentle smile are all it takes.
The Face Patch
With color B, make a magic ring.
- Rnd 1: 6 sc in the ring. (6 sts)
- Rnd 2: inc in each st around. (12 sts)
- Rnd 3: (sc in the next st, inc in the next st) rep around. (18 sts)
- Rnd 4: (sc in the next 2 sts, inc in the next st) rep around. (24 sts)
- Rnd 5: sc in each st around. (24 sts)
Fasten off, leaving a long tail. Pin the patch to the front of the head, centered between the eyes, and sew it on with small whip stitches.
The Eyes, Nose, and Smile
If you are using safety eyes, they should already be in place. If you are stitching the eyes, use black yarn to stitch two sleepy curved lines on the face patch, about 5 stitches apart.
For the nose, use color C and stitch a small oval, about 3 stitches wide and 2 rows tall, in the center of the face patch, just below the eyes. For the smile, stitch a gentle curve under the nose, like a wide letter U, using color C.
Step back and look at the face from arm's length. The eyes should be level and the nose should sit in the middle. If one eye is higher than the other, pull the stitches out and try again.
Final Finishing
Weave in every yarn end with a tapestry needle, working the tail through the back of several stitches in the same color, then trimming it close. Squeeze the sloth gently all over, and add a little more stuffing anywhere that feels empty.
Check that the arms hang evenly, the legs sit flat, and the face patch lies smooth, then your sloth is ready to hang. Our crochet bunny plush makes a sweet shelf mate for your sloth if you want a pair.
Variations: Colors, Sizes, and Uses
- Classic brown sloth: work the sloth in medium brown with a cream face and belly, the colorway in the photos. Our crochet frog pattern free makes a matching green friend.
- Grey sloth: make the body in soft grey with a white face patch for a modern nursery look that matches grey and white decor.
- Baby sloth: make the small 7 inch version in DK yarn with stitched eyes, and hang it above a crib, well out of reach, as a decoration only.
- Sloth keychain: make the small version, skip the branch, and sew a key ring to the top of the head for a bag charm.
- Sloth plant hanger: make the arms two rounds longer and let the sloth hug a small hanging plant pot instead of a branch.
Troubleshooting a Sloth That Will Not Sit Right
- My sloth will not sit up on its own. Add more stuffing to the base, and flatten the bottom by pressing it gently on a table.
- My sloth's head flops forward. Sew a few stitches through the chin and the chest to hold the head upright.
- My arms are too stiff to wrap around the branch. Pull out some stuffing from the top 2 inches so they bend.
- My stuffing shows through the stitches. Your hook is too big for the yarn, or the sloth is overstuffed. Go down a hook size next time.
- My face patch puckers. Take the stitches out, smooth the stuffing under the patch, and sew it on again with a looser hand.
Care Instructions
Hand wash a crochet sloth in cool water with a mild detergent, and press the water out gently without wringing. Reshape the head, the belly, and the arms while it is damp, and let it dry flat on a clean towel. Do not put it in the dryer on high heat, and keep it out of direct sunlight so the brown yarn does not fade. If the sloth is a baby gift, wash it before giving it, and check the stitched eyes and claws for loose ends before every wash.
Frequently Asked Questions
Is this sloth crochet pattern good for beginners?
Yes, it is a great first amigurumi project. You need a magic ring, single crochet, increases, and decreases, and every round ends with a stitch count. One sloth takes about 5 hours.
What yarn is best for a crochet sloth?
Worsted weight yarn is the best choice, because it works up quickly and the stitches hold the stuffing inside. Medium brown with cream patches gives the classic sloth look in the photos.
How big is the finished sloth?
About 10 inches tall from the top of the head to the bottom of the feet, not counting the branch, and about 6 inches wide across the belly, in worsted weight yarn with a 4.0 mm hook. The arms are about 7 inches long.
Are safety eyes safe for a baby gift?
Safety eyes are not recommended for children under three, because they can work loose over time. For a baby gift, stitch the eyes with black yarn instead, and sew every part on firmly.
How do I hang the sloth from the branch?
Wrap the arms around the branch so they cross over the top, and tuck the claws into the yarn wrapped section. If the sloth slides, tie a short length of yarn around the arms and the branch.
Can I make the sloth in different colors?
Yes, any soft animal colors work well. Grey with a white face patch makes a modern sloth. Keep the face patch lighter than the body so the eyes and smile stand out.
Can I sell sloths made from this pattern?
Yes, you may sell finished sloths made from this free pattern, with credit to Little Loop Finds. Please do not sell or republish the pattern text itself. A sloth on a wrapped branch makes a sweet gift bundle with a matching animal friend, like our crochet lion pattern.
Happy stitching, and may your little sloth bring a slow, sleepy smile to its new home.