Crochet Lion Pattern (Free Amigurumi Plush)
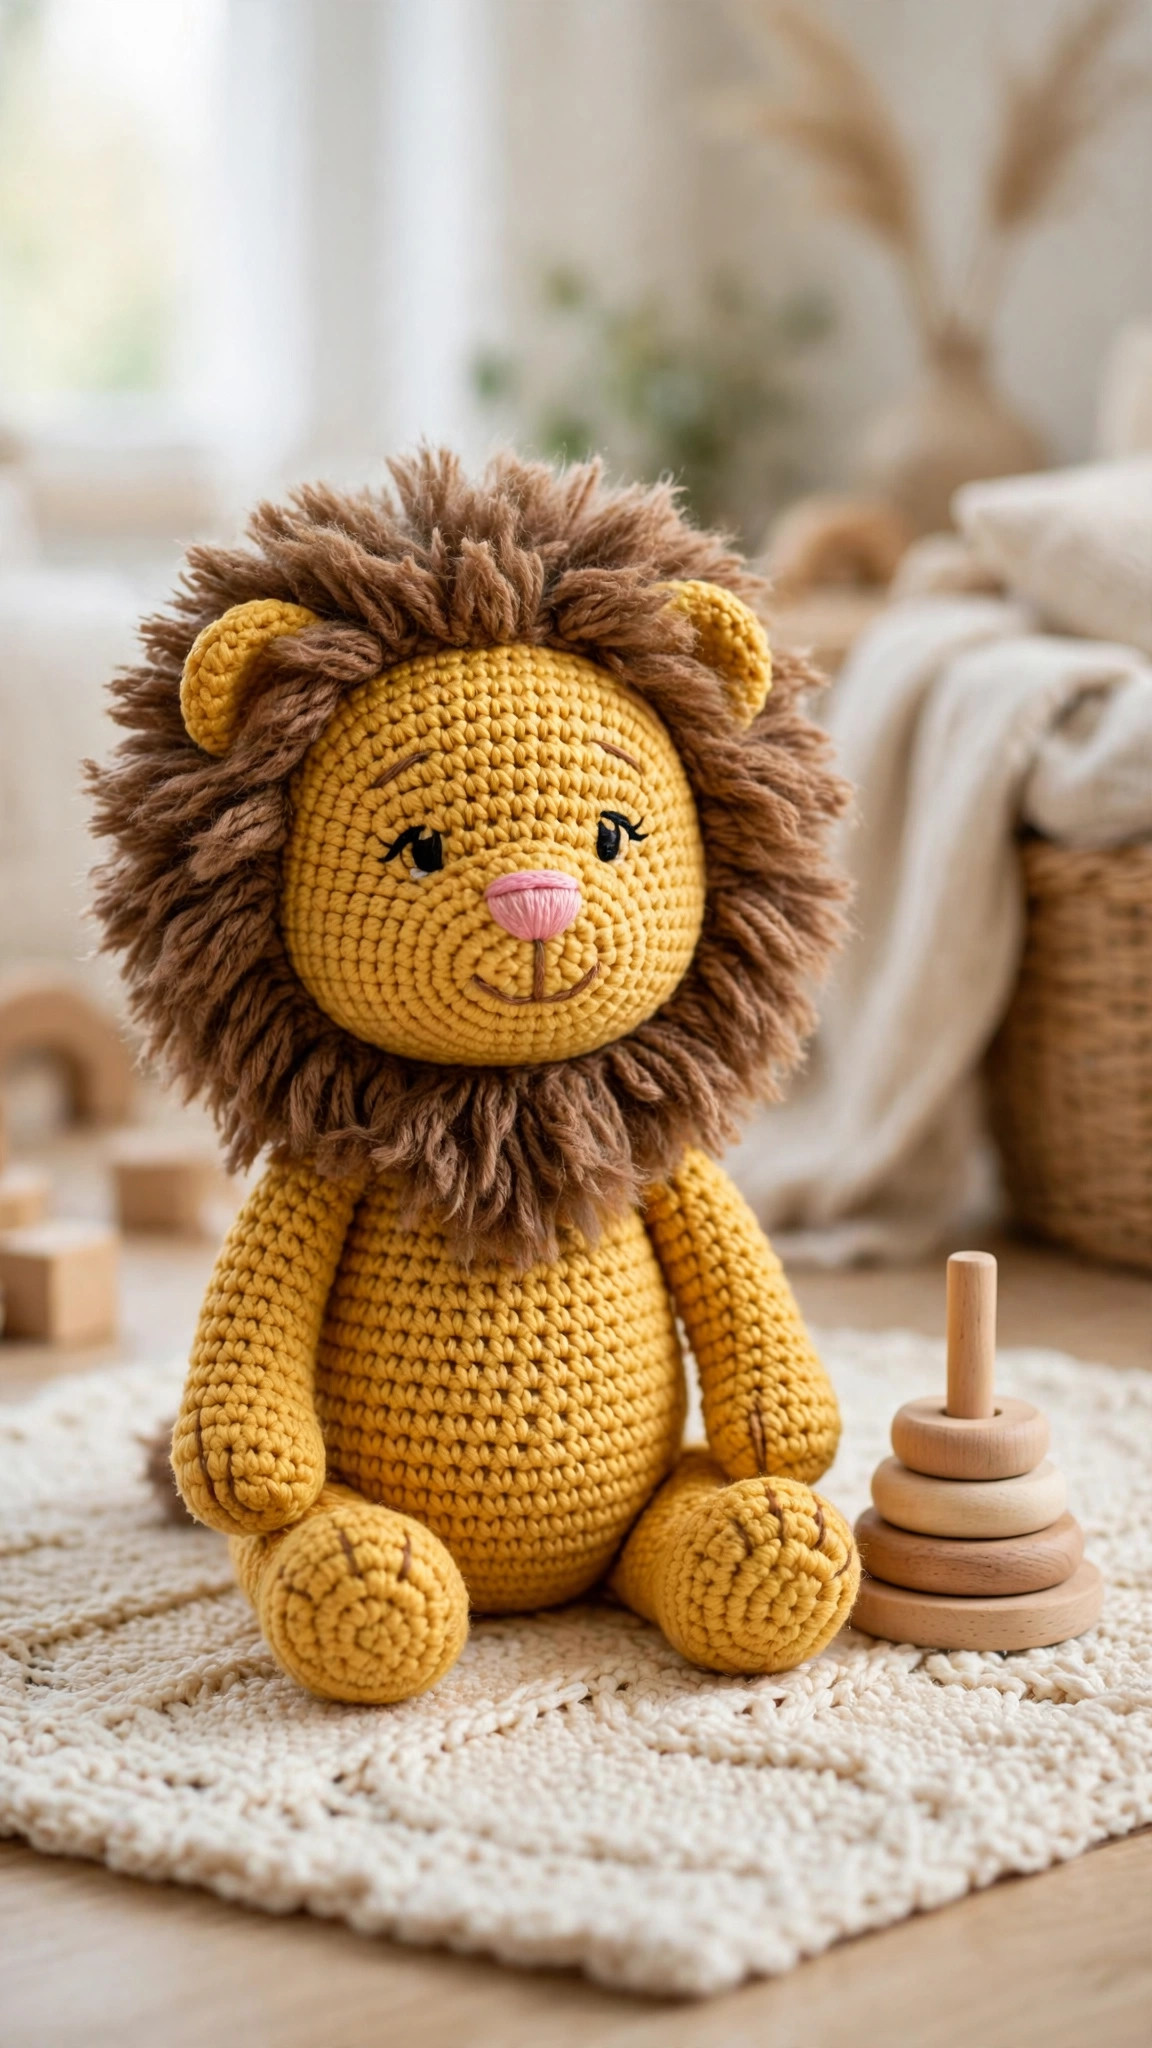
Crochet a friendly amigurumi lion with a full yarn mane and a sitting pose, then display it in the nursery or give it as a gift.

Patterns · Crochet
- Finished size
- 10 in tall sitting
- Making time
- 8 hours per lion
- Hook
- US G-6 (4.0 mm)
- Set
- Lion, mane, tail
- Skill
- Easy
In this post
- Key Takeaways
- Table of Contents
- Why You Will Love This Crochet Lion
- Finished Size, Skill Level, and Time
- Materials You Need
- Abbreviations (US Terms)
- Gauge and Sizing Notes
- Part 1: The Head and Muzzle
- Part 2: The Body
- Part 3: The Mane
- Part 4: Ears, Arms, Legs, and Tail
- Part 5: Assembly and the Face
- Variations: Colors, Sizes, and Uses
- Troubleshooting a Lion That Wobbles or Leans
- Care Instructions
- Frequently Asked Questions
A crochet lion is one of the most loved amigurumi animals you can make. A round golden body, a full fluffy mane, and a friendly face add up to a plush that looks right at home on a nursery shelf. This free pattern walks you through every piece, so you can build a lion that sits up on its own.
This is an original Little Loop Finds design, written in US terms and completely free. The lion is worked in continuous rounds of single crochet, with the mane made from loop stitches and a fringe of cut yarn. If you can crochet a magic ring, a single crochet, an increase, and a decrease, you can crochet this lion.
A quick note on scope: this post is about one specific amigurumi lion, a sitting plush with a full yarn mane and an embroidered face. It is not a lion blanket, a lion hat, or a flat applique. If you want another friendly animal, our crochet bee pattern makes a quick companion.
Key Takeaways
- Free original pattern: this crochet lion pattern is a Little Loop Finds original design, written in US terms.
- A friendly sitting lion: golden body, full brown yarn mane, embroidered face, and a pose that sits up.
- Beginner friendly amigurumi: single crochet rounds only, with increases and decreases explained.
- A weekend project: one lion takes about 8 hours, spread over a few evenings.
- Nursery ready gift: soft, cuddly, with an embroidered face, so it suits babies and small children.
Table of Contents
- Why You Will Love This Crochet Lion
- Finished Size, Skill Level, and Time
- Materials You Need
- Abbreviations (US Terms)
- Gauge and Sizing Notes
- Part 1: The Head and Muzzle
- Part 2: The Body
- Part 3: The Mane
- Part 4: Ears, Arms, Legs, and Tail
- Part 5: Assembly and the Face
- Variations: Colors, Sizes, and Uses
- Troubleshooting a Lion That Wobbles or Leans
- Care Instructions
- Frequently Asked Questions
Why You Will Love This Crochet Lion
There is something about a lion that makes people smile. Maybe it is the round face, or the big fluffy mane, or the way a small plush lion looks brave and gentle at the same time.
This lion is also a wonderful way to learn amigurumi shaping. The head and body use the same increase and decrease rhythm, and the mane teaches you loop stitches and fringe.
The sitting pose is part of the charm. The lion sits upright on its own, so it looks good on a shelf, in a gift basket, or propped on a bed.
Finished Size, Skill Level, and Time
- Finished size: about 10 inches tall sitting, and about 7 inches wide across the mane, in worsted weight yarn.
- Skill level: Easy. You need a magic ring, single crochet, increases, invisible decreases, and loop stitch.
- Time: about 8 hours per lion: 2 hours each for the head, body, mane, and limbs plus assembly.
Materials You Need
| Item | What to get |
|---|---|
| Yarn, gold | Worsted weight (size 4) yarn in golden yellow, 250 yards |
| Yarn, brown | Worsted weight (size 4) yarn in medium brown, 150 yards |
| Yarn, cream | Worsted weight (size 4) yarn in cream, 50 yards |
| Yarn, dark brown | Worsted weight (size 4) yarn in dark brown, 20 yards |
| Hook | US G-6 (4.0 mm), or the size that gives you the gauge below |
| Notions | Tapestry needle, scissors, stitch markers, polyester fiberfill, black and brown embroidery thread |
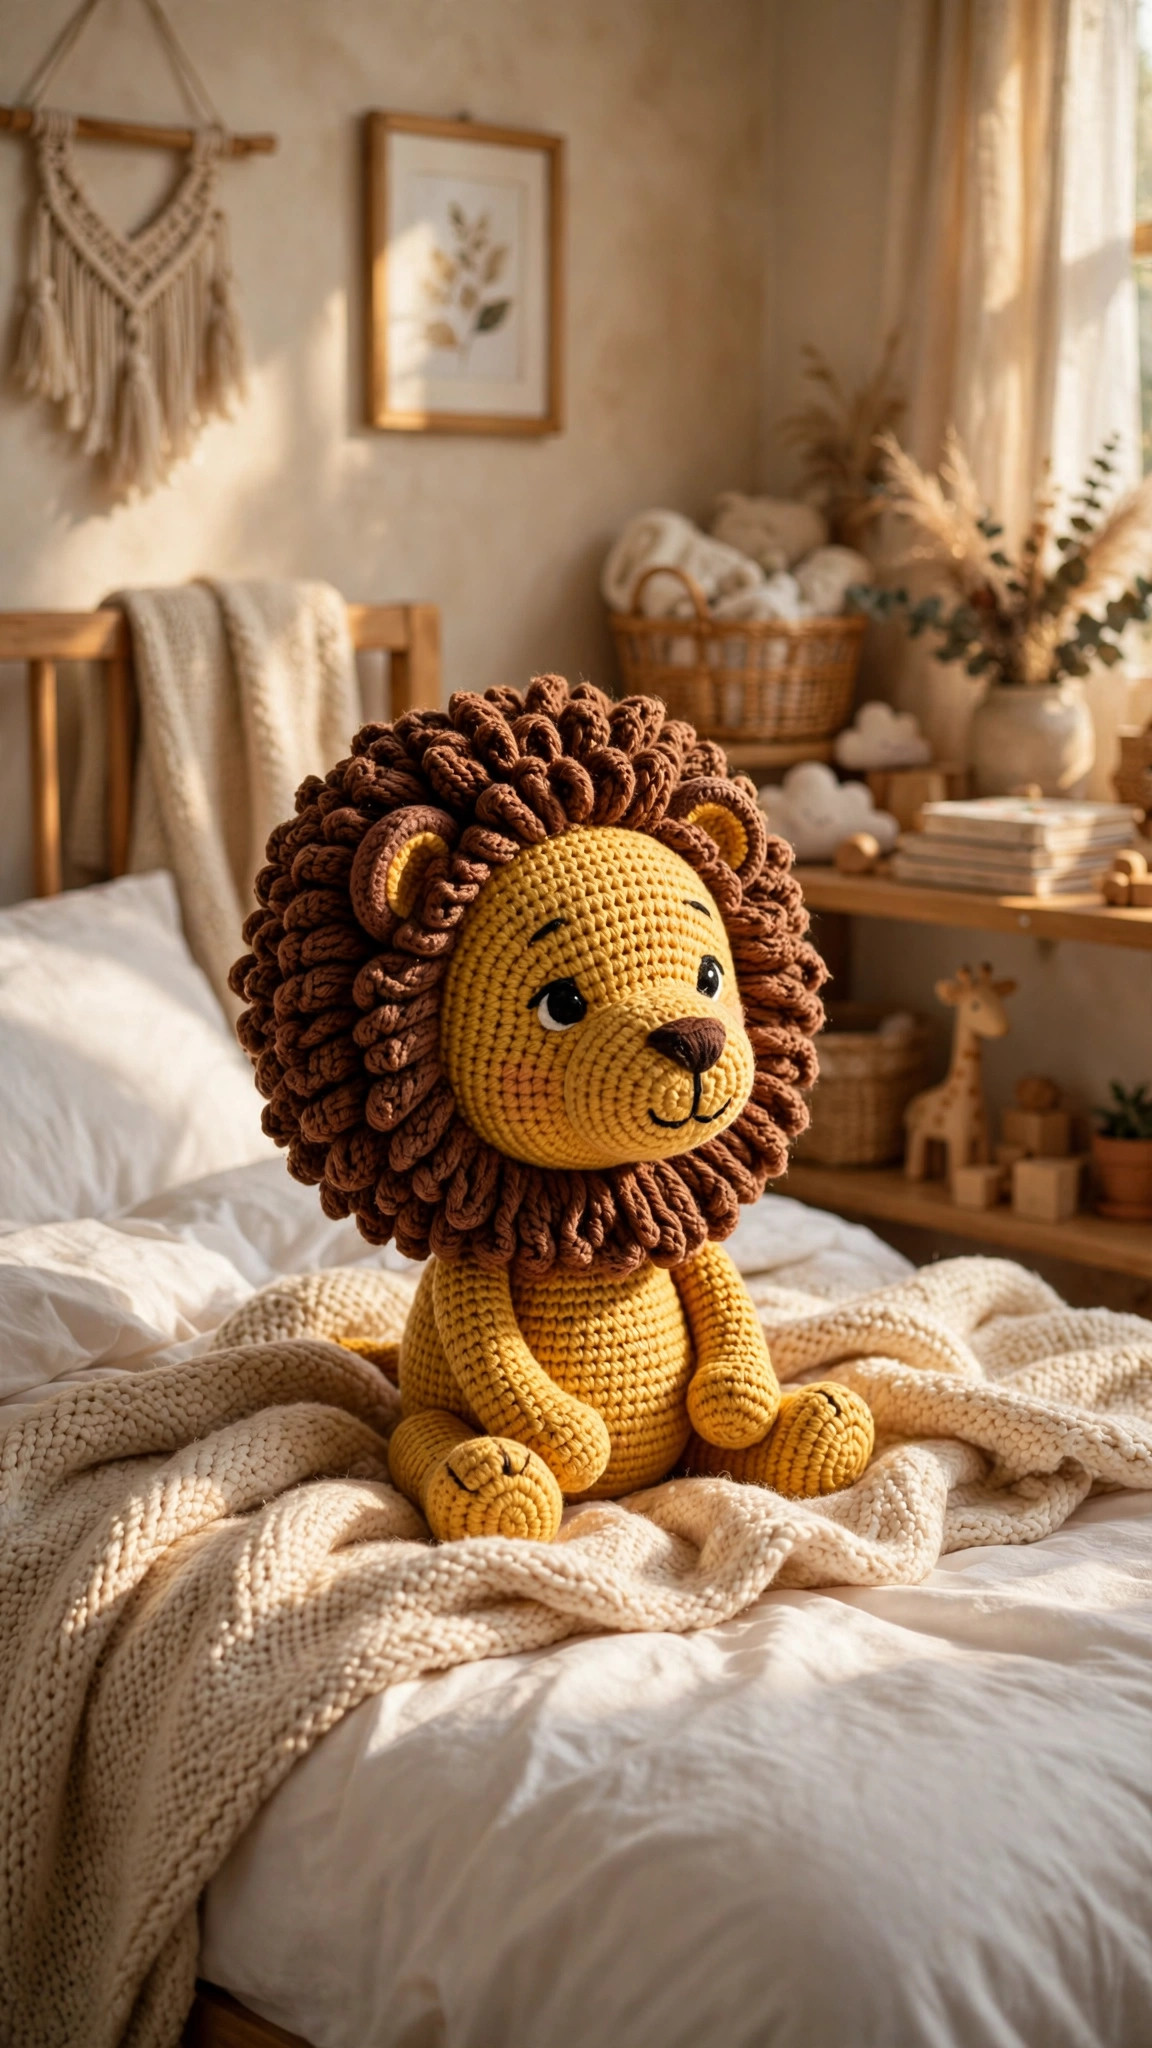
Worsted weight yarn is the best choice for an amigurumi lion because it works up quickly and the stitches hold the stuffing in. Choose golden yellow for the body, medium brown for the mane, and cream for the muzzle, as in the photos.
For a baby or toddler gift, embroider the eyes instead of using safety eyes, because embroidered eyes cannot come loose. Stuff the lion firmly but not so hard that the stitches stretch open and show the fiberfill.
Abbreviations (US Terms)
- ch = chain
- sl st = slip stitch
- sc = single crochet
- inc = increase, 2 sc in the same stitch
- dec = invisible decrease, sc 2 stitches together through the front loops
- st(s) = stitch(es)
- rep = repeat
- MR = magic ring
- lp st = loop stitch
Gauge and Sizing Notes
Gauge matters, because the stitches need to be tight enough to hold the stuffing inside. Work a small swatch of 12 sc stitches and 12 rounds in gold. It should be about 2.5 inches wide. If it is wider, go down a hook size. If it is narrower, go up a hook size.
The most common amigurumi mistake is working too loosely, which lets the white fiberfill show through the stitches. If you can see stuffing, go down a hook size. The finished lion should feel firm, with no gaps between stitches.
To make a smaller lion, use DK weight yarn with a 3.5 mm hook for a lion about 8 inches tall. To make a larger lion, use bulky weight yarn with a 5.5 mm hook for a lion about 13 inches tall.
Part 1: The Head and Muzzle
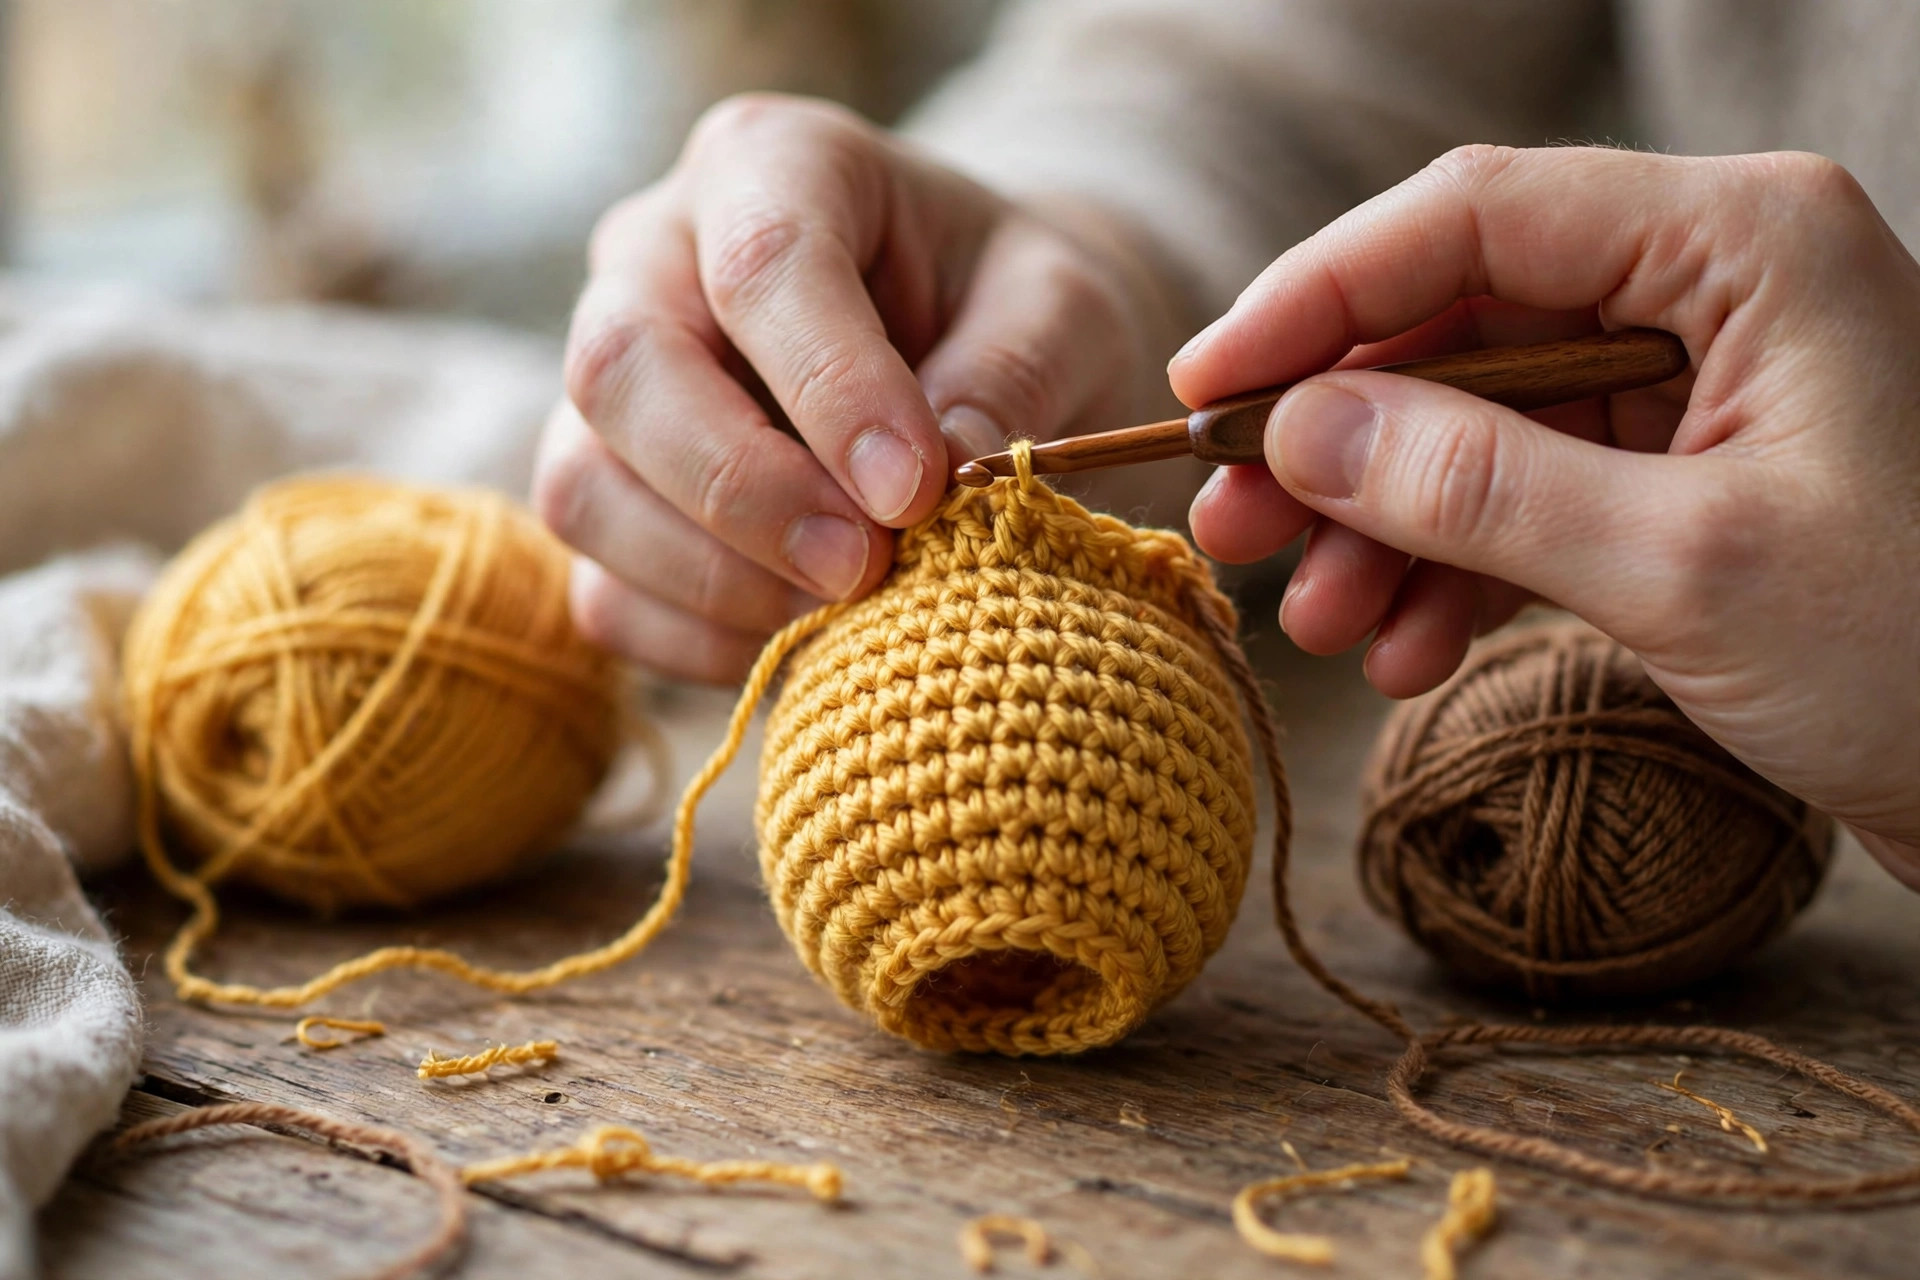
The head is the biggest piece of the lion, and it sets the character of the whole plush. It is worked in the round from the top down, in gold. Work in continuous rounds, and place a stitch marker in the first stitch of each round.
The Head
Work the head in gold. Stuff it firmly as you go.
- Round 1: MR, work 6 sc into the ring. (6)
- Round 2: inc in each st around. (12)
- Round 3: (sc, inc) rep around. (18)
- Round 4: (2 sc, inc) rep around. (24)
- Round 5: (3 sc, inc) rep around. (30)
- Round 6: (4 sc, inc) rep around. (36)
- Round 7: (5 sc, inc) rep around. (42)
- Round 8: (6 sc, inc) rep around. (48)
- Rounds 9-15: sc in each st around. (48)
- Round 16: (6 sc, dec) rep around. (42)
- Round 17: (5 sc, dec) rep around. (36)
- Round 18: (4 sc, dec) rep around. (30)
- Round 19: (3 sc, dec) rep around. (24)
- Round 20: (2 sc, dec) rep around. (18)
- Round 21: (sc, dec) rep around. (12)
- Round 22: dec around. (6)
Fasten off, leaving a long tail. Weave the tail through the front loops of the last 6 stitches, pull it tight to close the hole, and weave in the end. The head should be a smooth ball about 4 inches across, with no lumps.
The Muzzle
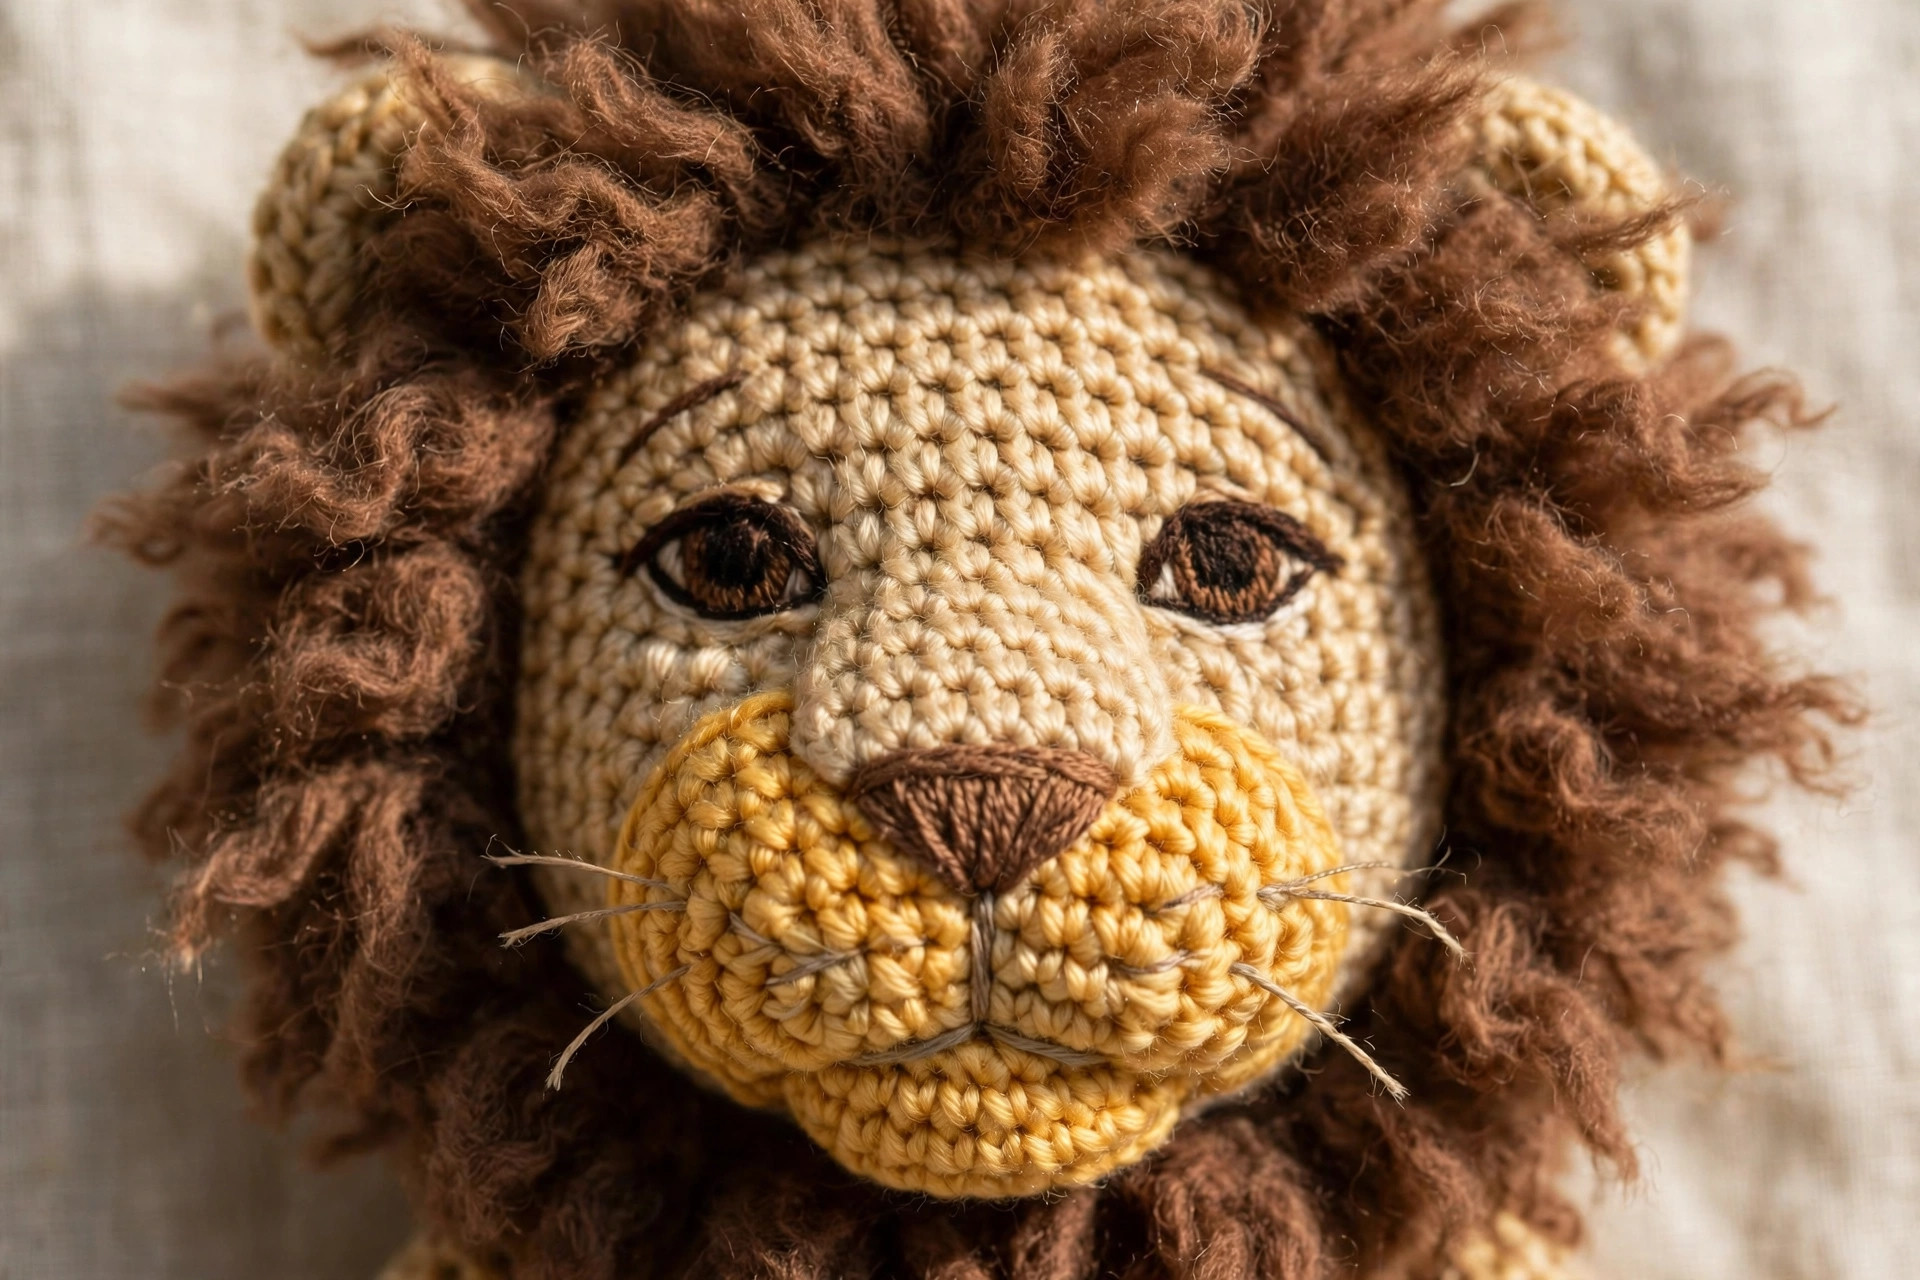
The muzzle is a small cream oval on the lower half of the face. Work it in cream, and sew it on before the face is embroidered.
- Round 1: MR, work 6 sc into the ring. (6)
- Round 2: inc in each st around. (12)
- Round 3: (sc, inc) rep around. (18)
- Round 4: (2 sc, inc) rep around. (24)
- Rounds 5-6: sc in each st around. (24)
Fasten off, leaving a long tail for sewing. Stuff the muzzle very lightly, then pin it to the lower front of the head, centered between the eyes. Sew it on with small stitches around the edge. Our crochet bunny plush uses the same muzzle shape in a smaller size.
Part 2: The Body
The body is worked in the same way as the head, in gold, but it is slightly smaller. It sits upright on its own, with the legs sewn to the front.
The Body Rounds
- Round 1: MR, work 6 sc into the ring. (6)
- Round 2: inc in each st around. (12)
- Round 3: (sc, inc) rep around. (18)
- Round 4: (2 sc, inc) rep around. (24)
- Round 5: (3 sc, inc) rep around. (30)
- Round 6: (4 sc, inc) rep around. (36)
- Round 7: (5 sc, inc) rep around. (42)
- Rounds 8-13: sc in each st around. (42)
- Round 14: (5 sc, dec) rep around. (36)
- Round 15: (4 sc, dec) rep around. (30)
- Round 16: (3 sc, dec) rep around. (24)
- Round 17: (2 sc, dec) rep around. (18)
- Round 18: (sc, dec) rep around. (12)
- Round 19: dec around. (6)
Fasten off and close the hole the same way as the head. The body should be about 4 inches tall and 3.5 inches wide, with a slightly flat bottom so it sits steadily.
Part 3: The Mane
The mane is what makes the lion a lion. It is made in two ways at once: a ring of loop stitches worked around the face, and a fringe of cut yarn brushed out for fullness.
The Loop Stitch Ring
The loop stitch ring is a circle of brown yarn that sits on the head like a frame around the face. It is worked separately and sewn on.
- Round 1: with brown, MR, work 6 sc into the ring. (6)
- Round 2: inc in each st around. (12)
- Round 3: (sc, inc) rep around. (18)
- Round 4: (2 sc, inc) rep around. (24)
- Round 5: (3 sc, inc) rep around. (30)
- Round 6: (4 sc, inc) rep around. (36)
- Round 7: (5 sc, inc) rep around. (42)
- Round 8: (6 sc, inc) rep around. (48)
- Round 9: work lp st in each st around. (48)
- Round 10: (6 sc, dec) rep around, working lp st in each st. (42)
- Round 11: (5 sc, dec) rep around, working lp st in each st. (36)
Fasten off, leaving a long tail for sewing. To work a loop stitch, insert the hook into the stitch, wrap the yarn around your index finger to make a loop about 1 inch long, yarn over and pull through, then finish the single crochet as usual.
The Fringe
Cut about 60 strands of brown yarn, each about 4 inches long. Fold each strand in half, pull the loop through a stitch on the outer rounds of the mane ring with your hook, then pull the two ends through the loop and tug it tight. Work the fringe around the outside edge of the mane, spacing the strands about one stitch apart.
Trim the fringe until it is even, about 1.5 inches long all the way around. Brush it gently with a soft brush to fluff it out. The mane should be about 7 inches across when it is done, and it should frame the face without covering the eyes. Our 30 free amigurumi animal patterns collection has more animals that use the same fringe technique.
Part 4: Ears, Arms, Legs, and Tail
The small pieces are quick to make. Make two of each piece, and keep the stitch counts the same so the pairs match.
The Ears
Work the ears in gold.
- Round 1: MR, work 6 sc into the ring. (6)
- Round 2: inc in each st around. (12)
- Round 3: (sc, inc) rep around. (18)
- Rounds 4-5: sc in each st around. (18)
Fasten off, leaving a long tail. Do not stuff the ears. Fold each ear in half, sew the open edge closed, then sew the ears to the head at the top sides of the mane, peeking out just above the fringe.
The Arms
Work the arms in gold.
- Round 1: MR, work 6 sc into the ring. (6)
- Round 2: inc in each st around. (12)
- Rounds 3-10: sc in each st around. (12)
Fasten off, leaving a long tail. Stuff the arms lightly and sew them to the sides of the body, at about the middle of the body height.
The Legs
Work the legs in gold.
- Round 1: MR, work 6 sc into the ring. (6)
- Round 2: inc in each st around. (12)
- Round 3: (sc, inc) rep around. (18)
- Rounds 4-9: sc in each st around. (18)
Fasten off, leaving a long tail. Stuff the legs firmly, and sew them to the front bottom of the body, pointing forward, with about 1 inch between them.
The Tail
Work the tail in gold.
- Round 1: MR, work 6 sc into the ring. (6)
- Rounds 2-12: sc in each st around. (6)
Fasten off, leaving a long tail. Do not stuff the tail. For the tuft, cut 8 strands of brown yarn, each about 3 inches long, and attach them to the last round with the same loop and pull method as the mane fringe. Trim the tuft to about 1 inch, and sew the tail to the back of the body. Our crochet frog pattern free uses the same tail shape for its legs.
Part 5: Assembly and the Face
Assembly is the step where the separate pieces become a lion. Pin everything in place before you sew.
Joining the Head and Body
Pin the head to the top of the body, centered and tilted slightly forward. Sew the head to the body with small whip stitches all the way around the join. Pull the stitches snug, but not so tight that they pucker the fabric.
Pin the mane ring to the head, centered on the face, with the face showing through the middle. Sew the inner edge to the head with small stitches, hiding them under the fringe.
Embroidering the Face
The face is embroidered with black and brown thread. Work it after the muzzle and mane are sewn on.
Start with the eyes. Embroider each eye with black thread, about 1 inch above the muzzle and 1.5 inches apart, using a small satin stitch oval. Add a tiny white highlight with one stitch of cream thread at the top of each eye.
Next, embroider the nose on the muzzle with dark brown thread. Work a small triangle at the top center of the muzzle, using satin stitch. From the bottom point of the nose, work a straight line down, then two small curved lines out to each side for the mouth.
Step back and look at the face. The eyes should be level and the nose centered. Our crochet fox pattern free uses the same embroidered face method.
Variations: Colors, Sizes, and Uses
- Classic golden lion: work the lion in golden yellow with a medium brown mane, as in the photos.
- Cream lion: work the whole lion in cream with a light brown mane for a soft nursery lion.
- Baby lion: make the small 8 inch version in DK yarn for a first toy that fits in a gift basket.
- Big cuddle lion: make the large 13 inch version in bulky yarn for a huggable bed or chair lion.
- Lion and friends: pair the lion with the crochet whale pattern for a two toy gift set.
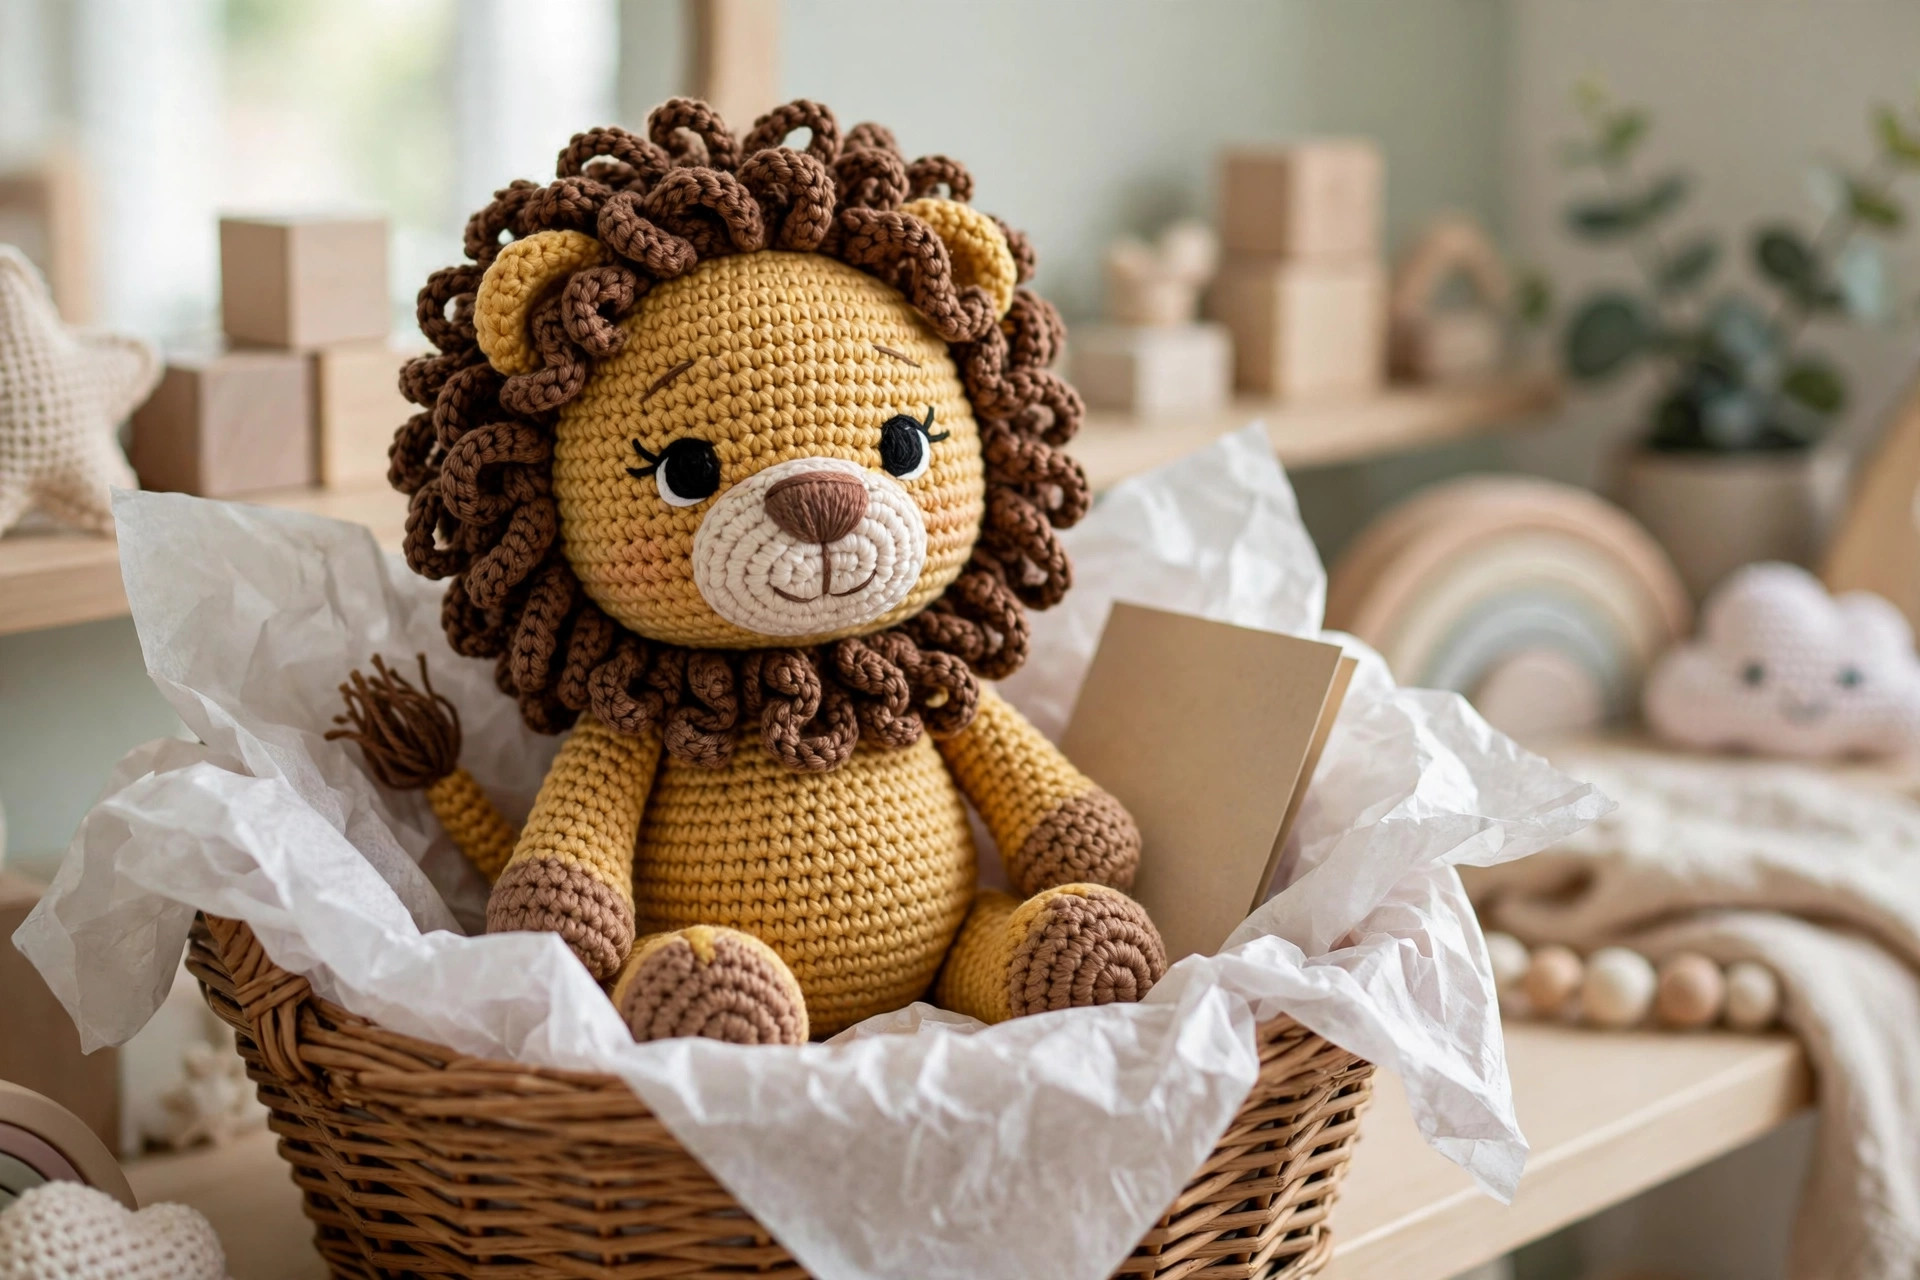
To display the lion, sit it on a nursery shelf with its mane fluffed and its face forward. To give the lion as a gift, place it in a wicker basket with tissue paper and a small card, as in the last photo.
Troubleshooting a Lion That Wobbles or Leans
- My lion will not sit up. Move the legs forward, sew them on tightly, and stuff them firmly.
- My head wobbles on the body. Sew around the join a second time, pulling each stitch snug.
- My mane covers the eyes. Move the ring up and back on the head, and trim the fringe above the eyes.
- My lion looks lumpy. Pull out the lumps with your fingers, add fiberfill to the flat spots, and roll the piece gently.
- My stitches show the stuffing. Your tension is too loose or your hook is too big. Go down a hook size on the next piece.
- My face looks crooked. Mark the eye spots with pins before you embroider, and redo any stitch that sits off the mark.
Care Instructions
Machine wash a crochet lion on a gentle cycle in cool water, inside a pillowcase or laundry bag, with a mild detergent, and lay it flat to dry. If the yarn label says hand wash only, wash it gently by hand and lay it flat to dry. Do not put a crochet lion in the dryer on high heat.
Reshape the mane while the lion is damp. Let the lion dry fully before you give it to a child, and check the seams after washing.
Frequently Asked Questions
Is this crochet lion pattern good for beginners?
Yes, it is a good first amigurumi project. You need a magic ring, single crochet, increases, and invisible decreases.
What yarn is best for a crochet lion?
Worsted weight yarn is the best choice, because it works up quickly and the stitches hold the stuffing in.
How big is the finished lion?
About 10 inches tall sitting, and about 7 inches wide across the mane, in worsted weight yarn with a 4.0 mm hook.
How do I make the mane fluffy?
Work the loop stitch ring first, then add a fringe of cut brown yarn around the outside edge. Trim the fringe to about 1.5 inches and brush it gently.
Can I use safety eyes instead of embroidered eyes?
Yes, if the lion is for an older child or for display. Use 12 mm safety eyes, attached before you stuff the head. For a baby or toddler gift, embroider the eyes instead.
How do I keep the lion sitting up?
Stuff the legs firmly, sew them to the front bottom of the body pointing forward, and check that the lion sits level before you finish.
Can I sell lions made from this pattern?
Yes, you may sell finished lions made from this free pattern, with credit to Little Loop Finds. Please do not sell or republish the pattern text itself.
Happy stitching, and may your little lion bring a brave, gentle friend.