Skeleton Crochet Pattern (Standing Amigurumi)
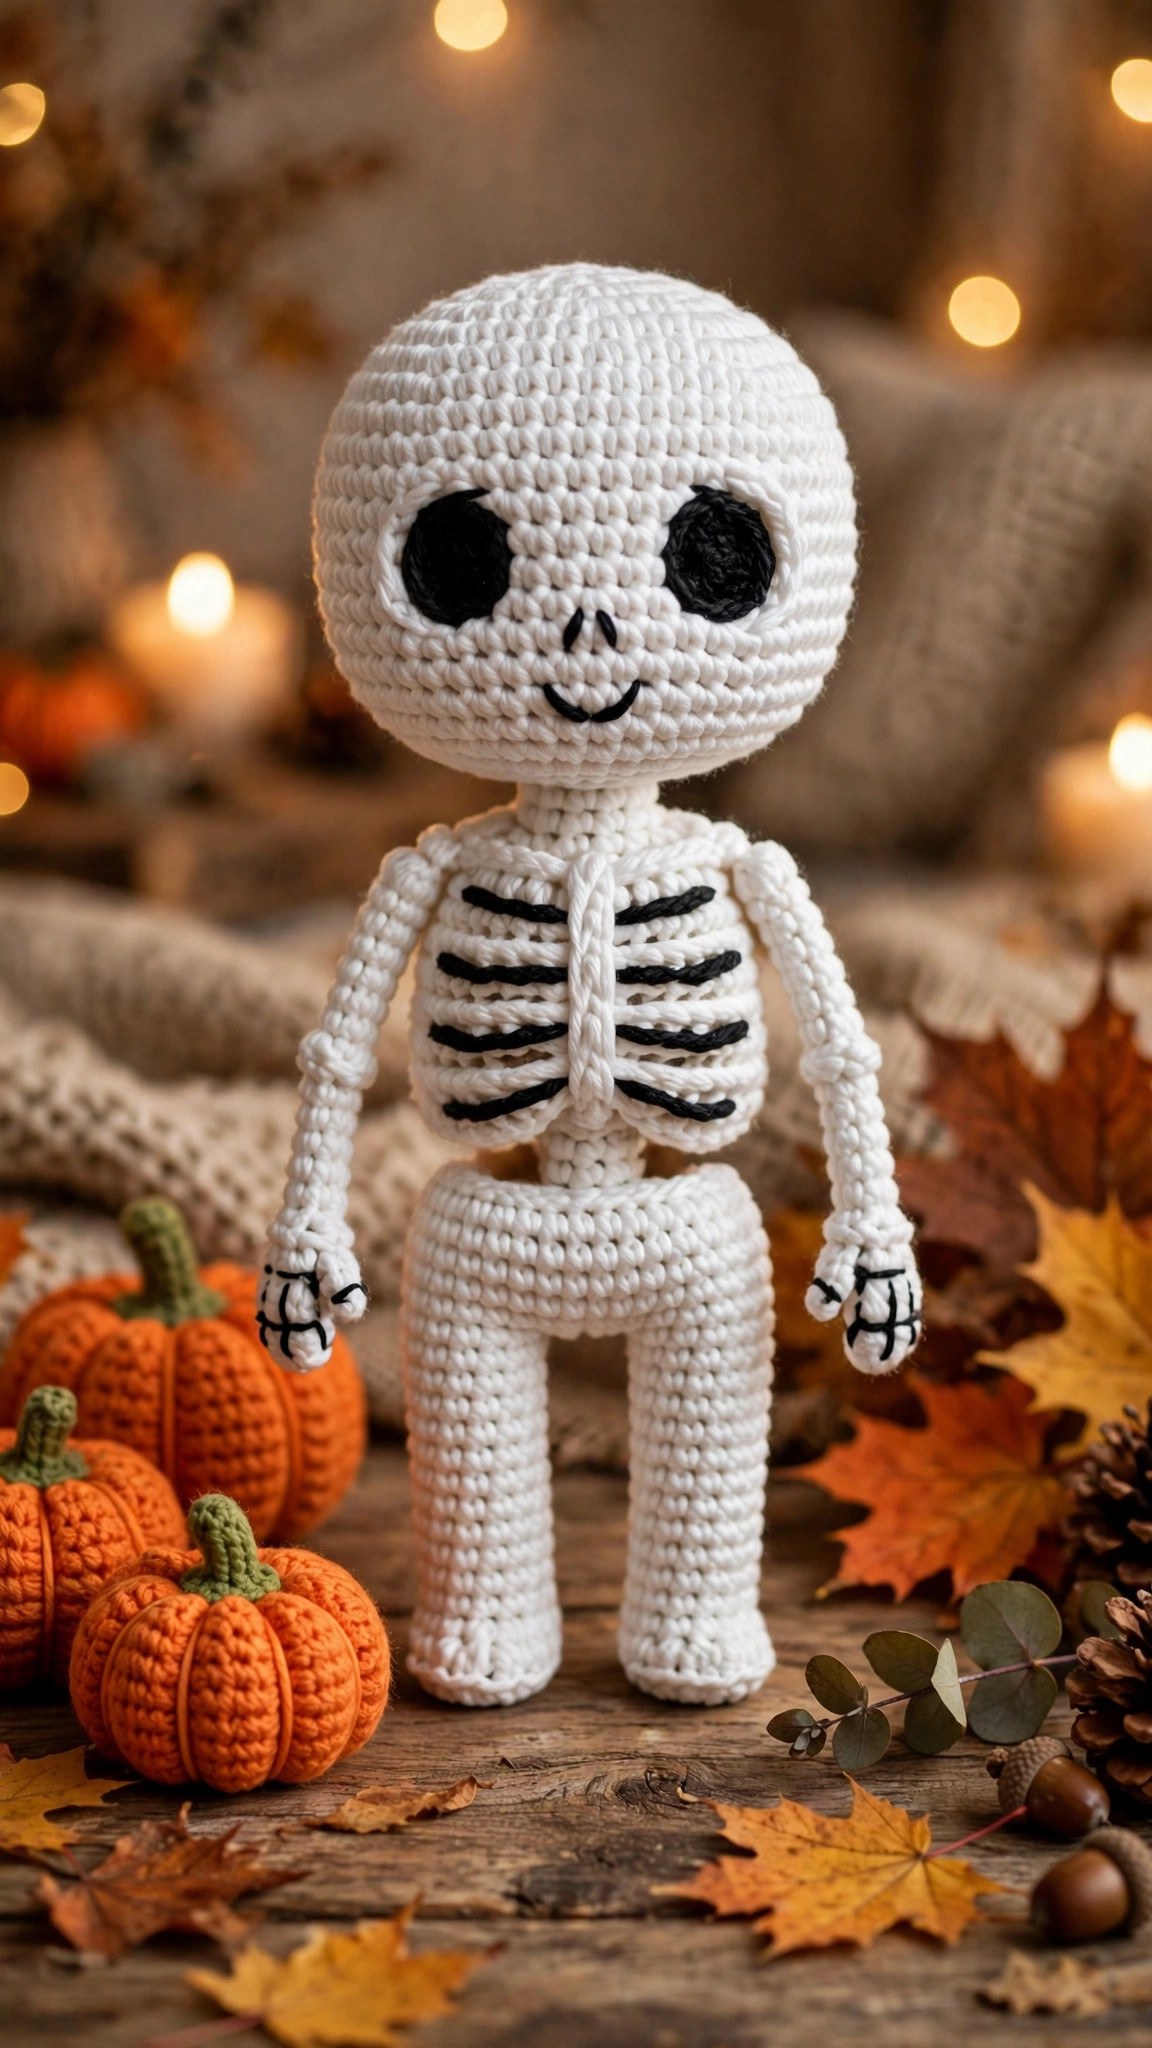
Crochet a standing amigurumi skeleton with a ribcage and a stitched smile in about six hours, then display it on your Halloween mantel.

Patterns · Crochet
- Finished size
- 12 in tall
- Making time
- 6 hours
- Hook
- US G-6 (4.0 mm)
- Set
- Skull, ribs, limbs
- Skill
- Intermediate
In this post
- Key Takeaways
- Table of Contents
- Why You Will Love This Skeleton
- Finished Size, Skill Level, and Time
- Materials You Need
- Abbreviations (US Terms)
- Gauge and Sizing Notes
- Part 1: The Skull
- Part 2: The Ribcage and Pelvis
- Part 3: The Arms, Legs, Hands, and Feet
- Assembly and Face
- Variations: Colors, Sizes, and Uses
- Troubleshooting a Skeleton That Does Not Look Right
- Care Instructions
- Frequently Asked Questions
- More Free Patterns to Try
A crocheted skeleton is the friendliest spooky decoration you can make, and this free skeleton crochet pattern turns a few balls of white and black yarn into a standing amigurumi skeleton about 12 inches tall. It takes about 6 hours, uses about 240 yards of yarn, and makes a wonderful Halloween mantel decoration.
This is an original Little Loop Finds design, written in US terms and completely free. The skeleton is made from a round skull with a stitched smile, a ribcage torso with embroidered ribs, thin arms and legs, and little hands and feet, all worked in single crochet in the round.
A quick note on scope: this post is about one specific crochet skeleton, a full standing figure with a skull, a ribcage, arms, legs, hands, and feet. That makes it different from our crochet skull blanket pattern, a flat blanket with a skull motif, and different from a sugar skull pattern, which is a decorated skull head on its own. This skeleton stands up on its own two feet.
Key Takeaways
- Free original pattern: a Little Loop Finds original design, written in US terms.
- A full standing skeleton: a round skull, a ribcage torso, thin arms and legs, hands, and feet, about 12 inches tall.
- Simple stitches: worked in the round with single crochet, increases, and decreases only, plus a little black embroidery for the ribs and face.
- A 6 hour project: one skeleton takes about 6 hours.
- Great for Halloween: a friendly mantel decoration or a spooky season gift that is cute rather than scary.
Table of Contents
- Why You Will Love This Skeleton
- Finished Size, Skill Level, and Time
- Materials You Need
- Abbreviations (US Terms)
- Gauge and Sizing Notes
- Part 1: The Skull
- Part 2: The Ribcage and Pelvis
- Part 3: The Arms, Legs, Hands, and Feet
- Assembly and Face
- Variations: Colors, Sizes, and Uses
- Troubleshooting a Skeleton That Does Not Look Right
- Care Instructions
- Frequently Asked Questions
- More Free Patterns to Try
Why You Will Love This Skeleton
A crocheted skeleton is a small project with a big payoff. The pieces are quick, so you can finish one leg in about 10 minutes, and the finished skeleton stands nicely on a mantel or a bookshelf.
The skeleton is worked in the round, which means there are no rows to count and no turning to remember. You start with a magic ring, increase evenly to make a round skull, and then work the torso and the limbs the same way.
This skeleton also makes a wonderful decoration for a Halloween party or a classroom. The black ribs are embroidered on after the torso is finished, and the stitched smile keeps it friendly instead of frightening. It uses only white and black yarn, so it is a great stash buster.
Finished Size, Skill Level, and Time
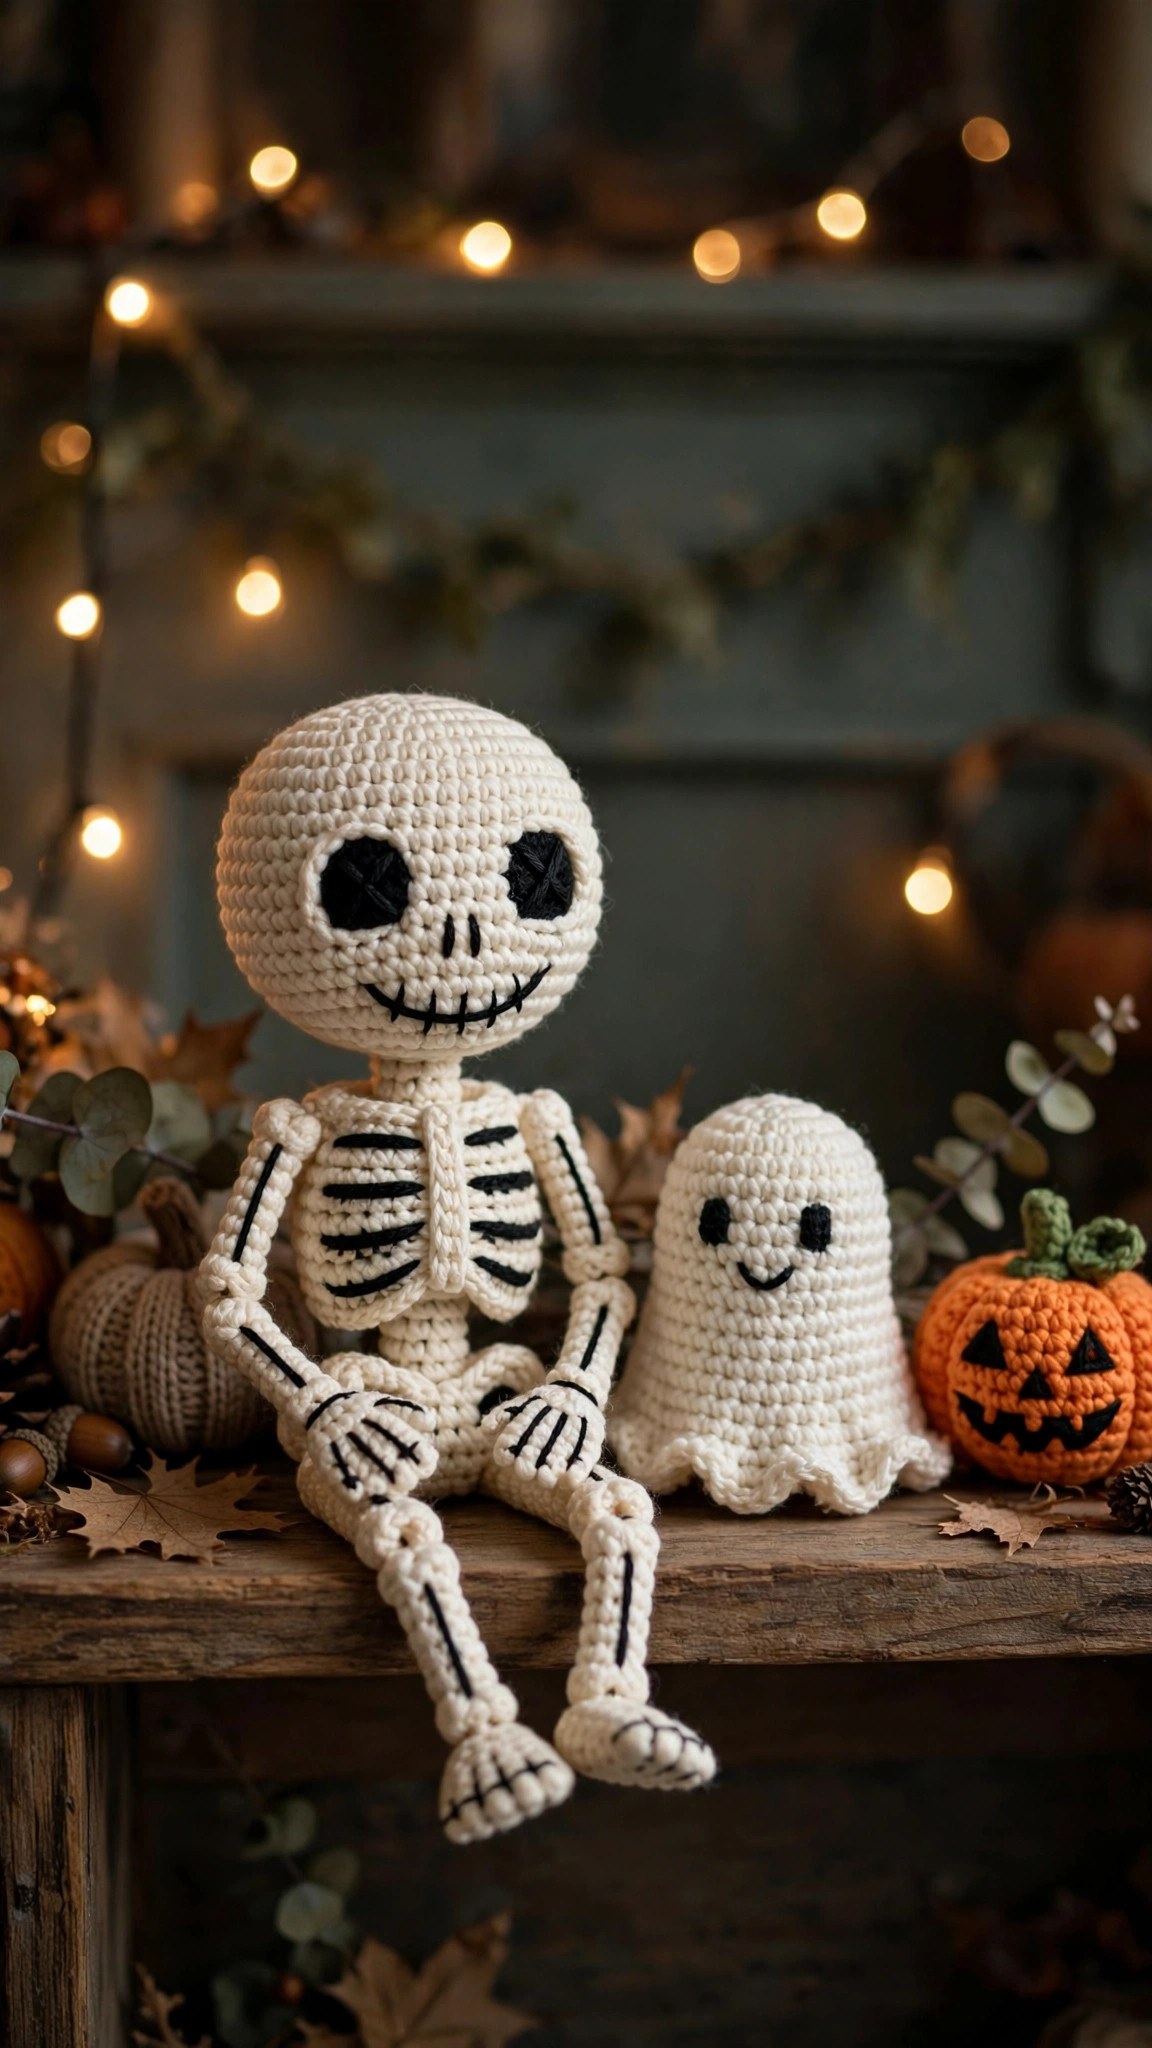
- Finished size: one size. The skeleton is about 12 inches tall, and about 4 inches wide across the ribcage. The skull is about 3.5 inches across, and each leg is about 4 inches long.
- Skill level: Intermediate. You need a magic ring, single crochet, increases, decreases, and a little surface embroidery for the ribs and the face.
- Time: about 6 hours per skeleton: 1 hour for the skull, 1 hour for the ribcage, 30 minutes for the pelvis, 1 hour for the arms, legs, hands, and feet, and 1 hour and 30 minutes for assembly and the face.
Materials You Need
| Item | What to get |
|---|---|
| Yarn, white | Worsted weight cotton or acrylic yarn in white, about 180 yards |
| Yarn, black | Worsted weight cotton or acrylic yarn in black, about 60 yards |
| Hook | US G-6 (4.0 mm), or the size that gives you the gauge below |
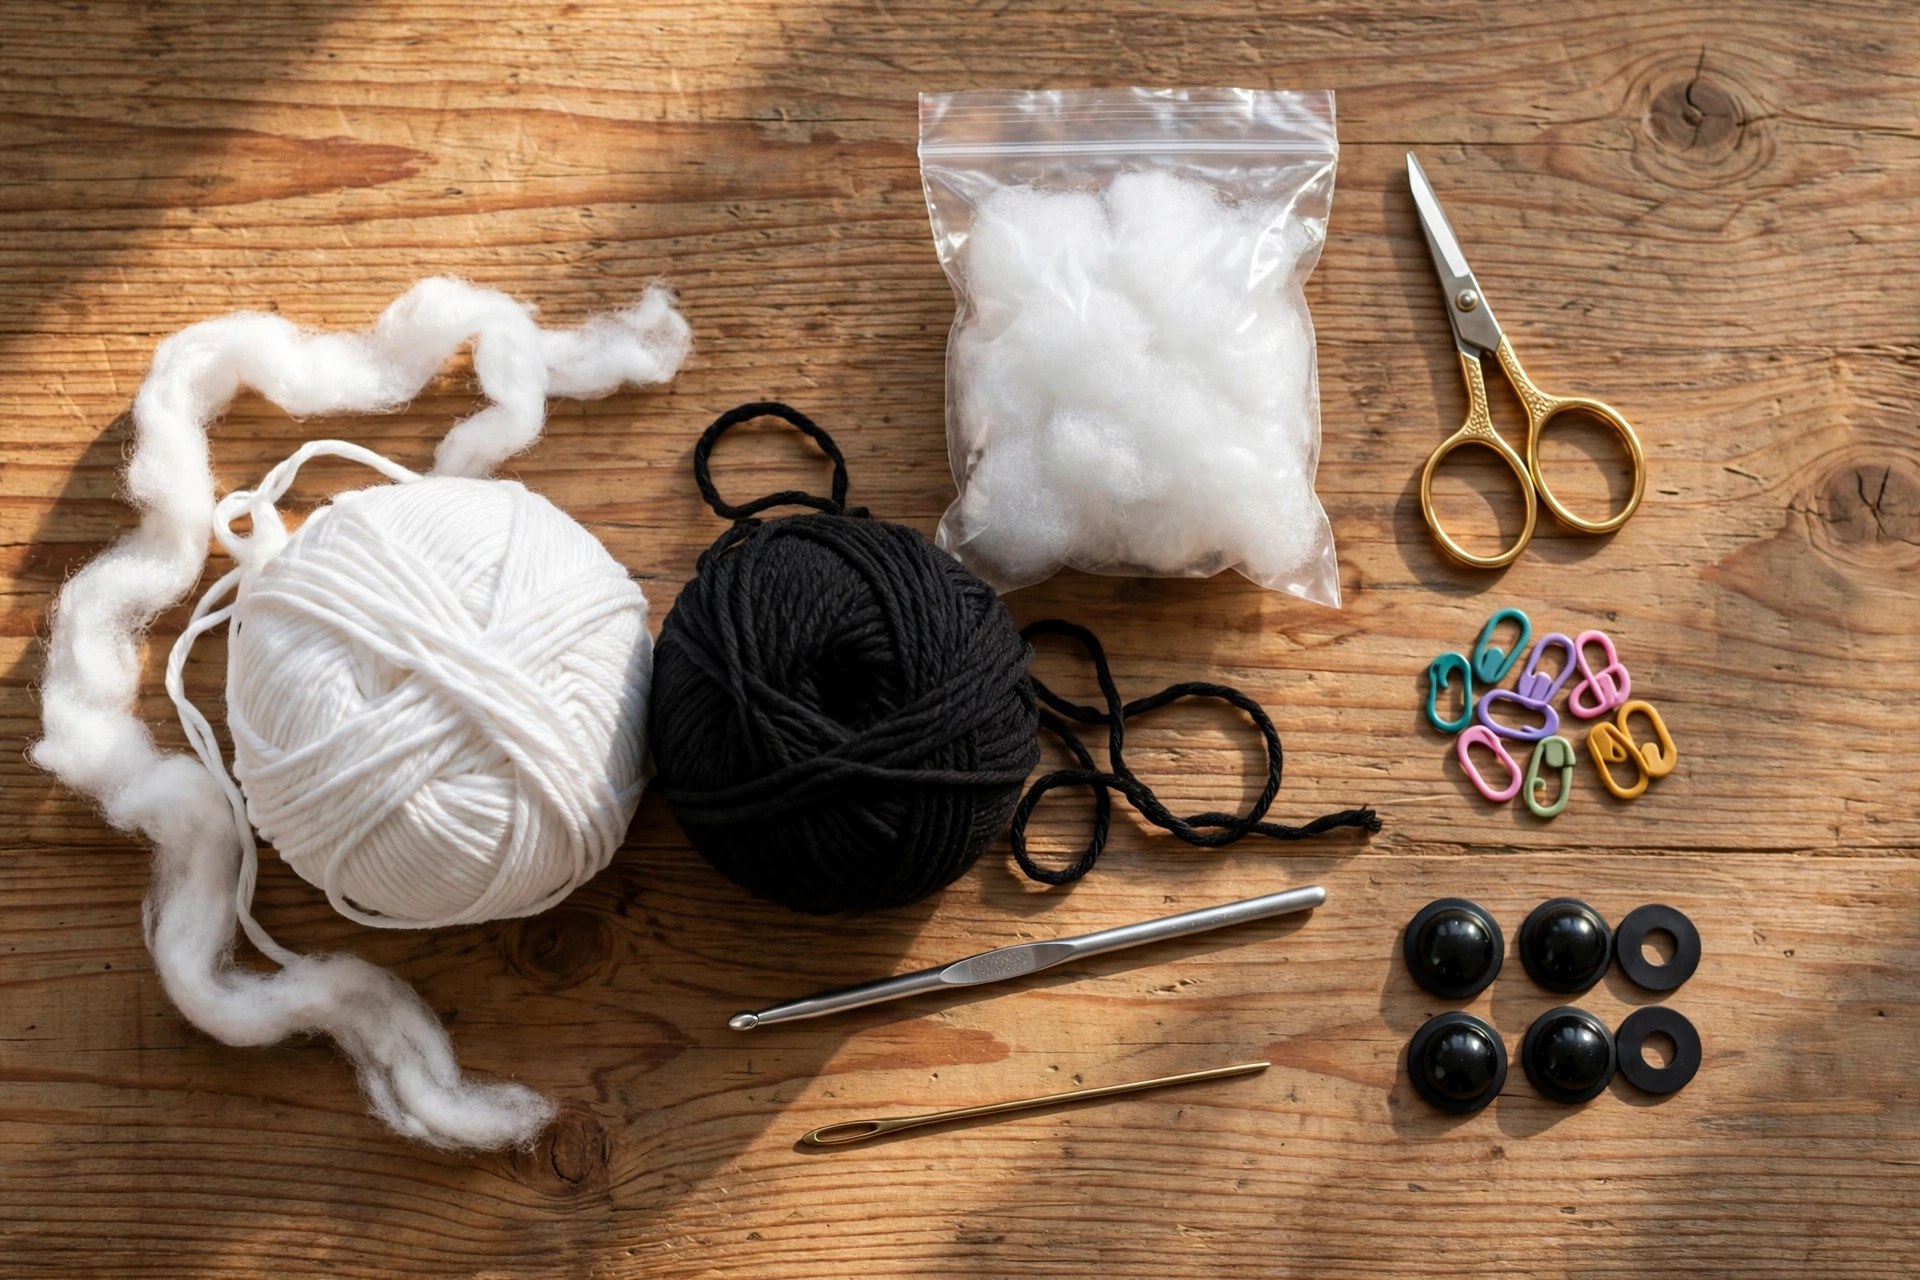
| Notions | Tapestry needle, scissors, stitch markers, polyester fiberfill, 2 safety eyes (10 mm), black embroidery floss |
White worsted weight yarn is the best choice because it shows the stitches clearly and gives the bones a clean, bright look. Black yarn is used for the hands, the ribs, and the face, so keep your black embroidery floss separate from your black yarn. Use a stitch marker in the first stitch of every round, because the pieces are worked in a spiral with no joining.
Abbreviations (US Terms)
- ch = chain
- sl st = slip stitch
- sc = single crochet
- inc = increase (2 sc in the same stitch)
- dec = decrease (sc 2 together)
- st(s) = stitch(es)
- rep = repeat
- MR = magic ring
- FO = fasten off
Gauge and Sizing Notes
Gauge matters on amigurumi because the stuffing shows through if the stitches are too loose, and the skeleton looks lumpy if they are too tight. Work a swatch of 12 sc and 14 rounds in the white yarn. It should be about 2 inches wide and 2 inches tall.
The pattern is written in one size, about 12 inches tall and 4 inches wide across the ribcage. To make a smaller skeleton, use a smaller hook and stop the torso after round 7, which gives a skeleton about 9 inches tall. Stuff the skull and torso firmly, and stuff the arms and legs lightly so they can bend.
Part 1: The Skull
The skeleton starts with the skull, a round ball worked in white yarn. Work it in a spiral in the round, with a stitch marker in the first stitch of each round.
With the white yarn, make a magic ring.
- Round 1: 6 sc in the ring. (6)
- Round 2: inc in each st around. (12)
- Round 3: (sc in the next st, inc in the next st) rep 6 times. (18)
- Round 4: (sc in the next 2 sts, inc in the next st) rep 6 times. (24)
- Round 5: (sc in the next 3 sts, inc in the next st) rep 6 times. (30)
- Round 6: (sc in the next 4 sts, inc in the next st) rep 6 times. (36)
- Rounds 7-9: sc in each st around. (36)
- Round 10: (sc in the next 4 sts, dec) rep 6 times. (30)
- Round 11: (sc in the next 3 sts, dec) rep 6 times. (24)
- Round 12: (sc in the next 2 sts, dec) rep 6 times. (18)
- Round 13: (sc in the next st, dec) rep 6 times. (12)
- Round 14: dec in each st around. (6)
Stuff the skull firmly before round 12, because the opening gets too small after that. Sl st in the next st and fasten off, leaving a 10 inch tail. Count your stitches at the end of every increase round, because a missed increase will make the skull lopsided.
Adding the Face to the Skull
The face is all embroidery. Place the two safety eyes on the front of the skull, about 1 inch apart and just above the center line. Push the eyes through the stitches from the front, and press the washers on firmly from the inside. If you add the eyes after stuffing, embroider them instead, with black yarn and a French knot for each eye.
Embroider a ring of short straight stitches around each eye with black yarn to make a dark socket about half an inch wide. Embroider a small upside down heart shape for the nose with black floss, centered below the eyes. The smile is a wide curved line in backstitch, with short vertical lines crossing it to suggest teeth.
Part 2: The Ribcage and Pelvis
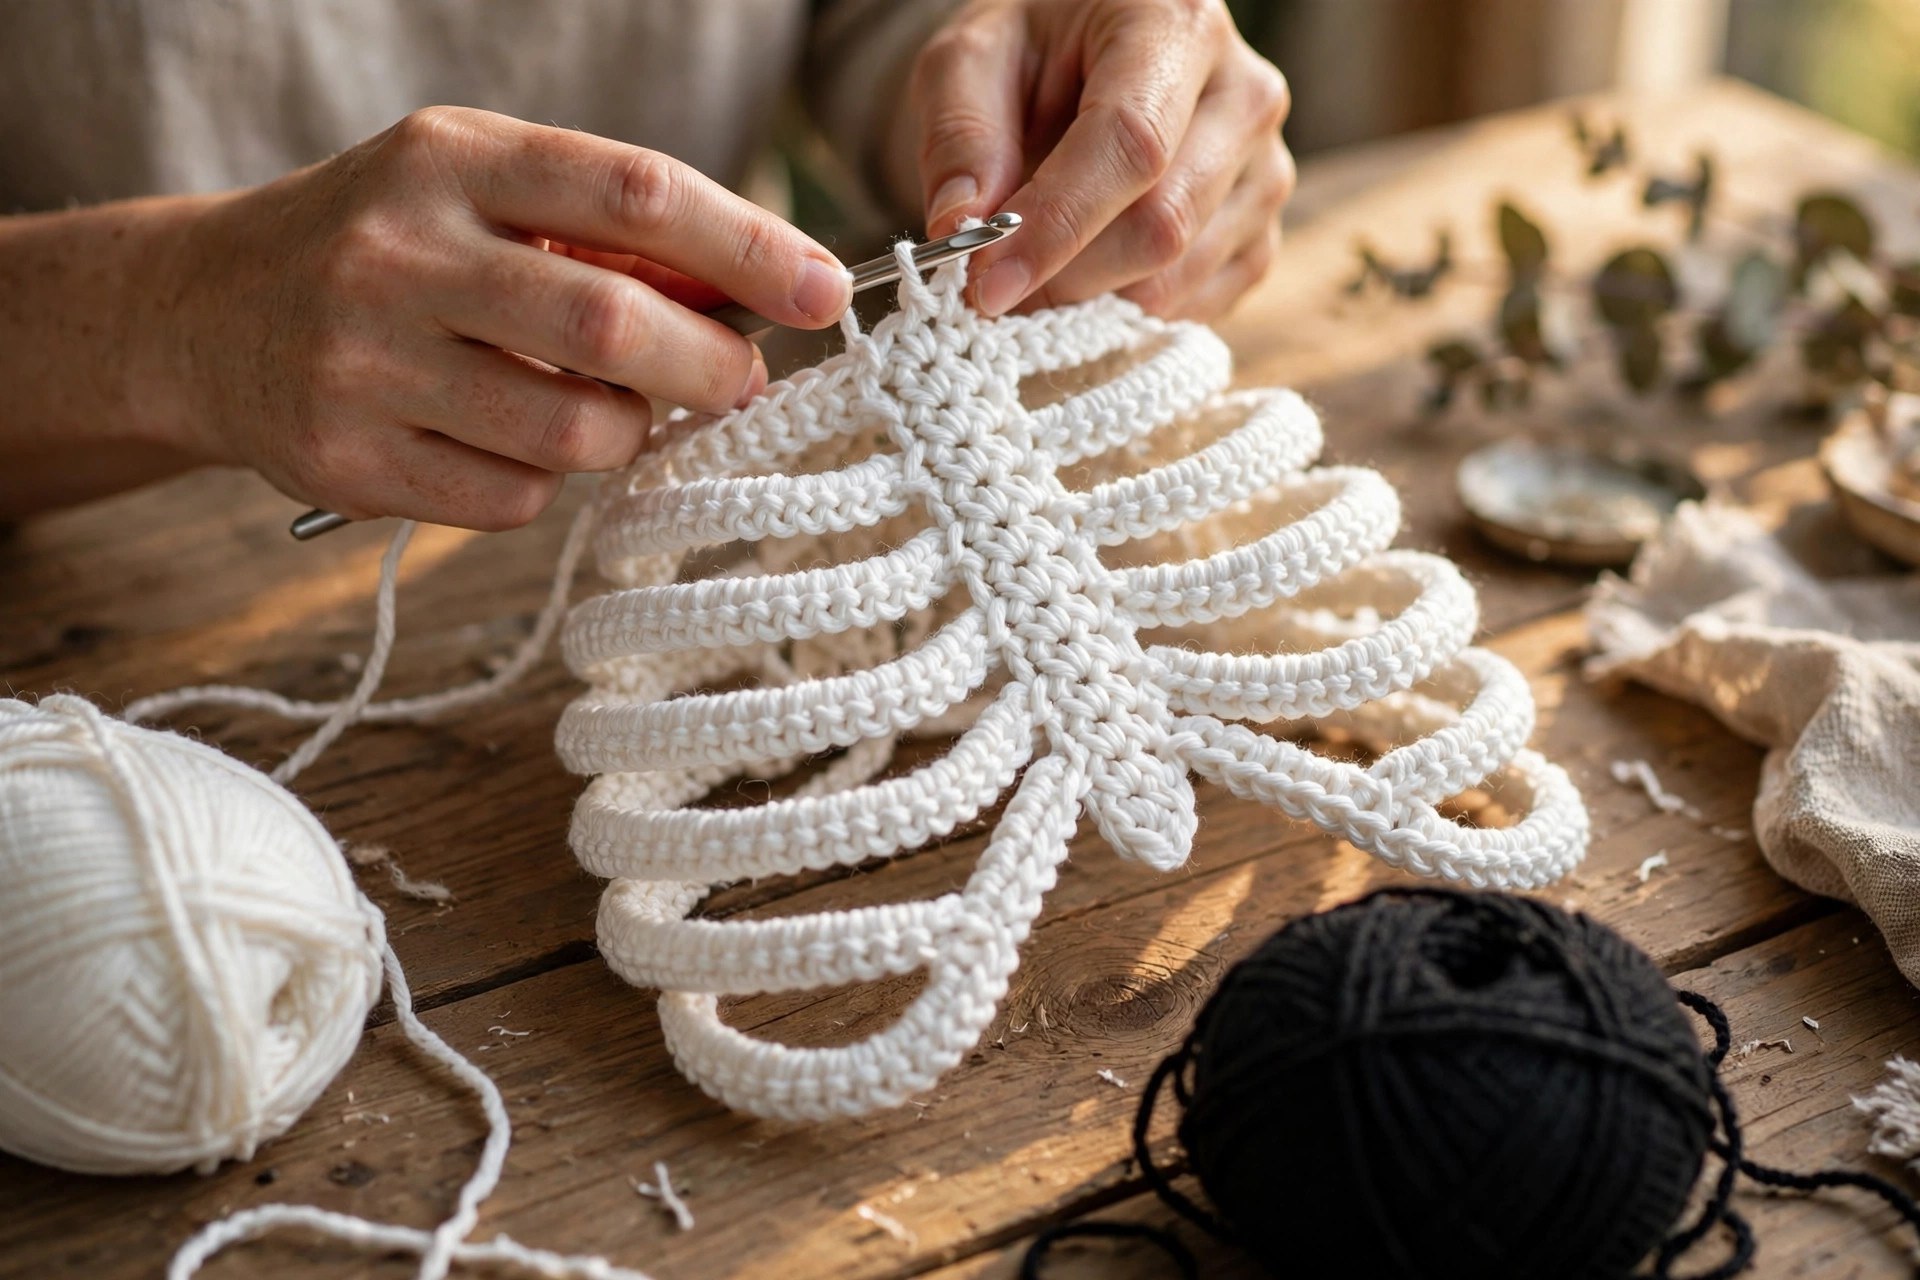
The ribcage is a tube worked in white yarn, wider at the chest and narrower at the waist, and the ribs are added later with black surface stitches. Work the torso in a spiral in the round, and stuff it as you go.
With the white yarn, make a magic ring for the torso.
- Round 1: 6 sc in the ring. (6)
- Round 2: inc in each st around. (12)
- Round 3: (sc in the next st, inc in the next st) rep 6 times. (18)
- Round 4: (sc in the next 2 sts, inc in the next st) rep 6 times. (24)
- Rounds 5-6: sc in each st around. (24)
- Round 7: (sc in the next 2 sts, dec) rep 6 times. (18)
- Rounds 8-11: sc in each st around. (18)
- Round 12: (sc in the next st, dec) rep 6 times. (12)
- Round 13: dec in each st around. (6)
The torso should be about 4 inches wide at the chest when you reach round 6. Stuff it firmly with fiberfill before you work round 12, because a well stuffed torso holds the skeleton upright. Sl st in the next st and fasten off, leaving a 10 inch tail.
Work the ribs after the torso is stuffed, using black yarn and surface slip stitches. First work a vertical line down the center front, from the chest to the waist, for the spine. Then work four curved ribs on each side, slip stitching outward from the spine toward the side of the torso. Space the ribs about half an inch apart, each one a little shorter than the one above it.
The pelvis is a small flattened ball worked in white yarn. With the white yarn, make a magic ring.
- Round 1: 6 sc in the ring. (6)
- Round 2: inc in each st around. (12)
- Round 3: (sc in the next st, inc in the next st) rep 6 times. (18)
- Rounds 4-5: sc in each st around. (18)
- Round 6: (sc in the next st, dec) rep 6 times. (12)
- Sl st in the next st and fasten off, leaving a 8 inch tail for sewing.
Stuff the pelvis lightly with a pinch of fiberfill, and flatten it gently so it is wider than it is tall.
Part 3: The Arms, Legs, Hands, and Feet
The arms and legs are thin tubes worked in white yarn, with black hands at the ends of the arms. Work each piece in a spiral, and stuff it lightly as you go.
The arms are worked in white yarn, with the last round worked in black to make a hand. With the white yarn, make a magic ring.
- Round 1: 6 sc in the ring. (6)
- Round 2: (sc in the next st, inc in the next st) rep 3 times. (9)
- Rounds 3-8: sc in each st around. (9)
- Round 9: join the black yarn and sc in each st around. (9)
- Sl st in the next st and fasten off, leaving a 8 inch tail for sewing.
Each arm should be about 4 inches long when you reach round 9. Stuff it lightly, and make a second arm the same way. Embroider two short lines across each black hand with white yarn for finger bones.
The legs are longer tubes worked in white yarn, and the feet are small ovals sewn on at the bottom. With the white yarn, make a magic ring.
- Round 1: 6 sc in the ring. (6)
- Round 2: (sc in the next st, inc in the next st) rep 3 times. (9)
- Rounds 3-10: sc in each st around. (9)
- Sl st in the next st and fasten off, leaving a 8 inch tail for sewing.
Each leg should be about 4 inches long when you reach round 10. Stuff it lightly, and make a second leg the same way. The feet are small white ovals, one for each leg. With the white yarn, make a magic ring.
- Round 1: 6 sc in the ring. (6)
- Round 2: inc in each st around. (12)
- Round 3: sc in each st around. (12)
- Round 4: (sc in the next st, dec) rep 4 times. (8)
- Sl st in the next st and fasten off, leaving a 6 inch tail for sewing.
Stuff each foot lightly, flatten it into a shallow oval, and embroider two short lines across the top with black yarn for toe bones.
Assembly and Face
This is the part where a skull, a ribcage, a pelvis, two arms, two legs, and two feet become a skeleton. Sew the skull to the torso first, then the pelvis and legs, then the arms.
Attaching the Skull
Stand the torso upright with the ribcage facing forward, and mark the top center. Pin the skull to the top of the torso, face forward, and sew it on with a whip stitch around the join. Check that the skull sits straight before you finish the last few stitches, because a tilted skull is hard to fix once the join is closed.
Embroider four short vertical lines across the lower front of the skull with black floss for the teeth, just below the smile.
Attaching the Pelvis, Legs, and Feet
Turn the torso upside down, pin the pelvis to the bottom, centered under the ribcage, and sew it on with a whip stitch around the join.
Mark two evenly spaced spots on the bottom of the pelvis, pin each leg to its spot pointing down, and sew it on with a whip stitch around the open end. Our free crochet ghost pattern uses the same pin first, sew second method.
Sew a foot to the bottom of each leg, oval pointing forward. Check that the skeleton stands flat before you sew the second foot.
Attaching the Arms
Mark two spots on the upper sides of the torso, just below the chest and level with each other. Pin each arm to its spot, black hand pointing down, and sew it on with a whip stitch. Pose the arms slightly away from the body, so the skeleton looks relaxed.
Variations: Colors, Sizes, and Uses
- Classic white skeleton: work the skeleton in bright white yarn with black ribs and face details for the traditional Halloween look.
- Glow in the dark skeleton: work the skeleton in glow in the dark yarn for a figure that shines on a dark porch at night.
- Cream skeleton: work the skeleton in soft cream yarn with dark brown ribs for a gentler, vintage Halloween decoration.
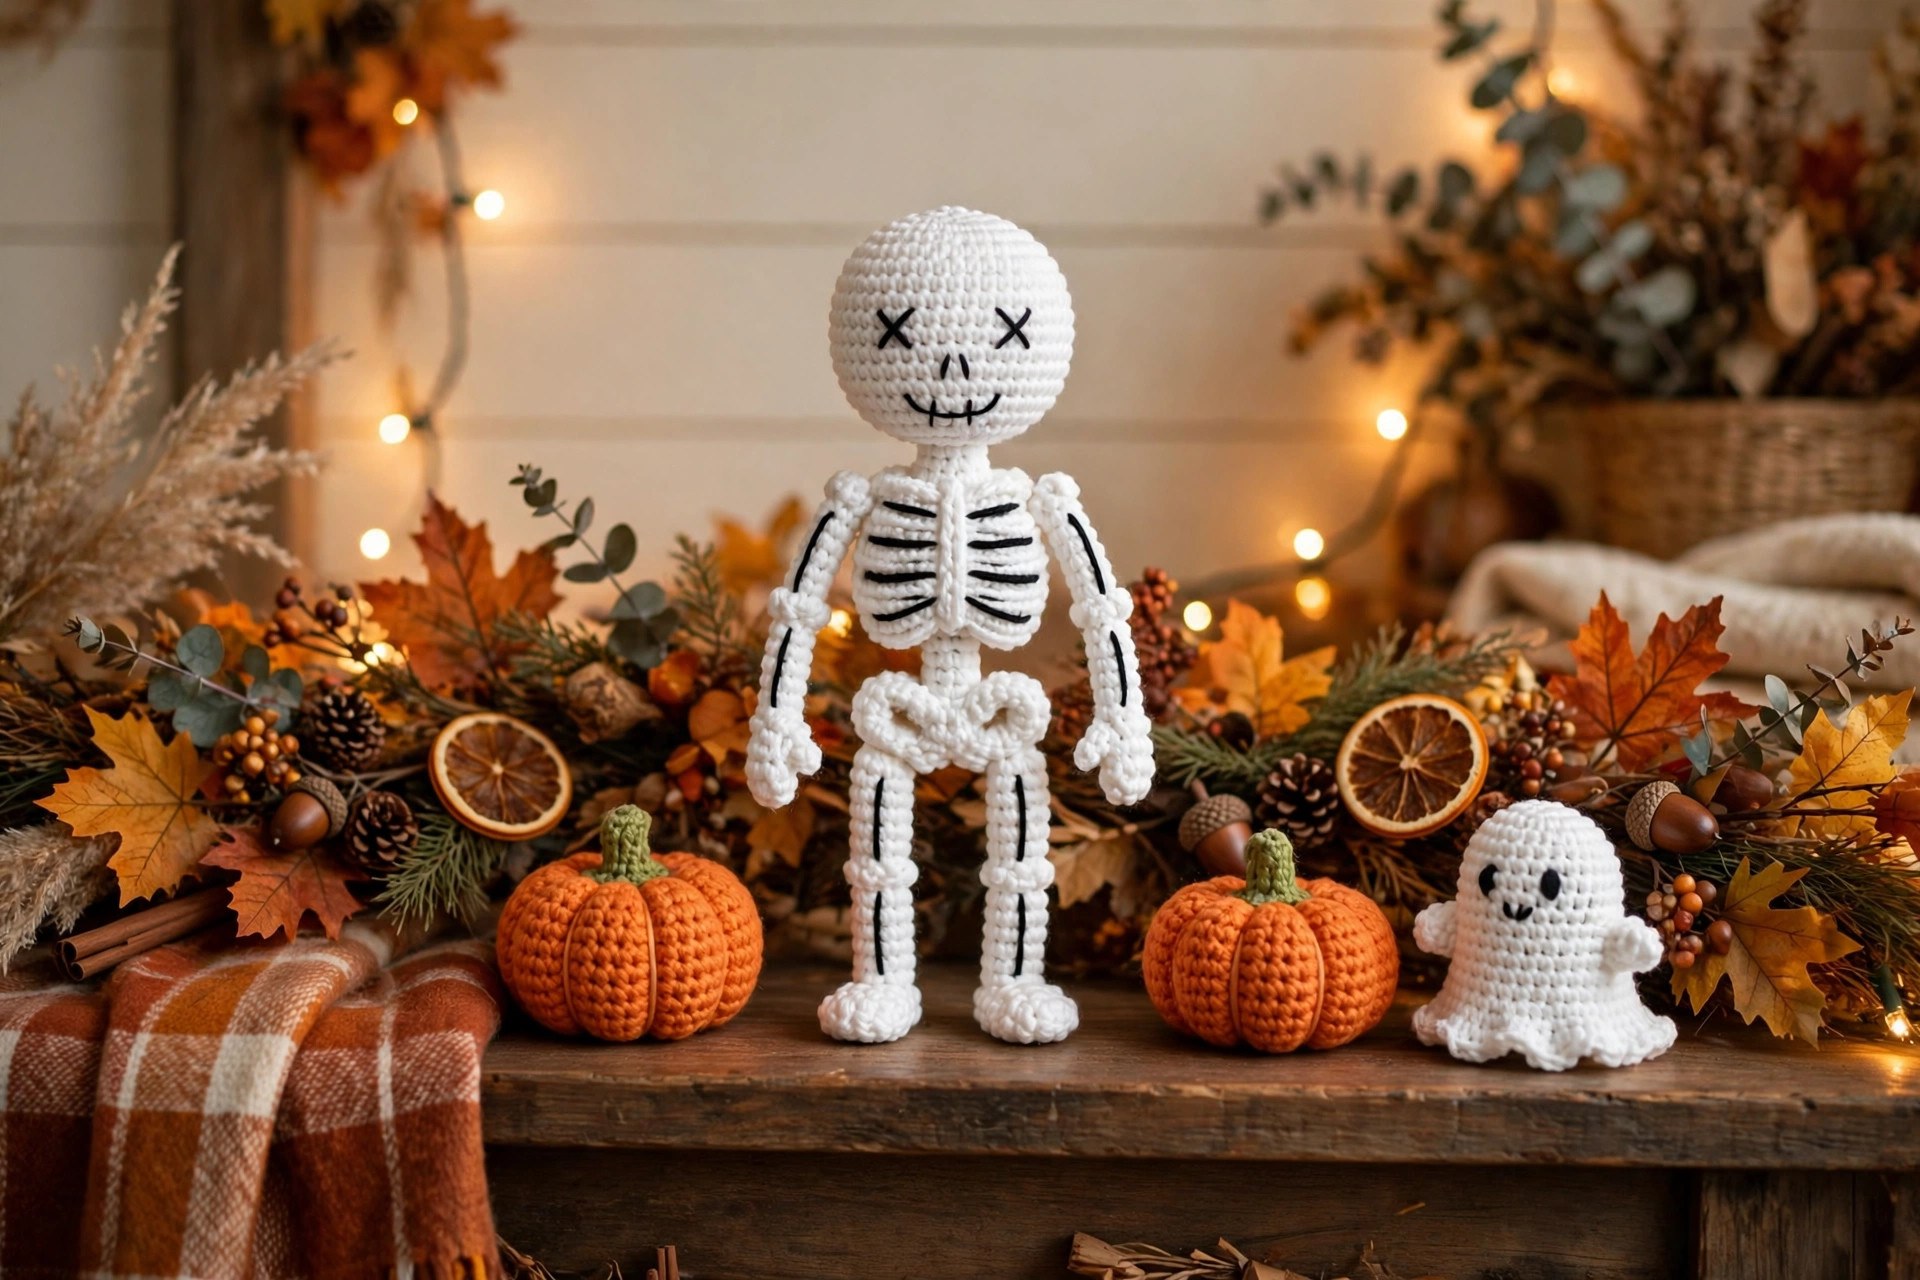
- Halloween party set: pair a skeleton with a matching crochet bat pattern, zombie pattern, and easy pumpkin pattern for a full Halloween table.
Troubleshooting a Skeleton That Does Not Look Right
- My skull looks lopsided. You missed an increase, or the stuffing is uneven. Count your stitches on every increase round, and add extra fiberfill to the flat side.
- My ribs look wobbly. Surface slip stitches take practice. Pull the black yarn through with even tension, and keep each stitch the same length.
- My skeleton will not stand up. The feet are uneven, or the legs were sewn on at different angles. Measure each leg first, check that the feet point forward, and test the stand before you sew the second foot.
- My arms stick out at strange angles. The arms were stuffed too firmly, or sewn on too high. Stuff them lightly so they bend, and sew them on just below the chest.
Care Instructions
Hand wash a crocheted skeleton in cool water with a mild detergent, and press the water out gently without wringing. Reshape the skull, ribcage, and limbs, and lay it flat to dry away from direct heat. Fluff the white yarn gently once it is dry. If the skeleton is a child's toy, check the safety eyes now and then. Store it flat in a dry box between Halloweens, with tissue paper around the skull.
Frequently Asked Questions
Is this skeleton crochet pattern good for beginners?
It is best for an intermediate crocheter who knows single crochet, increases, and decreases, and who is comfortable with a little embroidery. A confident beginner can make it too, because each round is explained step by step.
How is this skeleton different from a skull blanket or a sugar skull?
This pattern makes a full standing skeleton figure with a skull, a ribcage, arms, legs, hands, and feet, about 12 inches tall. Our skull blanket is a flat blanket with a skull motif. A sugar skull pattern is a decorated skull head on its own, with no body.
What yarn is best for a crochet skeleton?
Smooth worsted weight cotton or acrylic yarn in white is the best choice, because it shows the stitches clearly and holds its shape when stuffed. A small amount of black yarn is used for the hands and the ribs. Avoid fluffy yarn, because the ribs and face get lost in the fuzz.
How big is the finished skeleton?
The finished skeleton is about 12 inches tall and about 4 inches wide across the ribcage. The skull is about 3.5 inches across.
Can I make the skeleton without safety eyes?
Yes, you can embroider the eyes instead, which is safer for babies and toddlers. Use black yarn and a French knot for each eye, placed about 1 inch apart just above the nose.
Can I sell skeletons made from this pattern?
Yes, you may sell finished skeletons made from this free pattern, with credit to Little Loop Finds. Do not sell or republish the pattern text itself.
More Free Patterns to Try
- Crochet Ghost Pattern (Free): a quick and friendly ghost for a first Halloween amigurumi.
- Crochet Bat Pattern (Free): a little bat with big wings for a Halloween garland.
- Crochet Zombie Pattern (Free): a green zombie figure for a spooky shelf.
- Easy Crochet Pumpkin Pattern: a classic pumpkin that pairs with this skeleton.
Happy stitching!