Plastic Bag Holder Crochet Pattern (Free)
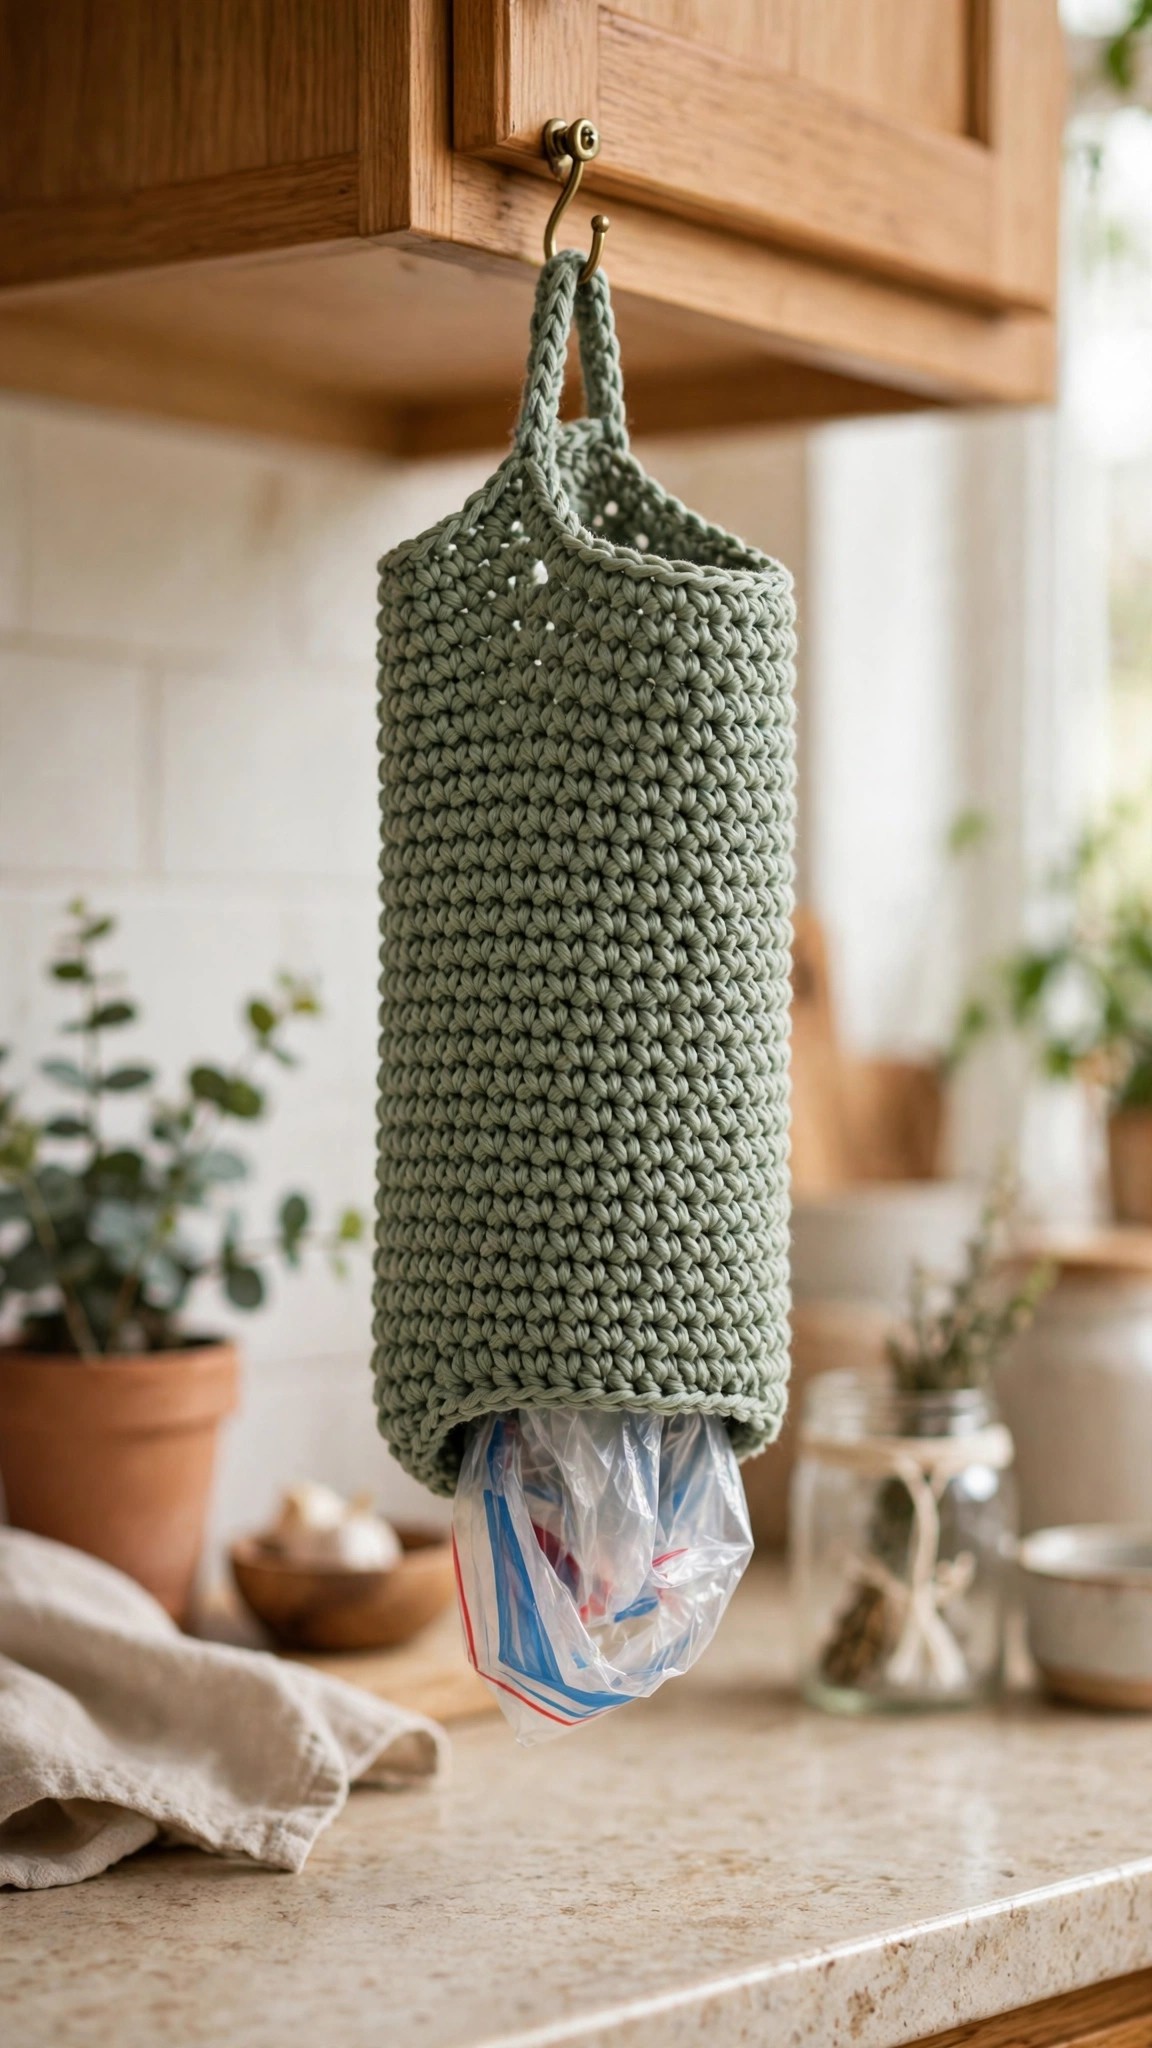
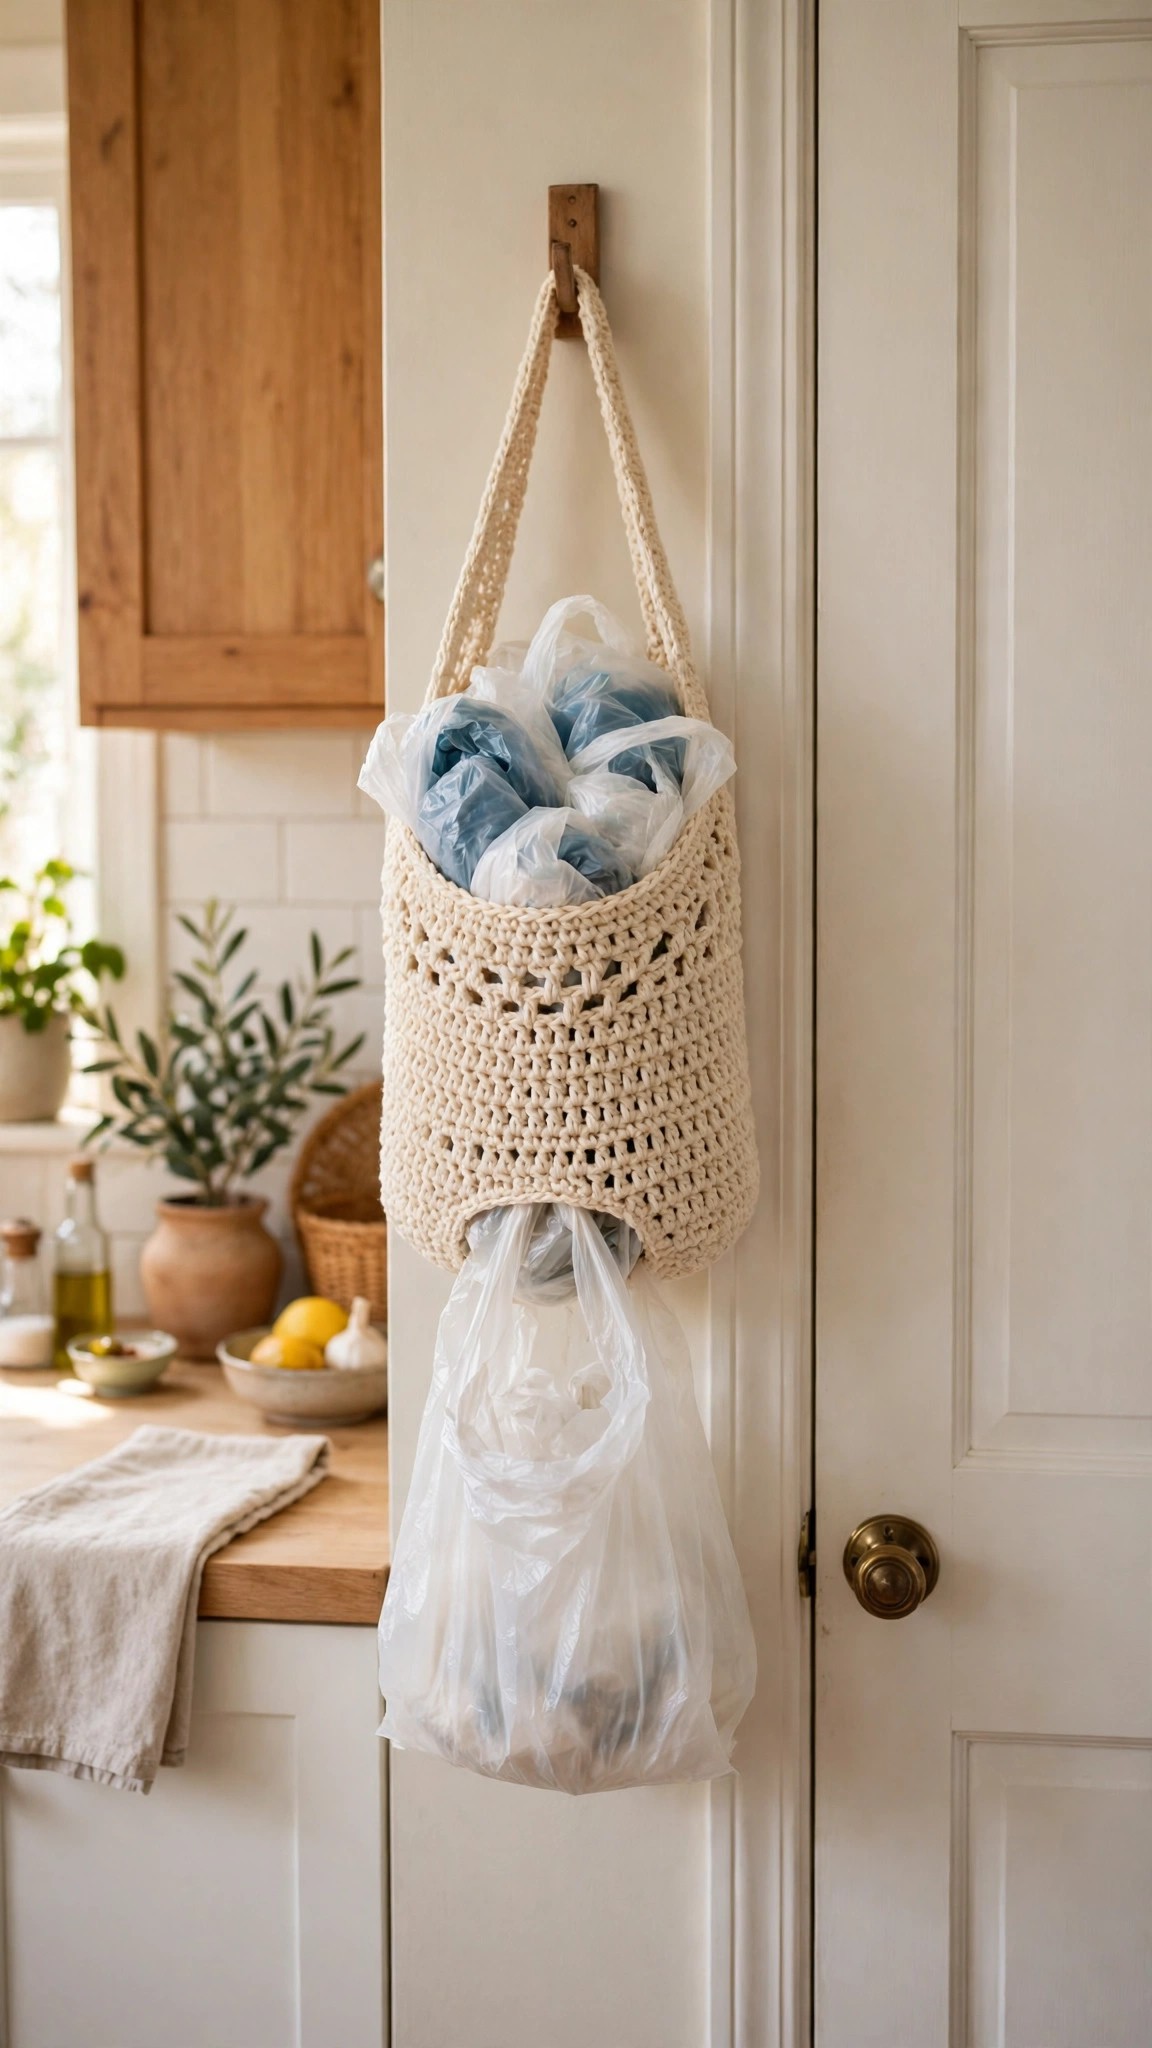
Crochet a hanging plastic bag holder that stores folded plastic shopping bags and lets you pull one out the bottom, in about three hours.

Patterns · Crochet
- Finished size
- 18 in long
- Making time
- 3 hours
- Hook
- US H-8 (5.0 mm)
- Set
- Tube, loop, elastic
- Skill
- Easy
In this post
- Key Takeaways
- Table of Contents
- Why You Will Love This Plastic Bag Holder
- Finished Size, Skill Level, and Time
- Materials You Need
- Abbreviations (US Terms)
- Gauge and Sizing Notes
- Part 1: The Top Loop and the Wide Opening
- Part 2: The Tube Body and the Bottom Opening
- Part 3: Finishing and Hanging
- Variations: Colors, Sizes, and Uses
- Troubleshooting a Holder That Does Not Work Right
- Care Instructions
- Frequently Asked Questions
- More Free Patterns to Try
A crocheted plastic bag holder is one of the most useful things you can make for a kitchen, and this free plastic bag holder crochet pattern turns a ball of cotton yarn into a hanging tube dispenser that keeps plastic shopping bags neat and ready to grab. It takes about 3 hours and holds around 15 to 20 folded plastic bags.
This is an original Little Loop Finds design, written in US terms and completely free. The holder is a long open tube worked in the round, with a loop at the top for hanging and a small elastic opening at the bottom so you can pull one bag out at a time. You stuff folded plastic bags in through the wide top opening, and they stay tidy inside until you need one.
A quick note on scope: this post is about one specific item, a hanging tube dispenser for single-use plastic shopping bags, the thin bags from the grocery store that you fold up and reuse for trash, pet cleanup, or packing. That makes it different from the other bag holder on this site. A crochet grocery bag holder pattern makes a holder for reusable fabric grocery bags, the sturdy tote style bags you carry to the store. This pattern makes a dispenser for thin plastic bags, not a tote or a reusable bag.
Key Takeaways
- Free original pattern: a Little Loop Finds original design, written in US terms, completely free.
- A hanging tube dispenser: a long open tube that stores folded plastic shopping bags and lets you pull one out the bottom.
- Simple stitches: worked in the round with single crochet, double crochet, and chain spaces only.
- A 3 hour project: one holder takes about 3 hours, worked in one piece from top to bottom.
- Great for kitchens: a tidy fix for the bag of bags in a drawer, a pantry, or under the sink.
Table of Contents
- Why You Will Love This Plastic Bag Holder
- Finished Size, Skill Level, and Time
- Materials You Need
- Abbreviations (US Terms)
- Gauge and Sizing Notes
- Part 1: The Top Loop and the Wide Opening
- Part 2: The Tube Body and the Bottom Opening
- Part 3: Finishing and Hanging
- Variations: Colors, Sizes, and Uses
- Troubleshooting a Holder That Does Not Work Right
- Care Instructions
- Frequently Asked Questions
- More Free Patterns to Try
Why You Will Love This Plastic Bag Holder
A crocheted plastic bag holder is a small project with a big payoff for a messy kitchen. Almost every kitchen has a drawer or a cabinet full of loose plastic bags, and they spill out every time you open it. This holder gathers them all into one neat tube that hangs on a hook, out of the way but easy to reach.
The holder is worked in the round, so there are no seams to sew and no rows to count. You start with a hanging loop, work a wide opening at the top, then work the tube straight down with a simple open stitch that lets you see how many bags are left inside. The open stitch also helps the tube stretch, so it holds more bags than it looks like it should.
This holder also makes a wonderful practical gift. It is quick enough to make in an evening, it uses only one ball of cotton yarn, and it solves a real everyday problem. Anyone with a kitchen full of saved plastic bags will use it every single day. Make one for your own kitchen first, then make a second one as a housewarming gift, because once people see it hanging, they always ask for one.
Finished Size, Skill Level, and Time
- Finished size: one size. The holder is about 18 inches long from the top loop to the bottom edge, and about 5 inches across when flat. It holds about 15 to 20 folded plastic shopping bags.
- Skill level: Easy. You need a chain, single crochet, double crochet, and working in the round.
- Time: about 3 hours per holder: 20 minutes for the top loop and opening, about 2 hours for the tube body, 20 minutes for the bottom opening, and 20 minutes for finishing.
Materials You Need
| Item | What to get |
|---|---|
| Yarn | Worsted weight cotton yarn, about 180 yards |
| Hook | US H-8 (5.0 mm), or the size that gives you the gauge below |
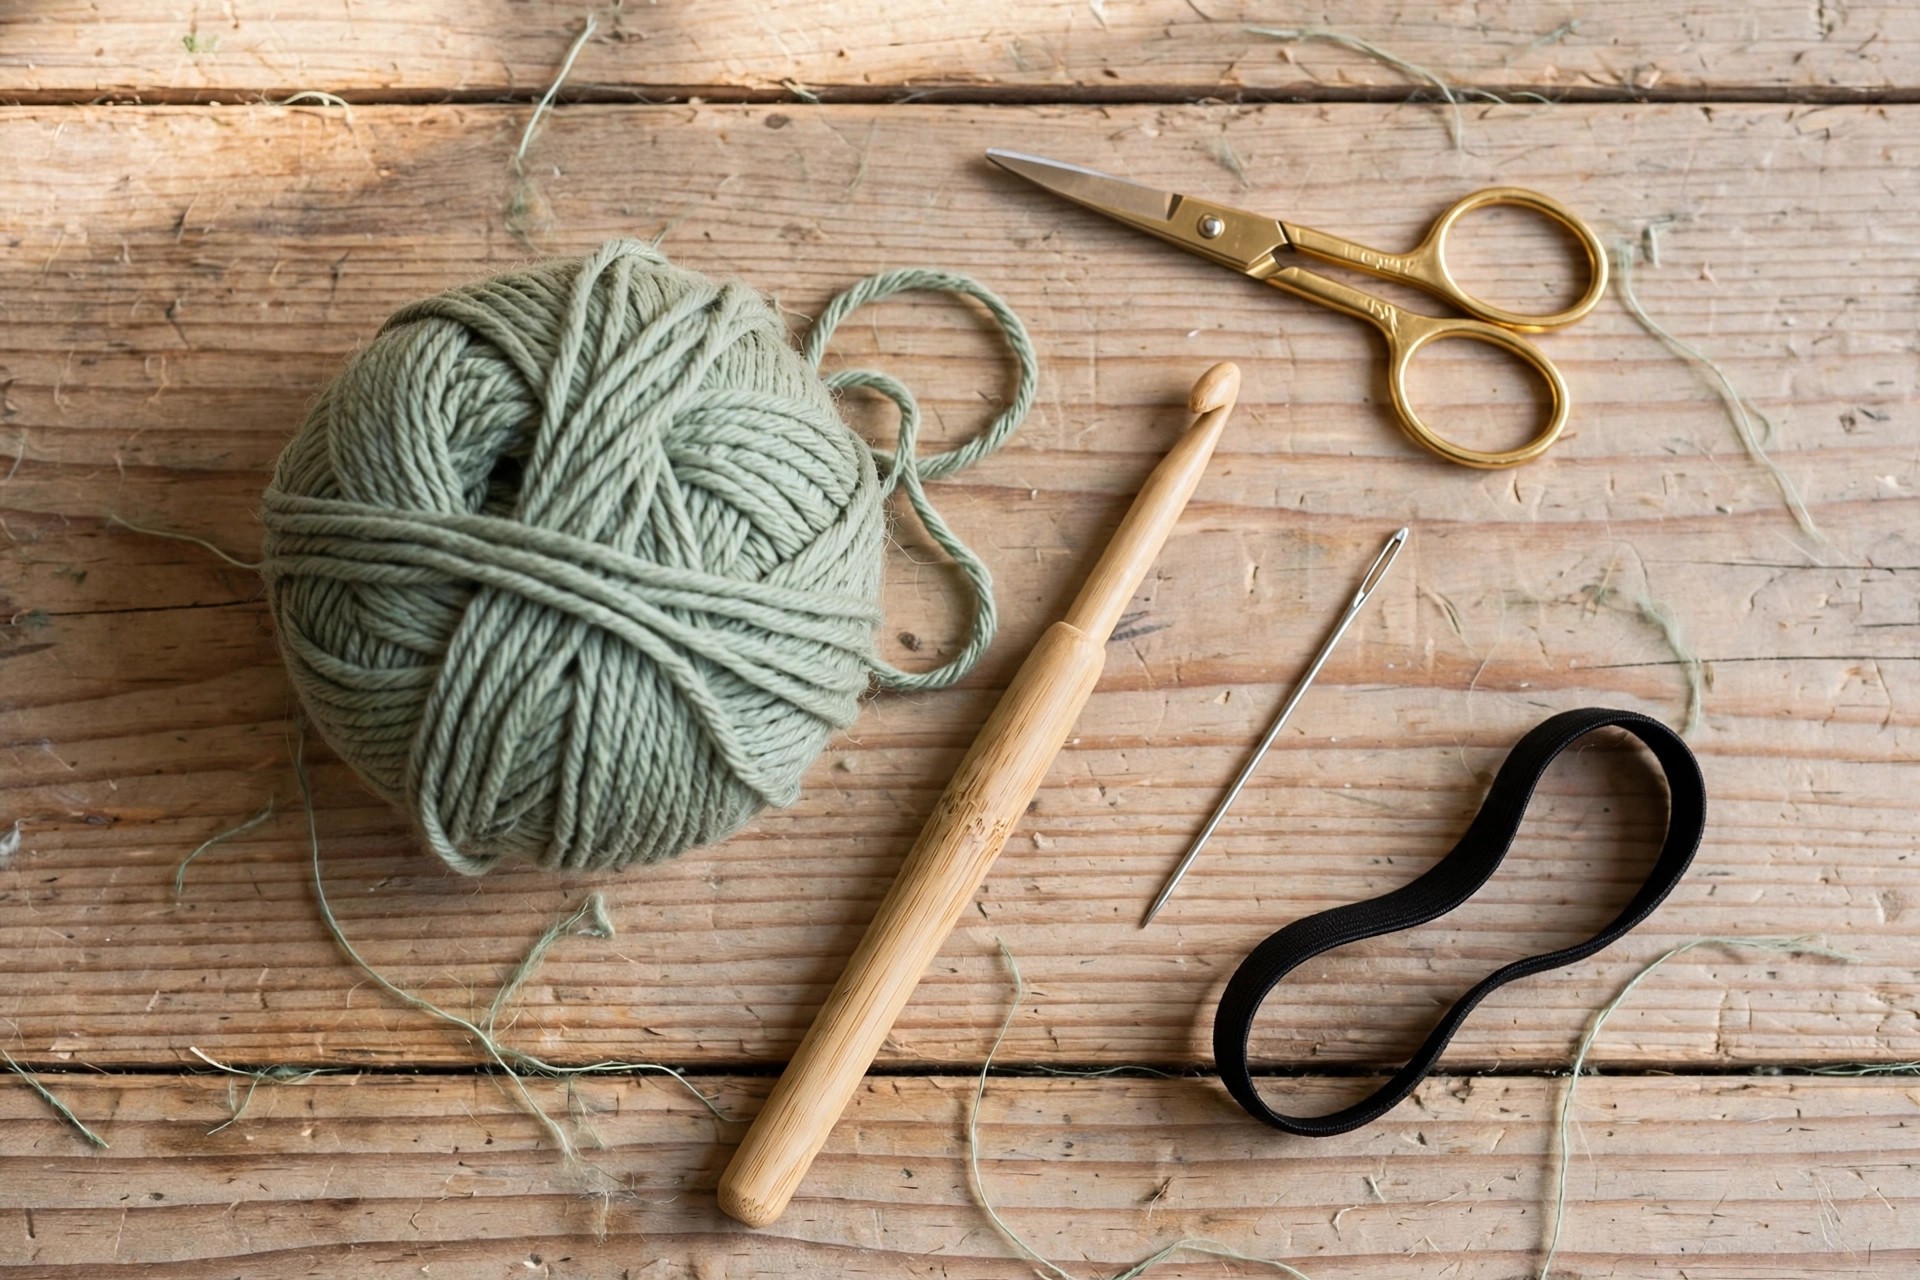
| Notions | Tapestry needle, scissors, stitch markers, 1 inch wide elastic (about 8 inches), sewing needle and thread |
Cotton yarn is the best choice for a plastic bag holder because it is sturdy, it holds its shape when stuffed full of bags, and it washes well. A worsted weight cotton yarn works best, because it makes a firm tube that does not sag. Avoid soft acrylic yarn for this project, because it stretches out under the weight of the bags and the holder loses its shape.
A stitch marker is the most important notion here, because you work the tube in a spiral and it is easy to lose track of where a round starts. The elastic is what makes the bottom opening work, because it pulls the opening small enough to hold the bags in while still letting you pull one bag out at a time. Use a sewing needle and matching thread to stitch the elastic into a loop inside the bottom edge.
Abbreviations (US Terms)
- ch = chain
- sl st = slip stitch
- sc = single crochet
- dc = double crochet
- st(s) = stitch(es)
- rep = repeat
- sp(s) = space(s)
- MR = magic ring
- FO = fasten off
Gauge and Sizing Notes
Gauge matters less on a bag holder than on a garment, but it still matters for the fit of the tube. Work a swatch of 12 dc and 8 rows. It should be about 4 inches wide and 4 inches tall.
The pattern is written in one size, about 18 inches long and 5 inches across when flat. To make a shorter holder, stop the tube body after round 20, which gives a holder about 14 inches long that holds about 10 bags. To make a longer holder, add 10 more rounds to the body, which gives a holder about 22 inches long that holds about 25 bags. Keep the bottom opening the same size in every version, because the elastic does the work of holding the bags in.
Part 1: The Top Loop and the Wide Opening
The plastic bag holder starts with a hanging loop, then a wide opening at the top that you push folded bags through. Work it in a spiral in the round, with a stitch marker in the first stitch.
First, make the hanging loop. With the cotton yarn, ch 25, then sl st in the first ch to form a ring. Work 30 sc around the ring, covering the chain completely, and sl st in the first sc to join. Fasten off, leaving a 6 inch tail. Set the loop aside for now. You will sew it to the top of the holder in Part 3.
Now start the holder itself. With the cotton yarn, make a magic ring.
- Round 1: 6 sc in the ring. (6)
- Round 2: 2 sc in each st around. (12)
- Round 3: (sc in the next st, 2 sc in the next st) rep 6 times. (18)
- Round 4: (sc in the next 2 sts, 2 sc in the next st) rep 6 times. (24)
- Round 5: (sc in the next 3 sts, 2 sc in the next st) rep 6 times. (30)
- Round 6: (sc in the next 4 sts, 2 sc in the next st) rep 6 times. (36)
The top opening should now be about 5 inches across. The next rounds form a firm band around the top edge, so the opening keeps its shape when you push bags through it.
- Rounds 7-9: sc in each st around. (36)
Count your stitches at the end of round 6, because a missed increase will make the top opening lopsided and the tube will lean to one side. The opening is wide on purpose, because you need room to push a folded plastic bag through it without a fight. Do not make the opening smaller, or loading the holder will be a chore.
Part 2: The Tube Body and the Bottom Opening
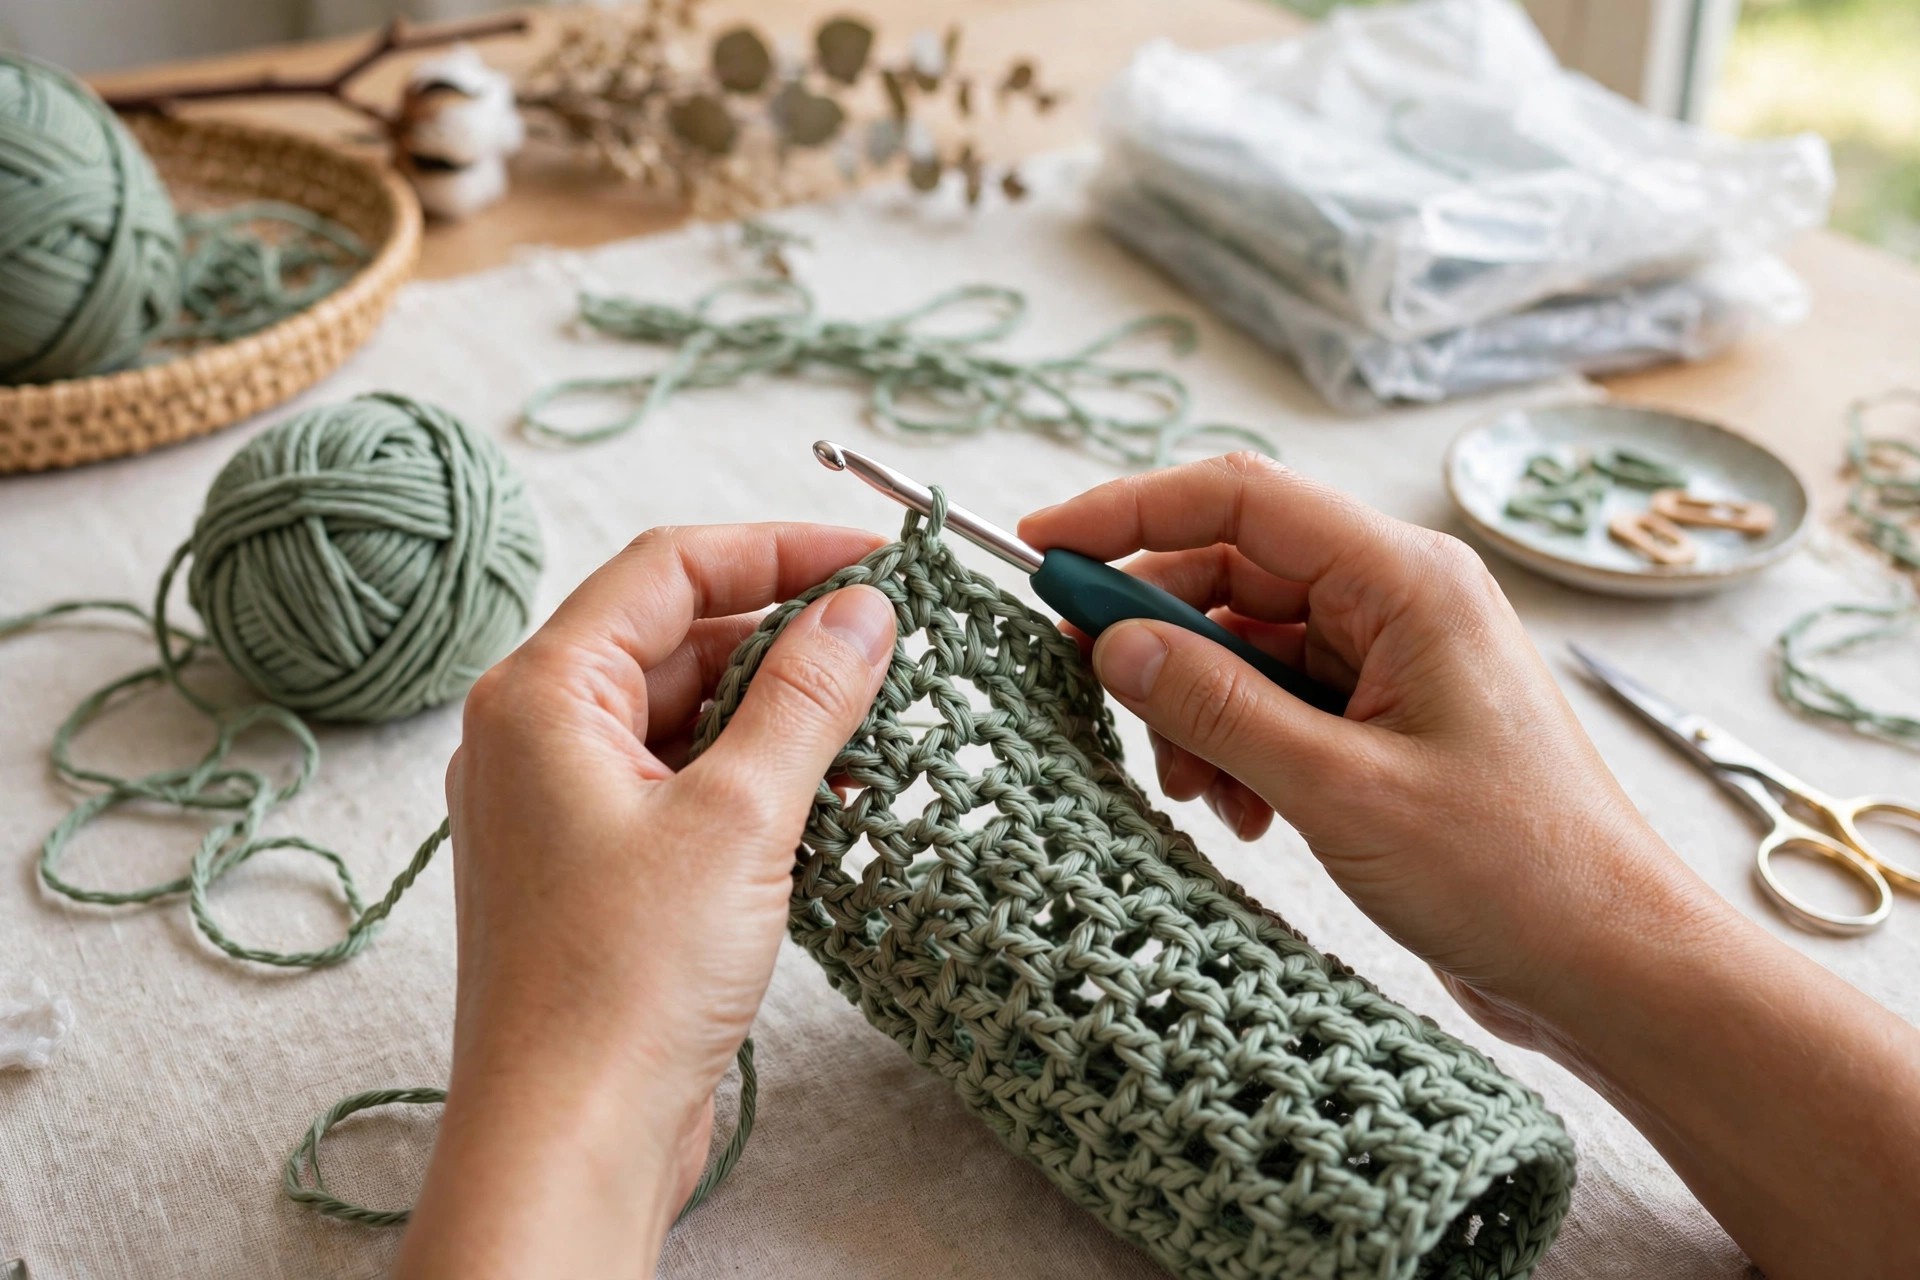
The tube body is a long open tube worked in a simple mesh of double crochet and chain spaces. The mesh stretches to fit the bags, and you can see through it to check how many bags are left. Work it in a spiral in the round, moving the stitch marker up each round.
Start the mesh pattern on round 10. The pattern repeat is (dc in the next st, ch 1, skip the next st), worked all the way around.
- Round 10: ch 3 (counts as the first dc), dc in the next st, ch 1, skip the next st, (dc in the next st, ch 1, skip the next st) rep around, sl st in the top of the starting ch 3 to join. (18 dc, 18 ch-1 sps)
- Round 11: ch 3 (counts as the first dc), dc in the next dc, ch 1, (dc in the next dc, ch 1) rep around, sl st in the top of the starting ch 3 to join. (18 dc, 18 ch-1 sps)
- Rounds 12-29: rep round 11 eighteen more times. (18 dc, 18 ch-1 sps)
The tube should now be about 15 inches long from the top band to the last mesh round. If you want a shorter holder, stop after round 24. If you want a longer holder, keep working round 11 until the tube measures the length you want, then move on to the bottom opening.
Now work the bottom band, which holds the elastic that keeps the bags in. The bottom band is worked in single crochet, like the top band, so it is firm enough to hold the elastic casing.
- Round 30: sc in each dc around, and 1 sc in each ch-1 sp around. (36)
- Rounds 31-33: sc in each st around. (36)
The bottom band forms a small casing for the elastic. Do not fasten off yet. In Part 3 you will thread the elastic through this band, pull it snug, and stitch it closed, which gathers the bottom opening to about 3 inches across.
Part 3: Finishing and Hanging
Thread the elastic through the casing, pull it snug, stitch it closed, and sew the hanging loop to the top. Then load the holder with folded bags and hang it up.
Threading the Elastic
Cut the elastic to about 8 inches long. Thread it onto a large safety pin or a bodkin, and push it through the casing around the bottom band. Pull the elastic through until both ends stick out of the same small gap in the casing, then overlap the ends by 1 inch and stitch them together firmly with the sewing needle and thread. Stitch back and forth several times, because this join takes all the strain every time you pull a bag out.
Pull the elastic join inside the casing, then close the small gap in the casing with a few whip stitches using the yarn tail. The bottom opening should now gather to about 3 inches across.
Sewing on the Hanging Loop
Take the hanging loop you made in Part 1 and pin it to the inside of the top band, at the back of the holder. Thread a tapestry needle with the 6 inch tail, and sew the loop to the band with a whip stitch, working all the way around the base of the loop. Stitch through both the loop and the band, and go around twice so the join is strong enough to hold a full holder.
Weave in all the loose ends with the tapestry needle, working them through the stitches on the inside of the tube where they will not show. Trim any ends that stick out, and turn the holder right side out.
Loading the Holder
Fold each plastic bag flat, then fold it in half lengthwise twice, and roll it into a small bundle. Push the bundles in through the wide top opening, one at a time, until the holder is full. To use a bag, reach under the holder and pull one bag gently out of the bottom opening. The elastic lets one bag slip out while holding the rest in place, so the next bag drops down ready for next time.
Variations: Colors, Sizes, and Uses
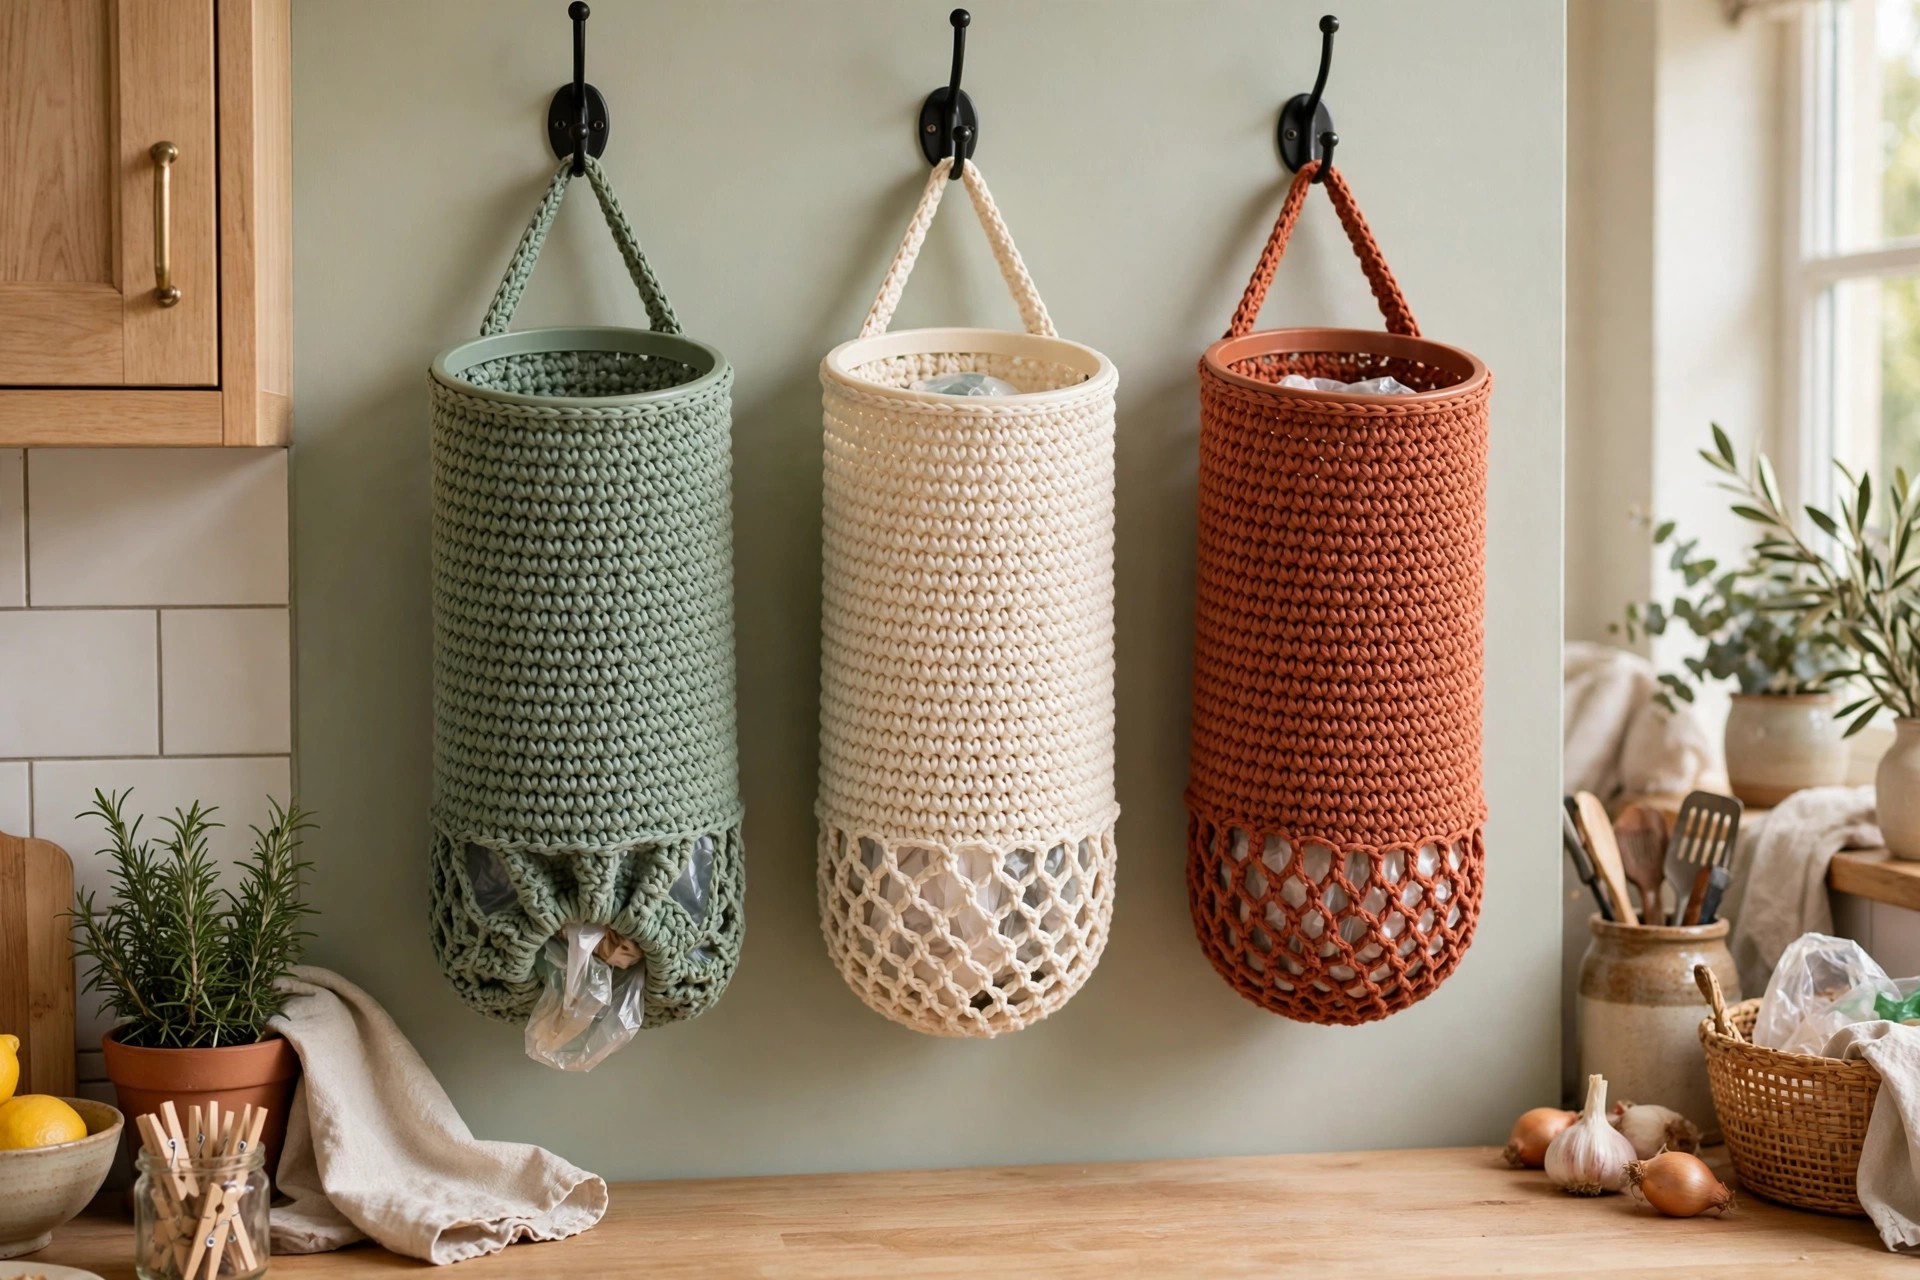
- Classic kitchen holder: work the holder in sage green cotton yarn, exactly as written here, for a calm look that suits most kitchens.
- Bright pantry holder: work the holder in a cheerful yellow or coral cotton yarn so it is easy to spot in a busy pantry.
- Long holder: add 10 more mesh rounds to the body for a holder about 22 inches long that holds about 25 bags.
- Short holder: stop the body after round 24 for a holder about 14 inches long that holds about 10 bags, perfect for a small kitchen or a camper.
- Matching set: pair the holder with a crochet market bag pattern and a crochet tote bag pattern for a full reusable bag set that looks planned.
Troubleshooting a Holder That Does Not Work Right
- My bags fall out of the bottom. The elastic is too loose, or it was not stitched closed firmly. Pull the elastic snugger so the opening gathers to about 3 inches, and stitch the join again with several passes of thread.
- I cannot pull a bag out. The elastic is too tight, or the bottom opening gathered too small. Loosen the elastic a little, or open the casing and cut a slightly longer piece.
- My tube leans to one side. The top opening was uneven, usually from a missed increase in round 6. Count the stitches in the top band, and add or remove a stitch to even it out.
- My mesh will not stretch. The tension is too tight. Switch to a larger hook for the body, or work the chain spaces a little looser so the mesh can open up.
- My holder sags when it is full. The yarn is too soft, usually an acrylic yarn. Make the next holder in worsted weight cotton yarn, which holds its shape under the weight of the bags.
Care Instructions
Hand wash a crocheted plastic bag holder in cool water with a mild detergent, and press the water out gently without wringing. Reshape the tube and lay it flat to dry, or hang it from the loop to air dry. Empty the bags out before washing, and check the elastic now and then to make sure it still springs back.
Frequently Asked Questions
How many plastic bags does this holder fit?
The holder fits about 15 to 20 folded plastic shopping bags. Fold each bag flat, fold it in half lengthwise twice, and roll it into a small bundle before pushing it in through the top opening. The mesh body stretches, so a few extra bags will fit if you fold them tightly.
What yarn is best for a plastic bag holder?
Worsted weight cotton yarn is the best choice for a plastic bag holder, because it is sturdy, it holds its shape when stuffed full of bags, and it washes well. Avoid soft acrylic yarn, because it stretches out under the weight of the bags and the holder loses its shape.
How is this different from the grocery bag holder pattern?
This pattern makes a tube dispenser for thin single-use plastic shopping bags, the bags you fold up and reuse for trash or pet cleanup. The grocery bag holder pattern makes a holder for reusable fabric grocery bags, the sturdy tote style bags you carry to the store. If you want to store folded plastic bags, make this one.
Where should I hang the holder?
Hang the holder from a hook on the inside of a pantry door, on the side of a kitchen cabinet, or on a wall hook near the back door. Any spot within easy reach of the kitchen works well, as long as the holder hangs freely and you can reach under it to pull a bag out.
Can I make the holder longer or shorter?
Yes, you can change the length by working more or fewer mesh rounds in the body. Stop after round 24 for a shorter holder about 14 inches long, or add 10 more rounds for a longer holder about 22 inches long. Keep the top opening and the bottom elastic opening the same size in every version.
Can I sell holders made from this pattern?
Yes, you may sell finished holders made from this free pattern, with credit to Little Loop Finds. Do not sell or republish the pattern text.
More Free Patterns to Try
If you loved this plastic bag holder, try another free original pattern next. Make a crochet basket pattern free for another tidy storage project, or a crochet kitchen towel pattern to finish out the kitchen set.
Happy stitching, and may your kitchen stay tidy and your bags stay within easy reach.