Giraffe Crochet Free Pattern: Cuddly Calf Plush
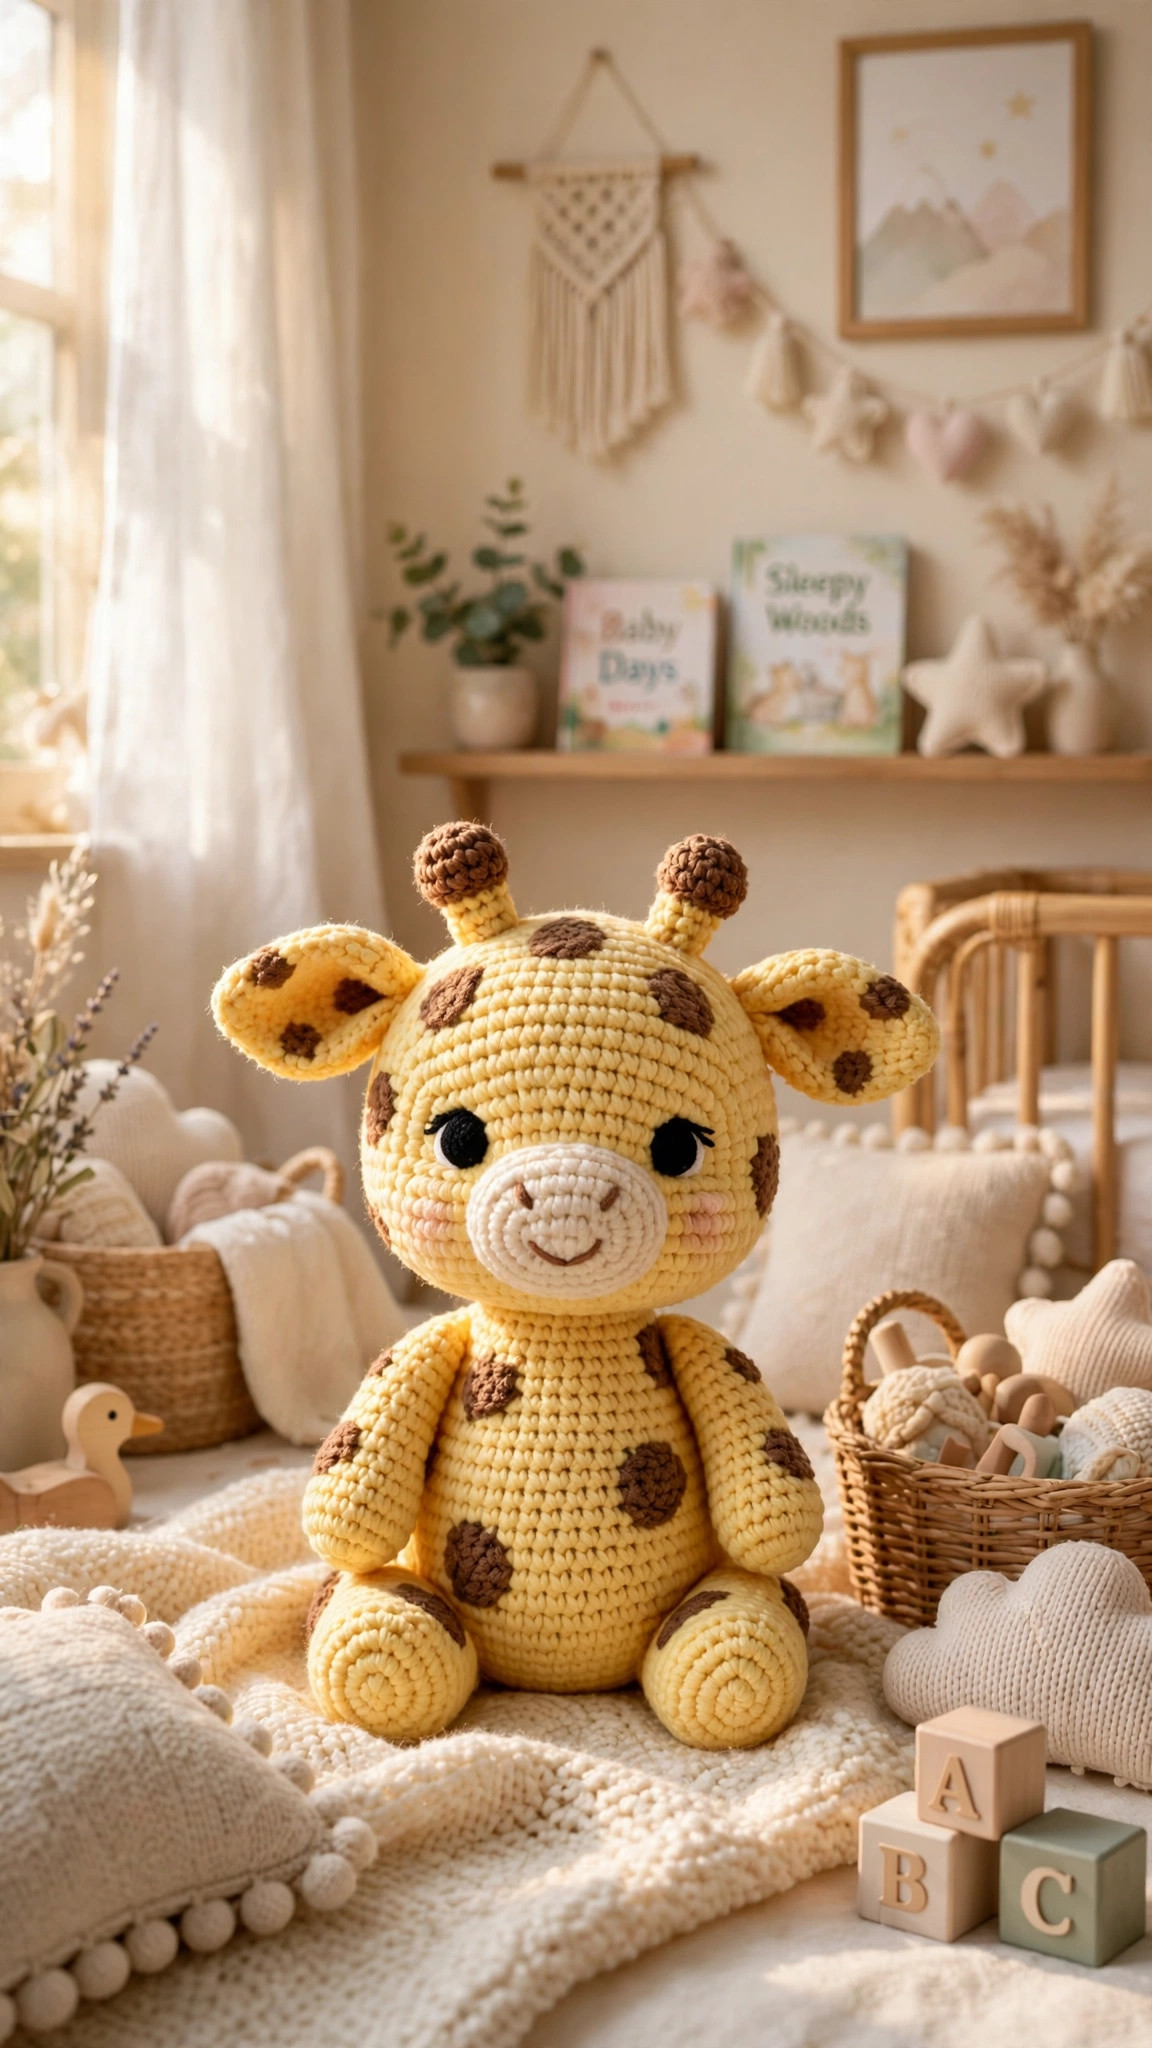
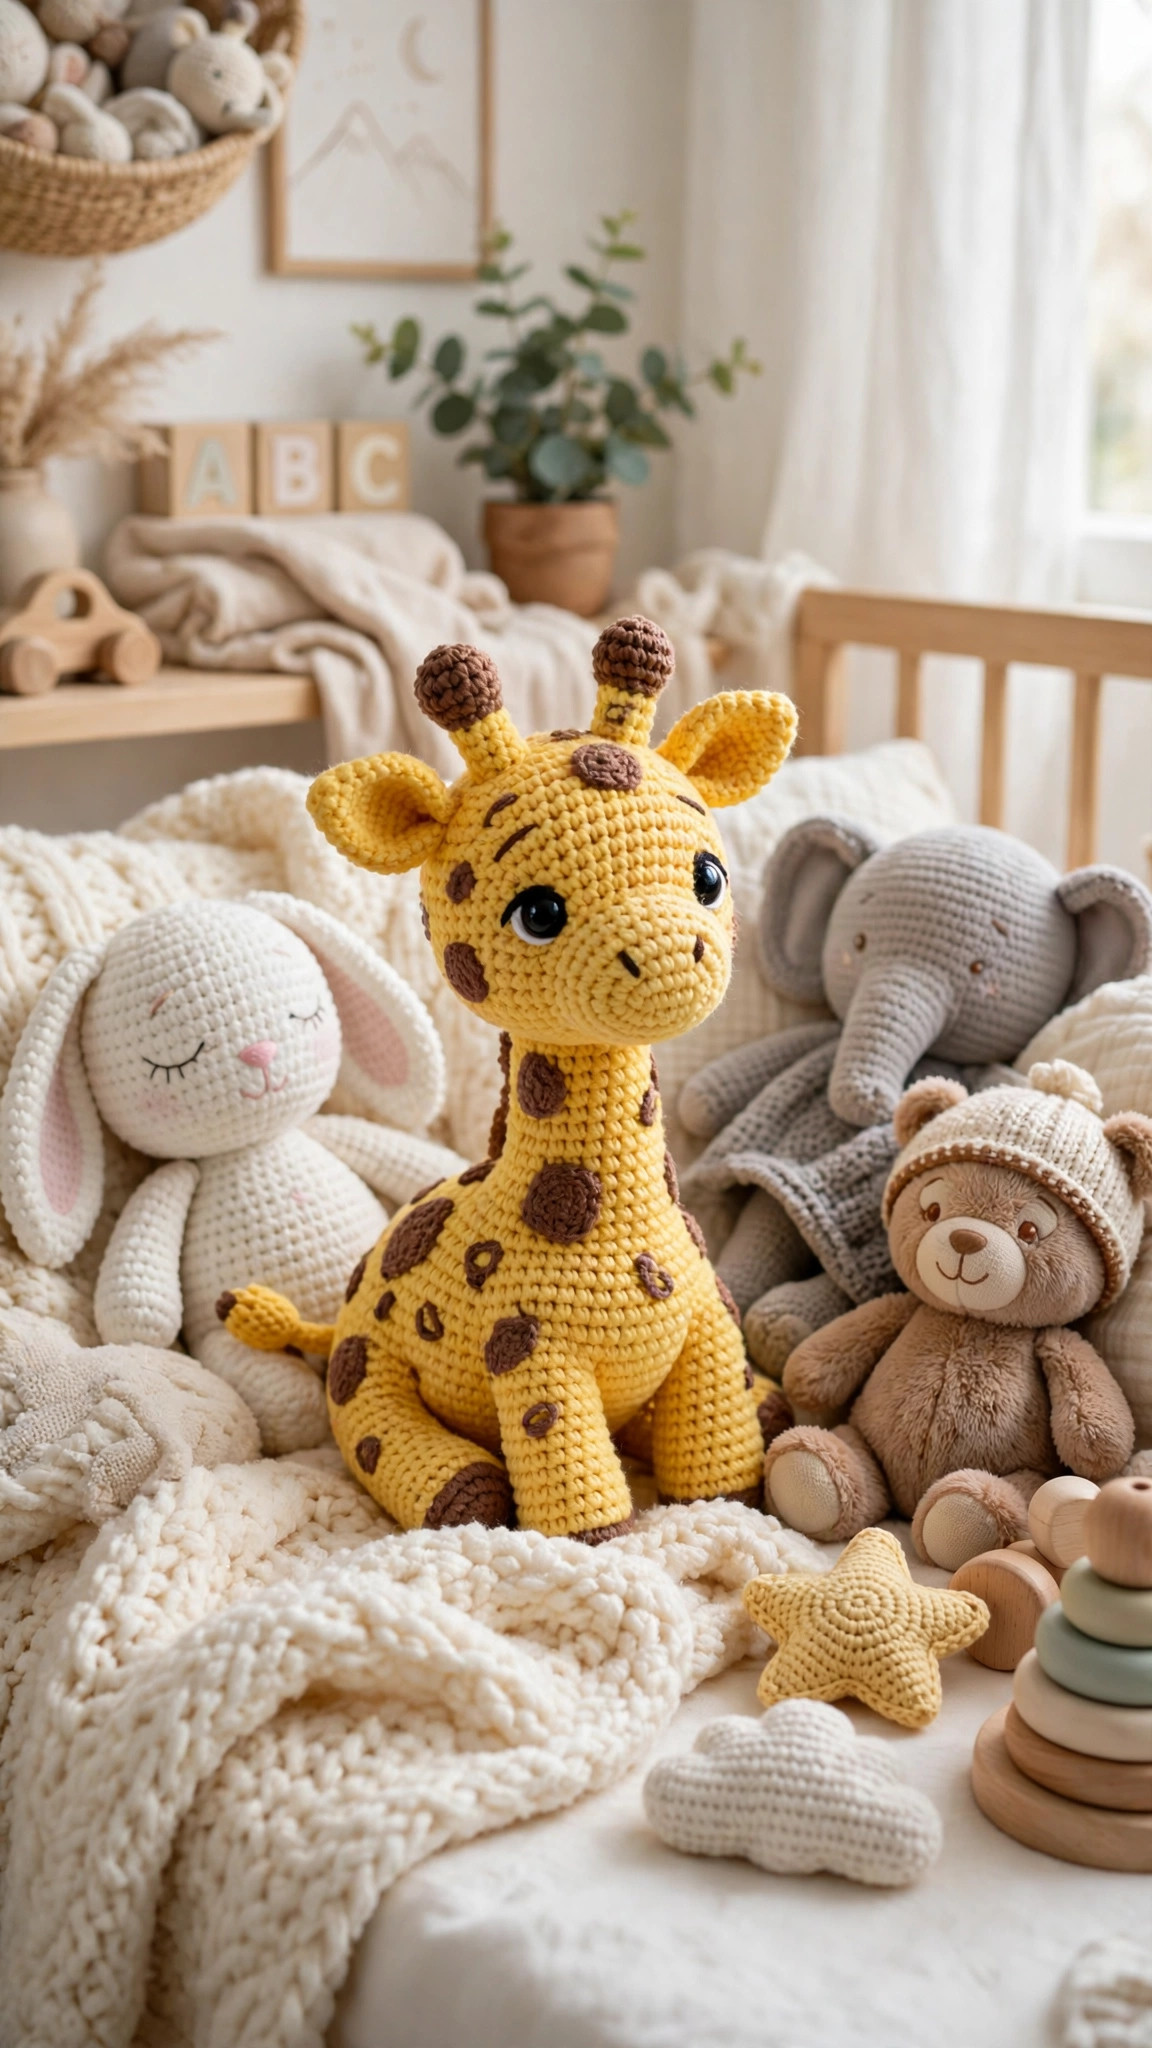
A cuddly spotted giraffe calf plush, about 10 inches tall with ossicones, crocheted spots and little hooves: a nursery favourite.

Amigurumi · Crochet
- Finished size
- 10 in tall (calf)
- Making time
- About 5 hours
- Hook
- 4.5 mm, worsted yarn
- Sizes
- Calf and mini
- Skill
- Advanced Beginner
In this post
Few amigurumi make a nursery smile the way a giraffe does. This giraffe crochet free pattern makes a cuddly spotted calf plush with a round head, tiny ossicones, soft ears, a long neck, and little brown hooves, all worked in US terms with simple rounds. The finished calf stands about 10 inches tall in worsted yarn, and the same pattern also works in lighter yarn for a 7 inch mini version. It is a wonderful gift for a baby shower, a first birthday, or any child who loves stuffed animals.
- Why you'll love this giraffe crochet free pattern
- Materials you'll need
- Size, gauge and skill level
- Abbreviations: US terms
- The pattern (US terms)
- Finishing touches
- Two sizes, one pattern
- Troubleshooting tips
- Frequently asked questions
- More free patterns to try
Why you'll love this giraffe crochet free pattern
Giraffe amigurumi patterns often ask you to embroider the spots, which can look uneven, or they build the neck as a stiff tube that flops over. This pattern does neither. The spots are small crocheted circles in brown yarn that you sew on like applique, so every spot is neat and even, and you can place them exactly where you want them. The neck is worked at a slightly smaller stitch count than the body and stuffed lightly at the top, so it holds its proud giraffe posture instead of wobbling.
The construction is beginner friendly. Every part is worked in the round from a magic ring, so the only seaming is attaching the finished pieces: head to neck, neck to body, legs and tail to the body, and spots on top. If this is your first amigurumi, our magic ring tutorial walks through the one technique that makes all the rounds start cleanly.
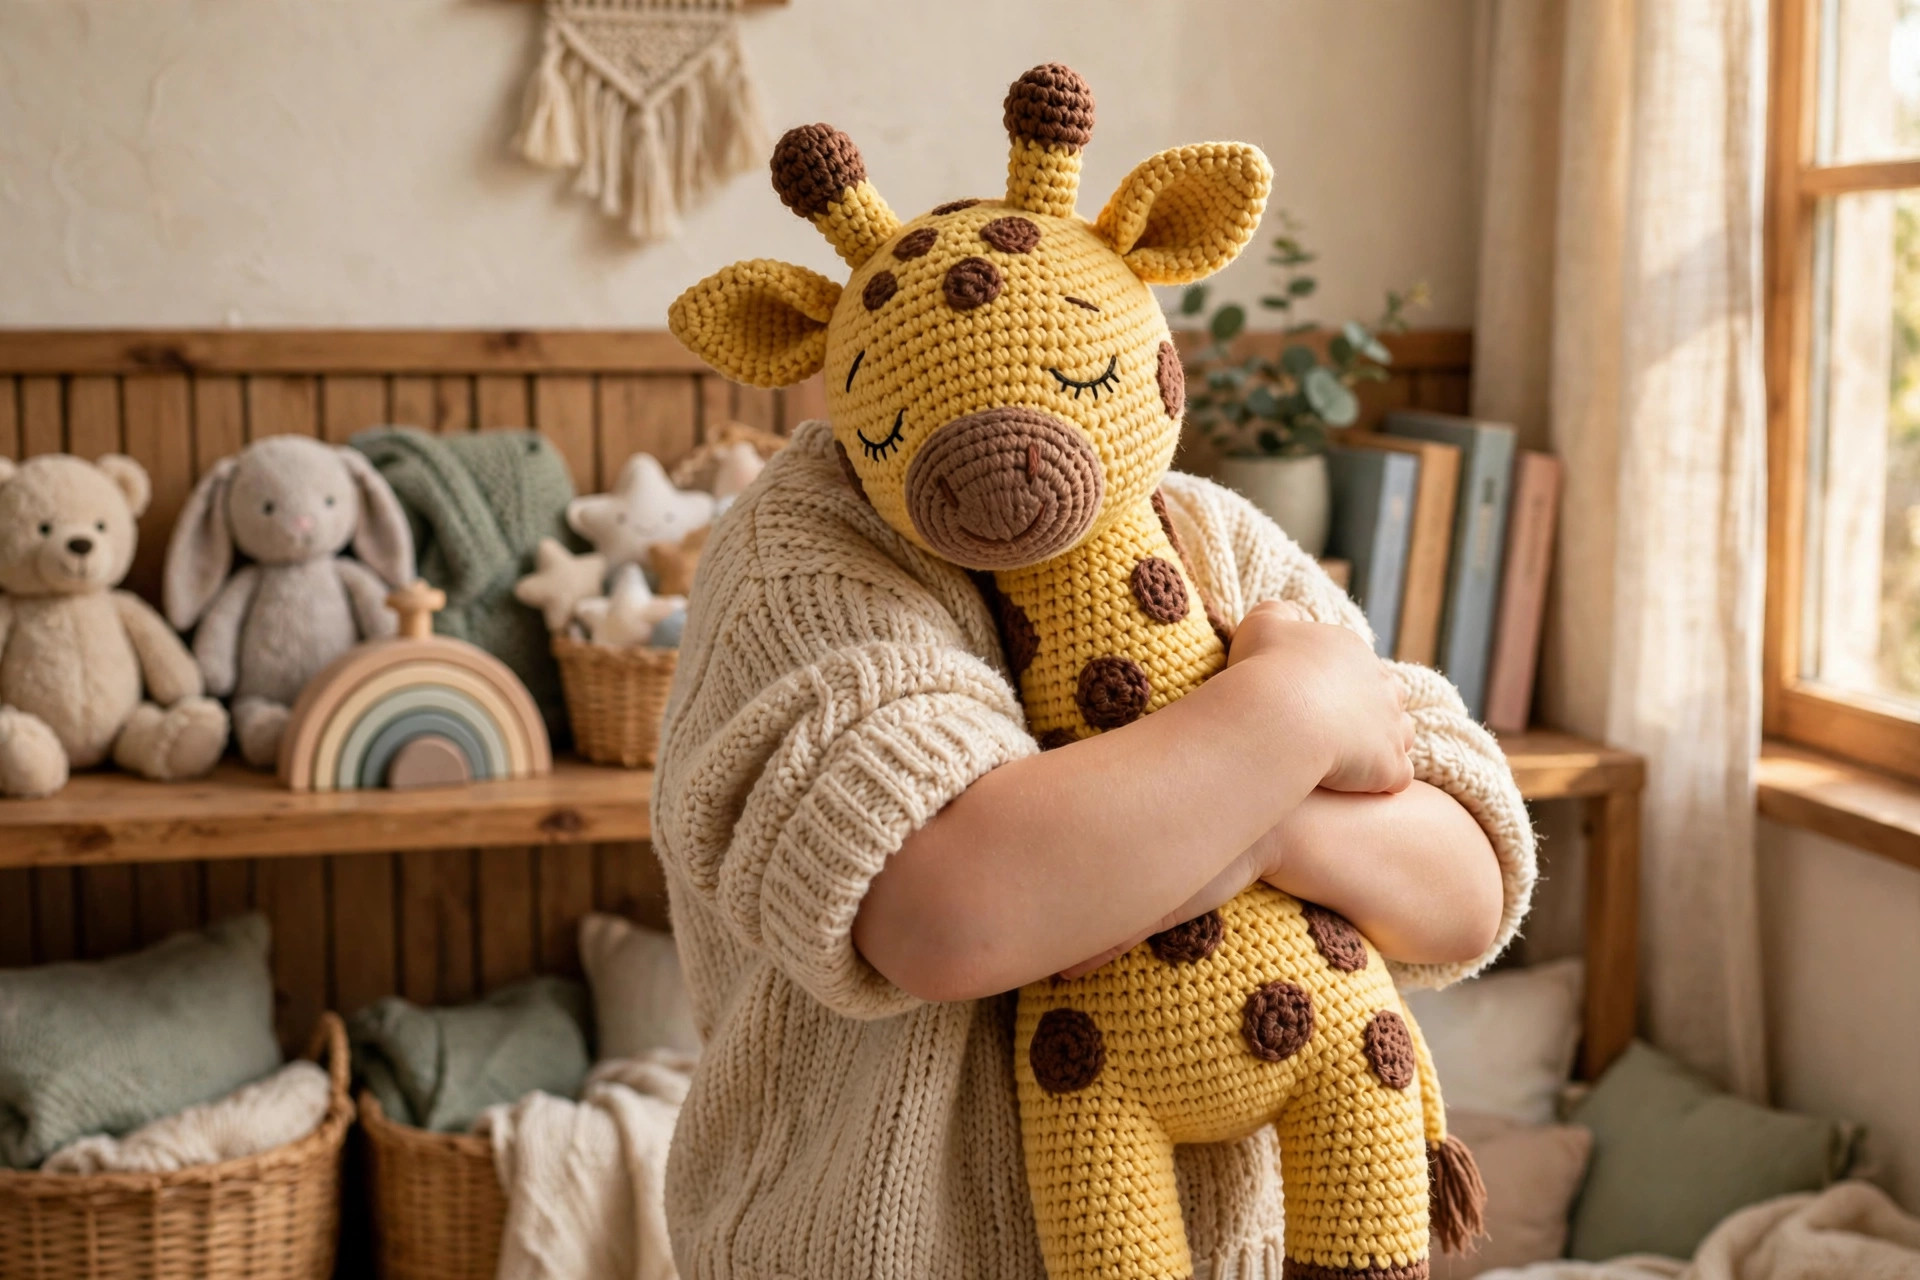
It is also a generous gift make: a finished calf looks like it took far longer than five hours. Make the full size for a baby shower gift, or the mini as a travel companion. Animal lovers will also enjoy the free moose pattern, which shares the same sturdy four legged construction.
Materials you'll need
| Supply | What to get |
|---|---|
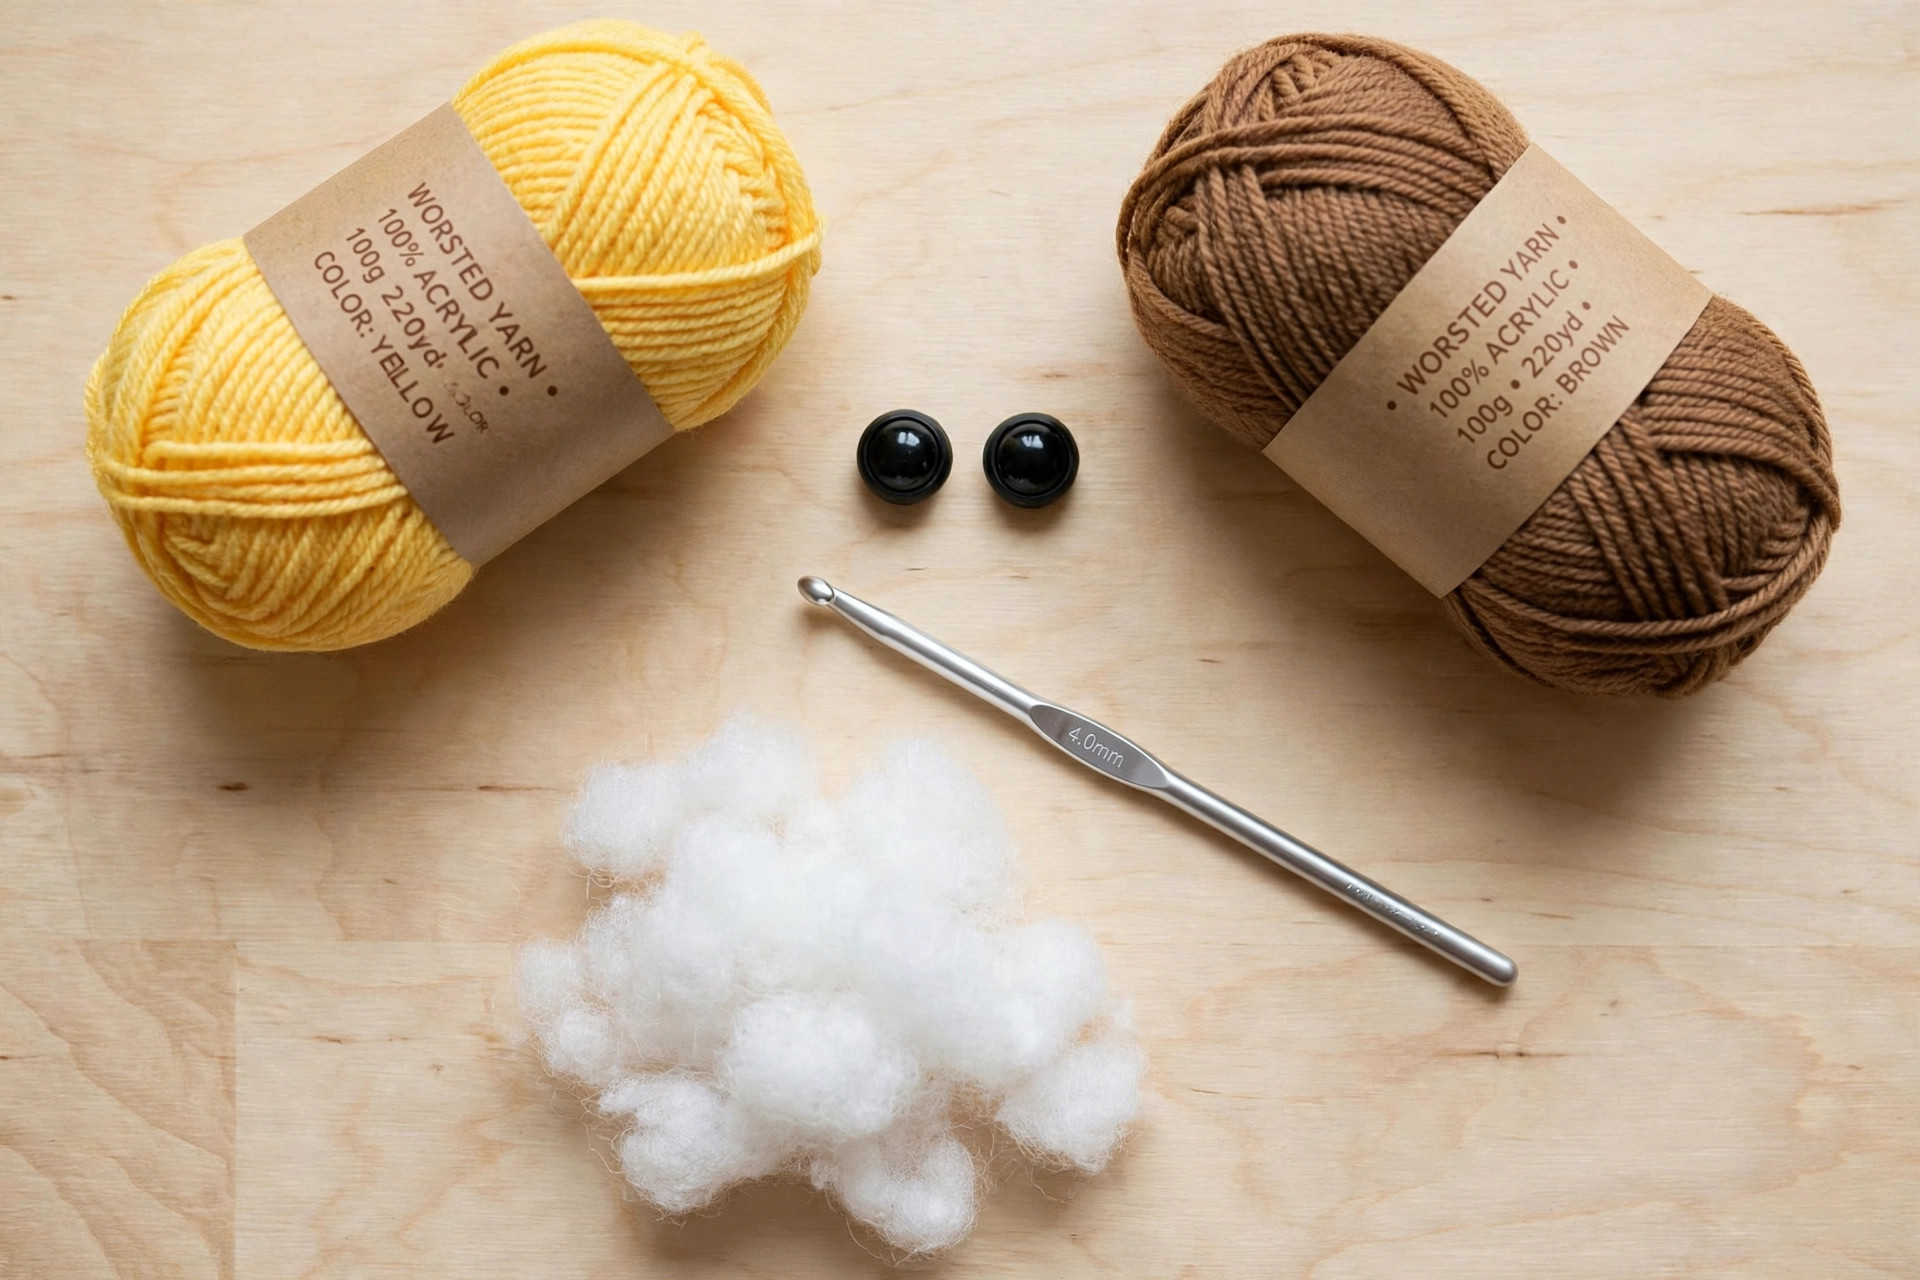
| Yarn (A) | Worsted-weight (#4) yarn in golden yellow, about 120 yds / 110 m |
| Yarn (B) | Worsted-weight (#4) yarn in chocolate brown, about 40 yds / 37 m |
| Yarn (C) | Worsted-weight (#4) yarn in cream, about 15 yds / 14 m |
| Crochet hook | 4.5 mm (7) for the calf size, 3.5 mm (E-4) for the mini size |
| Safety eyes | Two 12 mm black safety eyes (calf), two 9 mm (mini) |
| Stuffing | Polyester toy stuffing, one medium bag per giraffe |
| Tapestry needle | For weaving in ends and sewing pieces together |
| Notions | Scissors, stitch markers, pins for positioning pieces |
| Optional | Small amount of brown embroidery floss for nostrils |
A smooth, soft acrylic or cotton blend in yellow shows the spots crisply and holds the neck upright. Avoid fuzzy or textured yarn for the body, because it hides the shaping and makes the spots look blurry.
Yarn amounts by size (approximate): Mini (7 in): yellow 80 yds, brown 30 yds, cream 10 yds. Cuddly calf (10 in): yellow 120 yds, brown 40 yds, cream 15 yds. One 100 g ball of yellow makes one calf with yarn to spare for spots.
A note on safety eyes: safety eyes suit children aged three and up once the washers are locked on. For babies and toddlers under three, embroider the eyes with black yarn instead: two small French knots placed where the eyes would go.
Size, gauge and skill level
Every piece is worked in continuous rounds from a magic ring. Place a stitch marker in the first stitch of each round and move it up as you go.
| Size | Finished height | Yarn | Hook | Eyes |
|---|---|---|---|---|
| Mini calf | 7 in / 18 cm | DK (#3) | 3.5 mm | 9 mm |
| Cuddly calf | 10 in / 25 cm | Worsted (#4) | 4.5 mm | 12 mm |
- Finished size (cuddly calf): about 10 in (25 cm) tall from hoof to ossicone tip, and about 6.5 in (17 cm) long from chest to tail. The mini calf measures about 7 in (18 cm) tall with the same proportions.
- Gauge: 18 sc and 20 rows = 4 in (10 cm) with a 4.5 mm hook in worsted yarn. Gauge matters less than stitch tightness in amigurumi: your fabric should be firm with no gaps, so the stuffing never shows through. If you can see stuffing, go down half a hook size.
- Skill level: advanced beginner. You should know how to work a magic ring, single crochet, increase, decrease, and change colours. Everything else is counting and sewing.
If you enjoy small plushes, the mini amigurumi patterns collection is full of quick companions in the same style.
Abbreviations: US terms
| Abbreviation | Meaning |
|---|---|
| MR | magic ring |
| ch | chain |
| sc | single crochet |
| sl st | slip stitch |
| inc | increase: 2 sc in the same stitch |
| dec | decrease: sc 2 together |
| BLO | back loop only |
| st(s) | stitch(es) |
| RS | right side |
| FO | fasten off |
| [ ] | total stitch count at the end of the round or row |
A note on colour changes: when a piece changes from brown to yellow, work the last yarn over of the final stitch in the old colour with the new colour.
The pattern (US terms)
Work every piece in continuous rounds unless a row is stated. Stuff each piece firmly but not rock hard: the giraffe should be cuddly, not stiff. Instructions below make the cuddly calf; the mini uses the same rounds with DK yarn and a 3.5 mm hook.
Head (yellow)
- Round 1: MR, 6 sc in ring. [6]
- Round 2: inc in each st around. [12]
- Round 3: (sc, inc) x6. [18]
- Round 4: (2 sc, inc) x6. [24]
- Round 5: (3 sc, inc) x6. [30]
- Round 6: (4 sc, inc) x6. [36]
- Rounds 7-12: sc in each st around. [36]
- Round 13: (4 sc, dec) x6. [30]
- Round 14: (3 sc, dec) x6. [24]
- Place the eyes: insert the safety eyes between Rounds 10 and 11, about 8 stitches apart, centred on what will be the front of the face. Lock the washers on firmly, then stuff the head, shaping it into a smooth ball.
- Round 15: (2 sc, dec) x6. [18]
- Round 16: (sc, dec) x6. [12]
- Round 17: dec x6. [6]
FO, leaving a 6 in tail. Weave the tail through the front loops of the last round, pull tight to close, and weave the end inside the head.
Muzzle (cream)
- Round 1: MR, 6 sc in ring. [6]
- Round 2: inc in each st around. [12]
- Round 3: (sc, inc) x6. [18]
- Round 4: (2 sc, inc) x6. [24]
- Round 5: sc in each st around. [24]
- Round 6: (2 sc, dec) x6. [18]
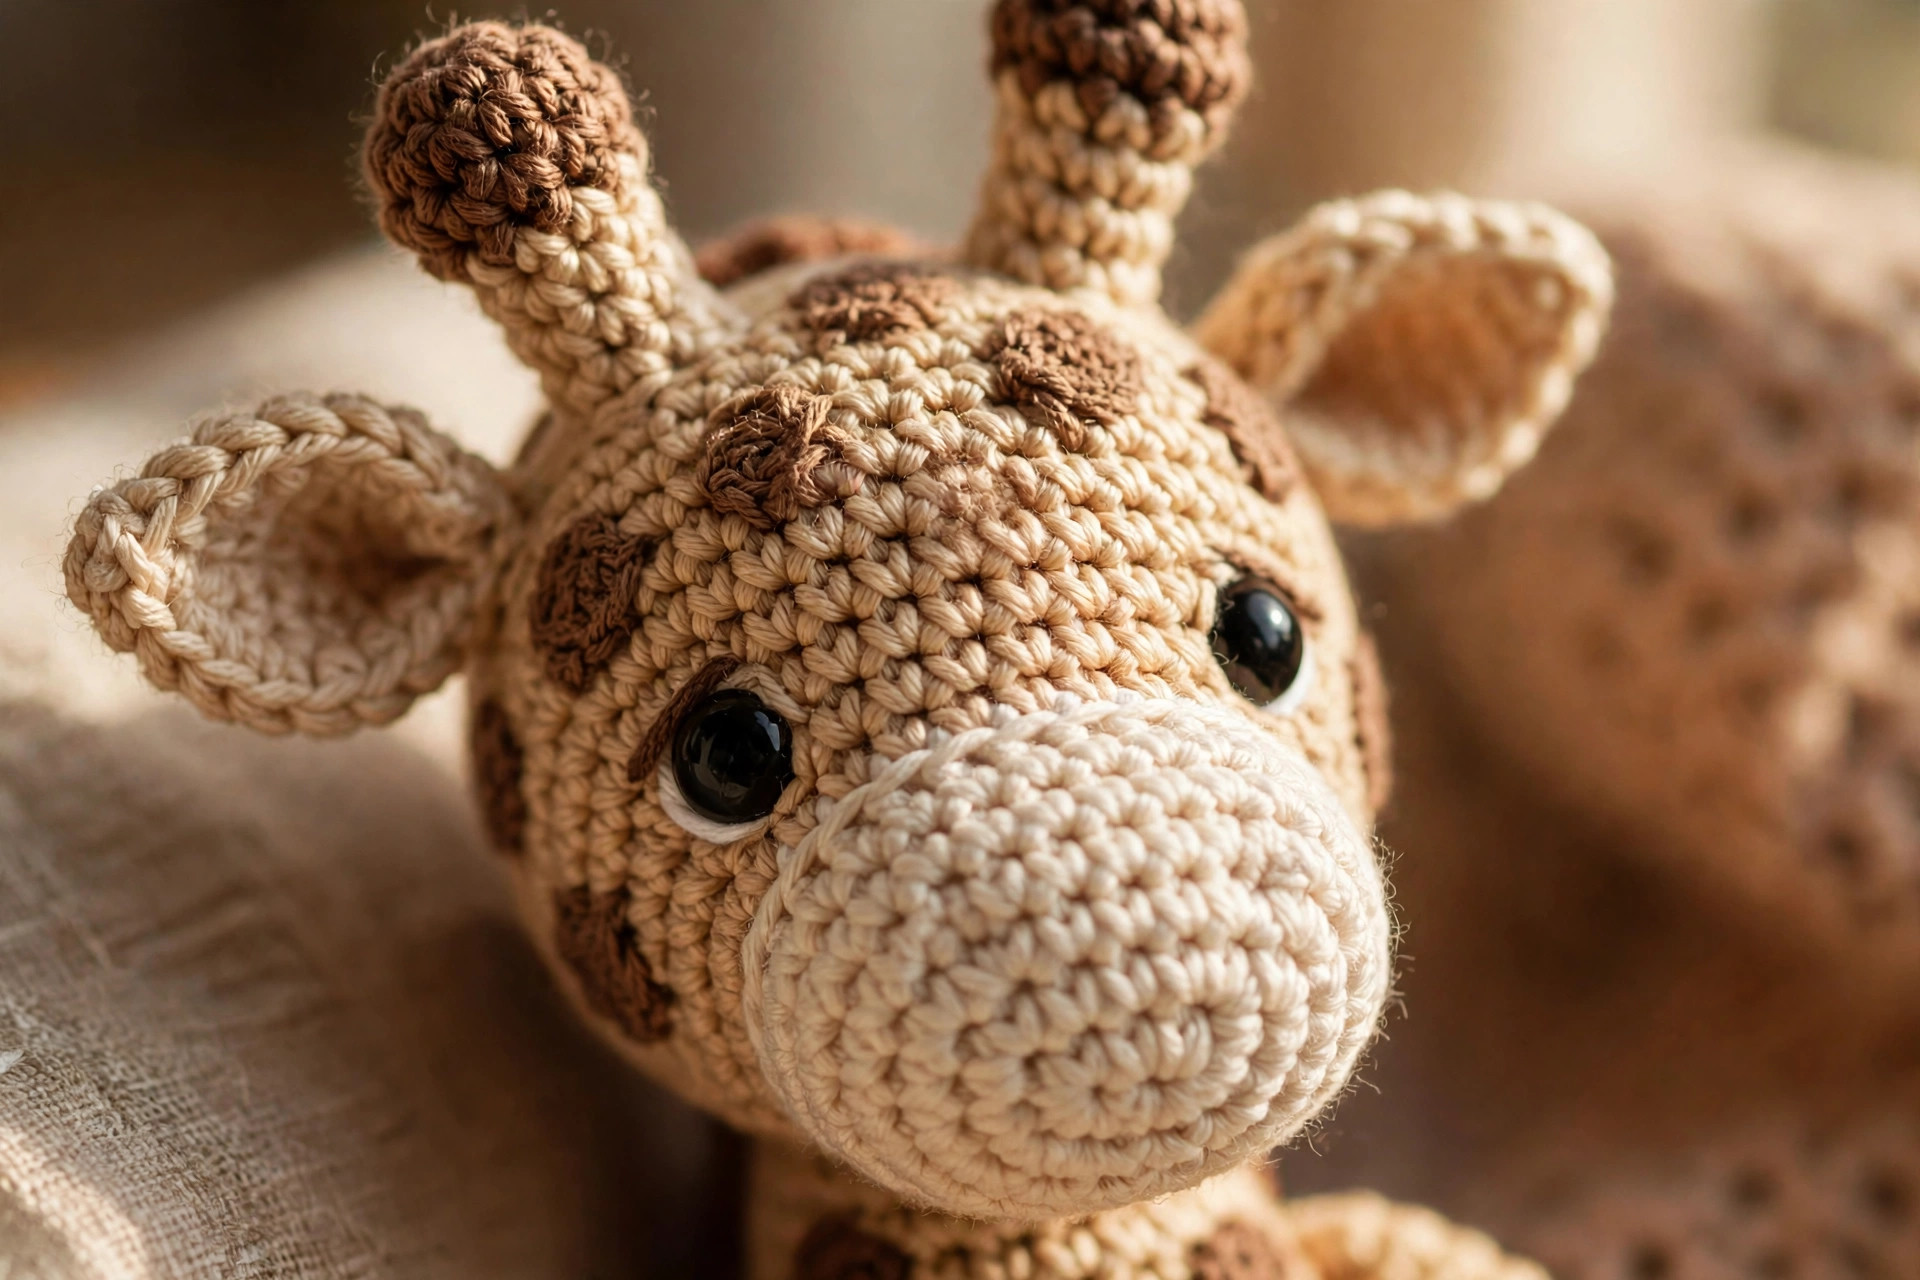
Stuff lightly, keeping the muzzle soft and rounded. FO with a long tail. Sew the muzzle to the lower front of the head, centred below the eyes, spanning roughly Rounds 11 to 15 of the head. Embroider two short vertical nostril lines on the muzzle with brown yarn or floss.
Ossicones, make 2
Start with brown yarn.
- Round 1: MR, 6 sc in ring. [6]
- Rounds 2-3: sc in each st around. [6]
- Change to yellow.
- Rounds 4-6: sc in each st around. [6]
Stuff the brown tip lightly. FO with a long tail. Sew one ossicone to the top of the head, about 3 rounds behind the eyes and 6 stitches apart from each other, tilting them very slightly outward.
Ears, make 2 (yellow, worked flat)
- Row 1: ch 7, sc in 2nd ch from hook and in each ch across. [6]
- Row 2: dec, sc 2, dec. [4]
- Row 3: dec, dec. [2]
FO, leaving a long tail. Flatten the ear and sew it to the side of the head, just behind and slightly below the ossicone, with the wide end attached and the point facing outward. Repeat on the other side, checking from the front that the ears match.
Body (yellow)
- Round 1: MR, 6 sc in ring. [6]
- Round 2: inc in each st around. [12]
- Round 3: (sc, inc) x6. [18]
- Round 4: (2 sc, inc) x6. [24]
- Round 5: (3 sc, inc) x6. [30]
- Rounds 6-11: sc in each st around. [30]
- Round 12: (3 sc, dec) x6. [24]
- Round 13: (2 sc, dec) x6. [18]
Stuff the body firmly, shaping it into a plump oval with a flat-ish underside so the giraffe stands steadily.
- Round 14: (sc, dec) x6. [12]
- Round 15: dec x6. [6]
FO, leaving a 6 in tail. Close the opening as for the head and weave the end inside.
Neck (yellow)
- Round 1: MR, 6 sc in ring. [6]
- Round 2: inc in each st around. [12]
- Round 3: (sc, inc) x6. [18]
- Rounds 4-13: sc in each st around. [18]
- Round 14: (sc, dec) x6. [12]
- Round 15: sc in each st around. [12]
Stuff the neck firmly at the bottom half and lightly at the top, so it stays upright but joins softly to the head. FO with a long tail. Sew the Round 1 end of the neck to the front top of the body, tilting it slightly forward in classic giraffe posture. Then sew the bottom of the head to the top of the neck, checking from the side that the head sits level and proud.
Legs, make 4
Start with brown yarn for the hooves.
- Round 1: MR, 6 sc in ring. [6]
- Round 2: inc in each st around. [12]
- Round 3: sc in BLO in each st around. [12]
- Round 4: sc in each st around. [12]
- Change to yellow.
- Rounds 5-9: sc in each st around. [12]
Stuff lightly, keeping the hoof end firm so the giraffe stands. FO with a long tail. Sew the legs to the underside of the body: the front pair just behind where the neck joins, the back pair near the tail end, spaced evenly left and right. The giraffe should stand on all four without tipping.
Tail (yellow)
- Ch 14, sc in 2nd ch from hook and in each ch across. [13]
FO with a long tail for sewing. For the tuft, cut 6 strands of brown yarn about 4 in long, fold them in half, pull the folded loop through the last chain of the tail with your hook, then pull the ends through the loop and tighten. Trim the tuft to about 1.5 in. Sew the plain end of the tail to the back of the body at about Round 8 height.
Spots (brown)
- Large spot: MR, 6 sc in ring; Round 2: inc in each st around. [12] FO, leaving a tail for sewing.
- Medium spot: MR, 6 sc in ring. [6] FO, leaving a tail for sewing.
Make about 6 large spots and 8 medium spots. Pin them on the body, neck, and legs before sewing: scatter them naturally with a little space between each one, and keep them off the belly side so the giraffe looks tidy from the front. Sew each spot on with small stitches around its edge.
Prefer embroidered spots? Work the same placement with brown yarn and a tapestry needle, using satin stitch to fill small ovals. Embroidered spots lie completely flat, which some makers prefer for baby gifts.
Finishing touches
Take five unhurried minutes here: it is the difference between homemade and handmade.
Check the stance. Set the giraffe on a flat table. All four hooves should touch, and the neck should rise at a gentle forward angle. If it tips, the stuffing in the legs is uneven: open the leg seams slightly, adjust, and resew.
Tidy the spot edges. Look at each crocheted spot from arm's length. If any edge curls, add one more tiny stitch to tack it down. Spots should lie flat against the body with no lifted rims.
Comb the tuft. Run your fingers through the tail tuft a few times to separate the strands, then trim it into a neat little brush shape. A tidy tuft finishes the back view.
Weave every end. Work each yarn tail through the base of the nearby stitches for at least 2 in before trimming flush. On a toy that will be loved hard, loose ends are the first thing to work free, so be generous here.
Two sizes, one pattern
The cuddly calf is the star, but the same rounds make a pocket sized mini that children love to carry. The mini takes about three and a half hours and uses less than half the yarn, so it is perfect for using up the leftovers from the big one. Make the pair together and you have an instant parent and baby gift set: the calf for the nursery shelf and the mini for the diaper bag.
For a gift set, the crochet bunny plush is a similar size and speed, and the hippo pattern adds a chunky safari friend with the same sturdy construction.
Troubleshooting tips
- The neck flops to one side. The neck is under stuffed or the join to the body is too loose. Add more stuffing to the lower half of the neck and sew the join with a second round of stitches all the way around.
- The head sits crooked on the neck. You sewed it without pinning first. Remove the stitches, pin the head in place, check it from the front and both sides, then sew again with small even stitches.
- The giraffe will not stand on its own. The legs are different lengths or the stuffing is uneven. Stand it up and see which hoof lifts: add or remove a little stuffing in that leg until all four touch the table.
- The stuffing shows through the fabric. Your stitches are too loose or the hook is too big. Go down half a hook size and pull each stitch snug. This matters most on the head, where the stuffing is brightest.
- The spots curl at the edges. The spot is slightly too big for the curve it sits on. Use a medium spot instead of a large one there, or tack the curling edge down with one extra stitch.
Frequently asked questions
Is this giraffe crochet free pattern really free?
Yes, the complete pattern above is free, no email signup and no PDF purchase required. It is an original Little Loop Finds design written in US terms.
What skill level is this giraffe pattern?
Advanced beginner. If you can work a magic ring, single crochet, increase, and decrease, you have every skill this pattern needs. The sewing is simple: you attach finished pieces with a tapestry needle, and the spots are just small circles.
How long does it take to make the giraffe?
About 5 hours for the cuddly calf: roughly 45 minutes for the head and face, 45 minutes for the body and neck, 45 minutes for the four legs, and the rest for the tail, spots, and assembly. The mini takes about 3.5 hours.
How much yarn do I need?
For the cuddly calf in worsted yarn: about 120 yds of yellow, 40 yds of brown, and 15 yds of cream. The mini in DK yarn needs about 80 yds of yellow, 30 yds of brown, and 10 yds of cream. One 100 g ball of yellow makes one calf with yarn to spare.
Are safety eyes safe for a baby gift?
Safety eyes are fine for children aged three and up once the washers are locked on. For babies and toddlers under three, embroider the eyes instead with black yarn: two small French knots placed where the eyes would go. Never give a toy with safety eyes to a child who still mouths toys unless you are sure of the age guidance.
Can I sell the finished giraffes I make?
Yes! You may sell finished giraffes made from this pattern in small batches, at craft fairs, markets, or as gifts. Please credit Little Loop Finds as the pattern designer with a link back to this page.
More free patterns to try
If this giraffe was fun, keep the hook moving. The free moose pattern is another four legged friend with the same sturdy build, the crochet highland cow plush is a shaggy favourite with a similar size, the crochet bunny plush makes a perfect nursery companion, the hippo pattern adds a chunky safari friend, the mini amigurumi patterns collection is full of quick small plushes, and our magic ring tutorial is there whenever a new amigurumi starts with that first ring.