Free Crochet Bracelet Patterns: 3 Easy Styles to Make
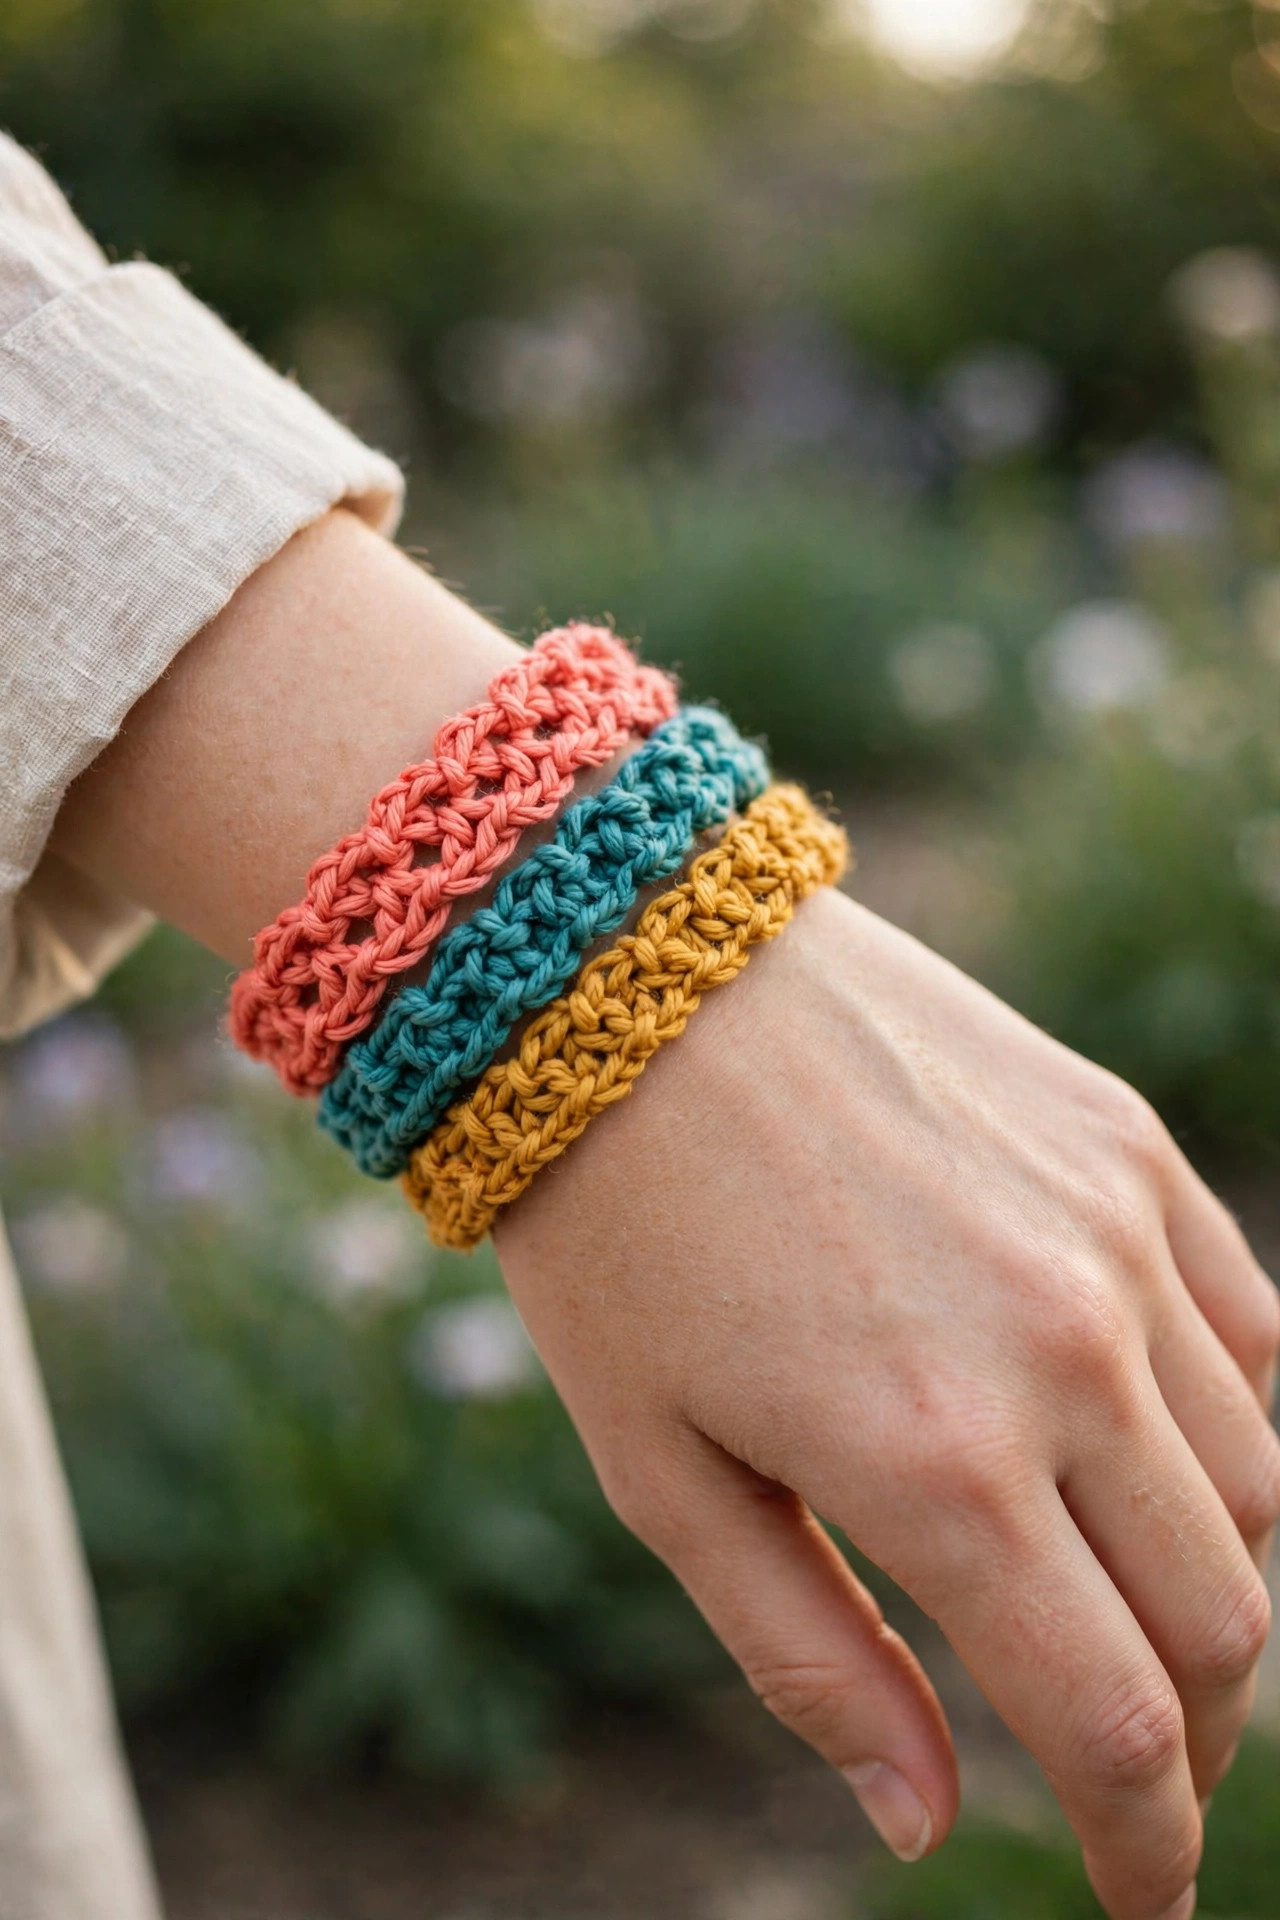
Three easy crochet bracelet styles in one post: a plain single crochet band, a beaded-look slip stitch design, and a twisted cord wrap. Original designs, US terms, beginner friendly.

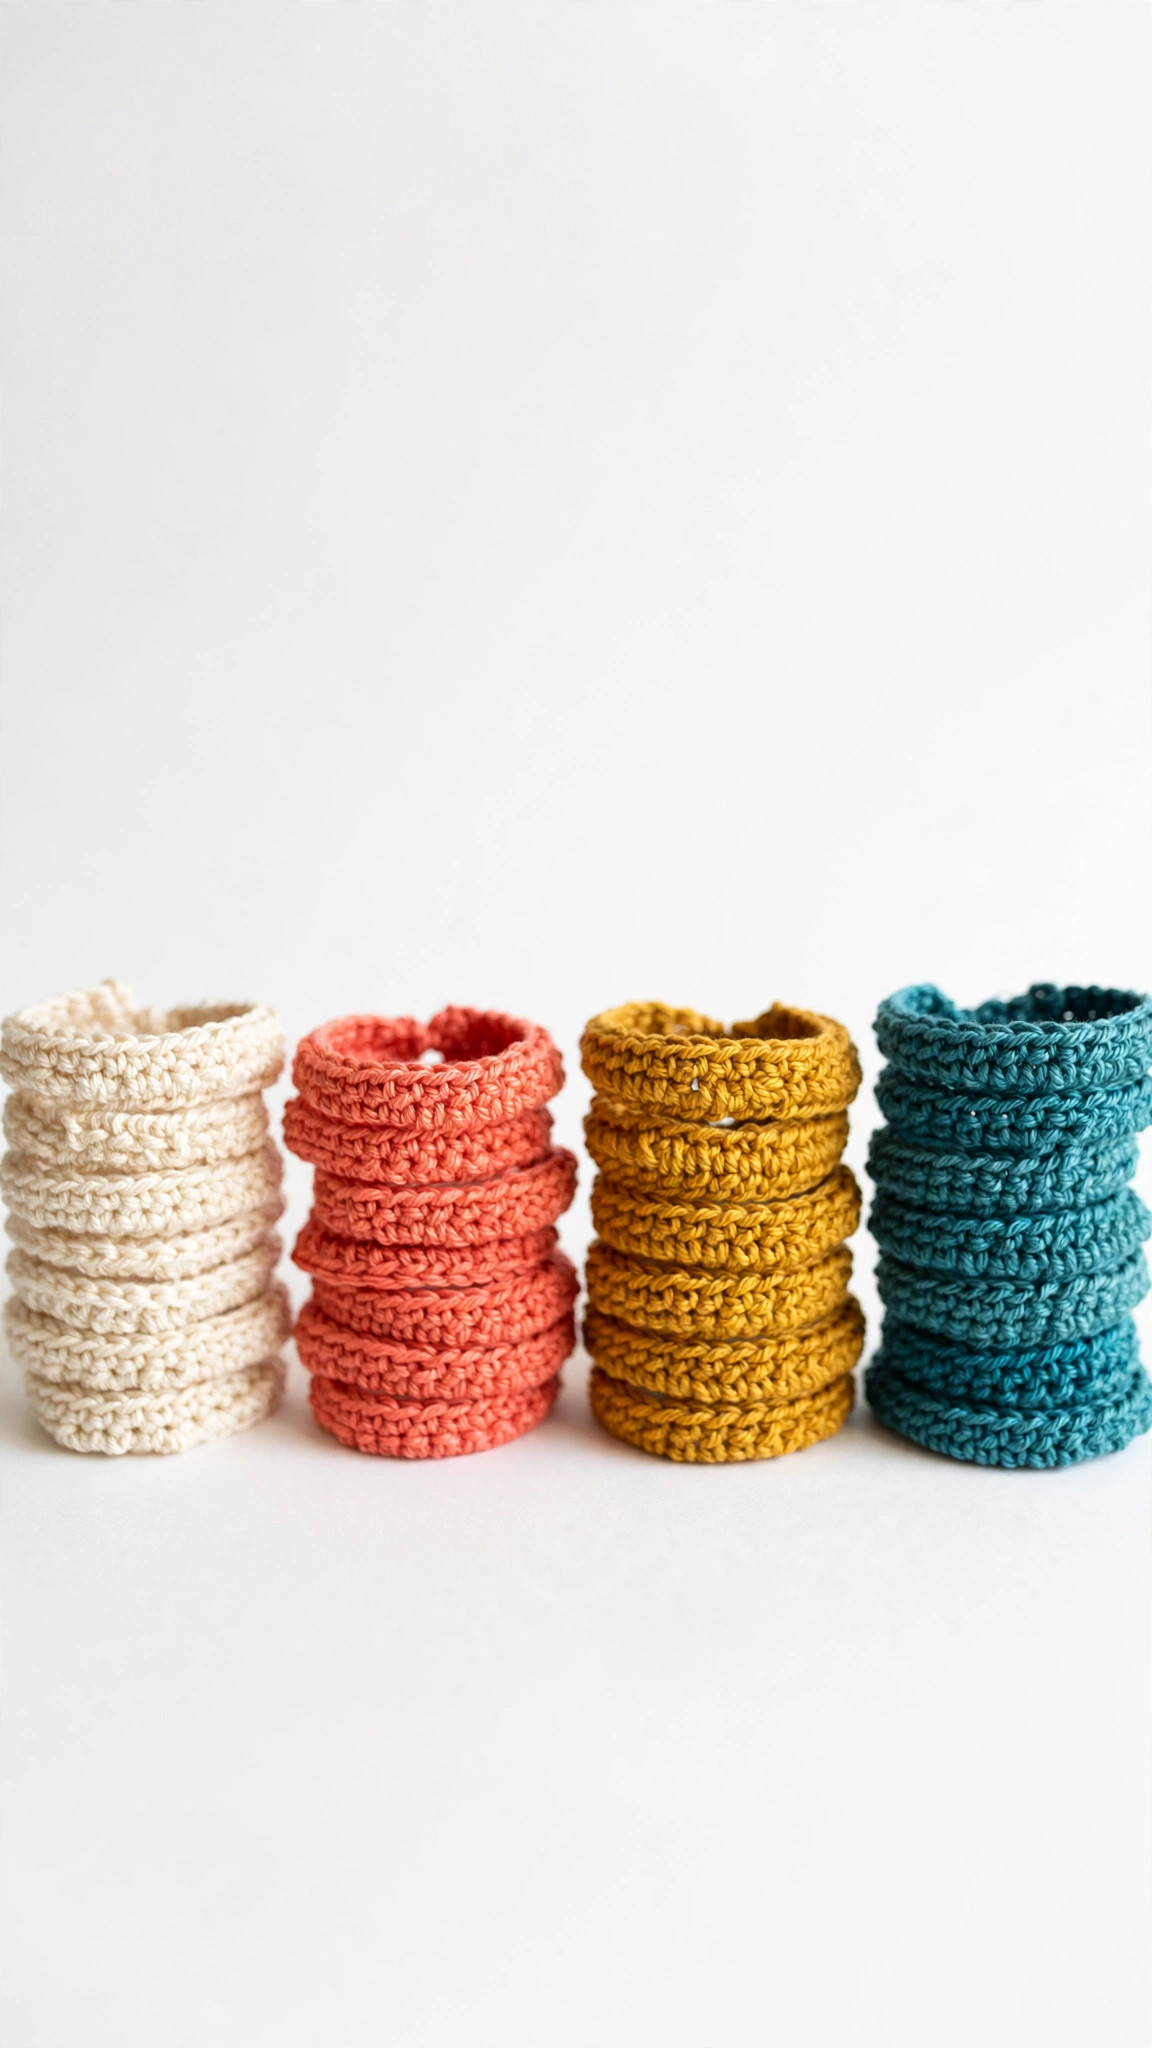
Accessories · Crochet
- Finished size
- Made to fit, 6-8 in wrists
- Making time
- About 30 min each
- Hook
- 3.0 mm, cotton yarn
- Set
- 3 designs in one post
- Skill
- Beginner
In this post
- Table of contents
- Why you'll love these bracelet crochet patterns
- Materials you'll need
- Size, gauge and skill level
- Abbreviations, US terms
- The bracelet crochet patterns (US terms)
- Finishing touches and assembly
- Tips and tricks
- Variations to try next
- Troubleshooting tips
- Frequently asked questions
- More free patterns to try
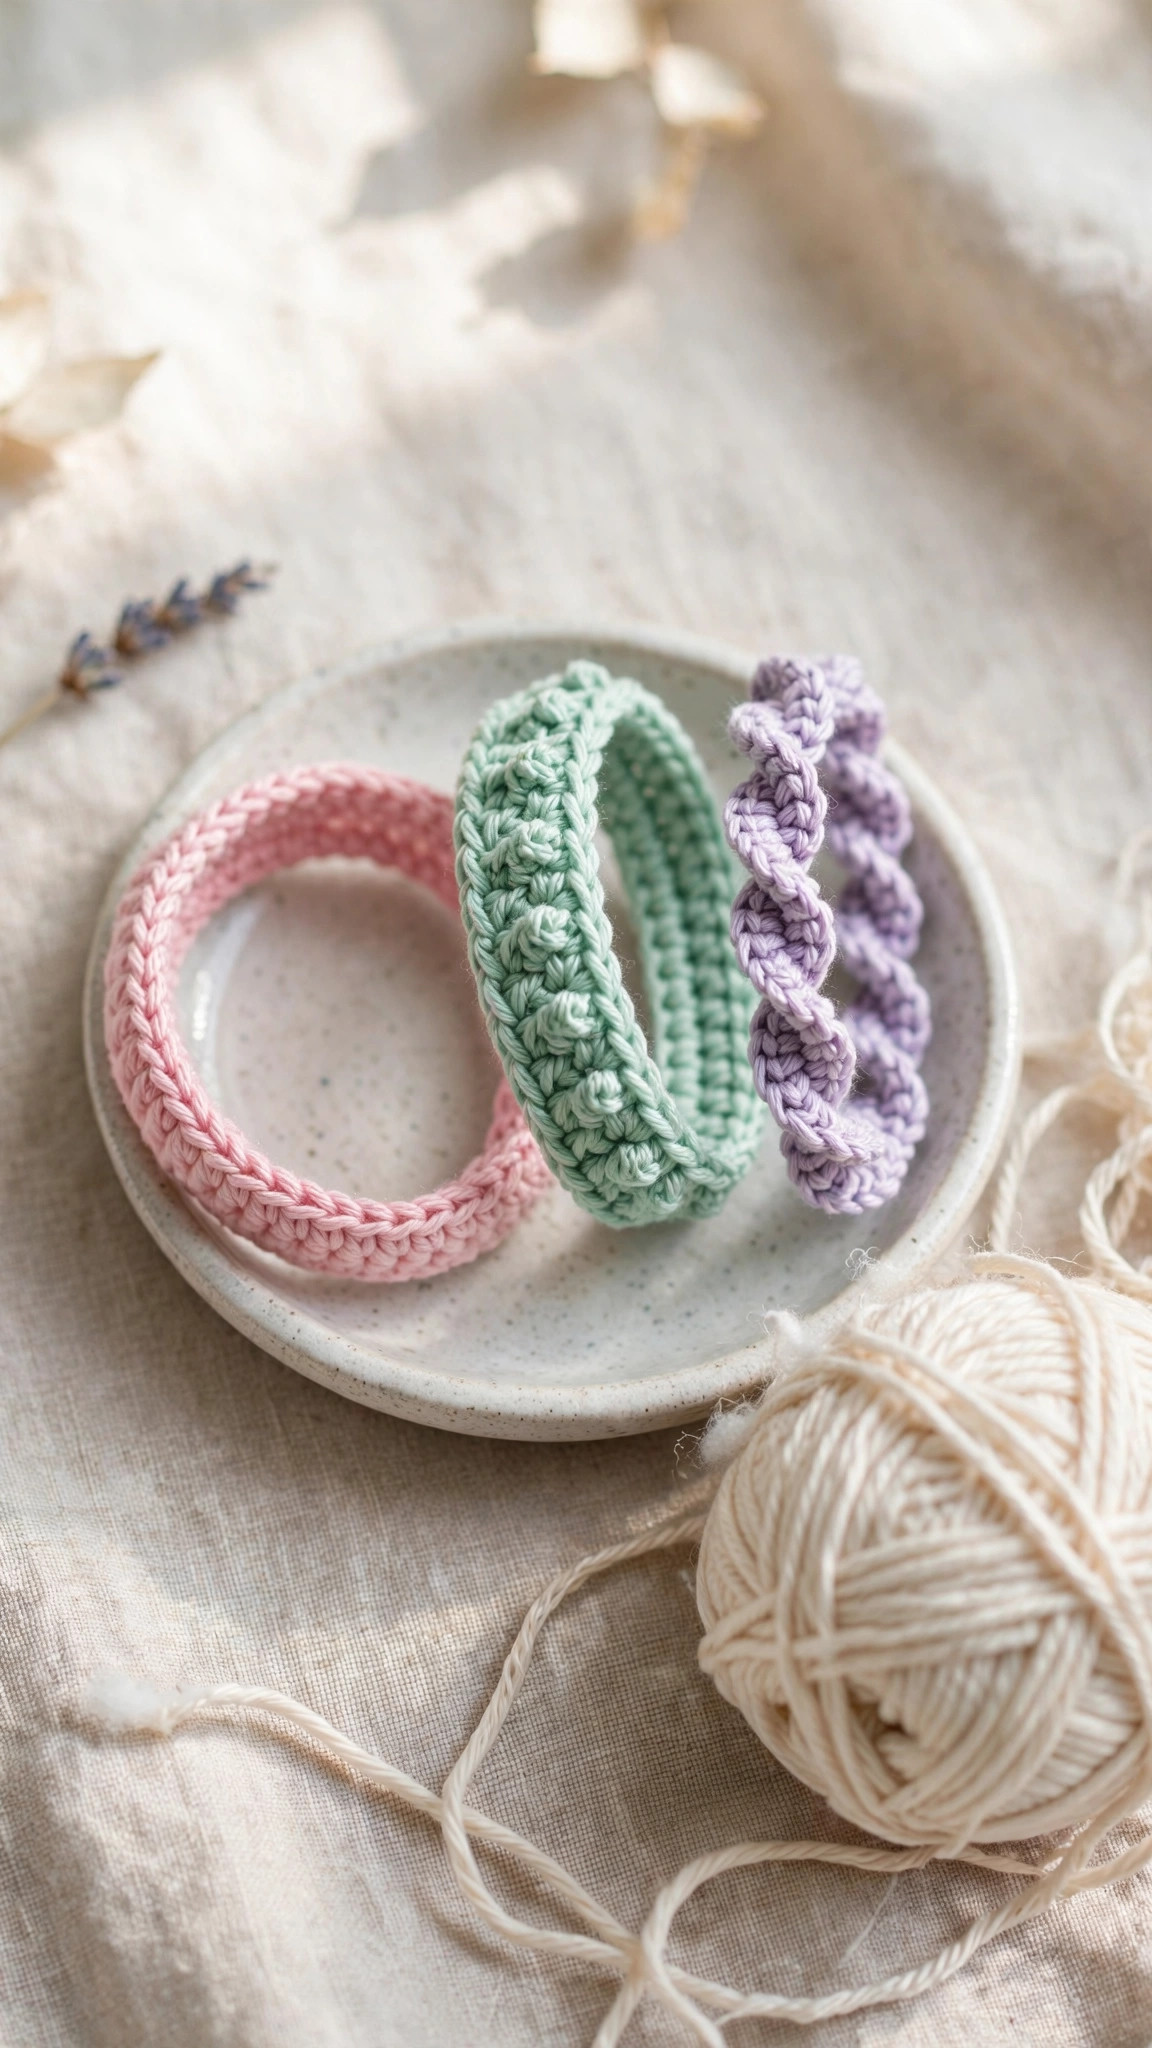
Crocheted bracelets are the best kind of quick make. They use up the odds and ends of cotton yarn every crocheter has in a drawer, they finish in about thirty minutes each, and they make genuinely lovely gifts. These free crochet bracelet patterns give you three original designs in one post: a simple single crochet band, a beaded-look bracelet worked in slip stitch, and a twisted cord bracelet that wraps twice around the wrist.
All three are worked flat or in a simple chain, so there is no fiddly joining in the round and no sizing math beyond measuring a wrist. Each one closes with a button loop or a tie, which means one pattern fits almost everyone: make it snug for a child, longer for an adult, and you are done.
If you have never crocheted jewelry before, start with the plain band. It is two rows of single crochet and a button, and it teaches you the bracelet sizing method the other two designs build on. By the third bracelet you will be designing your own color combinations.
Table of contents
- Why you'll love these bracelet crochet patterns
- Materials you'll need
- Size, gauge and skill level
- Abbreviations, US terms
- The bracelet crochet patterns (US terms)
- Finishing touches and assembly
- Tips and tricks
- Variations to try next
- Troubleshooting tips
- Frequently asked questions
- More free patterns to try
Why you'll love these bracelet crochet patterns
Every crocheter has the drawer: half balls of cotton in cheerful colors, too small for a washcloth, too pretty to throw away. Bracelets are the perfect answer. Each one uses less than 15 yards of yarn, which means a single drawer clean-out can become a whole gift stash of handmade jewelry.
The three designs cover every mood. The plain band is clean and modern, the kind of bracelet that goes with everything. The beaded-look version has a wonderful texture that reads as tiny beads from across the room, and it is secretly just slip stitches. The twisted cord is the boho one: wrap it twice, tie it in a bow, and it looks far fancier than the ten minutes it took.
They are also brilliant first-gift projects. If you are making small accessories for friends, our crochet chapstick holder pattern pairs beautifully with a bracelet in a little gift bag, and the crochet keyring pattern uses the same cotton yarn and button-loop technique. One afternoon of stitching, three finished gifts.
Materials you'll need
| Supply | What to get |
|---|---|
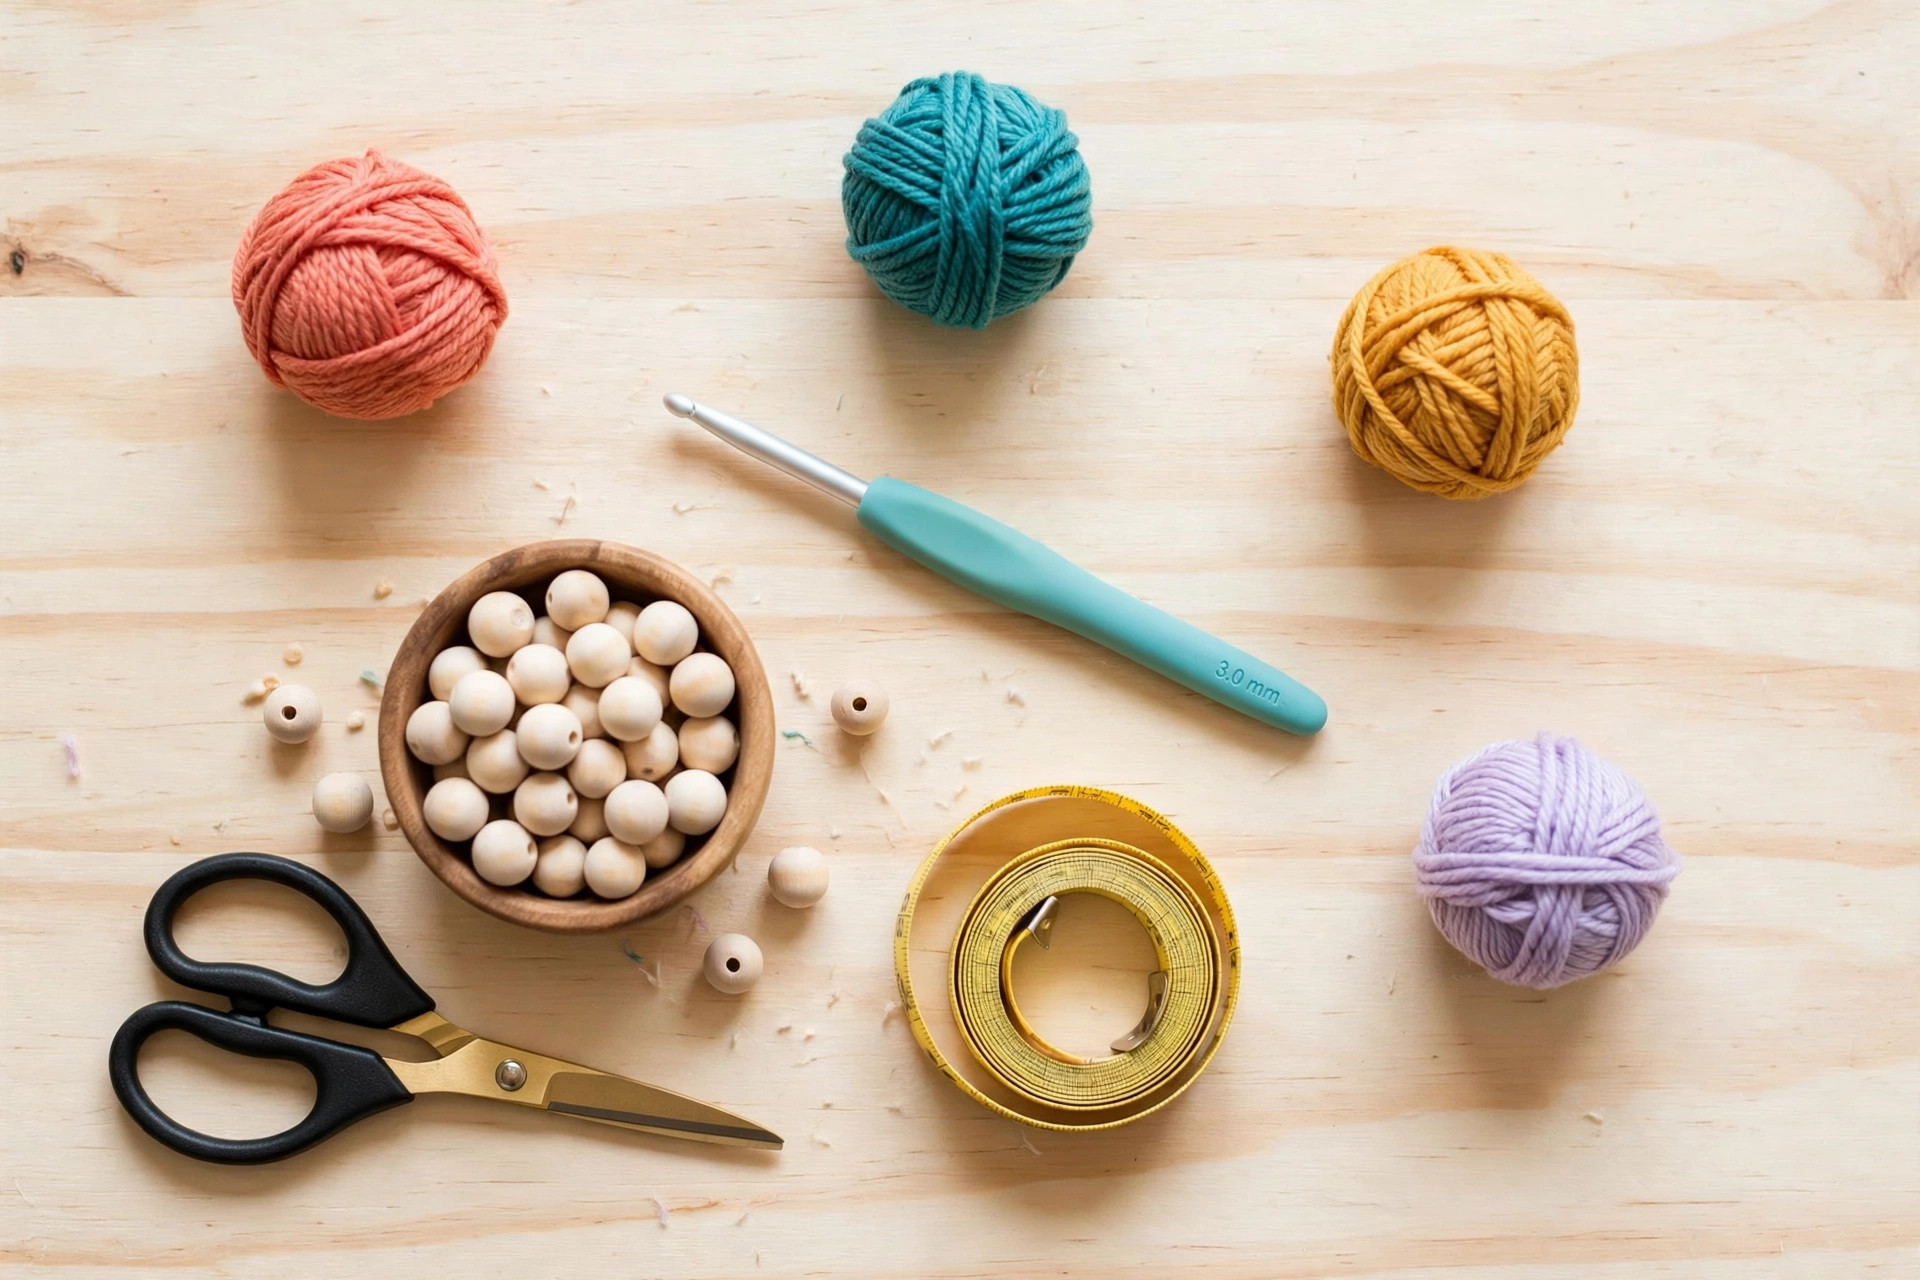
| Cotton yarn | DK or worsted-weight (#3 or #4) 100 percent cotton, small amounts in 3 to 4 colors, about 15 yds / 14 m per bracelet |
| Crochet hook | 3.0 mm (D) for DK cotton, or 3.5 mm (E) for worsted cotton |
| Buttons | Small flat buttons, about 0.5 in / 1.3 cm, one per band-style bracelet |
| Tapestry needle | For sewing on buttons and weaving in ends |
| Notions | Scissors, tape measure or ruler |
Use 100 percent cotton, not acrylic: cotton has almost no stretch, so the bracelet keeps its size on the wrist instead of loosening through the day. It also washes well, which matters for something worn against skin. Mercerized cotton gives a slight sheen that looks lovely in jewelry; plain cotton looks more rustic. Both work.
A note on the hook: match it to your cotton. DK cotton with a 3.0 mm hook makes a neat, jewelry-scale fabric. If you only have worsted cotton, use a 3.5 mm hook and expect a slightly chunkier bracelet. The patterns give chain counts for a 7 inch wrist in DK; adjust up or down for other sizes.
Size, gauge and skill level
Bracelets are sized by wrist, not by gauge, so grab a tape measure before you chain.
- Finished size: each bracelet is made to fit: measure the wrist snugly and add 0.5 in (1.3 cm) for comfort. Typical targets: child 6 in (15 cm), teen 6.5 to 7 in (16.5 to 18 cm), adult 7 to 7.5 in (18 to 19 cm).
- Gauge: about 20 sc and 22 rows = 4 in (10 cm) in DK cotton with a 3.0 mm hook. You do not need to swatch: just chain to your measured length and check the fit before the second row.
- Skill level: beginner. You should know how to chain, single crochet, and slip stitch. The twisted cord uses only chains and single crochet.
The golden rule of bracelet sizing: cotton does not stretch, so make the bracelet fit the wrist exactly as measured. A bracelet that is perfect in acrylic will be too tight in cotton, because acrylic gives and cotton does not.
Abbreviations, US terms
| Abbreviation | Meaning |
|---|---|
| ch | chain |
| sc | single crochet |
| sl st | slip stitch |
| st(s) | stitch(es) |
| sk | skip |
| FO | fasten off |
| [ ] | total stitch count at the end of the row |
A note on slip stitches: for the beaded-look bracelet, work your slip stitches loosely. Tight slip stitches are hard to work into on the next row and make the bracelet curl. Think of each slip stitch as laying a little bead of yarn across the row.
The bracelet crochet patterns (US terms)
All three bracelets start the same way: measure the wrist snugly, add 0.5 in for comfort, and chain to that length. For a 7 in adult wrist in DK cotton, that is about 34 chains; count your own and adjust. Work the button loop on one end and sew the button on the other.
Bracelet 1: the plain single crochet band
The classic. Clean, quick, and the base every other design builds on.
- Foundation: ch to your wrist measurement plus 0.5 in (about 34 ch for a 7 in wrist in DK cotton).
- Row 1: sc in the 2nd ch from the hook and in each ch across. [one fewer than your chain count]
- Row 2: ch 1, turn, sc in each st across.
- Button loop: at the end of Row 2, ch 8, sl st into the same stitch the chain started from. This makes the loop the button passes through.
- FO, leaving a tail. Sew a small button to the opposite end of the band, about 0.5 in from the edge. Weave in all ends.
Try the loop over the button before you weave in the ends. If the loop is too tight to close comfortably, undo it and chain 10 instead of 8. Cotton does not forgive a too-small loop the way stretchy yarn would.
Bracelet 2: the beaded-look slip stitch bracelet
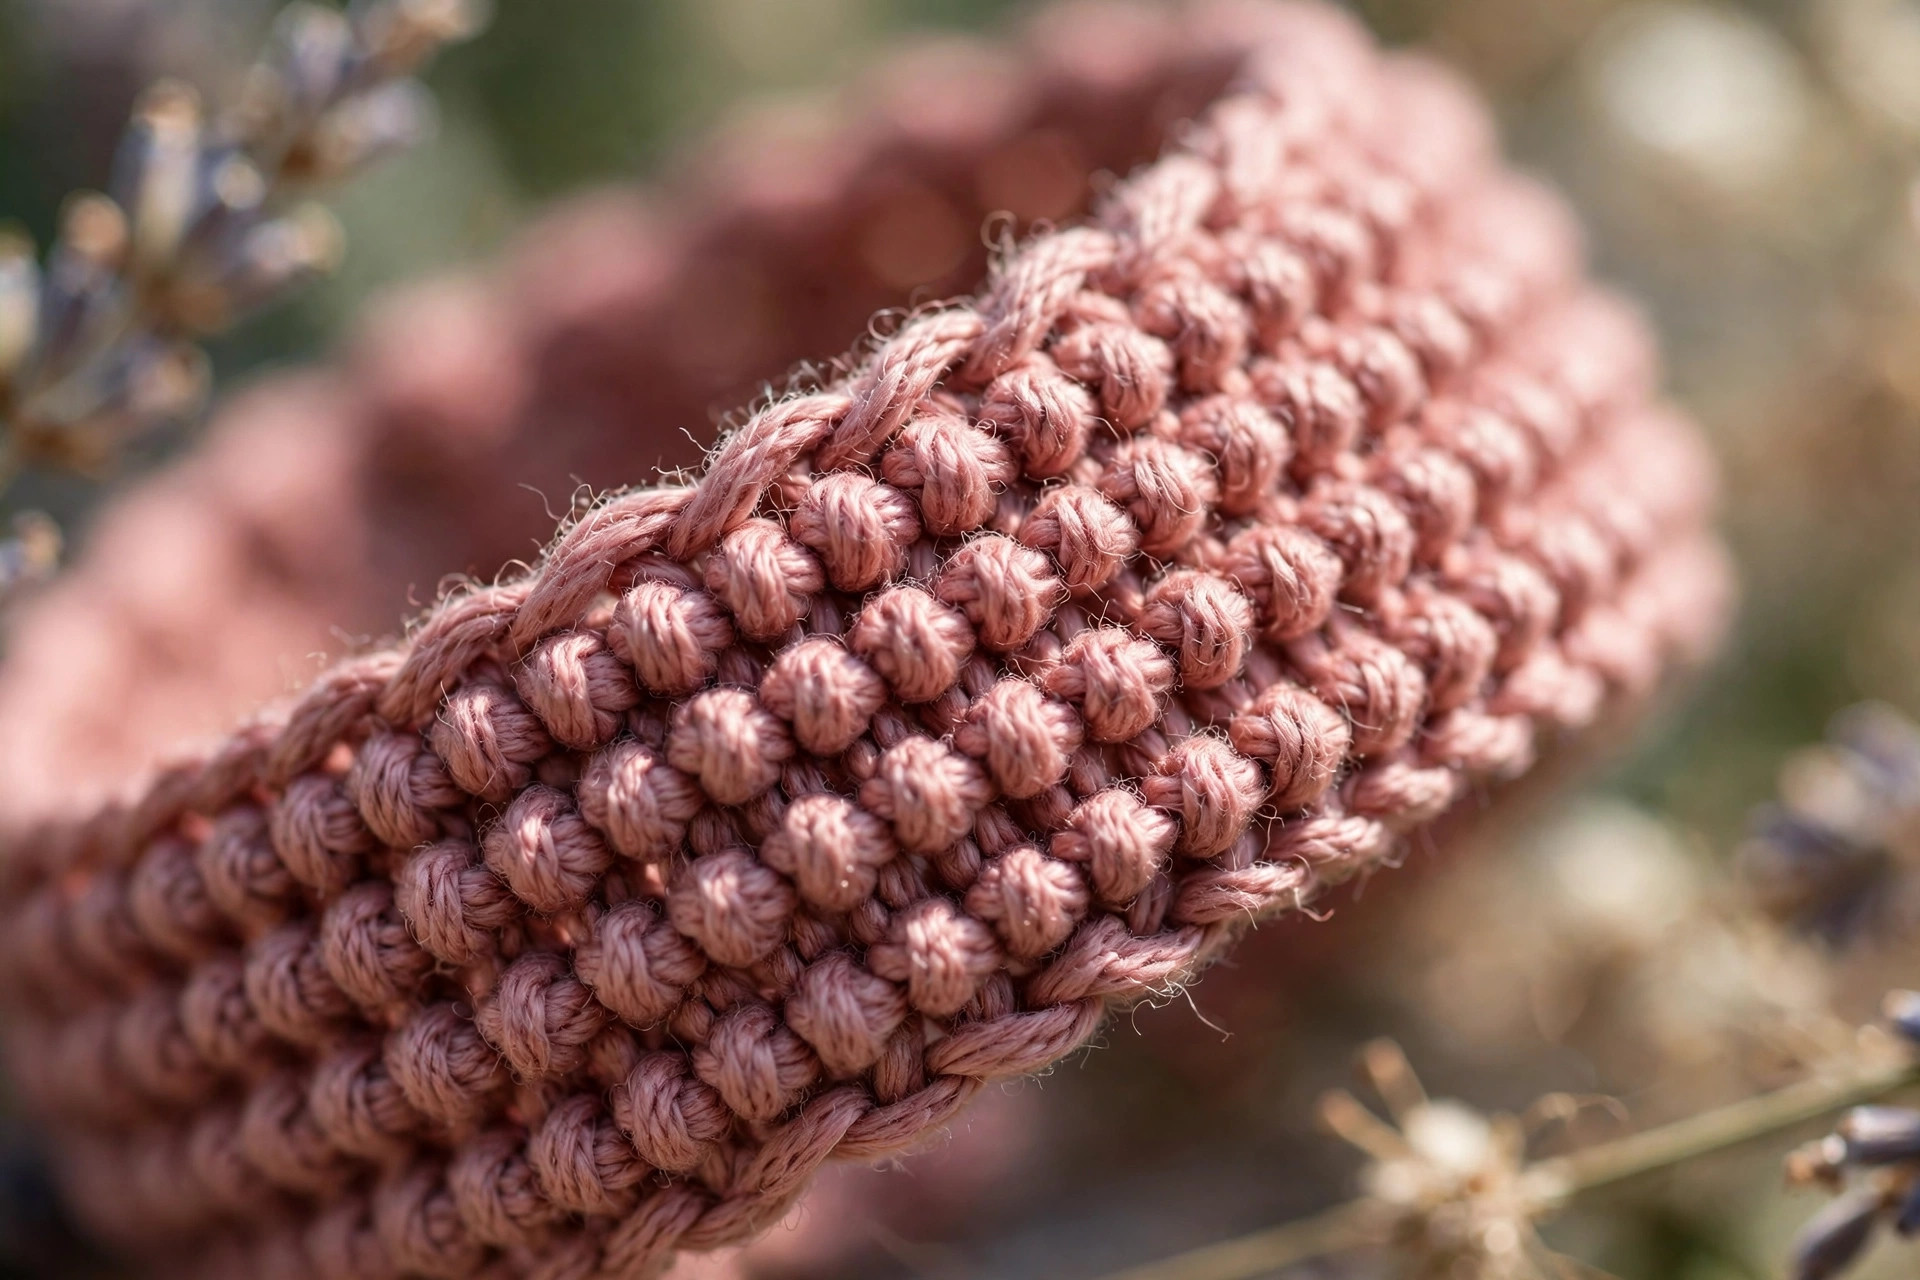
Two rows of loose slip stitches pile up into a rounded, beaded texture. From a few feet away it genuinely looks like a string of tiny beads.
- Foundation: ch to your wrist measurement plus 0.5 in.
- Row 1: sl st in the 2nd ch from the hook and in each ch across. Work loosely: each slip stitch should slide easily on the hook.
- Row 2: ch 1, turn, sl st in the back loop only of each st across. The unworked front loops from Row 1 push forward and form the bead ridge.
- Ties: at the end of Row 2, ch 20, FO. Join yarn at the opposite end, ch 20, FO. Tie the two cords in a bow around the wrist.
If the bracelet curls into a tube, your slip stitches are too tight. Pull the working loop up a little taller on every stitch of Row 1 and the band will lie flat.
Bracelet 3: the twisted cord wrap bracelet
A long crocheted cord that wraps twice around the wrist and ties. It looks intricate and takes about ten minutes.
- Cord: ch 90 (for a 7 in wrist; adjust: roughly 12 times your wrist measurement in chains). Work 2 sc in the 2nd ch from the hook and in each ch across. The strip will twist into a tight spiral cord as you work: this is the design, not a mistake.
- FO at the end, leaving a 6 in tail. Thread the tail through a tapestry needle and wrap it tightly around the cord end a few times to neaten it, then trim.
- To wear: wrap the cord twice around the wrist and tie the ends in a small bow or knot.
For a two-color twist, work the cord in one color, then work a second cord in another color and twist the two together before tying. The spiral ridges catch the second color beautifully.
Finishing touches and assembly
Bracelets need almost no finishing, but the little there is matters because jewelry sits against skin. Weave every end in with a tapestry needle, working through the backs of several stitches and changing direction once so the tail cannot slide out. Trim close and press the end flat with your fingernail.
Sew buttons on firmly: come up through the band, through the button, and back down at least four times, then wrap the thread around the stitches under the button twice to make a little shank. A shank lifts the button just enough for the loop to close over it easily, and it keeps the button from pulling the band out of shape.
For the tie bracelets, knot the cord ends and add a tiny drop of clear fabric glue or fray check to the very tip of each cord. Cotton cords fray with wear, and a sealed tip keeps the bow looking crisp through months of use. Let it dry fully before wearing.
A note on blocking: cotton bracelets benefit from a quick press. Lay the finished bracelet flat, mist it lightly with water, and press with a warm iron through a cloth. It evens out the stitches and helps the band sit flat on the wrist instead of curling at the edges.
Tips and tricks
- Measure twice, chain once. Wrap a tape measure snugly around the wrist, add 0.5 in, and chain to that number. Trying the band on after Row 1 takes ten seconds and saves a whole re-make.
- Cotton grows when wet. A cotton bracelet will relax slightly the first time it gets wet. Make it just snug, not loose: a slightly snug new bracelet becomes a perfect bracelet after one wash.
- Keep slip stitches loose. The beaded-look bracelet lives or dies on loose slip stitches. If your hand tightens up, switch to a hook one size larger for Row 1 and Row 2 only.
- Use the tail as the sewing thread. Fasten off with a long tail and sew the button on with it: the color matches perfectly and there is one fewer end to weave in.
- Make sets, not singles. Three bracelets in coordinating colors take about 90 minutes total and look far more impressive stacked than any single bracelet alone. Gift them tied together with a bit of ribbon.
- Test the button loop. Buttons vary: a 0.5 in button needs an 8-chain loop in DK cotton, but a chunky 0.75 in button needs 10 or 12 chains. Test before weaving in ends.
- Count the foundation chain carefully. It is the only counting in the whole project, and an extra two chains is the difference between snug and sloppy. Mark every tenth chain with a scrap of yarn as you go.
Variations to try next
- Striped band: change colors every row on the plain band. Two rows is enough for stripes, or work four rows alternating colors for a wider cuff.
- Beaded bracelet, real beads: thread small wooden or glass beads onto the yarn before you start the beaded-look bracelet, and slide one bead up between every third slip stitch on Row 1.
- Anklet version: chain to your ankle measurement plus 0.5 in and work any of the three designs as written. The twisted cord makes a particularly pretty anklet.
- Wide cuff: work the plain band for 6 rows instead of 2, and close it with two buttons and two loops spaced an inch apart. It reads as a cuff bracelet.
- Friendship set: make the twisted cord in two colors, one for each friend, and tie them together in the middle for a photo before gifting. Cheesy, beloved, and very giftable.
Troubleshooting tips
- The bracelet is too tight and will not close. Cotton does not stretch, so there is no easing it on. Measure again and re-chain: add a full inch instead of half an inch if you are between sizes.
- The band curls up at the edges. This is normal for single crochet worked in short rows. A quick steam press flattens it, and wearing it for a day finishes the job.
- The button loop is too small for the button. Undo the loop chain and add 2 to 4 more chains. Test the loop over the actual button before weaving in any ends.
- The beaded-look bracelet looks flat, not beaded. Your slip stitches are too tight, or you worked Row 2 through both loops instead of the back loop only. Loosen up and check that the front loops are free to pop forward.
- The twisted cord untwists when worn. The spiral needs 2 sc in every chain to hold its twist. If you worked 1 sc per chain, the cord relaxes into a wavy strip instead of a tight twist: remake with the increases.
Frequently asked questions
What is the best yarn for crochet bracelets?
One hundred percent cotton in DK or worsted weight. Cotton does not stretch, so the bracelet keeps its size, and it stands up to washing and daily wear. Avoid acrylic for bracelets: it stretches out and looks tired within weeks.
How long does it take to crochet a bracelet?
About 30 minutes per bracelet: 10 minutes to chain and work the rows, 10 minutes for the closure, and 10 minutes for neat finishing. The twisted cord is the fastest at about 15 minutes.
Can a beginner really make these?
Yes. The plain band uses only chains and single crochet, and the other two add just the slip stitch. If you can make a dishcloth, you can make all three bracelets.
Will a cotton bracelet stretch out?
Barely. Cotton relaxes slightly with the first wash and then holds its size. That is exactly why the patterns say to make the bracelet just snug: it settles into a perfect fit rather than loosening into a bangle.
How do I size a bracelet for someone else?
Trace around their wrist on paper if you can, or use the standard targets: child 6 in, teen 6.5 to 7 in, adult 7 to 7.5 in. When in doubt, use the tie closure from Bracelet 2: ties fit everyone.
Can I sell the finished bracelets I make?
Yes! You may sell finished bracelets made from these patterns in small batches (craft fairs, markets, gifts). Please credit Little Loop Finds as the pattern designer.
More free patterns to try
If quick accessories are your happy place, keep going. Our crochet scrunchies patterns use the same cotton yarn and finish just as fast, and the easy crochet ear warmer pattern is the next step up in wearable crochet. For a complete handmade gift set, pair a bracelet with our free crochet mouse pattern: jewelry plus a tiny amigurumi friend in one gift bag.