Giant Blueberry Crochet Pattern (Free, Squishy)
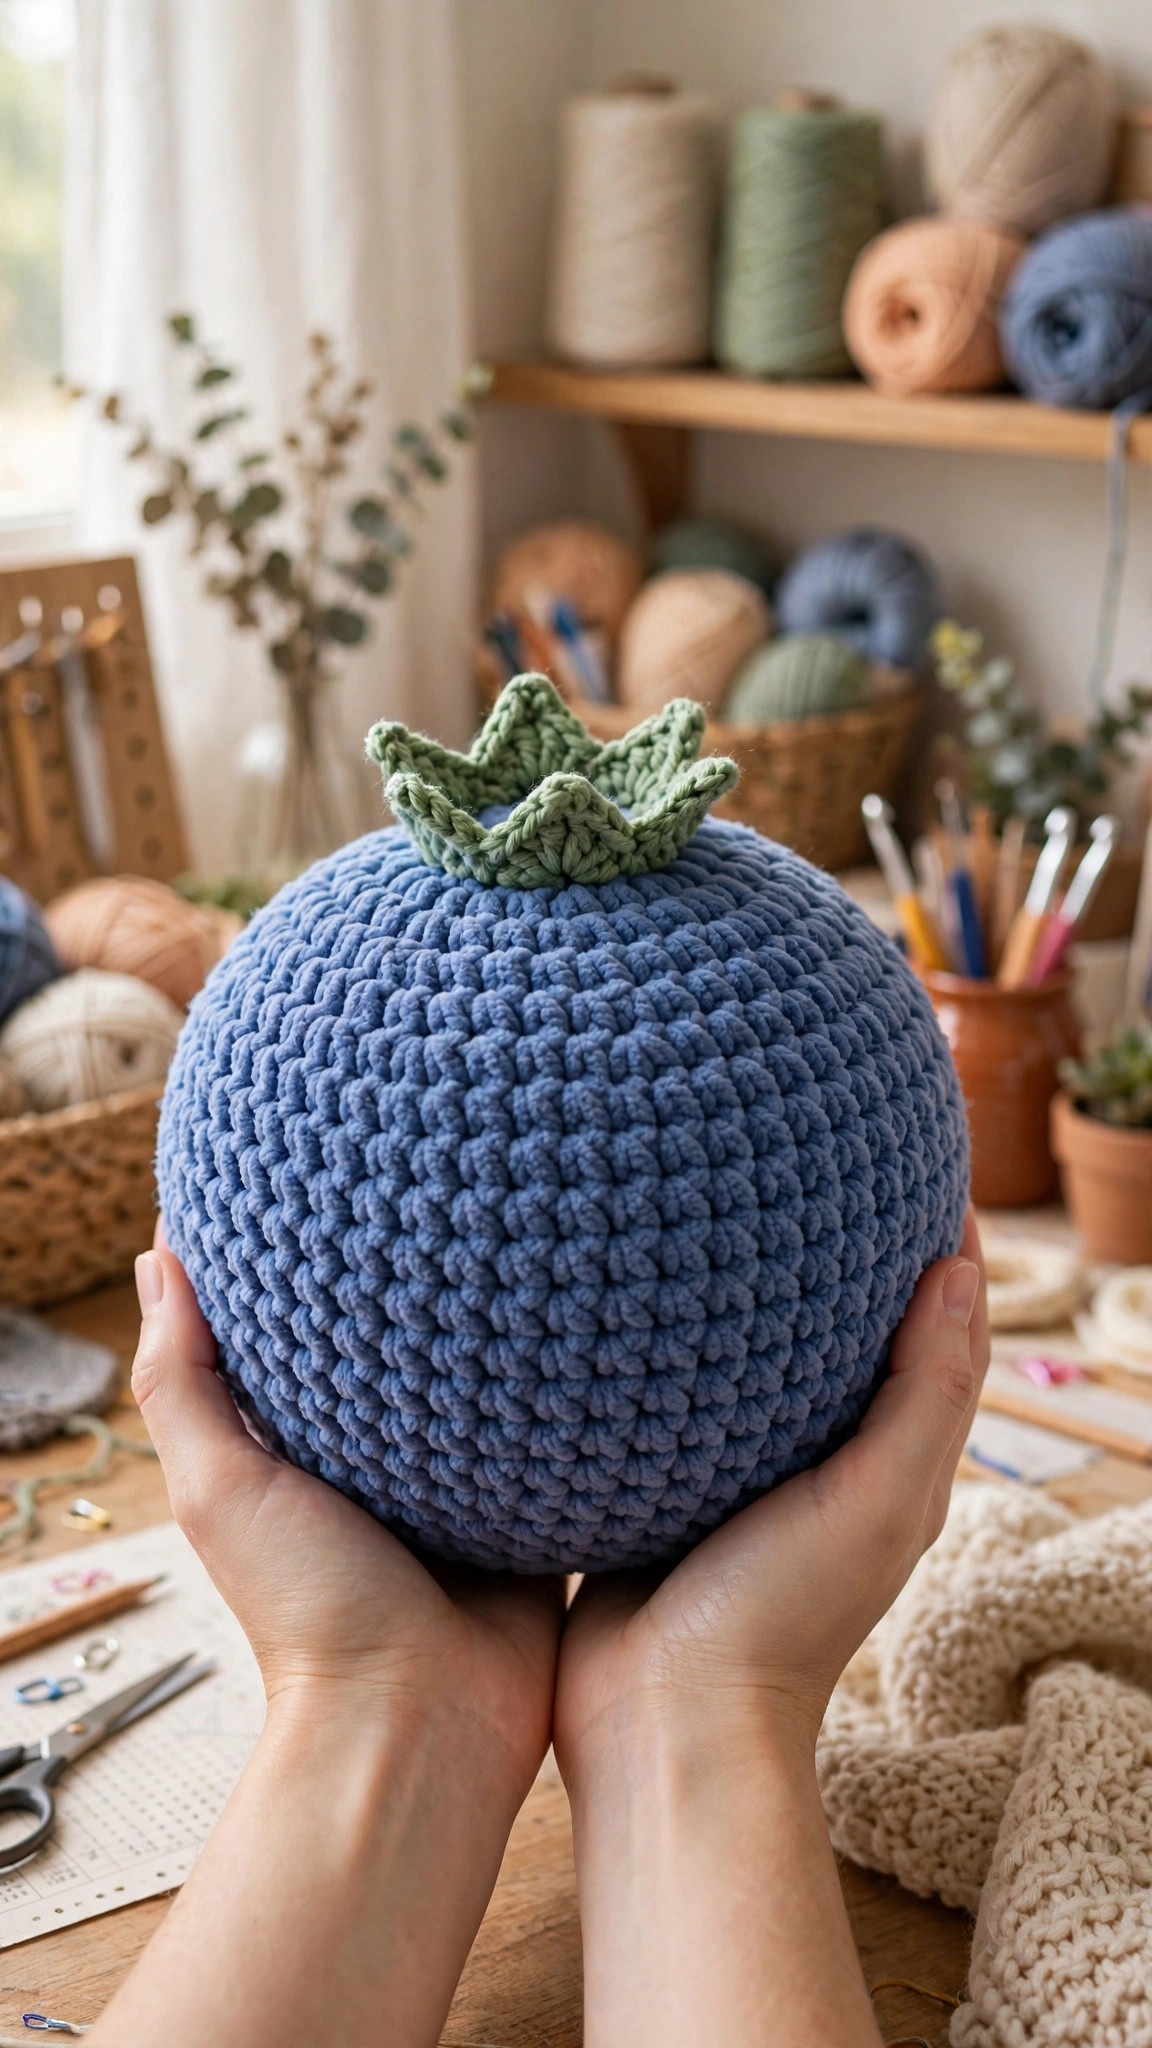
Stitch a huggable 11 inch blueberry plush with this free, beginner friendly giant crochet pattern.

Amigurumi · Crochet
- Finished size
- About 11 in across
- Making time
- 5 to 7 hours
- Hook
- US N/P-15 (10.0 mm)
- Set
- Berry, star crown, face options
- Skill
- Easy
In this post
- Key Takeaways
- Table of Contents
- Why You Will Love This Project
- Finished Size, Skill Level, and Time
- Materials You Need
- Abbreviations (US Terms)
- The Squishy Construction Secret
- Part 1: Crocheting the Blueberry Body
- Part 2: The Star Crown
- Part 3: Stuffing, Shaping, and Closing
- Adding a Face
- Size Variations
- Color and Yarn Swaps
- Troubleshooting
- Gift and Decor Ideas
- Care Instructions
- Frequently Asked Questions
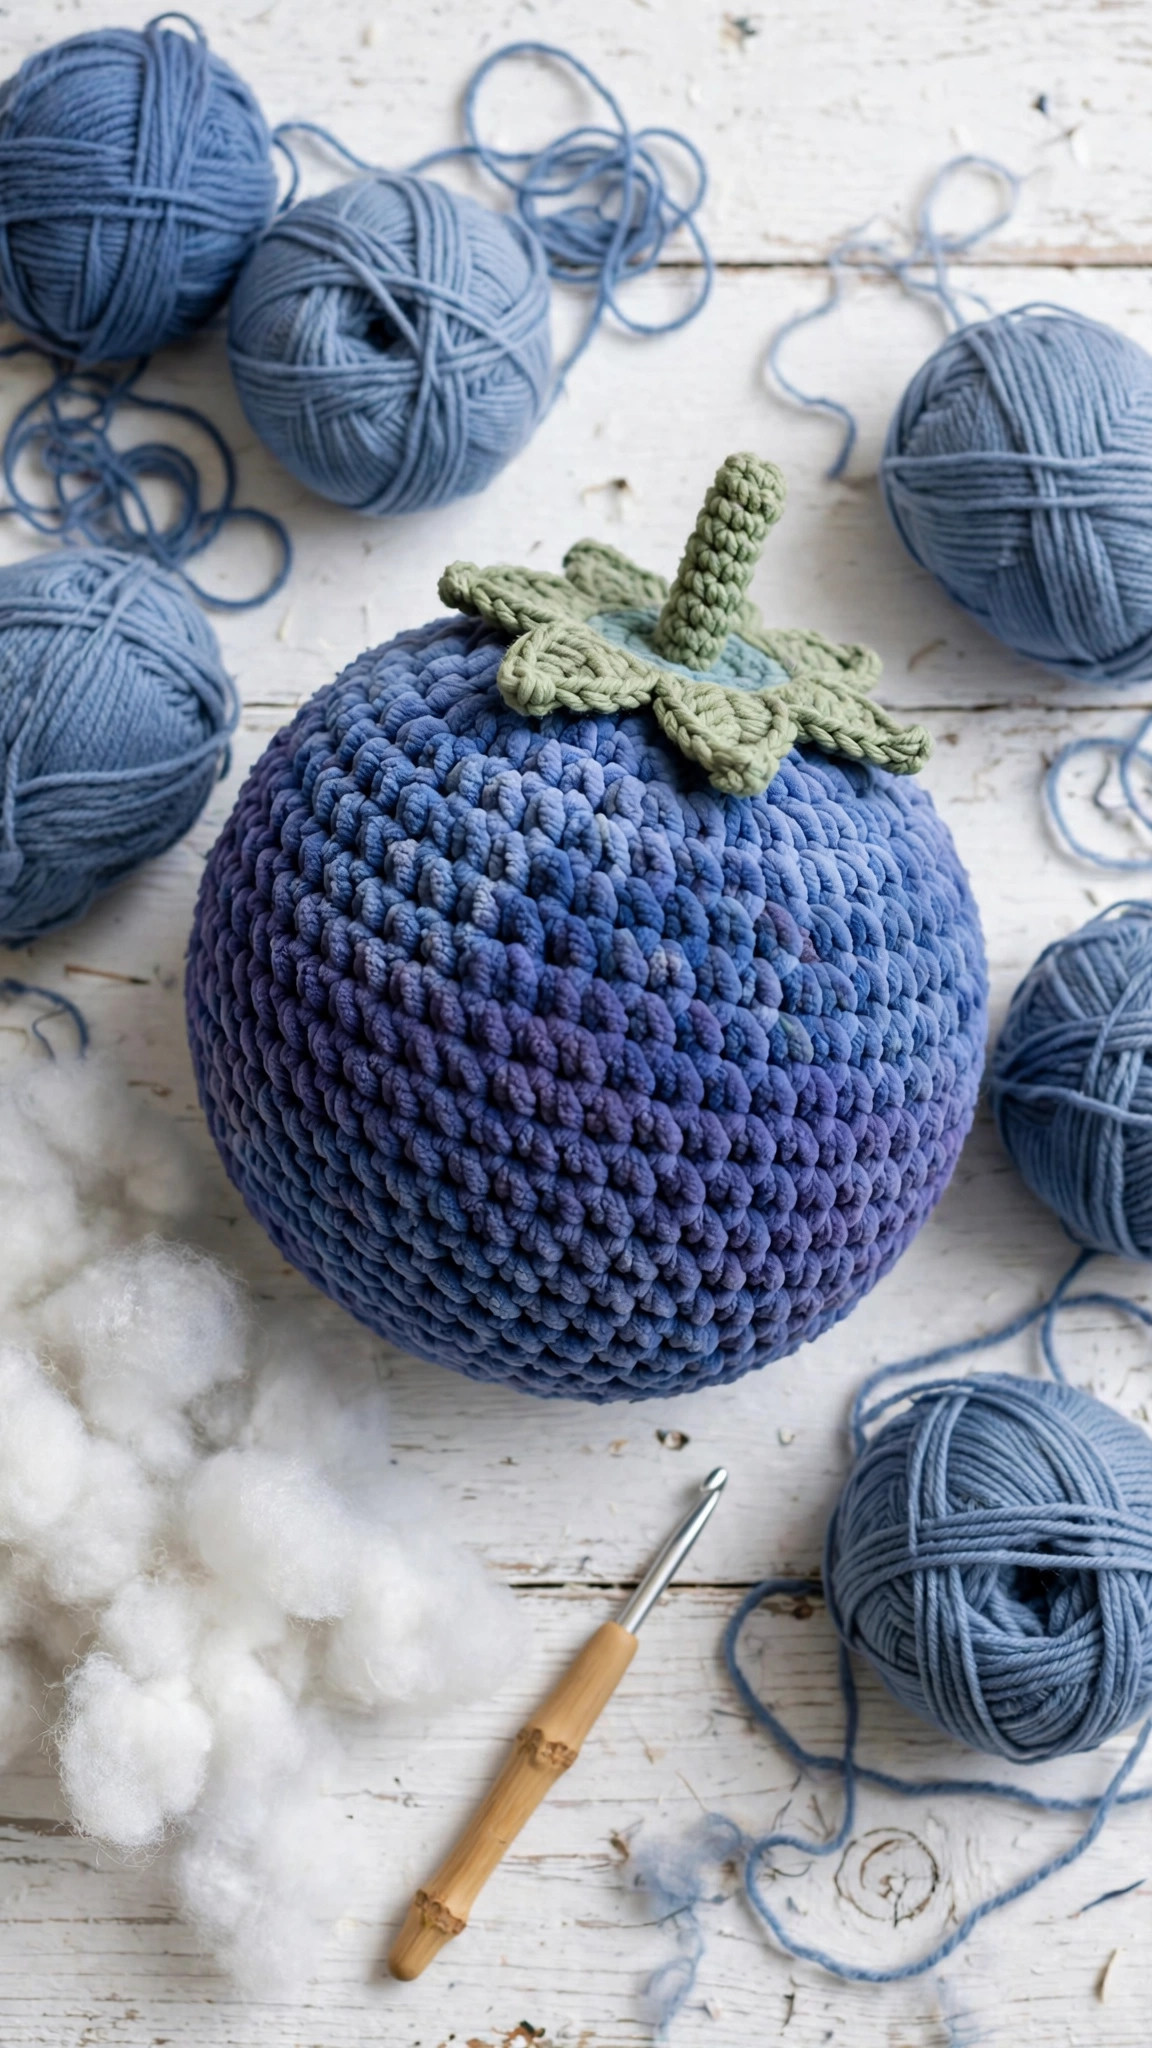
There is a special kind of joy in holding something oversized and squishy that you made with your own two hands. This giant blueberry crochet pattern gives you exactly that: a plump, huggable blueberry about the size of a throw pillow, stitched in soft dusty blue yarn with a little green star crown on top. It is free, it is original, and it works up faster than you would expect for something this big.
This is a Little Loop Finds original design in US terms: one big sphere, one small star crown, and an optional face. The body works up in continuous rounds with super bulky yarn, so the whole project finishes in a weekend. Grab your biggest hook and let's make something delightfully round.
Key Takeaways
- Free original design: this giant blueberry crochet pattern is a Little Loop Finds original, written in US terms, and completely free.
- Truly giant: finishes about 11 inches across, big enough to hug, using super bulky yarn and a 10 mm hook.
- Beginner friendly giant: only single crochet increases and decreases in continuous rounds, plus a simple star crown.
- Weekend project: about 5 to 7 hours of stitching, most of it relaxing round after round of single crochet.
- Endlessly giftable: a hit with kids, teens, and fruit decor lovers, and it photographs beautifully for social media.
Table of Contents
- Why You Will Love This Project
- Finished Size, Skill Level, and Time
- Materials You Need
- Abbreviations (US Terms)
- The Squishy Construction Secret
- Part 1: Crocheting the Blueberry Body
- Part 2: The Star Crown
- Part 3: Stuffing, Shaping, and Closing
- Adding a Face
- Size Variations
- Color and Yarn Swaps
- Troubleshooting
- Gift and Decor Ideas
- Care Instructions
- Frequently Asked Questions
Why You Will Love This Project
Giant crochet projects have a reputation for being slow, but this blueberry breaks that rule in the best way. Super bulky yarn means every round adds visible size, and the rhythm of single crochet in the round is deeply meditative. Put on a podcast, settle into your favorite chair, and watch the sphere grow in your hands. There is something deeply satisfying about a project where each round feels like real progress.
The design is forgiving in a way small amigurumi never is. At this scale, a slightly loose stitch simply disappears into the plush roundness. Stuffing hides small imperfections, and the finished blueberry looks store bought even when your tension wandered a little. If you are new to amigurumi, starting big is actually easier than starting small, because you can see exactly what each stitch is doing.
If you love chunky, huggable makes, you will also enjoy our crochet bunny plush, another soft and squishy favorite in the same cozy size family.
Finished Size, Skill Level, and Time
- Finished size: about 11 inches across and 10 inches tall when stuffed firmly. Size varies with yarn brand and stuffing firmness.
- Skill level: advanced beginner. You should be comfortable with the magic ring, single crochet, increases, and decreases. Everything else is explained step by step.
- Making time: 5 to 7 hours of crocheting, plus about 30 minutes for the crown, face, and finishing.
Materials You Need
- Super bulky (#6) yarn in dusty blue, about 320 yards. A soft chenille style super bulky yarn gives the squishiest result, but any #6 works.
- Super bulky (#6) yarn in green, about 25 yards, for the star crown.
- US N/P-15 (10.0 mm) crochet hook.
- Large yarn needle with a big eye for weaving in thick yarn ends.
- About 24 ounces of premium polyester fiberfill. Buy more than you think you need, because firm stuffing is the whole point of a squishy plush.
- Stitch marker to mark the start of each round.
- Scissors.
- Optional: 18 mm safety eyes and black embroidery floss for the face, or contrasting yarn for an embroidered face.
Abbreviations (US Terms)
- ch = chain
- sc = single crochet
- inc = increase (2 sc in the same stitch)
- dec = decrease (single crochet 2 together)
- sl st = slip stitch
- hdc = half double crochet
- dc = double crochet
- st(s) = stitch(es)
- rep = repeat
- MR = magic ring
The Squishy Construction Secret
Before you start, it helps to understand why this blueberry ends up so satisfyingly round. The body is a simple sphere built from evenly spaced increases, a straight middle section, and mirror image decreases. Because the yarn is thick and the hook is large, the fabric has natural structure, and generous stuffing pushes it into a perfect plump shape. The slight squash that real blueberries have comes free: gravity and a firm fill settle the sphere into a soft, slightly flattened ball all on its own.
The second secret is stuffing in stages. Beginners tend to crochet the whole body, then try to cram all the fiberfill through a small closing hole. That gives you lumps. Instead, you will add the bulk of the stuffing when the opening is still wide, shape it with your hands, and then add small final tufts as you close. The result is smooth, even, and wonderfully squeezable.
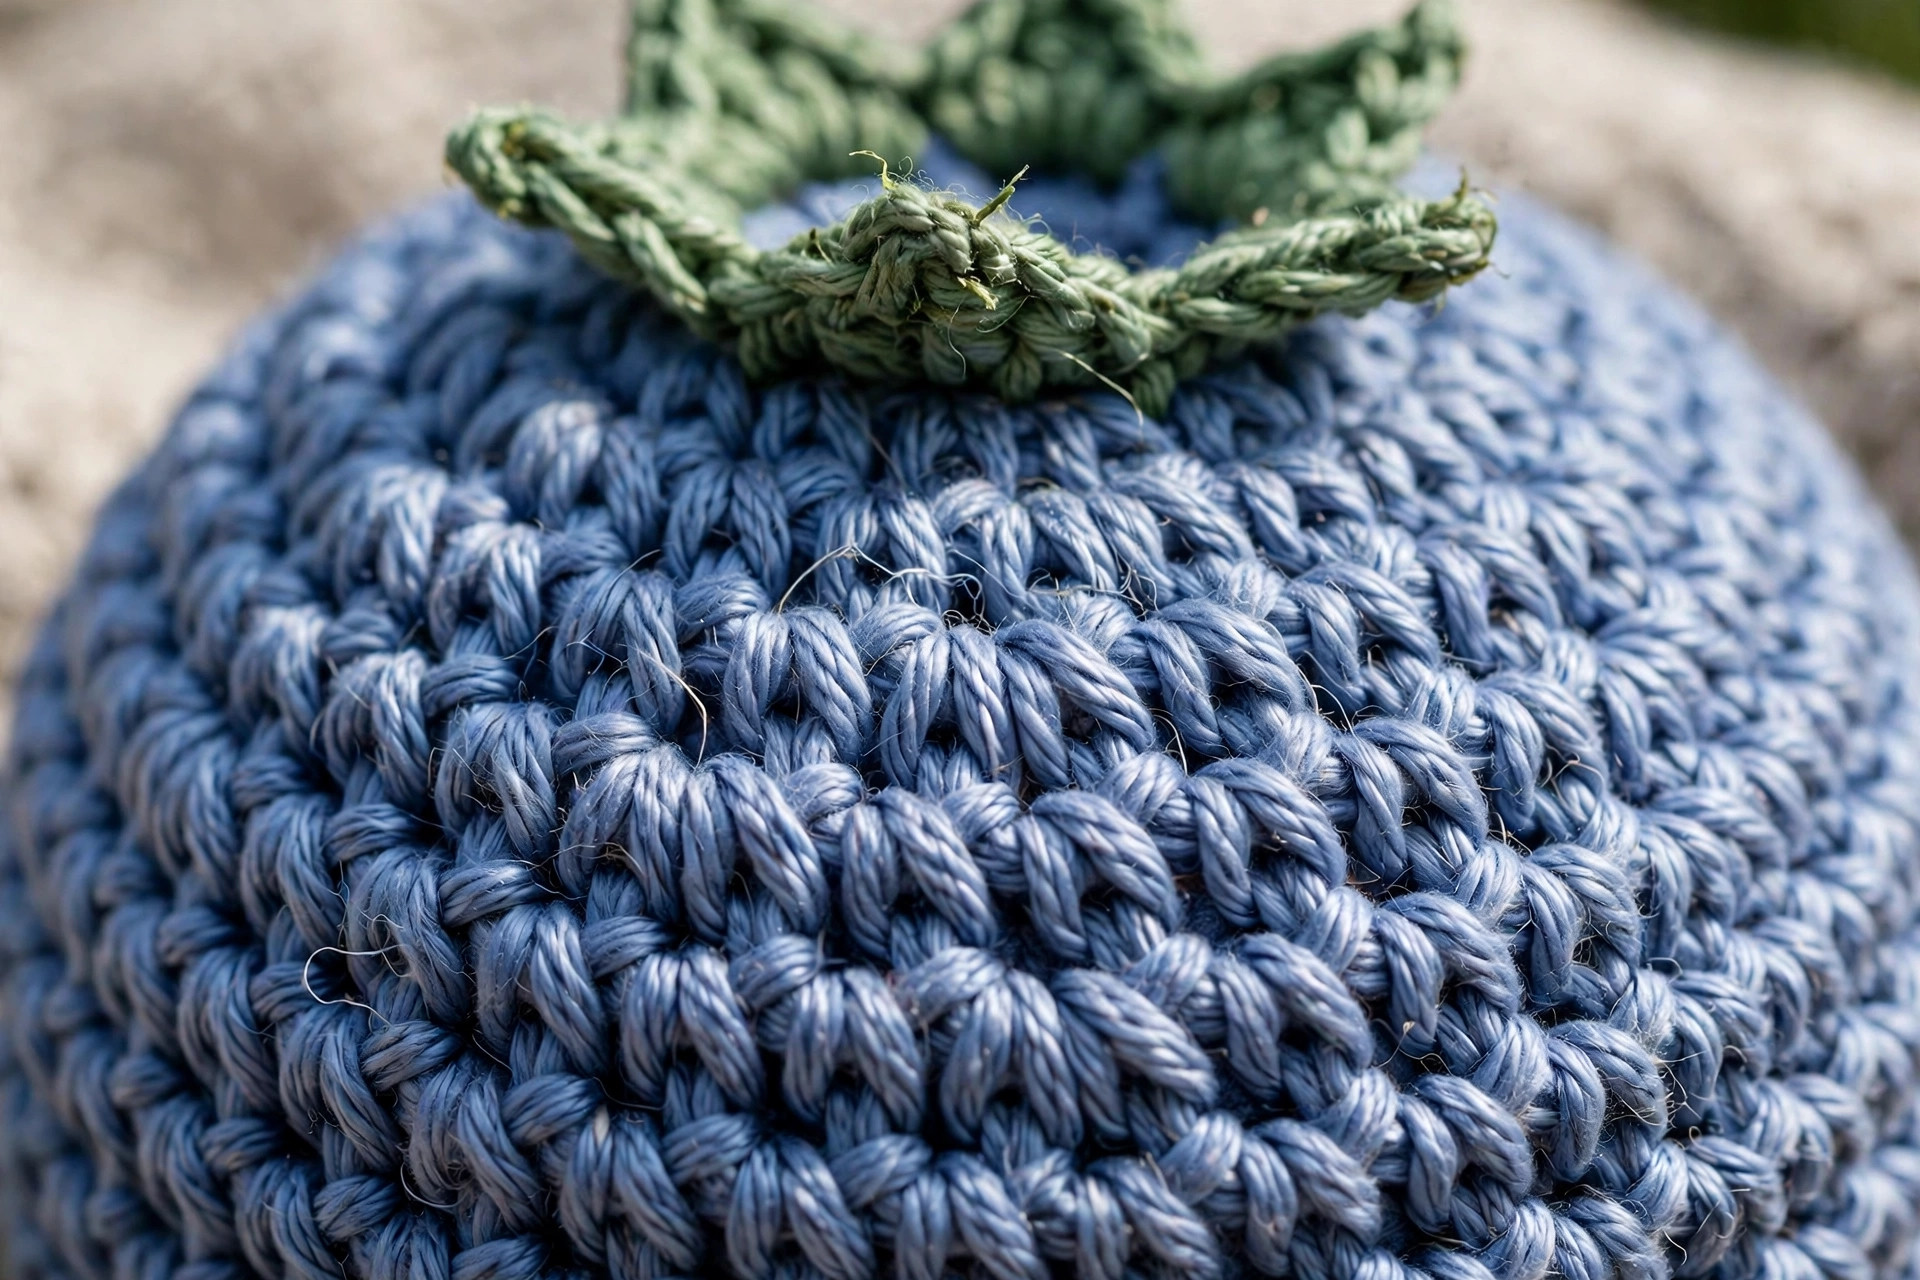
Tension matters more than usual at this scale. Work your single crochet stitches snugly so the fiberfill cannot peek through. If you can see daylight between your stitches, go down half a hook size. A tight fabric is what separates a professional looking plush from a homemade looking one, and it costs you nothing but a little hand effort.
Part 1: Crocheting the Blueberry Body
Work the body in continuous rounds. Do not join at the end of rounds; just keep spiraling, moving your stitch marker up at the start of every round. The chain or magic ring start does not count as a round.
Round 1: 6 sc in a MR. (6 sts)
Round 2: Inc in each st around. (12 sts)
Round 3: (Sc in the next st, inc in the next st) rep 6 times. (18 sts)
Round 4: (Sc in the next 2 sts, inc in the next st) rep 6 times. (24 sts)
Round 5: (Sc in the next 3 sts, inc in the next st) rep 6 times. (30 sts)
Round 6: (Sc in the next 4 sts, inc in the next st) rep 6 times. (36 sts)
Round 7: (Sc in the next 5 sts, inc in the next st) rep 6 times. (42 sts)
Round 8: (Sc in the next 6 sts, inc in the next st) rep 6 times. (48 sts)
Round 9: (Sc in the next 7 sts, inc in the next st) rep 6 times. (54 sts)
Round 10: (Sc in the next 8 sts, inc in the next st) rep 6 times. (60 sts)
Pause here and admire your work. You should have a flat circle about 9 inches across. If it is ruffling like a potato chip, your tension is too tight on the increases; if it is cupping into a bowl, your tension is too loose. A gentle wave that flattens when you smooth it is perfectly fine.
Rounds 11 to 18: Sc in each st around. (60 sts per round, 8 rounds)
These straight rounds build the plump middle of the berry. This is the relaxing stretch, perfect for an evening of easy stitching. Keep your stitch marker moving and count your rounds, because losing track here is the most common mistake in the whole pattern.
Round 19: (Sc in the next 8 sts, dec) rep 6 times. (54 sts)
Round 20: (Sc in the next 7 sts, dec) rep 6 times. (48 sts)
Round 21: (Sc in the next 6 sts, dec) rep 6 times. (42 sts)
Round 22: (Sc in the next 5 sts, dec) rep 6 times. (36 sts)
Round 23: (Sc in the next 4 sts, dec) rep 6 times. (30 sts)
Stop here for the first stuffing stage, which is covered in Part 3 below. Then continue:
Round 24: (Sc in the next 3 sts, dec) rep 6 times. (24 sts)
Round 25: (Sc in the next 2 sts, dec) rep 6 times. (18 sts)
Round 26: (Sc in the next st, dec) rep 6 times. (12 sts)
Round 27: Dec in each st around. (6 sts)
Fasten off, leaving a 10 inch tail. Do not close yet; the final shaping and closing happen in Part 3.
Tip: work decreases through the front loops only for a nearly invisible decrease line on the smooth surface.
Fans of soft plush toys should also check out our crochet cloud sheep plush, which uses the same jumbo friendly construction in an adorable barnyard style.
Part 2: The Star Crown
Real blueberries wear a little star shaped crown where the blossom used to be, and this is the detail that makes people say "oh, it really is a blueberry." Work it in green super bulky yarn.
Round 1: 6 sc in a MR. (6 sts)
Round 2: (Sc in the next st, ch 4, then working back down the chain: sc in the 2nd ch from the hook, hdc in the next ch, dc in the next ch, sl st into the same base stitch as the sc) rep 6 times. (6 star points)
You now have a small green star with six chubby points. Fasten off, leaving a 12 inch tail for sewing. Set it aside until the body is stuffed and shaped.
If your star points curl, give them a gentle tug to straighten them, or block the star lightly with steam. At this scale the points are chunky enough to sit flat with minimal fuss.
Part 3: Stuffing, Shaping, and Closing
This is where the magic happens. A well stuffed blueberry feels like a dream; a poorly stuffed one feels like a lumpy sack. Take your time here.
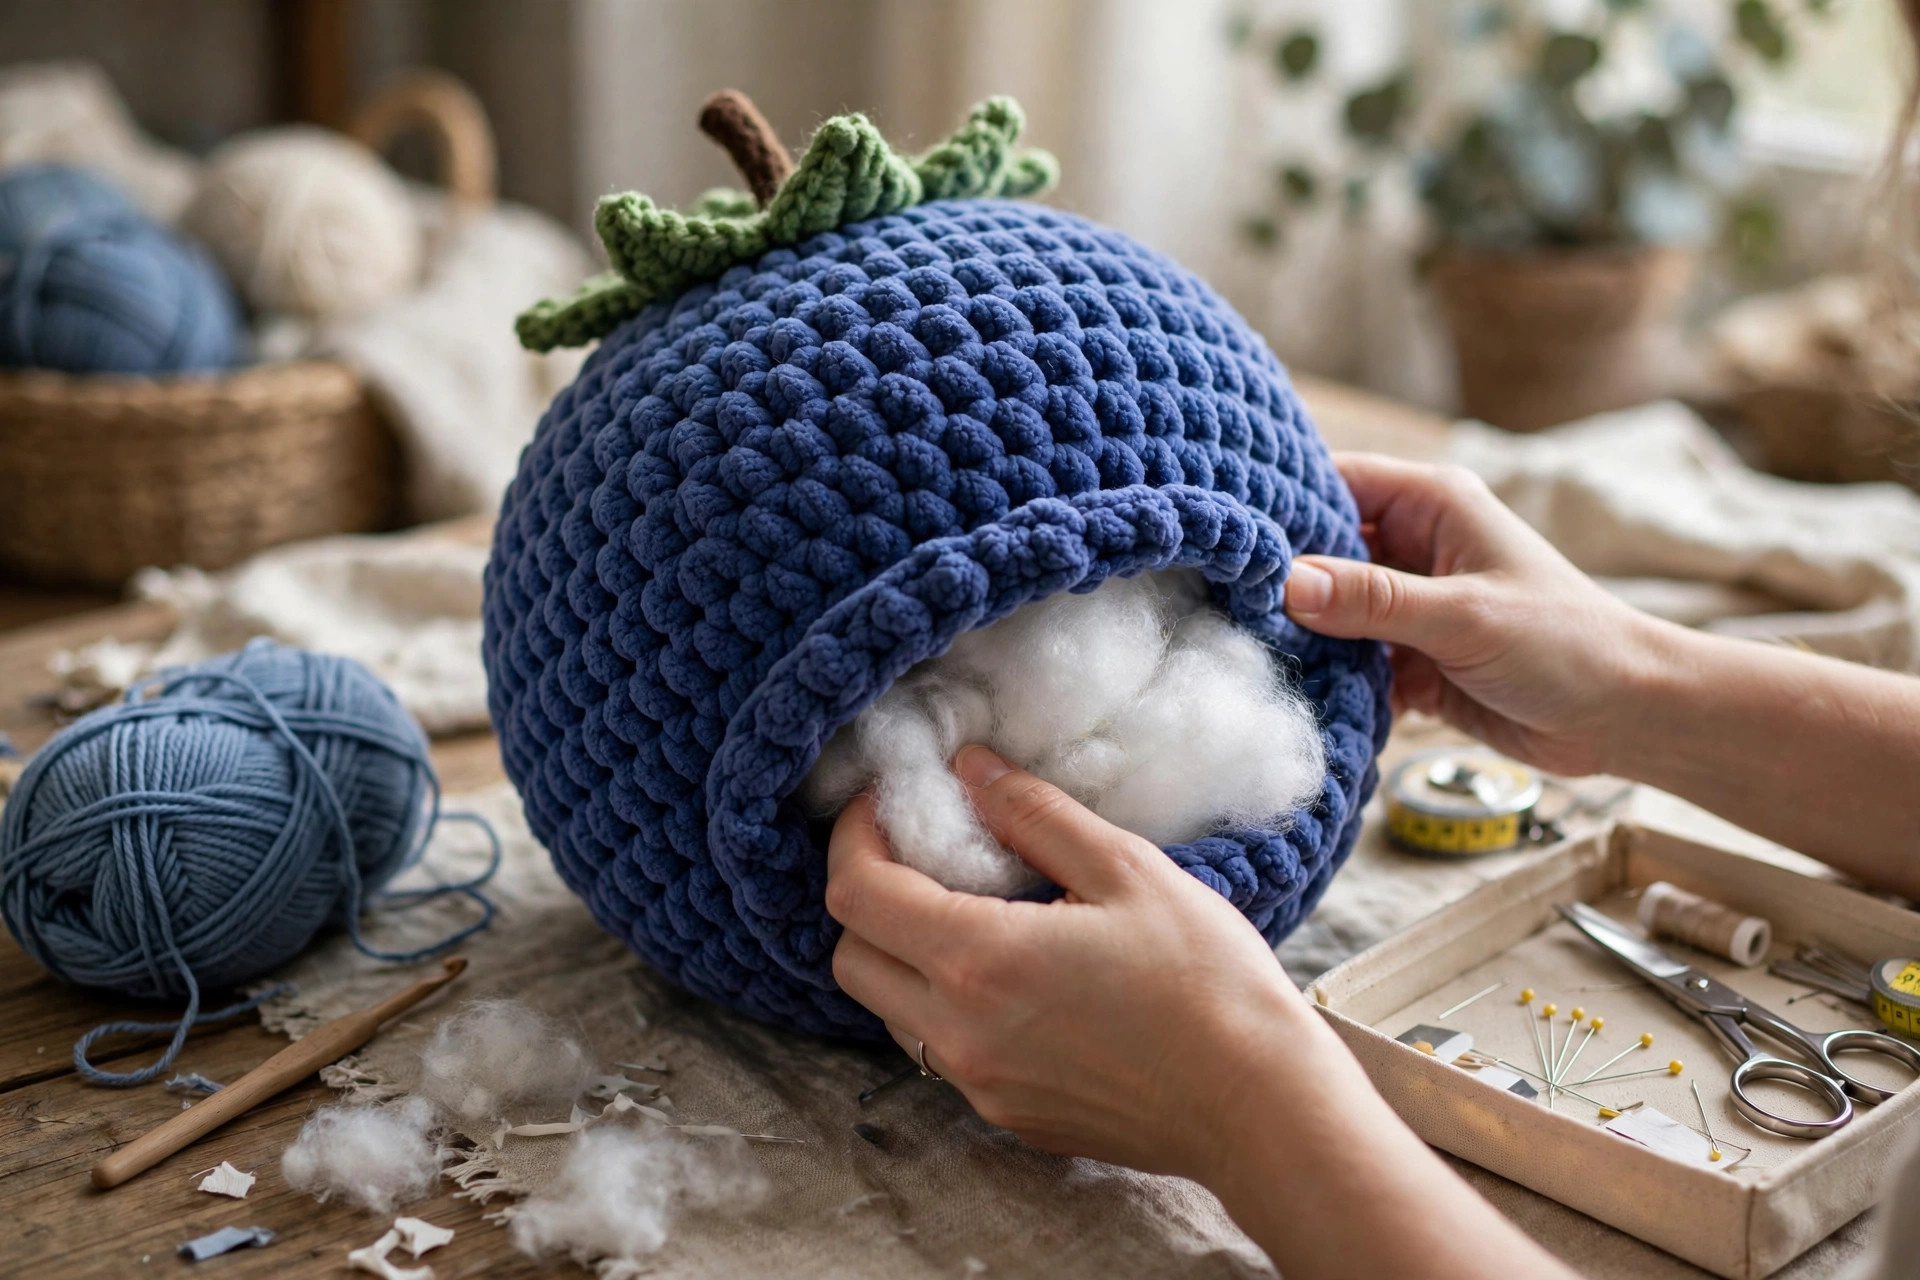
Step 1: With the body at Round 23 (30 sts, opening about 4 inches wide), begin stuffing. Pull the fiberfill apart into thin sheets rather than stuffing in clumps. Press the first layer firmly into the bottom of the berry, working it into the curve with your fist.
Step 2: Continue adding fiberfill in layers, pressing each one down and smoothing the outside of the crochet with your other hand as you go. Fill it more firmly than feels natural. A squishy plush should feel dense, not airy. You want the sphere to hold its shape when you set it down.
Step 3: Work Rounds 24 through 26, adding a small handful of fiberfill after each round. Keep the fill even by rotating the berry as you stuff.
Step 4: After Round 27, thread your yarn needle with the tail and weave it through the front loops of the final 6 stitches. Pull gently to cinch closed, then knot securely and weave the end deep into the stuffing.
Step 5: Shape the berry with your hands. Press down lightly on the top to create the slight squash of a real blueberry, and roll it gently on the table to even out lumps.
Step 6: Sew the green star crown to the top center of the berry using the long tail and your yarn needle. Stitch through the base of each star point and into the body, going around twice for security. Weave in the end.
Your blueberry should now sit stably and spring back when squeezed. If it wobbles, the bottom needs a bit more fill; if the top dimples, ease some stuffing upward with your fingers through the fabric.
Adding a Face
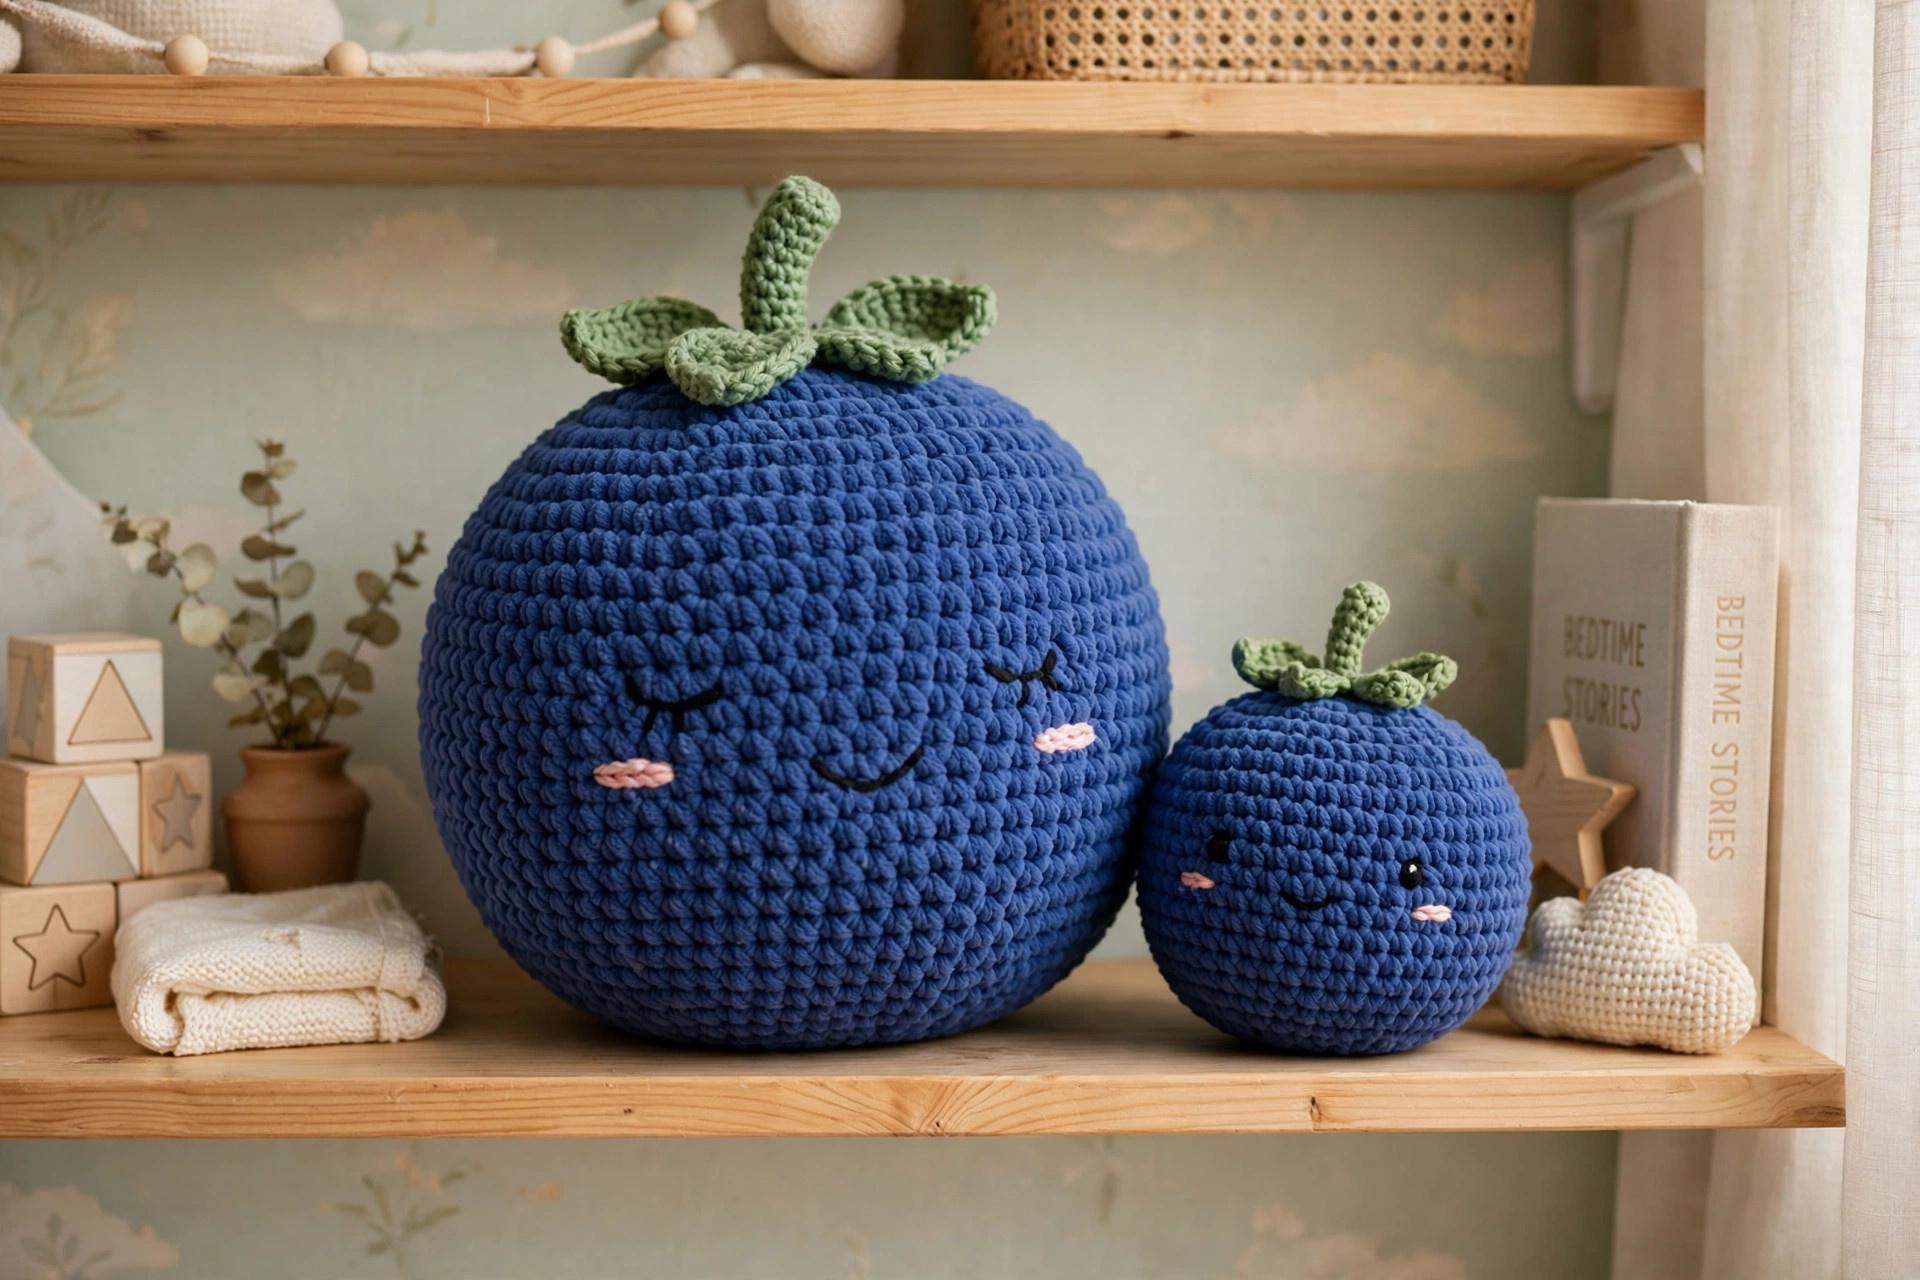
A face turns the blueberry from decor into a character, and you have two good options. Safety eyes give a classic kawaii look: insert 18 mm safety eyes between Rounds 15 and 16, about 10 stitches apart, before you finish stuffing, and lock the washers firmly on the inside. Embroider a small smile below and between them with black yarn.
For a sleepy, modern look, skip the plastic eyes and embroider closed eyes with curved stitches plus a tiny smile in black or dark brown yarn. This version is safer for babies and toddlers. Place the face on the upper third of the berry, and keep features small relative to the giant body for the most charming look.
If kawaii faces are your thing, our mini amigurumi patterns collection has more small characters with the same sweet expression style.
Size Variations
One of the joys of this pattern is how easily it scales. The math is simple: fewer increase rounds make a smaller berry, more make a bigger one.
Mini blueberry (about 4 inches): Use worsted weight (#4) yarn with a US H-8 (5.0 mm) hook. Work the increase rounds only through Round 6 (36 sts), then work 5 straight rounds, then decrease from Round 19 onward following the same decrease rhythm. These minis are adorable as desk toys, keychain charms (add a keyring to the crown), or ornaments.
Mega blueberry (about 15 inches): Hold two strands of super bulky together with a US Q (16 mm) hook, or use jumbo (#7) yarn. Continue the increase pattern two more rounds: Round 11 as (9 sc, inc) for 66 sts and Round 12 as (10 sc, inc) for 72 sts, then work 10 straight rounds and mirror the decreases. You will need about 500 yards and a full large bag of fiberfill. The mega version makes an unforgettable floor cushion for a kids room.
Color and Yarn Swaps
Dusty blue is classic, but the pattern welcomes creativity. A deep navy blueberry looks sophisticated in a modern living room. Variegated blue yarn gives a lovely mottled skin like a real berry's bloom. For a playful twist, try the whole berry in a soft lavender or a cheerful teal; it will still read as a blueberry thanks to the star crown.
Yarn texture changes the personality completely. Chenille super bulky makes the ultimate squishy sensory plush, while matte acrylic gives crisp stitch definition. Avoid fuzzy eyelash style yarns for your first giant, because you will not be able to see your stitches.
Whatever you choose, buy all your yarn at once and check the dye lots, since a dye shift shows clearly on a giant smooth surface.
Troubleshooting
My sphere has a visible spiral seam. Working in continuous rounds always leaves a slight jog where rounds begin. Minimize it by keeping your stitch marker exactly at the round start and pulling the first stitch of each round snug. On a giant plush, a faint jog is invisible once stuffed, so do not frog hours of work over it.
The fiberfill shows through my stitches. Check after Round 5 by stretching the fabric and looking for gaps. If you see through it, restart with a smaller hook.
My decreases look pointy instead of round. Make sure you work every decrease round in the pattern, including the final rounds down to 6 stitches. Skipping decrease rounds creates a cone; working them all creates a smooth dome.
The berry will not sit flat. Press the top gently and redistribute the bottom stuffing until it settles into a slight squash like a real blueberry.
Plush makers who enjoy a challenge will love our crochet highland cow plush, a bigger project with the same satisfying jumbo techniques.
Gift and Decor Ideas
A giant blueberry is a gift that gets remembered. For baby showers, make it in soft chenille with an embroidered face; it becomes instant nursery decor. For kids birthdays, add a tiny bow to the crown for extra charm. Teachers love them as classroom reading corner pillows.
In home decor, style your blueberry on a couch, an armchair, or a bed. It pairs wonderfully with other fruit themed textiles and with neutral linen furniture where the dusty blue pops. During summer, group it with a crocheted strawberry and lemon for a fruit bowl display that guests always comment on.
Care Instructions
Hand wash your blueberry in cool water with mild detergent, gently squeezing without wringing. Rinse, press out water with a clean towel, reshape while damp, and air dry flat. Never machine wash or dry a giant plush; the agitation mats the yarn and clumps the fiberfill.
Between washes, shake it outdoors and spot clean with a damp cloth. Keep it out of prolonged direct sunlight, because blue dyes fade fast.
Frequently Asked Questions
How much yarn do I really need for the giant size?
About 320 yards of super bulky (#6) yarn for the berry plus 25 yards of green for the crown. Buy three skeins of a typical 100 to 120 yard super bulky skein to be safe, and keep the receipts in case you need a fourth.
Can I make this with worsted weight yarn instead?
Yes, but it will not be giant. With worsted weight and a 5.0 mm hook following the pattern as written, you will get a berry about 5 to 6 inches across, which is still adorable. To keep the giant size with thinner yarn, hold two or three strands together.
Is this pattern suitable for a complete beginner?
It is best for an advanced beginner who already knows single crochet and the magic ring. The stitches are simple, but managing a giant project and stuffing it well takes a little experience. If this is your very first project, try our crochet octopus plush first to learn the basics at a smaller scale.
How do I keep the stuffing from clumping after washing?
Use high quality polyester fiberfill and stuff it in thin, even layers as described in Part 3. After washing, reshape the berry while damp and let it dry completely before squeezing it. Clumping usually comes from low quality fill or from machine drying, so hand wash and air dry only.
Can I sell finished blueberries made from this pattern?
Yes. You may sell finished items made from this free pattern in small batches, such as at craft markets or in your own shop. Please credit Little Loop Finds as the designer and do not sell or redistribute the pattern itself.
What safety eyes size works best?
18 mm safety eyes suit the giant size well, placed between Rounds 15 and 16 about 10 stitches apart. For the mini version, use 10 to 12 mm eyes. Always use embroidered features instead of plastic eyes for toys intended for children under three.
If you are dreaming of a whole plush menagerie, our free crochet tiger pattern from this same collection makes a wonderful next giant project.