Crochet Socks Pattern (Free Toe-Up Pair)
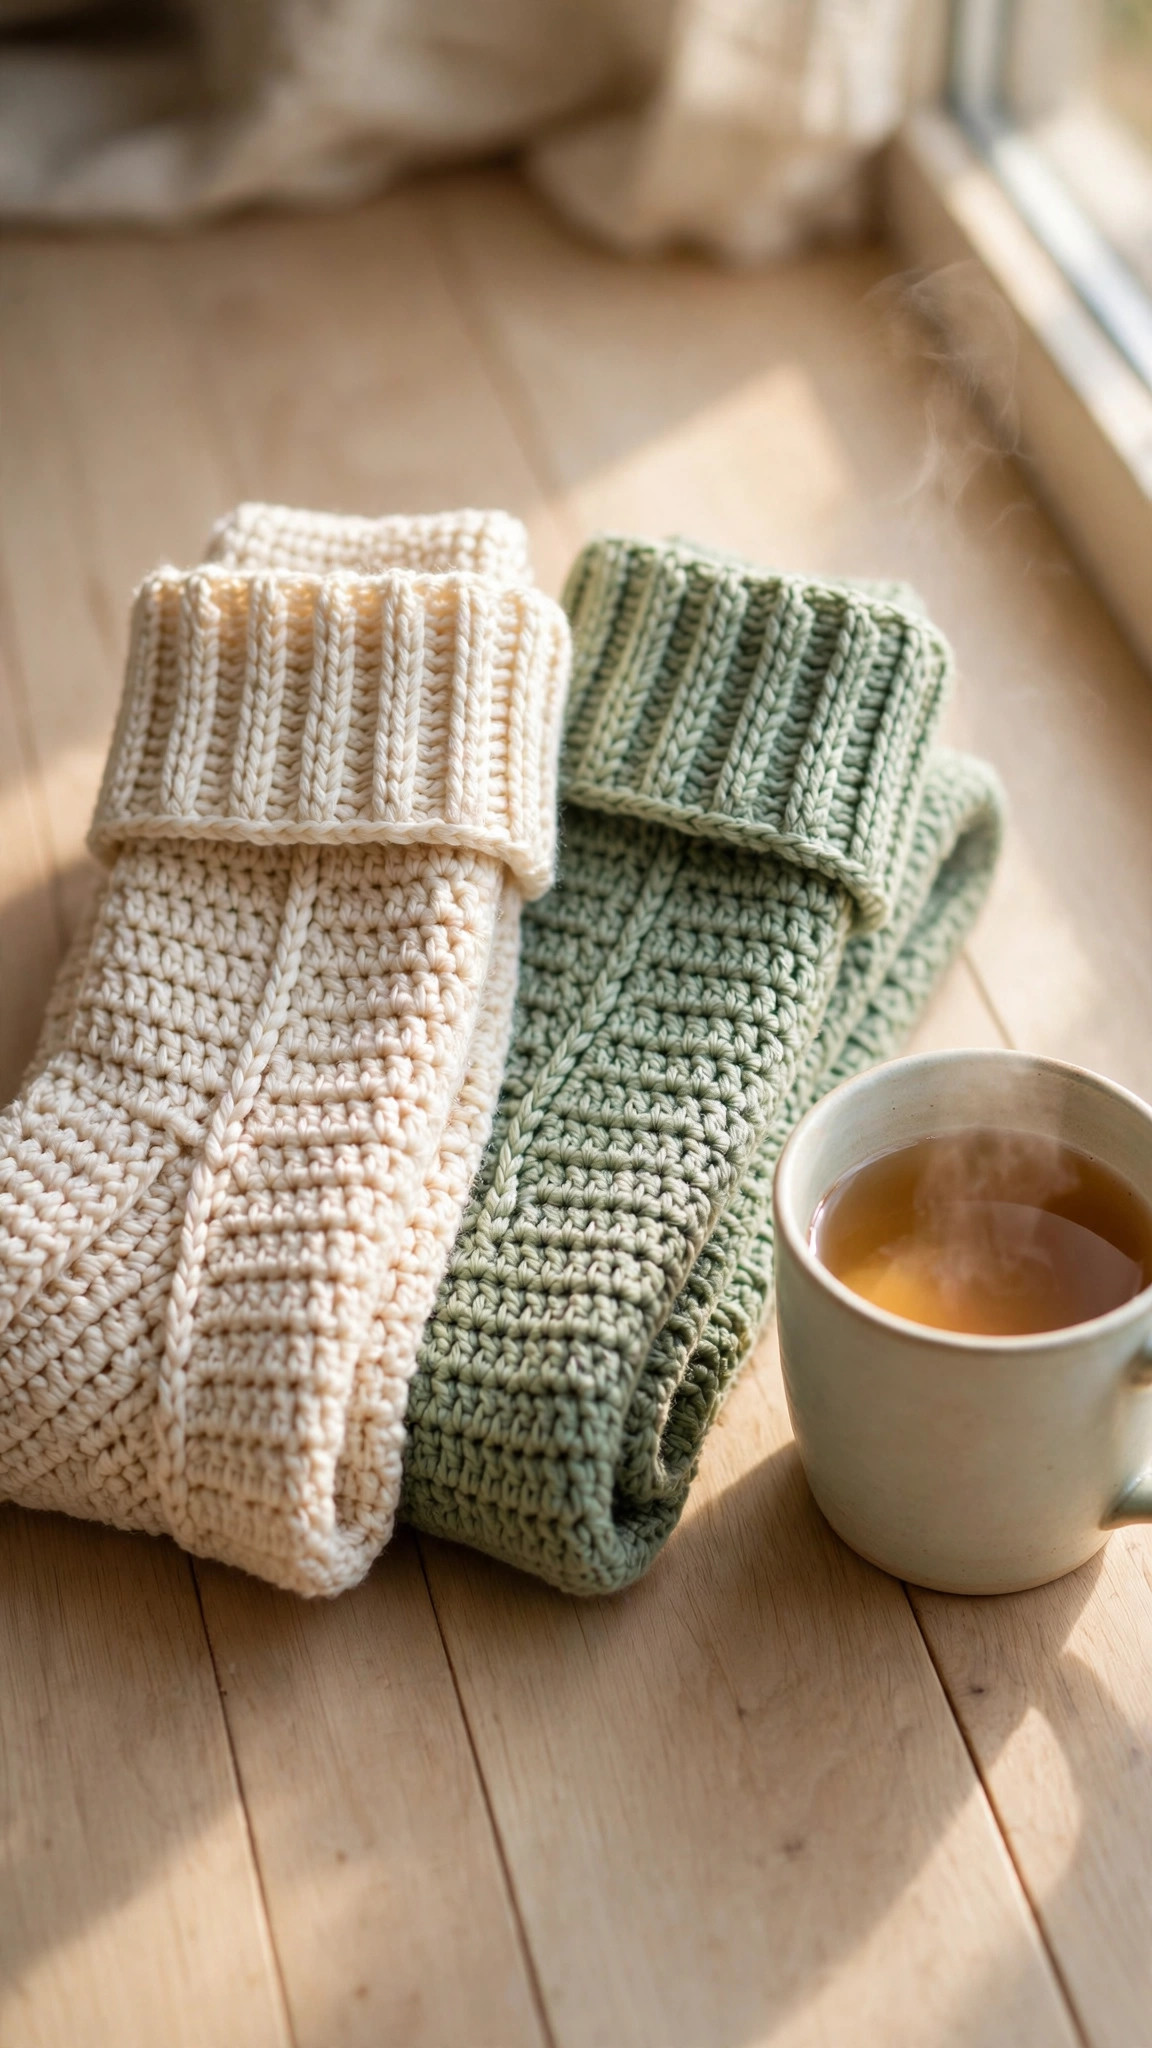
Crochet a cozy pair of toe-up socks in soft DK yarn with a short row heel and a ribbed cuff in about six hours, then wear them all winter.

Patterns · Crochet
- Finished size
- US 6-9 (3 sizes)
- Making time
- 6 hours a pair
- Hook
- US E-4 (3.5 mm)
- Set
- Toe, heel, cuff
- Skill
- Easy
In this post
- Key Takeaways
- Table of Contents
- Why You Will Love These Crochet Socks
- Finished Size, Skill Level, and Time
- Materials You Need
- Abbreviations (US Terms)
- Gauge and Sizing Notes
- Part 1: The Toe and the Foot
- Part 2: The Heel and the Leg
- Part 3: The Cuff and Finishing
- Variations: Colors, Sizes, and Uses
- Troubleshooting Socks That Do Not Fit Right
- Care Instructions
- Frequently Asked Questions
- More Free Patterns to Try
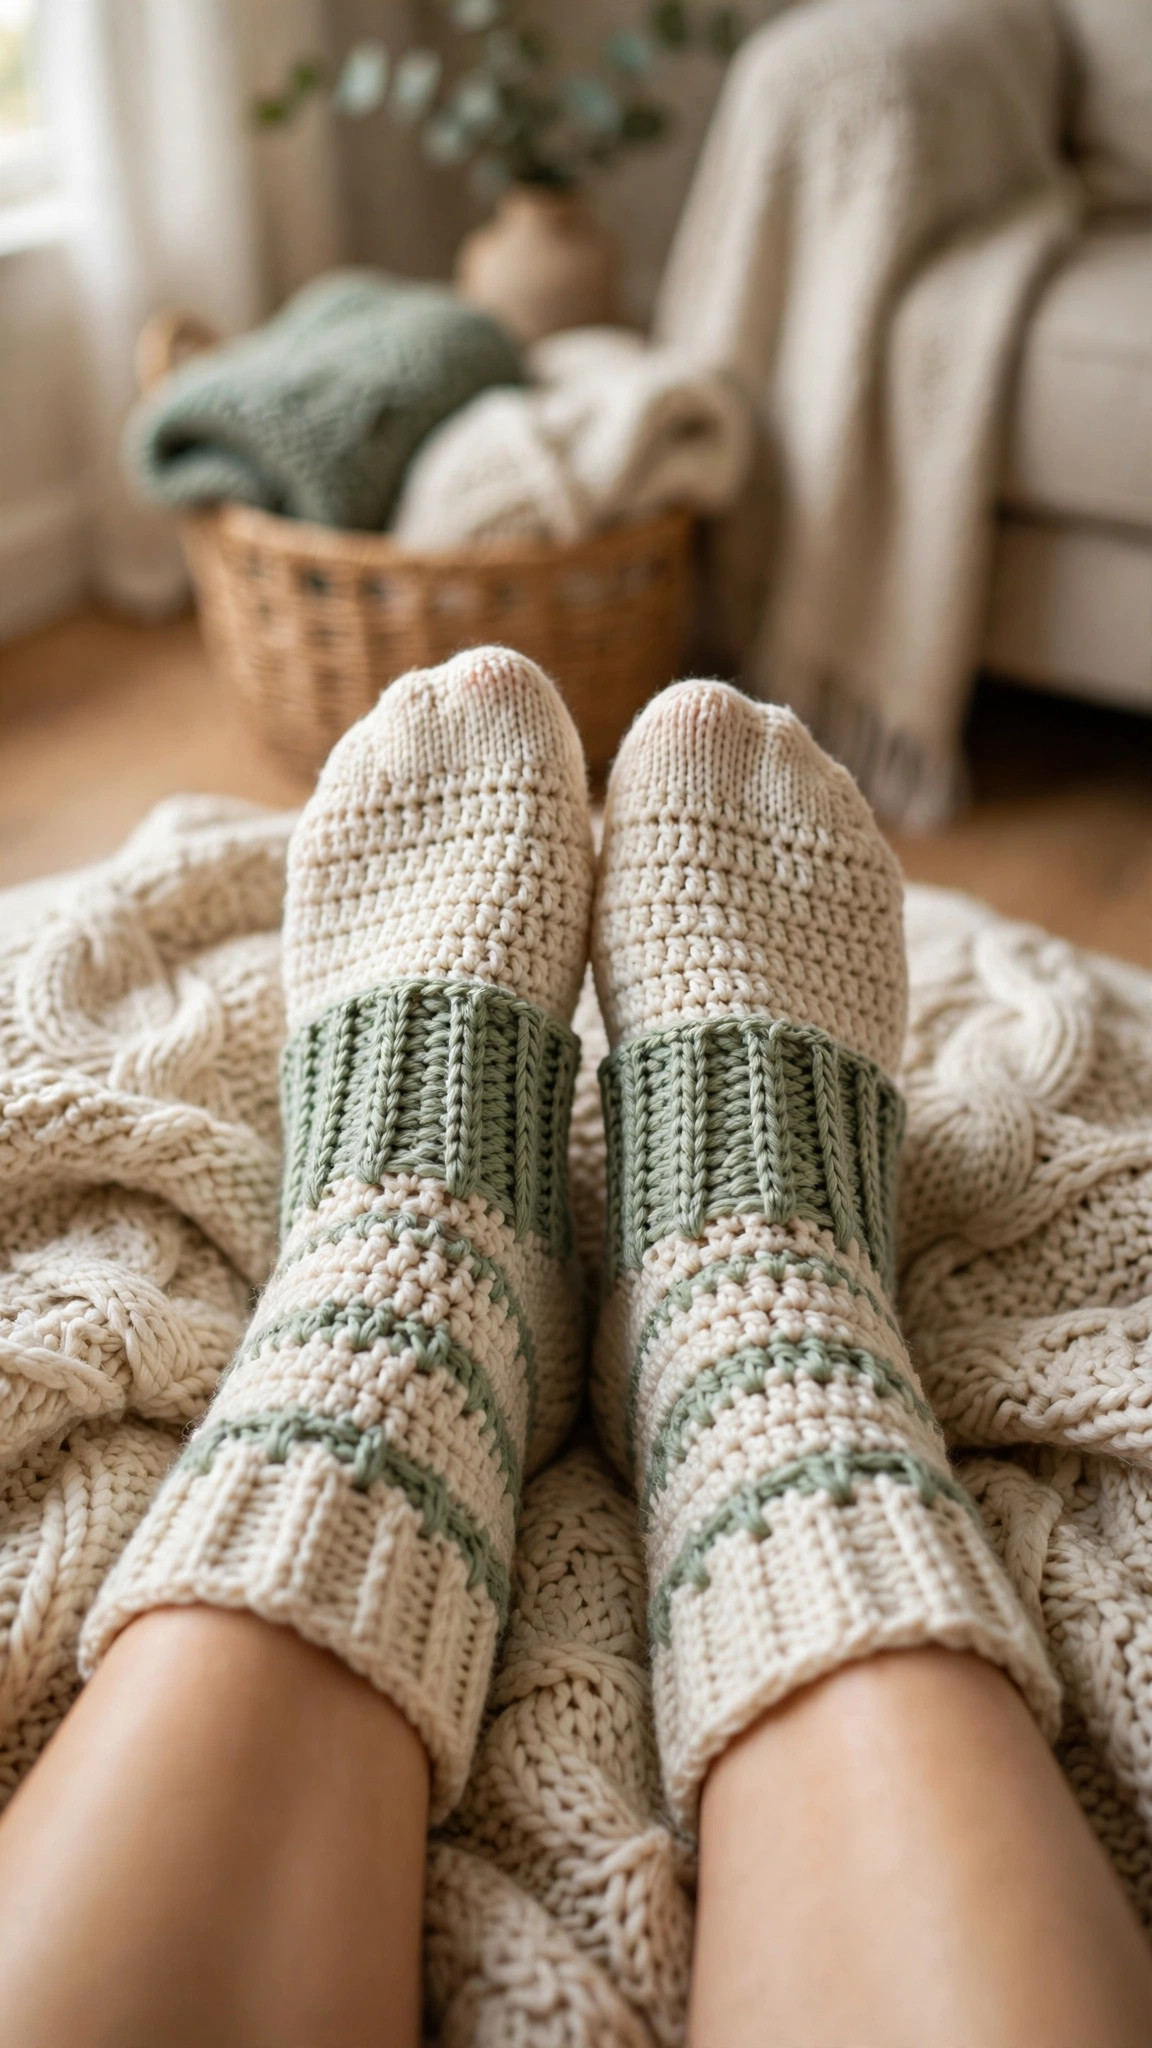
A pair of handmade crochet socks is one of the coziest things you can make, and this free crochet socks pattern works a soft pair from the toe up in the round. It takes about 6 hours for a pair and makes a warm gift for anyone who loves thick socks.
This is an original Little Loop Finds design, written in US terms and completely free. The socks are worked toe up, so you can try them on as you go, with a simple short row heel and a ribbed cuff that stays up all day.
A quick note on scope: this post is about one specific kind of sock, a warm crocheted sock worked in the round from the toe up. That makes it different from the other footwear items on this site. A crochet shark booties pattern makes a fun novelty slipper for a child, free crochet slipper patterns make open topped house slippers, and a crochet infant shoes pattern makes tiny shoes for a baby. This pattern makes a full sock with a heel and a cuff, not a slipper or a shoe.
Key Takeaways
- Free original pattern: a Little Loop Finds original design, written in US terms, completely free.
- Toe up socks: a cozy pair worked in the round from the toe up, so you can try them on as you go.
- Simple stitches: worked with half double crochet, single crochet, and a short row heel only.
- A 6 hour project: one pair takes about 6 hours, worked one sock at a time.
- Great for gifts: a warm gift for a cold weather birthday, a holiday stocking, or a self care treat.
Table of Contents
- Why You Will Love These Crochet Socks
- Finished Size, Skill Level, and Time
- Materials You Need
- Abbreviations (US Terms)
- Gauge and Sizing Notes
- Part 1: The Toe and the Foot
- Part 2: The Heel and the Leg
- Part 3: The Cuff and Finishing
- Variations: Colors, Sizes, and Uses
- Troubleshooting Socks That Do Not Fit Right
- Care Instructions
- Frequently Asked Questions
- More Free Patterns to Try
Why You Will Love These Crochet Socks
A handmade pair of crochet socks is a small luxury you can wear every day. The stitches are thick and soft, and the toe up construction means you can slip the sock on at any point and check the fit.
These socks are worked in the round, so there is no seaming at the end. You start with a closed toe, increase evenly to make a rounded toe cap, and work the foot in smooth half double crochet until you reach the heel. The heel is a short row heel, which only uses single crochet and short rows.
This pair also makes a wonderful gift. The ribbed cuff stays up, the colors can match a favorite sweater, and a handmade pair feels far more personal than a store bought pair.
Finished Size, Skill Level, and Time
- Finished size: three sizes. Small fits a US women's shoe size 5 to 6, medium fits US 7 to 8, and large fits US 9 to 10. The medium sock is about 9 inches long and 8 inches around the foot.
- Skill level: Easy. You need a magic ring, half double crochet, single crochet, increases, decreases, and short rows.
- Time: about 6 hours per pair: 45 minutes for each toe, 1 hour for each foot, 45 minutes for each heel, and 45 minutes for each leg and cuff.
Materials You Need
| Item | What to get |
|---|---|
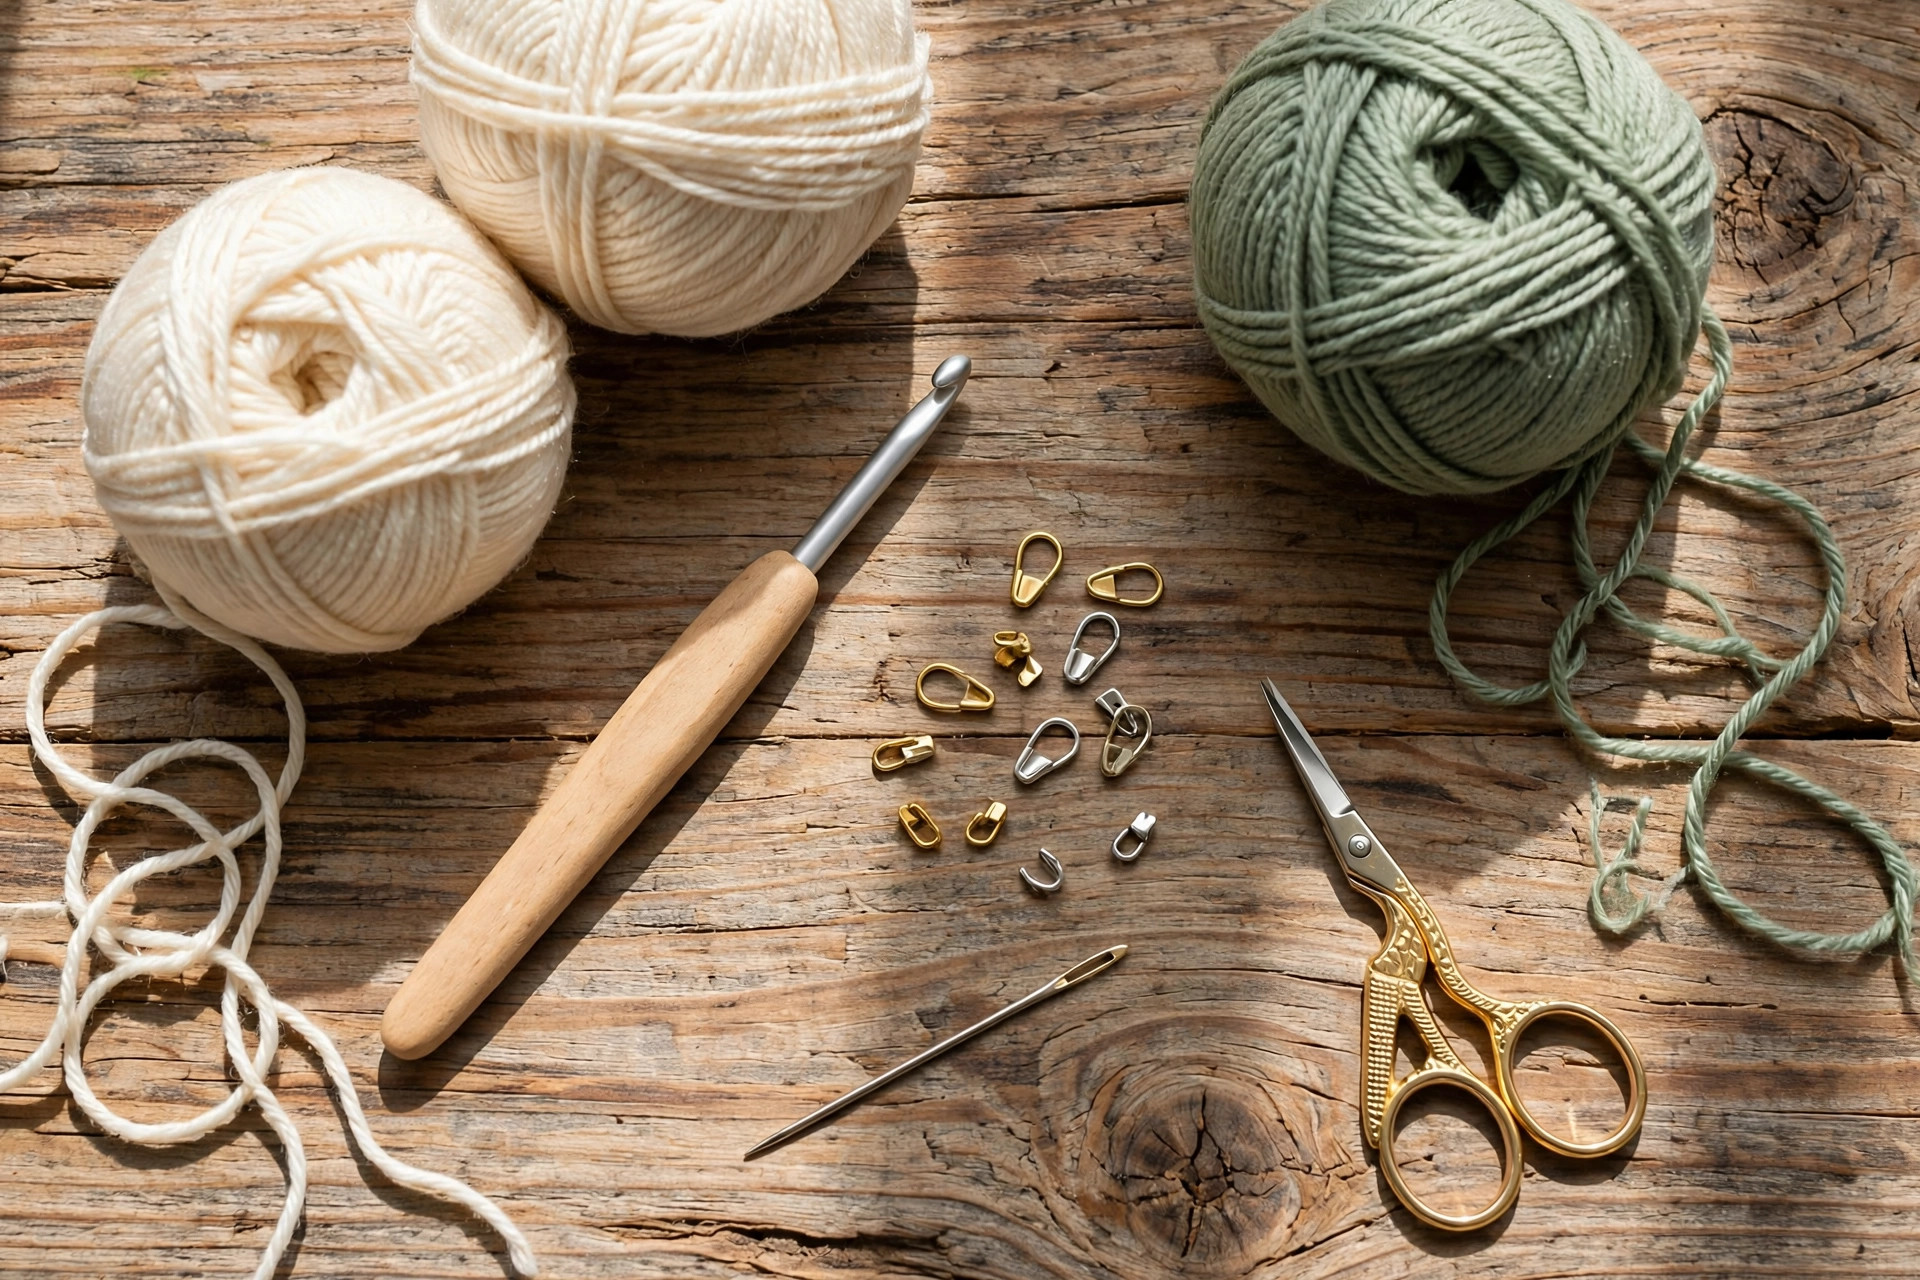
| Yarn, main color | DK weight yarn in a soft cream, about 200 yards per pair |
| Yarn, contrast color | DK weight yarn in sage green, about 80 yards per pair |
| Hook | US E-4 (3.5 mm), or the size that gives you the gauge below |
| Notions | Tapestry needle, scissors, stitch markers, a ruler or tape measure |
A soft DK yarn is the best choice for crochet socks because it makes a fabric that is warm but not too bulky to fit inside a shoe. A wool blend works best for the main color, because it holds its shape and keeps feet warm, while a smooth cotton blend works well for the cuff. Use the same brand and weight for both colors.
A stitch marker is the most important notion here, because the rounds are worked in a spiral and it is easy to lose track of where a round starts. Keep a tape measure close by to check the foot length often.
Abbreviations (US Terms)
- ch = chain
- sl st = slip stitch
- sc = single crochet
- hdc = half double crochet
- dc = double crochet
- fpdc = front post double crochet
- bpdc = back post double crochet
- inc = increase (2 stitches in the same stitch)
- dec = decrease (2 stitches worked together)
- st(s) = stitch(es)
- rep = repeat
- MR = magic ring
- FO = fasten off
Gauge and Sizing Notes
Gauge matters on socks because a loose sock slides down and a tight sock pinches. Work a swatch of 16 hdc and 12 rows. It should be about 4 inches wide and 4 inches tall.
The pattern is written in three sizes, and the instructions give the stitch counts for each size as S (M, L). To check the fit, try the sock on after the foot section, before you start the heel. The sock should feel snug but not tight, because crochet stretches a little with wear.
If your foot is between sizes, make the smaller size, because the stitches relax with wear. If your gauge is off, change hook size to match the swatch.
Part 1: The Toe and the Foot
The sock starts at the toe, a rounded cap worked in the main color, and continues into the foot in half double crochet. Work it in a spiral in the round, with a stitch marker in the first stitch of every round. The instructions give the counts for small, medium, and large as S (M, L).
With the main color yarn, make a magic ring.
- Round 1: 8 hdc in the ring. (8)
- Round 2: inc in each st around. (16)
- Round 3: (hdc in the next st, inc in the next st) rep 8 times. (24)
- Round 4: (hdc in the next 2 sts, inc in the next st) rep 8 times. (32)
- Round 5: (hdc in the next 3 sts, inc in the next st) rep 8 times. (40)
- Round 6: (hdc in the next 4 sts, inc in the next st) rep 8 times. (48)
- Round 7: for S only, hdc in each st around. For M, (hdc in the next 5 sts, inc in the next st) rep 8 times. For L, (hdc in the next 5 sts, inc in the next st) rep 8 times. (48, 56, 56)
- Round 8: for S only, (hdc in the next 5 sts, inc in the next st) rep 8 times. For M and L, hdc in each st around. (56, 56, 56)
- Round 9: for L only, (hdc in the next 6 sts, inc in the next st) rep 8 times. For S and M, hdc in each st around. (56, 56, 64)
Count your stitches at the end of every increase round, because a missed increase makes the toe pointed. The toe cap should look like a smooth half circle when laid flat.
Now work the foot in half double crochet, with no more increases. The foot should measure about 5 inches for S, 6 inches for M, and 7 inches for L from the toe tip to the heel. Try the sock on now to check the length.
- Rounds 10 to 20 (S), 10 to 22 (M), 10 to 24 (L): hdc in each st around.
- Round 21 (S), 23 (M), 25 (L): work a row of single crochet in the contrast color for a thin stripe, then join with a sl st and change back to the main color.
The stripe is optional, but it marks the end of the foot and gives the sock a neat look. Keep the sock on your foot as you work the last few rounds, and stop when the foot reaches the front of your ankle bone, where the heel begins.
Part 2: The Heel and the Leg
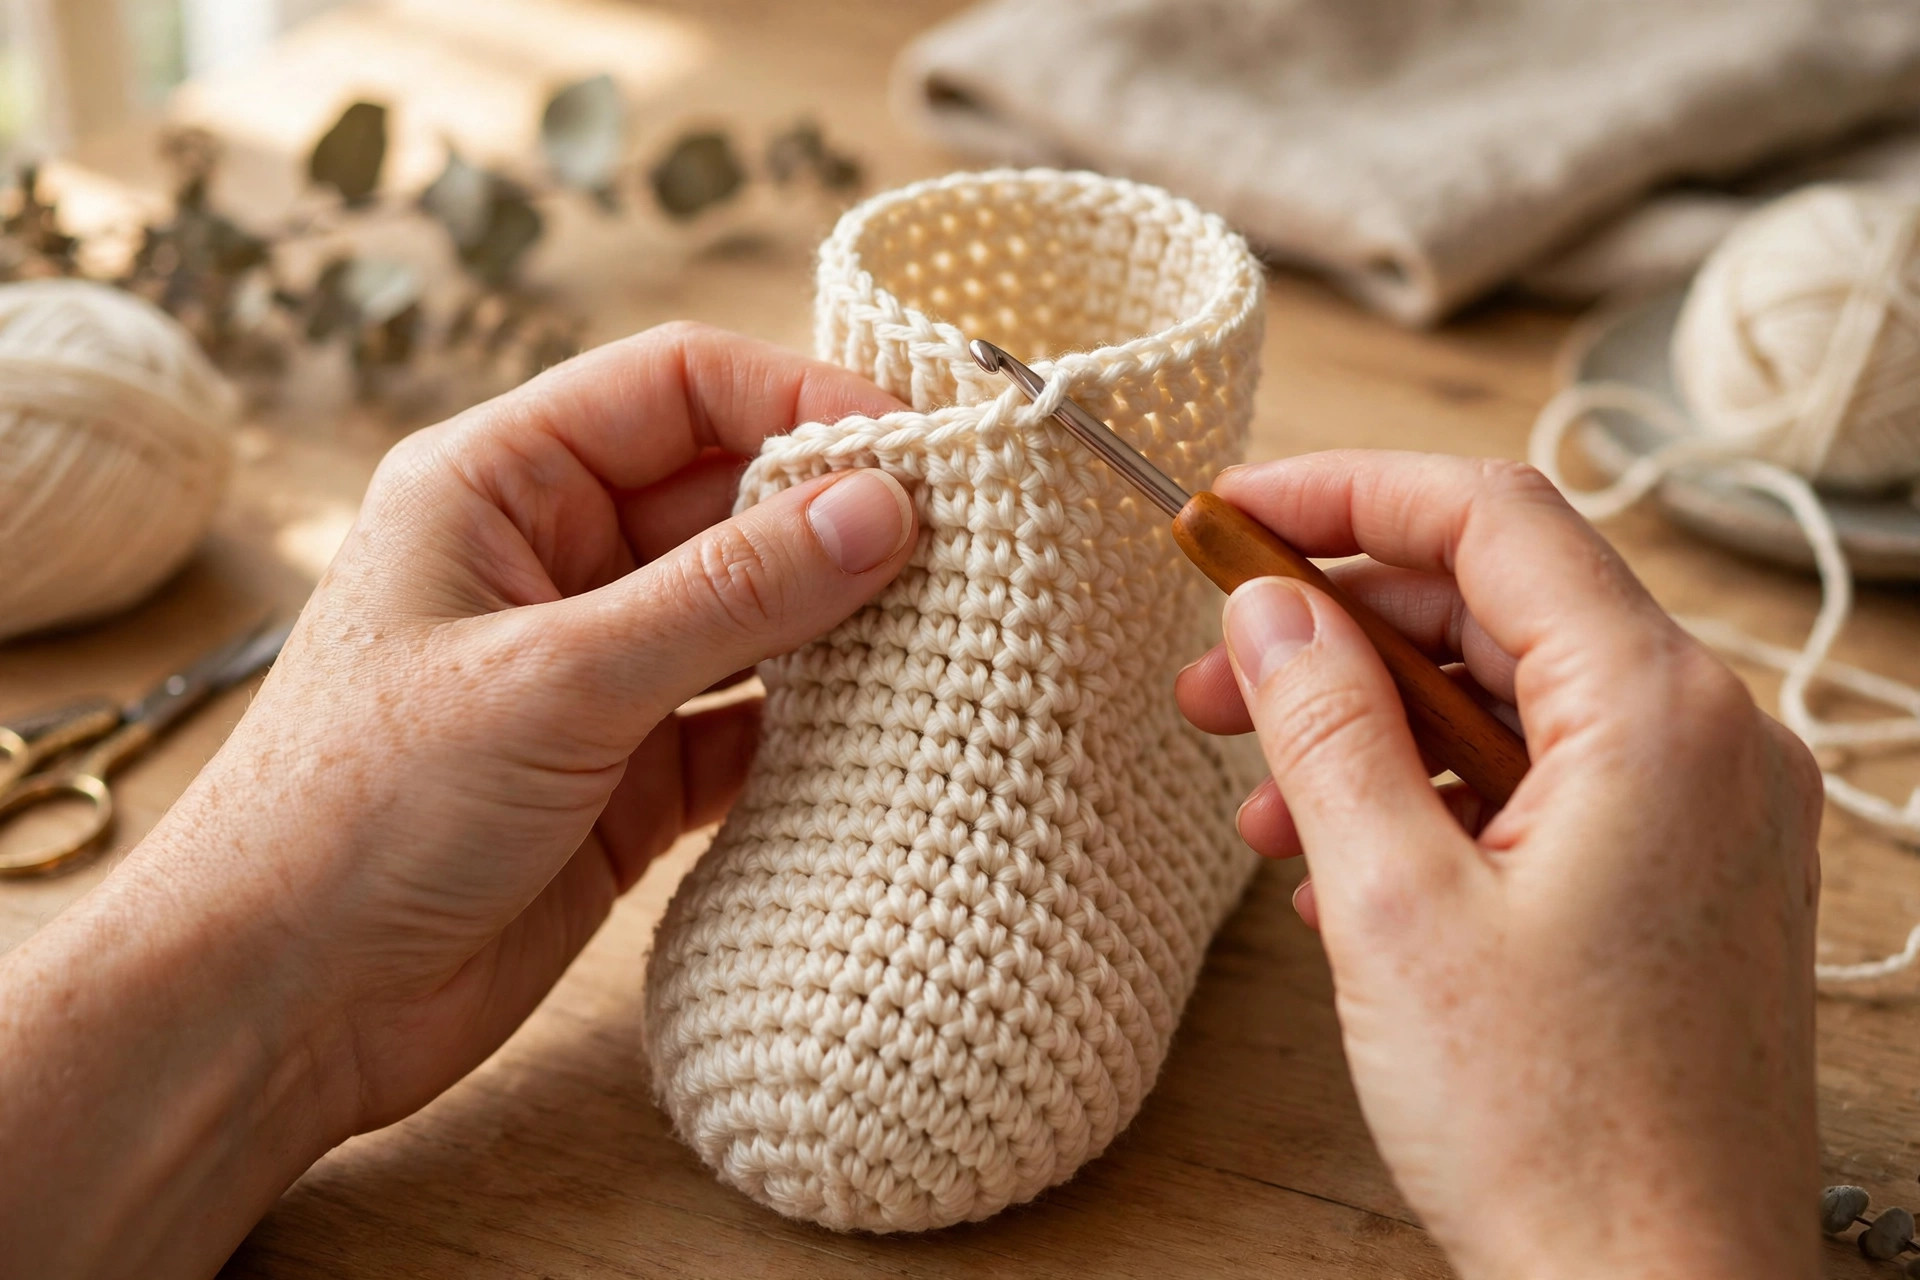
The heel is a short row heel, worked back and forth in rows across half of the stitches, then joined back into the round. It sounds tricky, but it only uses single crochet and short rows, and you turn the work at the end of each row.
First, count half of your stitches. For M, that is 28 stitches. Work in single crochet across those 28 stitches only, and turn. The other half waits while you shape the heel.
- Row 1: sc in the next 28 sts, turn. (28)
- Row 2: sc in the next 27 sts, turn, leaving the last st unworked. (27)
- Row 3: sc in the next 26 sts, turn, leaving the last st unworked. (26)
- Row 4: sc in the next 25 sts, turn, leaving the last st unworked. (25)
- Row 5: sc in the next 24 sts, turn, leaving the last st unworked. (24)
- Row 6: sc in the next 23 sts, turn, leaving the last st unworked. (23)
- Row 7: sc in the next 22 sts, turn, leaving the last st unworked. (22)
- Row 8: sc in the next 21 sts, turn, leaving the last st unworked. (21)
- Row 9: sc in the next 20 sts, turn, leaving the last st unworked. (20)
- Row 10: sc in the next 19 sts, turn, leaving the last st unworked. (19)
Now work back the other way, picking up one left behind stitch at the end of each row. This builds the heel cup back up to its full width.
- Row 11: sc in the next 19 sts, sc in the next unworked st, turn. (20)
- Row 12: sc in the next 20 sts, sc in the next unworked st, turn. (21)
- Row 13: sc in the next 21 sts, sc in the next unworked st, turn. (22)
- Row 14: sc in the next 22 sts, sc in the next unworked st, turn. (23)
- Row 15: sc in the next 23 sts, sc in the next unworked st, turn. (24)
- Row 16: sc in the next 24 sts, sc in the next unworked st, turn. (25)
- Row 17: sc in the next 25 sts, sc in the next unworked st, turn. (26)
- Row 18: sc in the next 26 sts, sc in the next unworked st, turn. (27)
- Row 19: sc in the next 27 sts, sc in the next unworked st, turn. (28)
- Row 20: sc in the next 28 sts, then join with a sl st to the first waiting stitch of the instep. (28)
For S, start with 28 stitches and work down to 19, then back up. For L, start with 32 stitches and work down to 23, then back up.
Once the heel is complete, work in the round again across all stitches in half double crochet for the leg. The leg should measure about 5 inches for S, 6 inches for M, and 6 inches for L before the cuff.
- Rounds 1 to 12 (S), 1 to 14 (M), 1 to 14 (L): hdc in each st around.
- Change to the contrast color for the last 2 rounds of the leg, for a thin stripe that matches the foot stripe.
Try the sock on again after the leg. The heel should sit snugly in the curve of your foot, with no bunching at the ankle and no gaps at the sides.
Part 3: The Cuff and Finishing
The cuff is a ribbed band worked in the contrast color, and it keeps the sock from sliding down. It is worked in the round in front post and back post double crochet, which makes a stretchy ribbed fabric.
With the contrast color yarn, work the cuff in the round.
- Round 1: ch 2, dc in each st around, join with a sl st to the first dc. (56, 56, 64)
- Round 2: ch 2, (fpdc in the next st, bpdc in the next st) rep around, join with a sl st to the first fpdc.
- Rounds 3 to 6: ch 2, (fpdc in the next fpdc, bpdc in the next bpdc) rep around, join with a sl st to the first fpdc.
- Round 7: ch 1, sc in each st around, join with a sl st to the first sc.
Fasten off, leaving a 6 inch tail. Weave in all ends with a tapestry needle, working the tail through the back of several stitches so it does not show on the outside of the sock.
Block the socks by soaking them in cool water with a drop of mild detergent for 10 minutes, then press the water out gently without wringing. Lay them flat on a towel, shape the toe, heel, and cuff, and let them dry flat away from direct heat.
Make the second sock exactly the same way, and check the stitch counts match the first sock. Count the rounds on each leg before you start the second cuff, so the pair matches.
Variations: Colors, Sizes, and Uses
- Classic cream and sage: work the socks in cream and sage green yarn, exactly as written here.
- Striped socks: change color every 4 rounds on the leg for cheerful stripes.
- Ankle socks: stop the leg after 4 rounds and work the cuff right away for a short ankle sock.
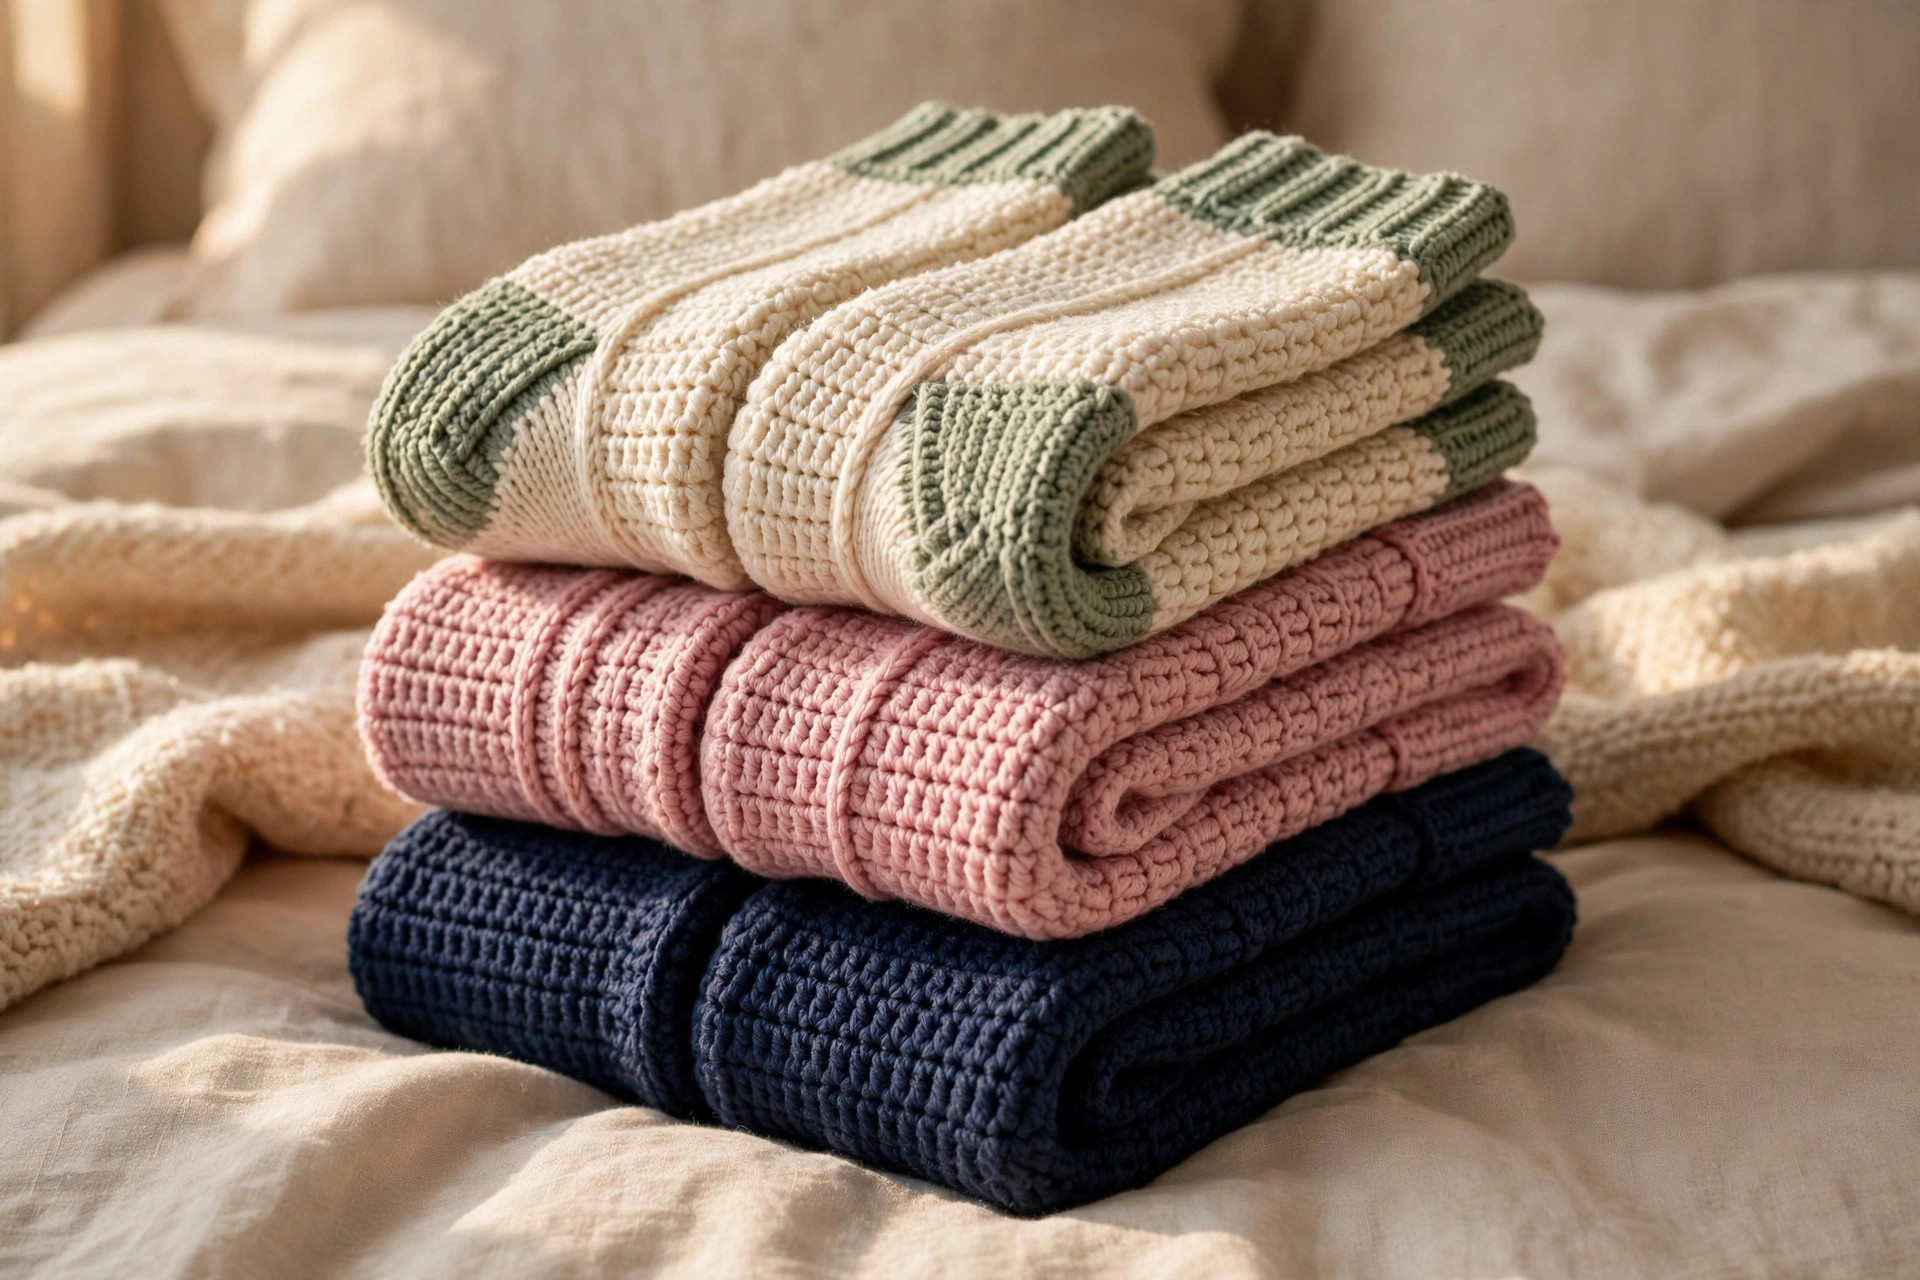
- Bed socks: use a chunky yarn and a larger hook for extra thick socks to wear around the house, and pair them with a matching crochet blouse pattern.
Troubleshooting Socks That Do Not Fit Right
- My socks slide down. The cuff is too loose or too short. Work the cuff with a smaller hook, or add 2 more rounds of ribbing.
- My socks are too tight around the foot. Your gauge is too tight, or you made the smaller size. Go up a hook size or make the next size up.
- My heel has gaps at the sides. A stitch was missed when picking up the left behind stitches. Count the heel stitches at the end of row 20 and fill any gap with a single crochet in the edge.
- My toe is pointed, not round. An increase round was missed, or the increases were uneven. Count the stitches after every increase round.
- My two socks are different lengths. The round counts were not the same. Count the leg rounds on the first sock and write the number down before starting the second.
Care Instructions
Hand wash crocheted socks in cool water with a mild detergent, and press the water out gently without wringing. Reshape the toe, heel, and cuff and lay the socks flat to dry. Never put wool blend socks in a hot dryer, because the heat will shrink them.
Frequently Asked Questions
Is this crochet socks pattern good for beginners?
Yes, it is best for an easy crocheter who knows half double crochet, single crochet, increases, and decreases. The short row heel uses only single crochet, and the pattern walks you through it row by row.
What yarn is best for crochet socks?
A soft DK weight yarn is the best choice, because it makes a fabric that is warm but not too bulky to fit inside a shoe. A wool blend works best for warmth and shape, while a cotton blend works well for a lighter feel.
How is this different from the shark booties, slipper, and infant shoe patterns?
This pattern makes a full sock with a toe, a heel, and a ribbed cuff, worked toe up in the round. The shark booties are a novelty slipper for a child, the slipper patterns make open topped house slippers, and the infant shoe pattern makes tiny shoes for a baby.
How big are the finished socks?
The pattern comes in three sizes. Small fits a US women's shoe size 5 to 6, medium fits US 7 to 8, and large fits US 9 to 10. The medium sock is about 9 inches long and about 8 inches around the foot.
Can I make these socks without the short row heel?
The short row heel is worth learning, because it gives the best fit. You can work the foot as a straight tube and add a heel flap later, but the fit will not be as snug.
Can I sell socks made from this pattern?
Yes, you may sell finished socks made from this free pattern, with credit to Little Loop Finds. Do not sell or republish the pattern text.
More Free Patterns to Try
If you loved these socks, try another free original pattern next. Make a free crochet boot cuff pattern to keep the cold out of your boots, or a chemo cap crochet pattern for a soft and thoughtful gift.
Happy stitching, and may your little pair of socks keep your feet warm all winter long.