Free Crochet Stained Glass Pattern (Squares)
Turn yarn into glowing window art with this free stained glass crochet square pattern.

Home Decor · Crochet
- Finished size
- 6.5 in square; 30-square afghan 33 x 40 in
- Making time
- About 1 hour per square
- Hook
- US H-8 (5.0 mm)
- Set
- Square, leading border, joining guide
- Skill
- Easy
In this post
- Key Takeaways
- Table of Contents
- Why You Will Love This Project
- Finished Size, Skill Level, and Time
- Materials You Need
- Abbreviations (US Terms)
- How the Stained Glass Effect Works
- Part 1: Crocheting the Stained Glass Square
- Part 2: The Leading Border Round
- Color Placement Plans
- Joining the Squares
- Project Ideas
- Troubleshooting
- Care Instructions
- Frequently Asked Questions
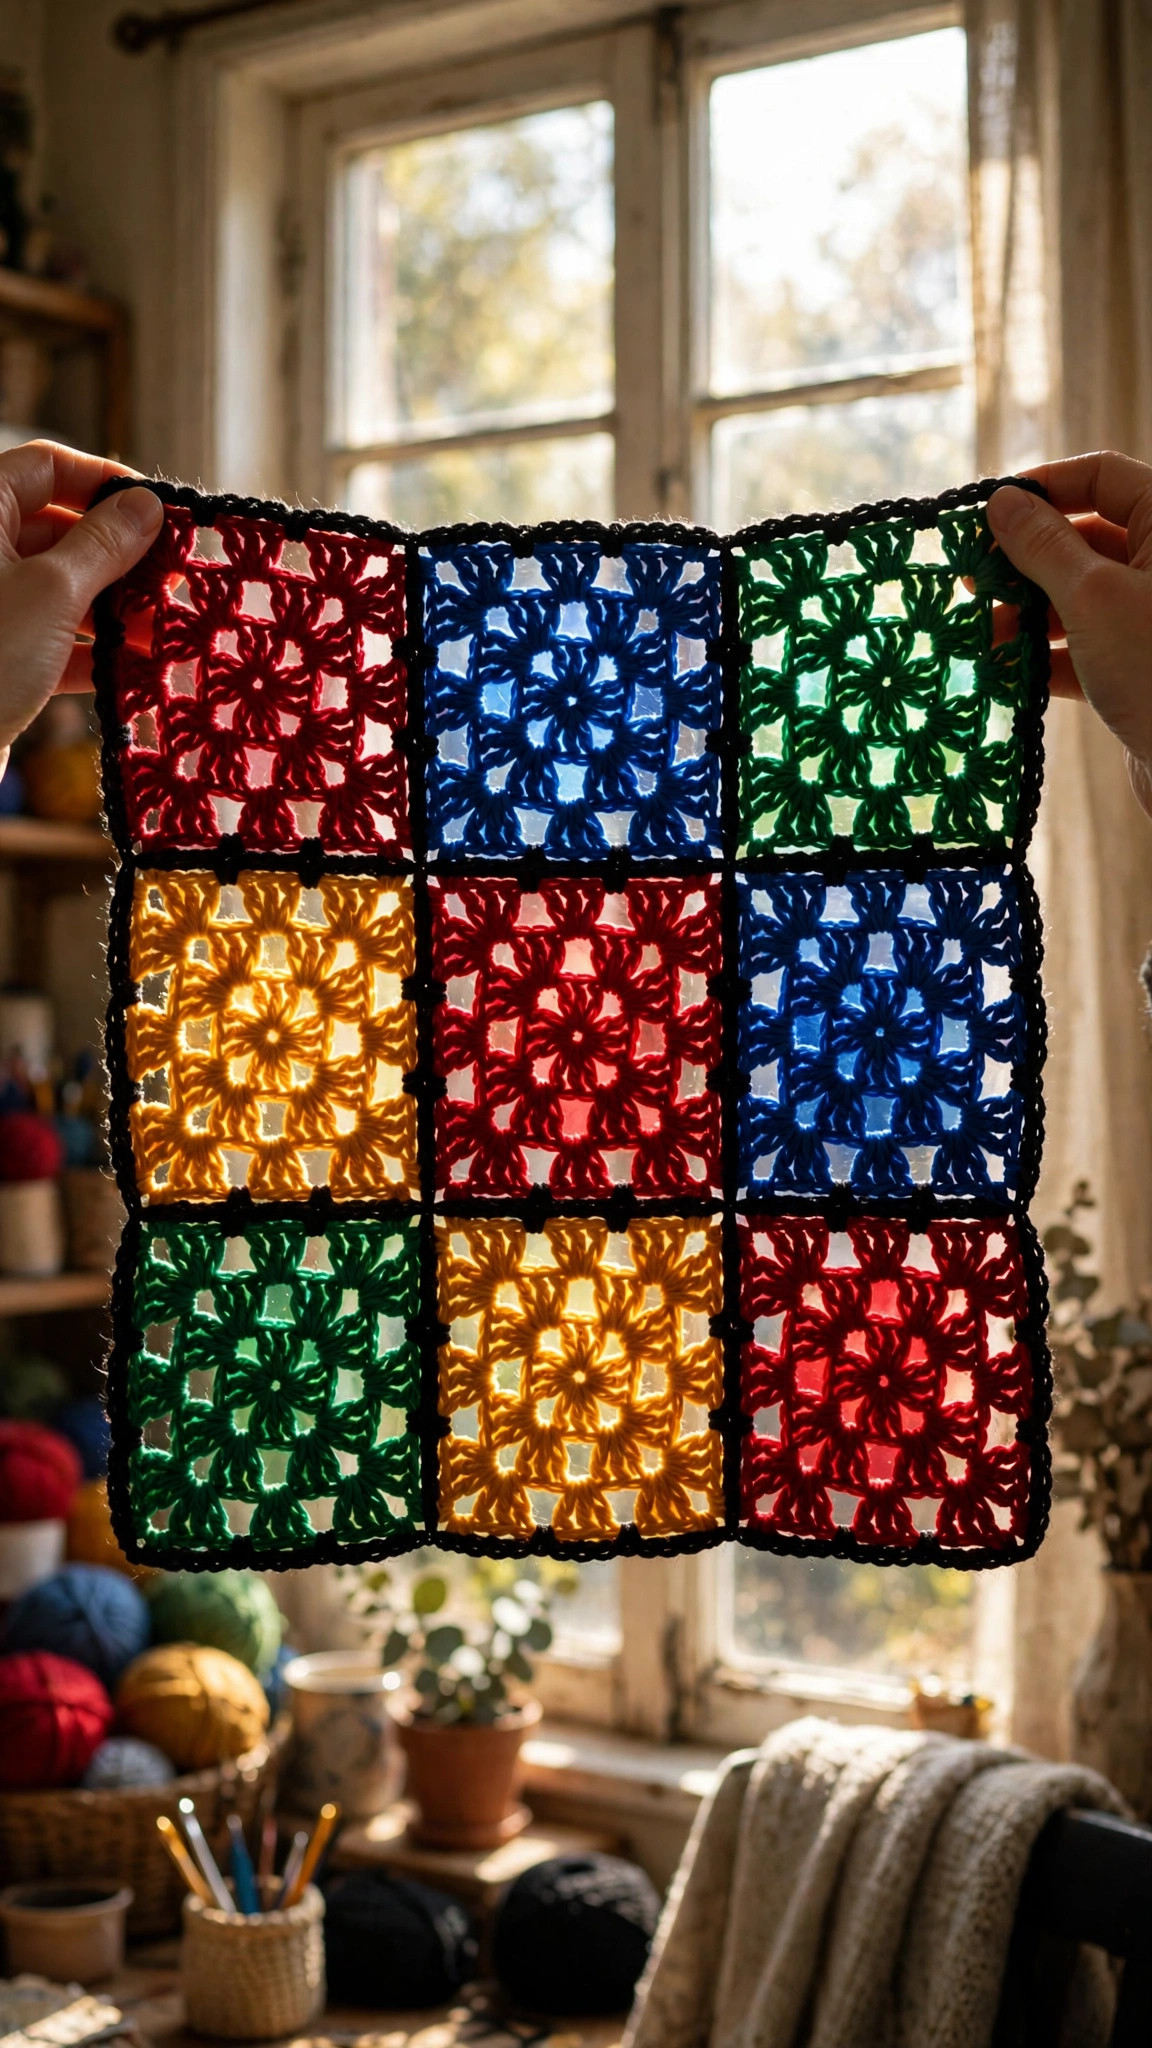
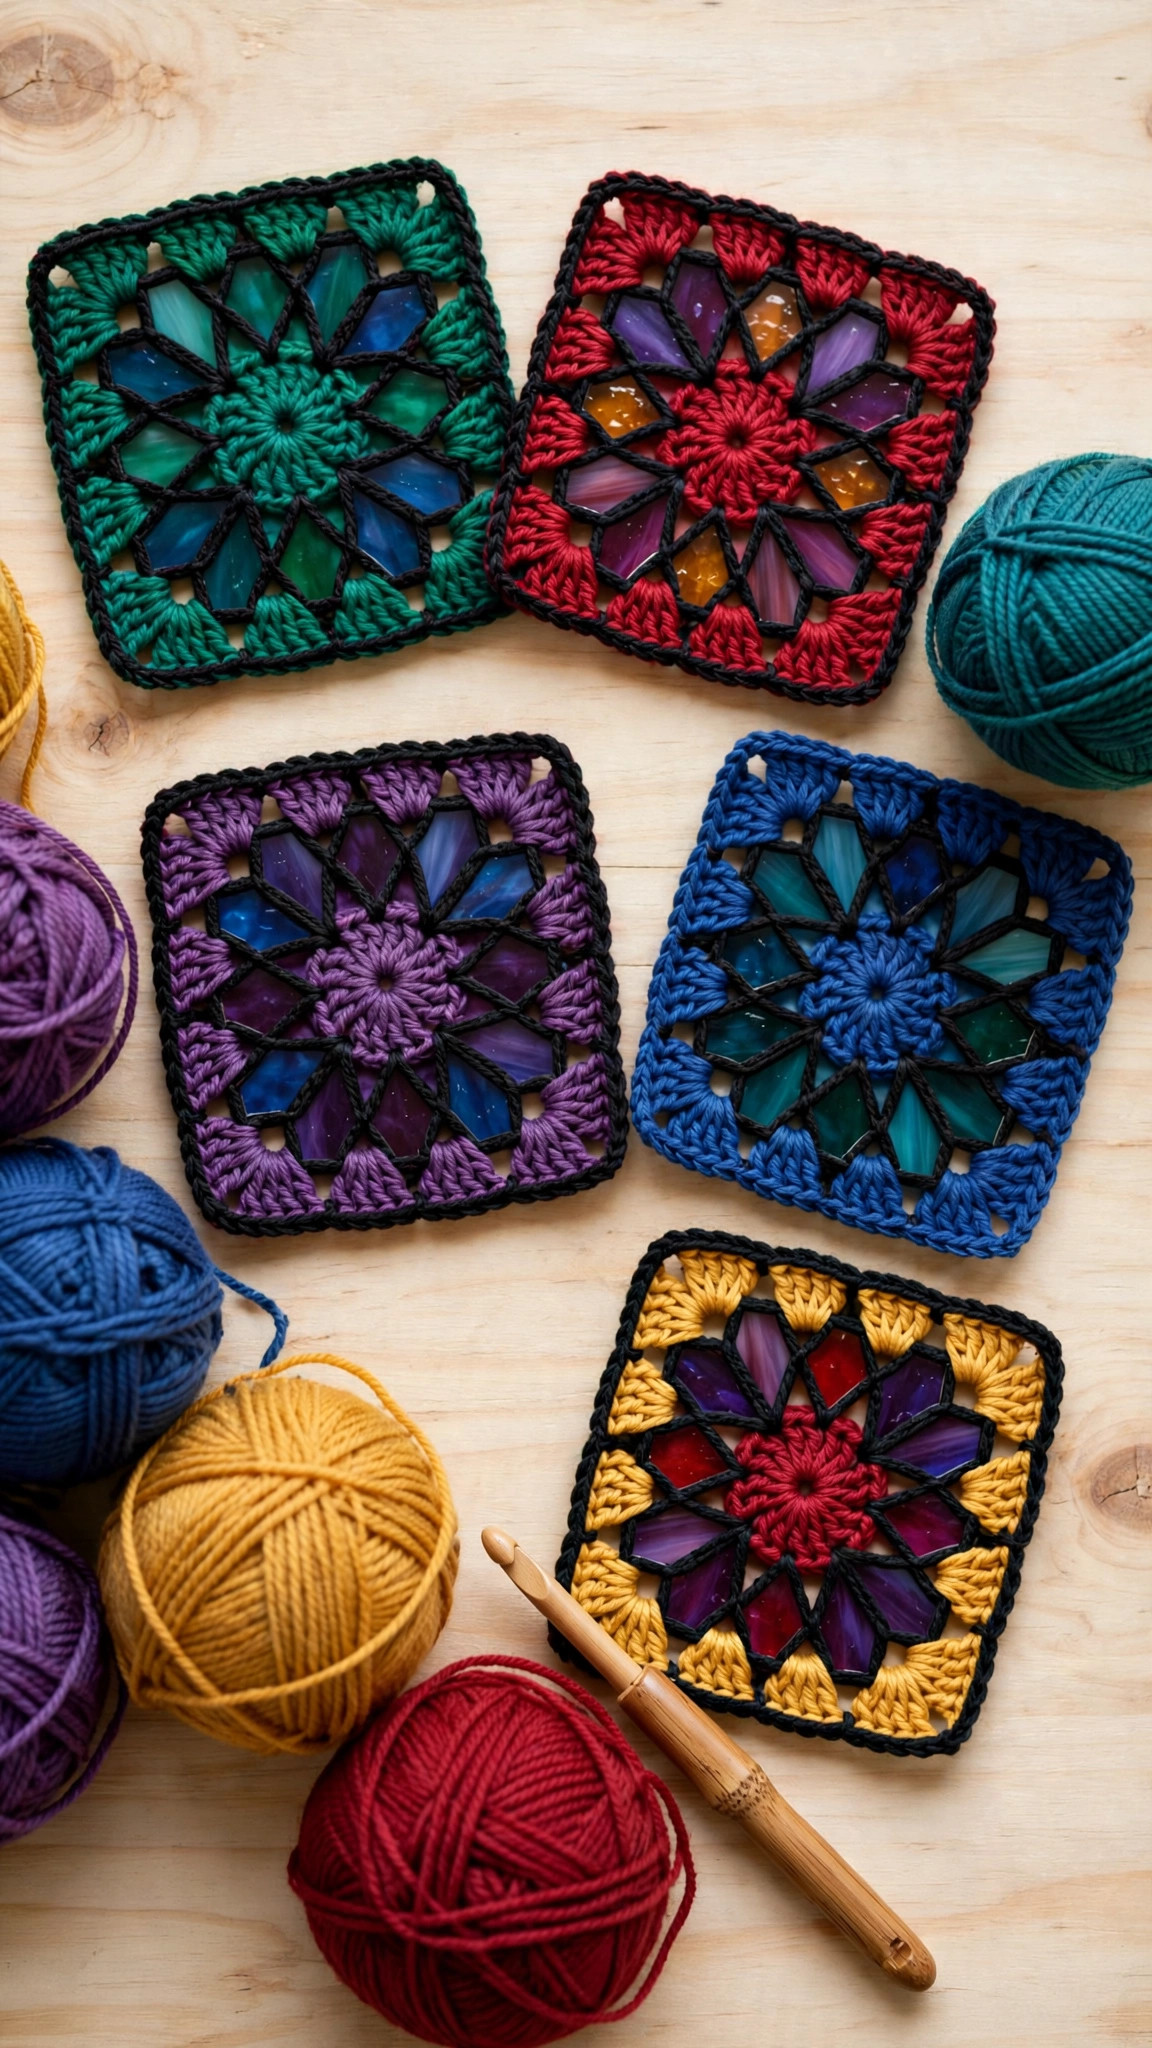
There is a special kind of magic in a stained glass window. Light pours through jewel-toned panels, dark leading lines hold every color in place, and the whole thing glows. Now imagine capturing that look with nothing but yarn and a hook. This free crochet stained glass pattern shows you how to make granny squares that mimic real stained glass, with bold dark outlines separating panels of ruby red, cobalt blue, emerald green, and amber gold. Hold one up to a sunny window and it genuinely glows.
This is an original Little Loop Finds design. The trick is simple but clever: work your colored rounds as usual, then add thin rounds of dark yarn between the colors to act as the "leading" (the dark metal strips in real stained glass). The contrast makes every color pop, hides any wobbly color changes, and gives the square a crisp, graphic look that reads as stained glass from across the room. If you can double crochet and change colors, you can make this square.
One square makes a stunning suncatcher for a window. Nine squares join into a wall hanging. Twenty to thirty squares become a throw blanket that looks like a cathedral window draped over your couch. This pattern includes the full square instructions, a joining method that keeps the leading lines flowing between squares, color placement plans, and project ideas from quick gifts to heirloom afghans.
Key Takeaways
- Free and original: this crochet stained glass square is a Little Loop Finds original design, written in US terms, and completely free.
- The leading trick: thin rounds of dark yarn between color rounds mimic the metal leading of real stained glass and make colors glow.
- Beginner friendly: uses only chain, slip stitch, single crochet, and double crochet, plus simple color changes.
- One square, endless projects: suncatcher, wall hanging, pillow, tote panel, or a full stained glass afghan.
- Fast and stash friendly: each 6.5-inch square takes about an hour and uses small amounts of worsted weight yarn.
Table of Contents
- Why You Will Love This Project
- Finished Size, Skill Level, and Time
- Materials You Need
- Abbreviations (US Terms)
- How the Stained Glass Effect Works
- Part 1: Crocheting the Stained Glass Square
- Part 2: The Leading Border Round
- Color Placement Plans
- Joining the Squares
- Project Ideas
- Troubleshooting
- Care Instructions
- Frequently Asked Questions
Why You Will Love This Project
Most colorwork crochet asks you to carry yarn, manage floats, and keep tension perfect across color changes. This pattern throws all of that out. Each round is worked in a single color, so there are no floats and no tangled bobbins. The dark leading rounds do the visual heavy lifting: they separate the colors with bold graphic lines, which means your color changes do not need to be perfect. A slightly wobbly join disappears under the dark outline, and every panel looks intentional.
The result genuinely surprises people. Hold a finished square to the light and the open double crochet stitches let light filter through the colored panels, just like glass. The dark outlines read as leading from a few feet away. Makers tell us guests assume these are appliqued fabric or even real glass until they touch them. That wow factor, from such simple stitches, is what makes this one of our favorite patterns to gift and to teach.
If you love the rhythm of granny squares, you will also enjoy our easy granny square pattern, which builds the same round-by-round confidence this design uses.
Finished Size, Skill Level, and Time
- Finished size: each square measures about 6.5 inches across after blocking. A 9-square wall hanging finishes around 20 inches square; a 5 by 6 square afghan finishes about 33 by 40 inches before the border.
- Skill level: confident beginner. You should be comfortable with chain, slip stitch, single crochet, double crochet, and changing colors at the end of a round.
- Making time: about 1 hour per square. A 9-square wall hanging takes a weekend; a full afghan takes two to three weeks of evening stitching.
Materials You Need
- Worsted weight (#4) acrylic or wool-blend yarn in jewel tones: ruby red, cobalt blue, emerald green, amber gold, and deep purple all read beautifully as "glass." Plan about 25 yards of colored yarn per square.
- Worsted weight (#4) yarn in a dark leading color: black, espresso brown, or deep navy. Plan about 15 yards per square. The darker the better; the leading needs strong contrast.
- US H-8 (5.0 mm) crochet hook.
- Yarn needle and scissors.
- Blocking mats and pins (optional but recommended; blocking makes the leading lines razor straight).
- For a wall hanging: a 20-inch wooden dowel and hanging cord. For an afghan: nothing extra beyond yarn.
The leading color matters more than any other choice here. True black gives the most authentic stained glass look. Espresso reads softer and warmer, lovely with amber and red panels. Deep navy is gorgeous with blue and green glass colors but can blur into them, so save navy leading for warm-toned squares.
Abbreviations (US Terms)
- ch = chain
- sc = single crochet
- dc = double crochet
- sl st = slip stitch
- st(s) = stitch(es)
- sp = space
- rep = repeat
- RS = right side
How the Stained Glass Effect Works
Real stained glass gets its look from two things: colored glass panels and the dark lead came holding them together. In crochet, your yarn colors are the glass, and a thin round of dark single crochet or slip stitch is the leading. The eye reads the dark lines as structure, so the colors feel like they are set into a frame rather than just sitting next to each other.
Three design choices sell the illusion. First, keep the leading rounds thin: one round of single crochet is enough. Thicker leading eats the color and starts to look like a plain dark square. Second, use open stitches (double crochet) for the glass panels so light passes through; dense single crochet panels look flat and lose the glow. Third, choose saturated, jewel-toned colors. Pastels read as pretty crochet but not as stained glass; you want the saturated punch of ruby, cobalt, emerald, and amber.
Gauge is relaxed here: about 4 inches across after Round 4. If your square runs small, go up to a 5.5 mm hook; the leading rounds are forgiving of small size differences. What matters is that all your squares match each other, so check the first two against each other before making twenty.
Part 1: Crocheting the Stained Glass Square
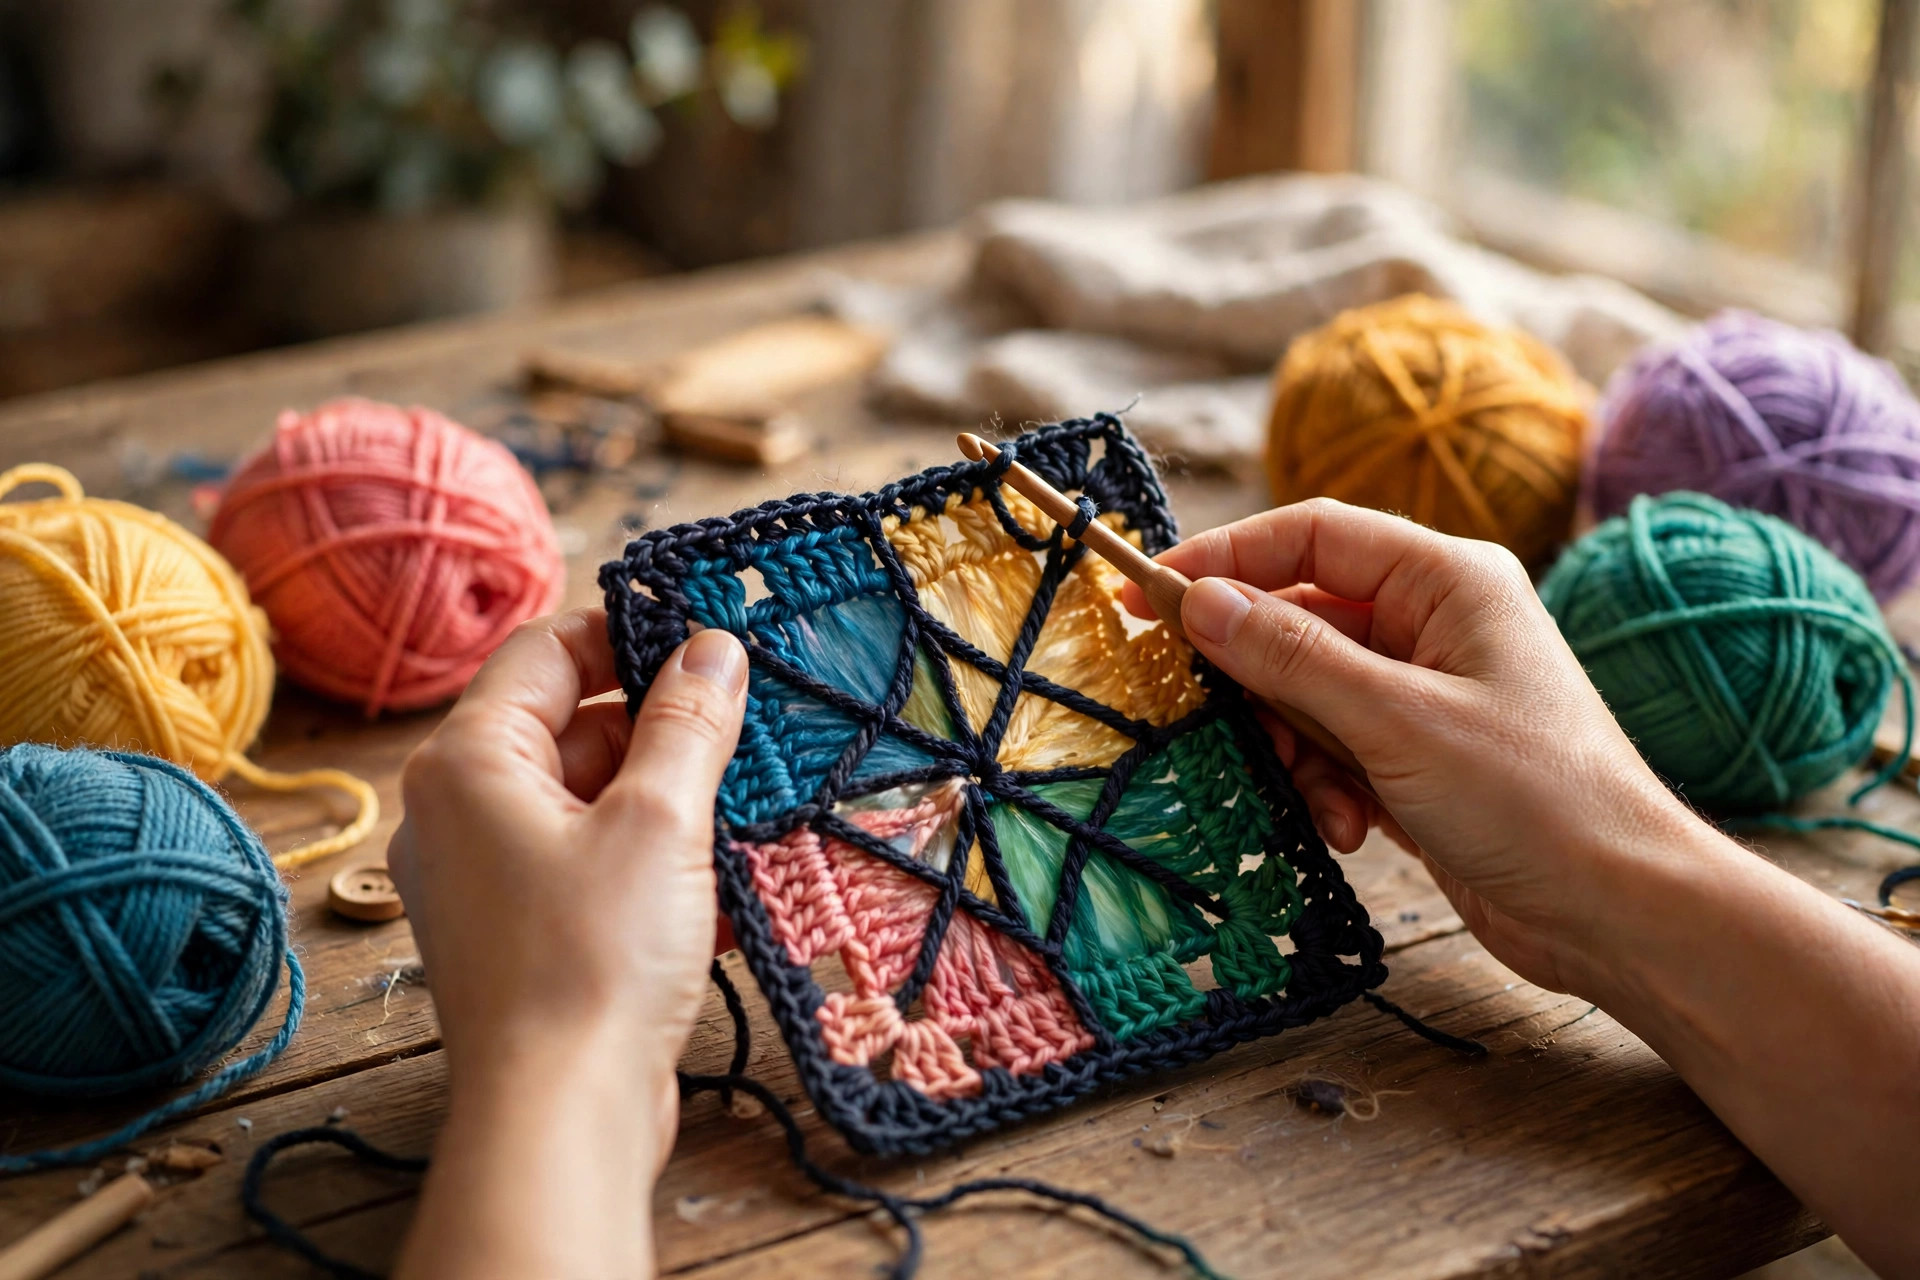
Work in joined rounds with the right side always facing you. Join each round with a slip stitch to the top of the starting chain, then fasten off and join the new color in a fresh spot to keep the seam invisible. The chain-3 at the start of double crochet rounds counts as a stitch.
Glass Color A = your center color (try ruby red). Leading = your dark color. Glass Color B = your middle color (try amber gold). Glass Color C = your outer color (try cobalt blue).
Round 1 (Glass Color A): Make a magic ring. Ch 3 (counts as dc), 11 dc into the ring, sl st to the top of the ch-3 to join. Pull the ring closed. (12 dc)
Round 2 (Glass Color A): Ch 3, dc in the same st, 2 dc in each st around, sl st to join. Fasten off. (24 dc)
You now have a small colored medallion. This is the heart of your stained glass panel.
Round 3 (Leading): Join the dark yarn in any stitch. Ch 1, sc in each st around, sl st to the first sc to join. Fasten off. (24 sc)
This thin dark ring is your first leading line. Notice how it instantly frames the center color and makes it look set, like glass in a frame.
Round 4 (Glass Color B): Join Color B in any stitch. Ch 3 (counts as dc), 2 dc in the same st to form the first half of a corner, *dc in the next 5 sts, (3 dc, ch 2, 3 dc) in the next st for a corner; rep from * twice more, dc in the next 5 sts, sl st to the top of the ch-3 to join. Fasten off.
Check your count: you used 1 stitch for the starting corner, then three repeats of (5 + 1) stitches, then 5 more, which is all 24 stitches of Round 3. Each side now holds 11 double crochets plus a chain-2 corner space.
Round 5 (Leading): Join the dark yarn in any corner ch-2 space. Ch 1, (sc, ch 2, sc) in the corner space, *sc in each dc across to the next corner, (sc, ch 2, sc) in the corner space; rep from * around, sl st to the first sc to join. Fasten off.
This second leading round traces the square shape in dark yarn and sets up the outer glass color. If your corners feel tight, work the corner as (sc, ch 3, sc) instead; the leading should lie flat, never pucker.
Round 6 (Glass Color C): Join Color C in any corner ch-2 space. Ch 3 (counts as dc), (2 dc, ch 2, 3 dc) in the same space, *dc in each st across to the next corner, (3 dc, ch 2, 3 dc) in the corner space; rep from * twice more, dc in each st across, sl st to join. Fasten off.
Part 2: The Leading Border Round
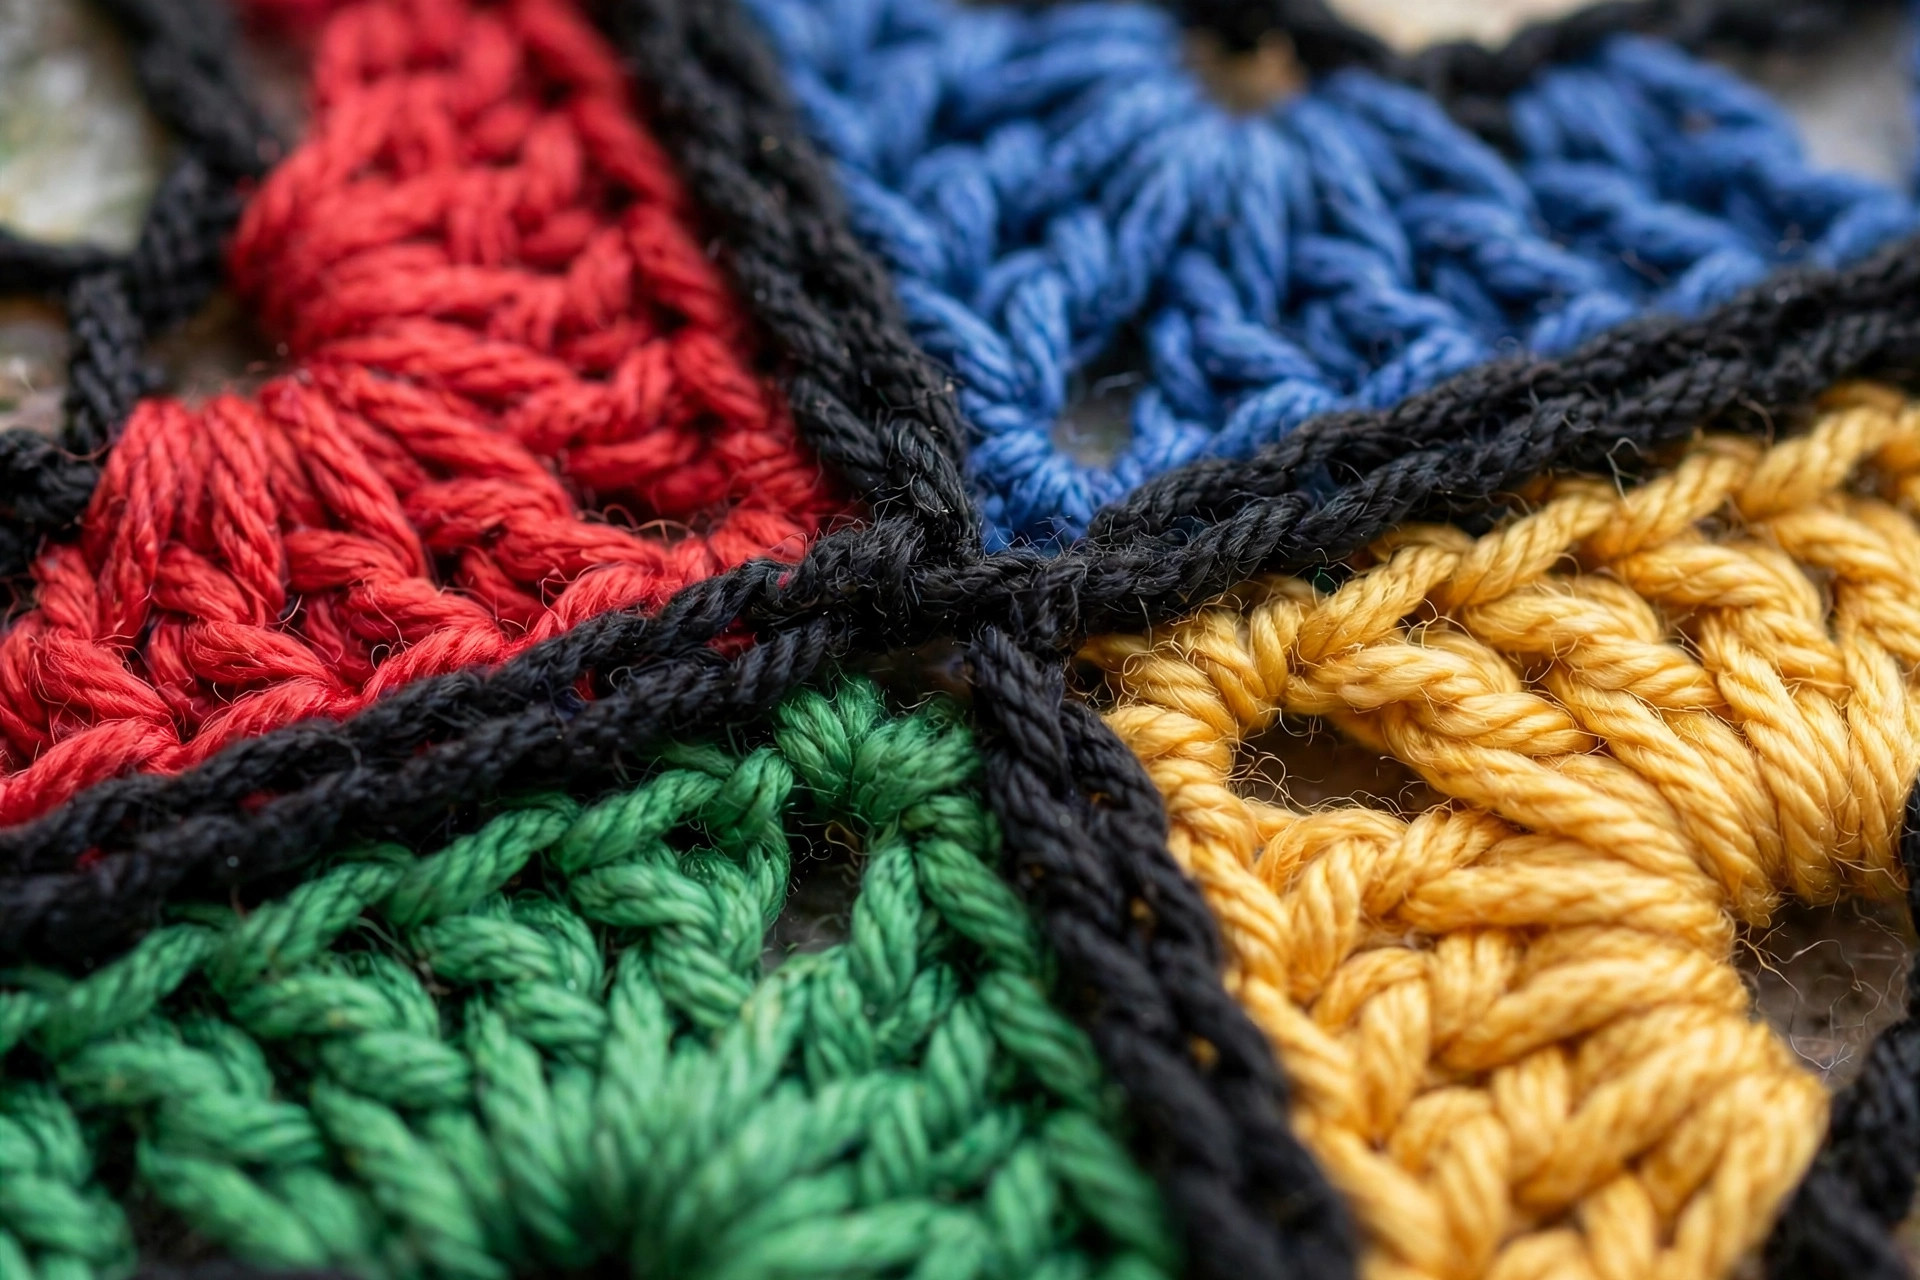
Round 7 (Leading): Join the dark yarn in any corner ch-2 space. Ch 1, (sc, ch 2, sc) in the corner space, *sc in each st across to the next corner, (sc, ch 2, sc) in the corner space; rep from * around, sl st to the first sc to join. Fasten off and weave in all ends.
Your square is done. It should measure about 6.5 inches across and lie flat. Give it a gentle steam block (hold the iron an inch above the fabric, never press) to straighten the leading lines; blocking transforms these squares from pretty to professional.
A note on color changes: always fasten off the old color and join the new one with a slip knot in a new spot, rather than carrying yarn across. Carried yarn shows through the open stitches and dulls the stained glass effect. Weave ends in along the dark leading rounds where they disappear completely.
Makers who enjoy shaped granny squares should try our heart granny square crochet pattern, which uses the same round-by-round colorwork in a romantic motif.
Color Placement Plans
One square is a suncatcher; a planned set is a masterpiece. Here are four placement plans our test makers loved:
- Cathedral: center ruby red, middle amber gold, outer cobalt blue, black leading. The classic. Arrange squares in a grid with all centers matching for a true window look.
- Ocean Chapel: center teal, middle seafoam green, outer deep blue, espresso leading. Calm and coastal; gorgeous as a bathroom wall hanging.
- Autumn Abbey: center burnt orange, middle mustard, outer chocolate brown, black leading. Hang it in September and leave it through Thanksgiving. Pairs beautifully with our autumn acorn granny square pattern in a fall decor display.
- Jewel Box Scrappy: every square gets random jewel-tone colors, but every square uses the same black leading. The consistent leading ties chaos together into a cohesive, glorious afghan. Perfect for stash busting.
For any multi-square project, make two squares first and hold them side by side at arm's length. The leading lines should look continuous and the colors balanced. Adjust before you commit to twenty.
Joining the Squares
The join is part of the design here, so use the leading color and let it show. Lay two squares right sides together and whipstitch through the back loops only with dark yarn, or join with a flat slip stitch seam on the right side for a visible dark grid between squares. The visible seam extends the leading lines across the whole project, which is exactly the stained glass look you want.
Join squares into strips first, then join the strips. Press each seam flat with your fingers as you go; bulky seams interrupt the leading lines. When all squares are joined, work one final round of dark single crochet around the entire piece, with (sc, ch 2, sc) in each corner, to frame the whole project like a window frame.
Project Ideas
- Window suncatcher: one square, a wooden ring stitched to the top edge, and a ribbon hanger. Hang it where morning sun hits for maximum glow.
- Wall hanging: nine squares joined 3 by 3, mounted on a wooden dowel with cord. About 20 inches square, and it looks like a chapel window.
- Pillow front: four squares joined 2 by 2 make a 13-inch pillow front; back it with plain fabric in your leading color.
- Tote bag panel: two squares sewn onto a canvas tote turn a plain bag into a statement piece.
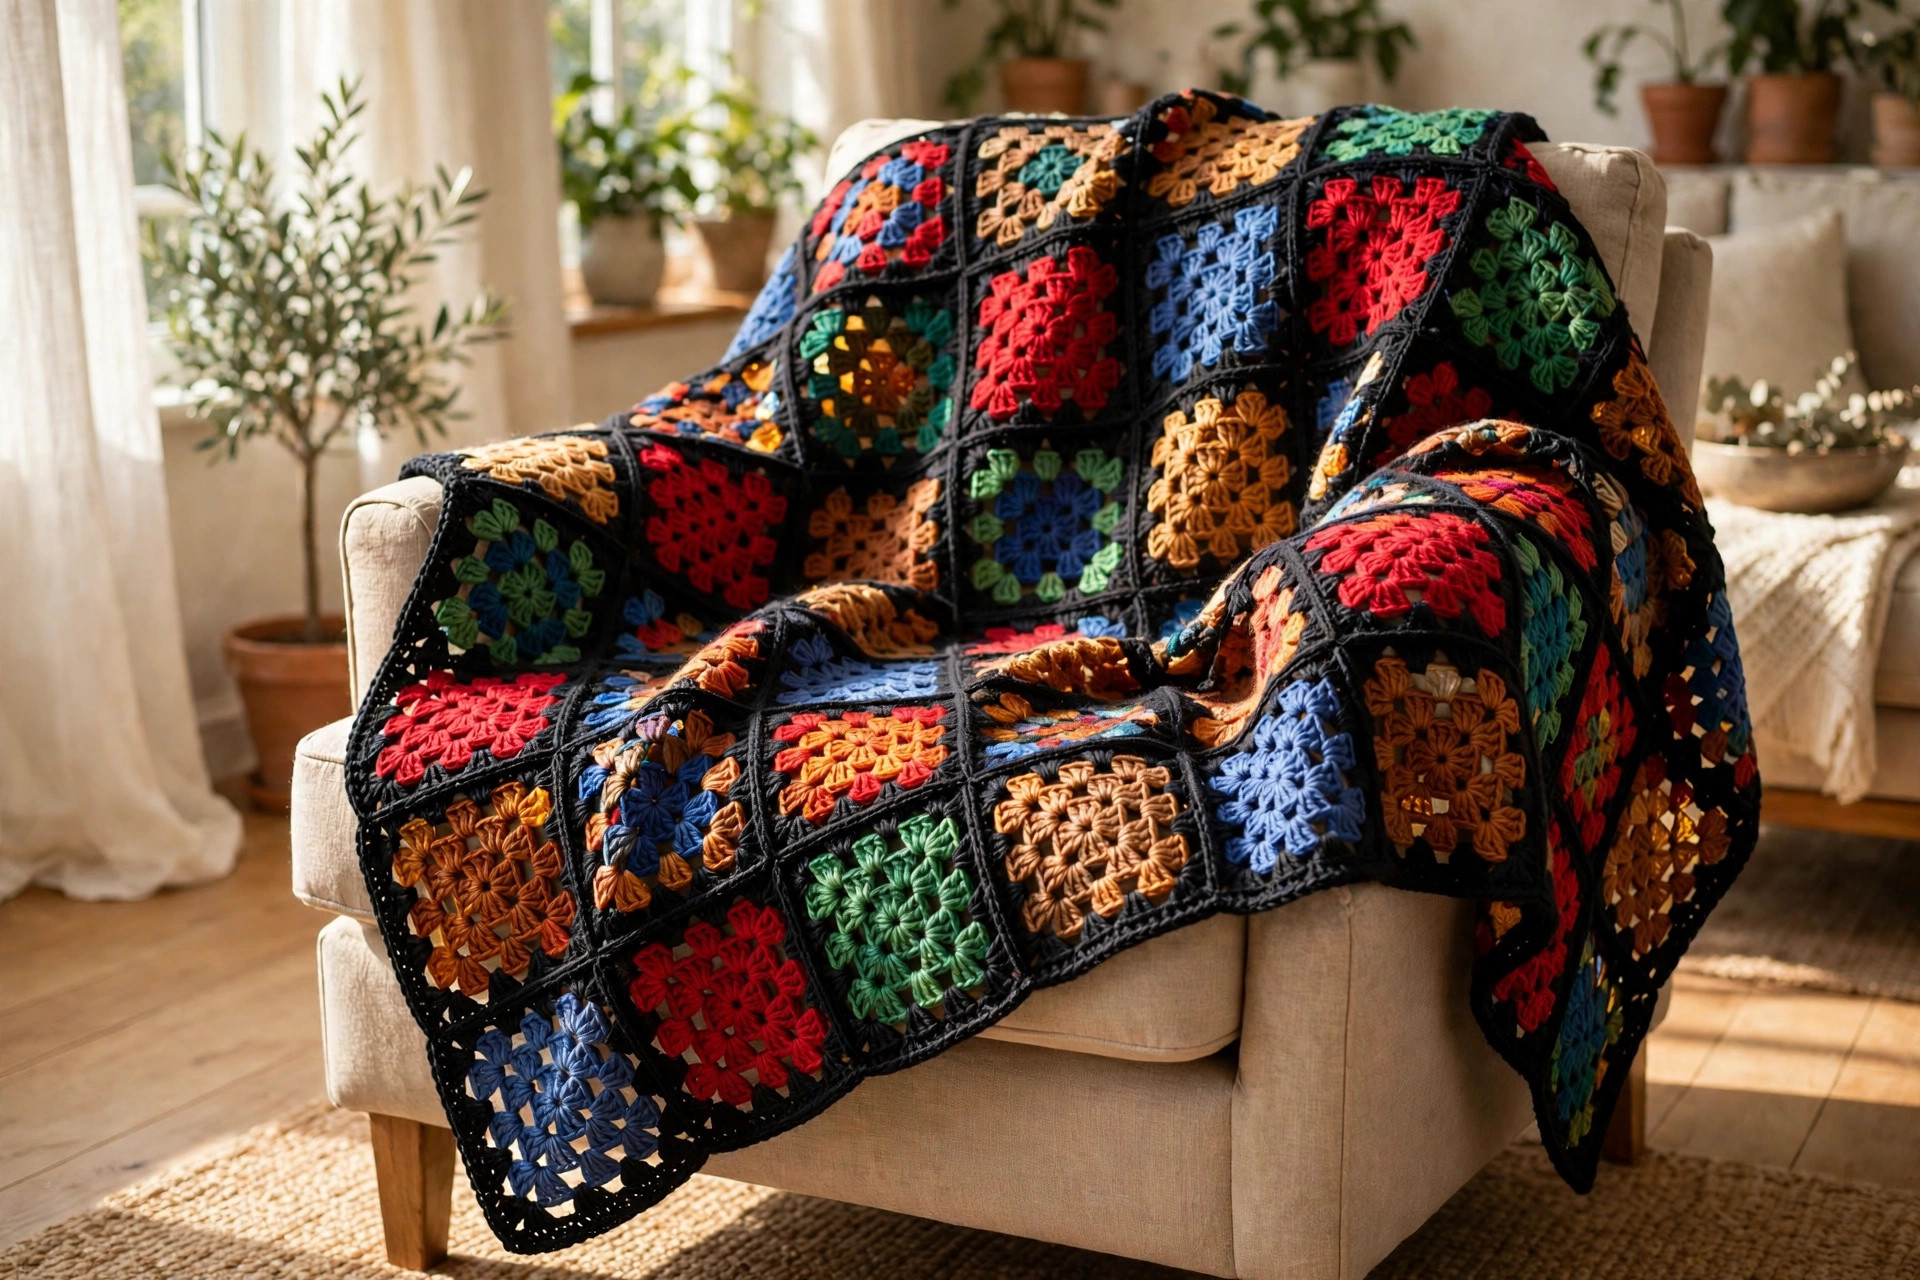
- Full afghan: thirty squares joined 5 by 6, plus the dark border round, make a 33 by 40 inch throw. This is the heirloom project; budget about 750 yards of colored yarn and 450 yards of leading color.
If a full afghan is calling your name, our easy crochet patterns for blankets collection has joining and edging ideas that pair perfectly with these squares.
Troubleshooting
My square is curling or cupping. The leading rounds are probably too tight. Single crochet rounds in dark yarn tend to cinch; consciously work them a touch looser than the colored rounds, and block every square before joining.
The dark yarn shows through the colored stitches. You are likely carrying the dark yarn instead of fastening off. Always cut and rejoin; the extra ends are worth it and they hide inside the leading rounds.
My corners are puckering. Add a chain to the corner: work (sc, ch 3, sc) instead of (sc, ch 2, sc) in the leading rounds, and (3 dc, ch 3, 3 dc) in the colored corner rounds. Corners need room to turn.
The colors do not glow like the photos. Two culprits: pastels instead of jewel tones, or dense stitching. Switch to saturated colors and make sure the glass rounds are open double crochet, not tight single crochet. Hold the square to a window; if light does not pass through the stitches, the glow will not happen.
My squares are different sizes. Check that every square uses the same hook and that your leading rounds are consistent. Block all squares to the same measurements before joining; blocking evens out up to half an inch of difference.
Care Instructions
Acrylic stained glass pieces are easy keepers: machine wash cold on gentle and lay flat to dry. Wool blends should be hand washed in cool water and reshaped while damp. The dark leading color may bleed slightly on the first wash, so wash finished pieces alone the first time, especially black leading with light glass colors. Never wring; press water out in a towel and dry flat. A quick steam refresh once a year straightens the leading lines and revives the glow.
Frequently Asked Questions
What is the best yarn for crochet stained glass squares?
Worsted weight acrylic in saturated jewel tones is the best choice for beginners. It is affordable, the colors are vivid, and it blocks well. Wool blends give a richer, more heirloom feel for afghans you plan to keep for years.
Why does my stained glass crochet not look like glass?
The effect needs three things: dark leading with strong contrast, saturated jewel-tone colors, and open stitches that let light through. If any one is missing, the piece reads as regular colorwork. Black leading with ruby, cobalt, emerald, and amber is the most foolproof combination.
Can beginners make this stained glass pattern?
Yes. The whole square uses only chain, slip stitch, single crochet, and double crochet. The only new skill is joining a new color at the start of a round, which takes about two minutes to learn. The leading rounds actually make the pattern easier, because they hide imperfect color changes.
How many squares do I need for a blanket?
A lap throw needs about 20 squares (4 by 5), and a generous couch throw needs 30 squares (5 by 6). Each square takes roughly 25 yards of colored yarn and 15 yards of leading color, so a 30-square afghan needs about 750 yards of colors and 450 yards of dark yarn.
Do I have to block the squares?
You do not have to, but you will be glad you did. Blocking straightens the dark leading lines, evens out size differences, and makes joining dramatically easier. A quick steam block takes two minutes per square.
Can I use variegated yarn for the glass colors?
You can, and it looks lovely, but keep variegated yarn to one panel per square. If every panel is variegated, the piece gets busy and the stained glass read weakens. A variegated center with solid middle and outer panels is a beautiful compromise.
How do I keep the dark yarn from overwhelming the design?
Keep leading rounds to a single round of single crochet. If your dark yarn is very heavy or fuzzy, drop to a slip stitch round instead; it gives the outline with half the visual weight.
Love lacy openwork too? Our free crochet doily patterns use the same light-through-stitches magic in delicate round motifs.
Happy crocheting, and enjoy watching the light shine through your handmade stained glass.