Crochet Cup Holder Pattern (Free, Easy)
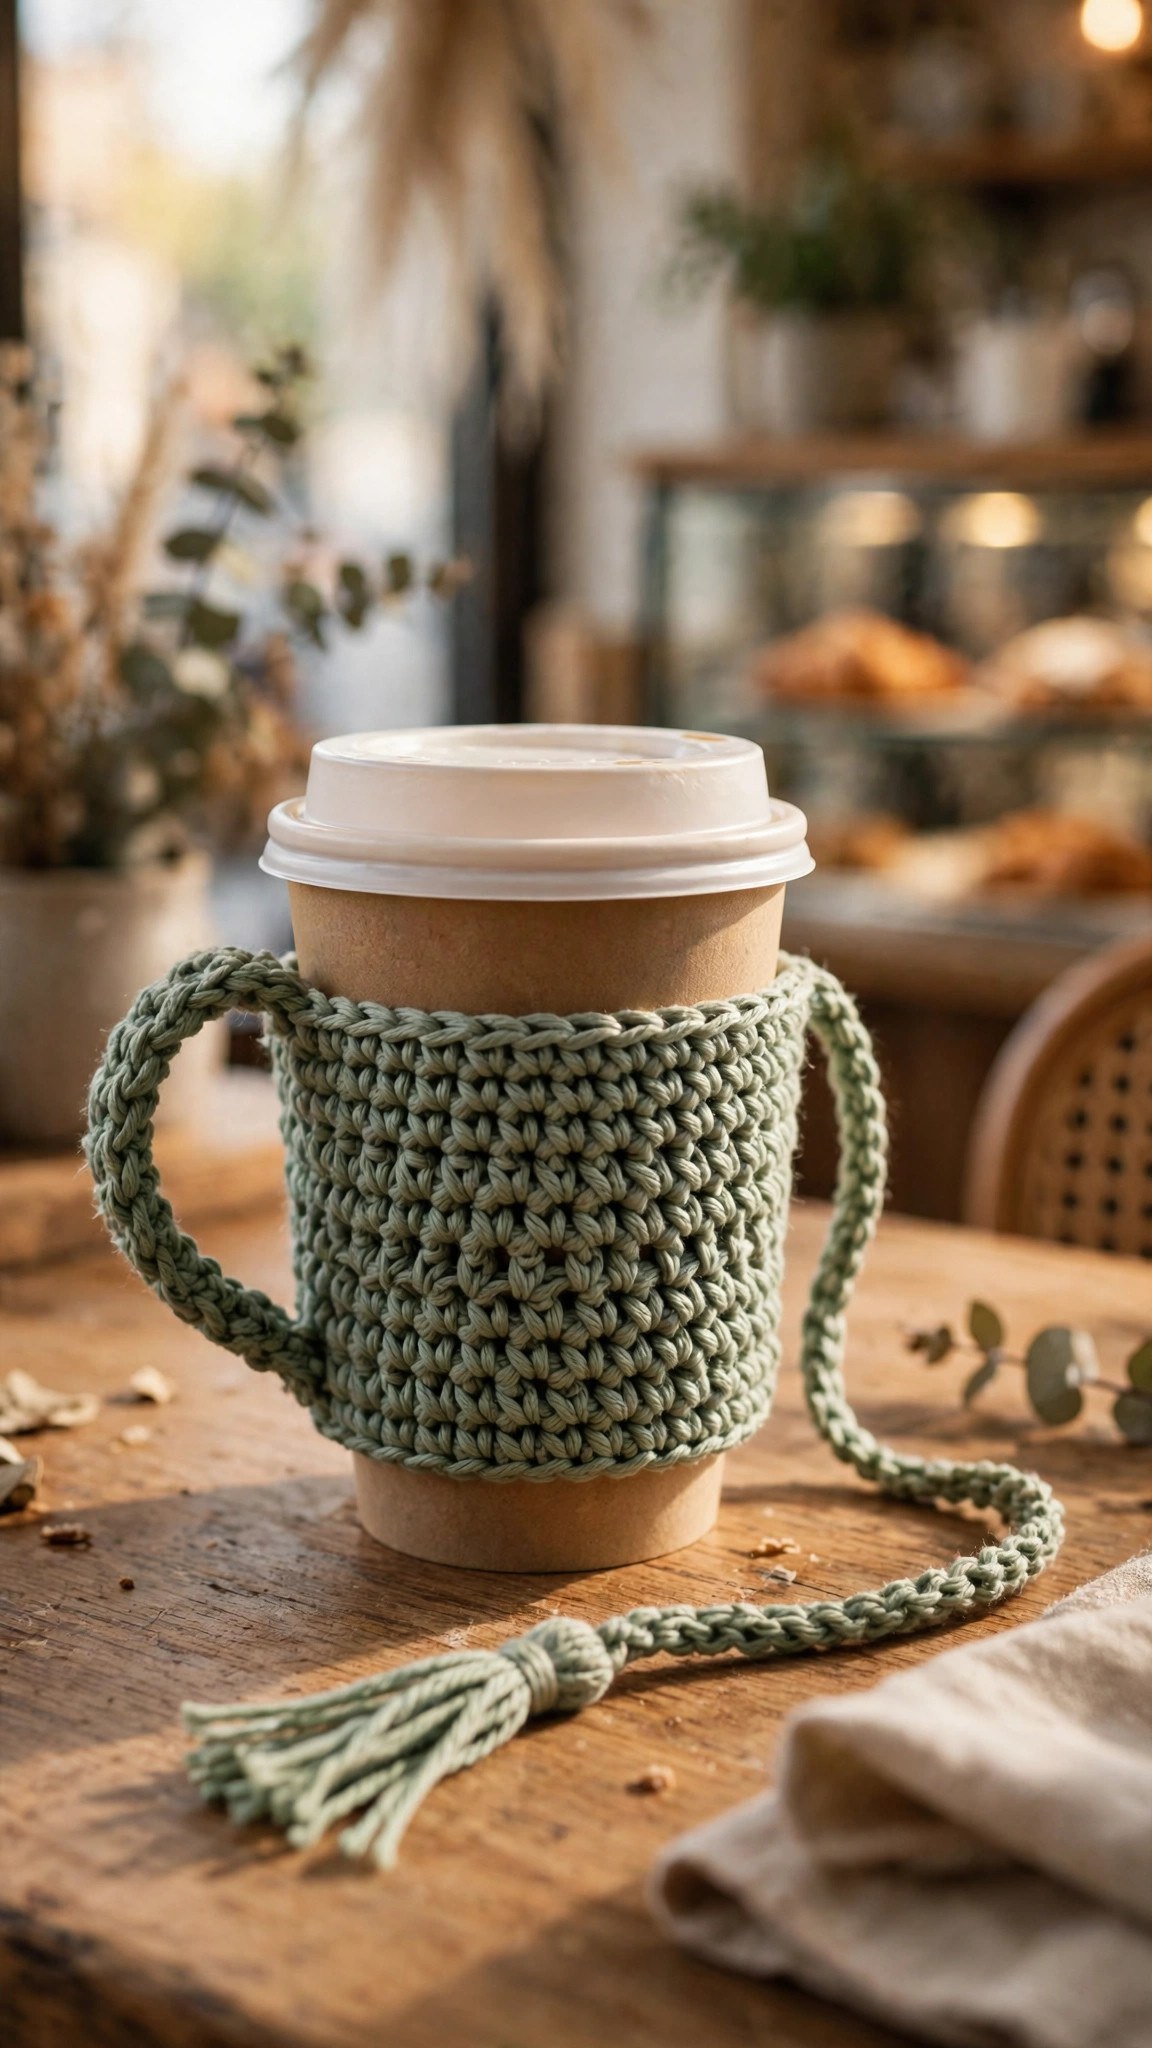
Crochet a snug cup holder for a mug or takeaway coffee cup, with a handle and a strap, in about two hours, then gift it to a coffee lover.

Patterns · Crochet
- Finished size
- Fits a 12 oz cup
- Making time
- 2 hours
- Hook
- US H-8 (5.0 mm)
- Set
- Sleeve, handle, strap
- Skill
- Easy
In this post
- Key Takeaways
- Table of Contents
- Why You Will Love This Cup Holder
- Finished Size, Skill Level, and Time
- Materials You Need
- Abbreviations (US Terms)
- Gauge and Sizing Notes
- Part 1: The Sleeve
- Part 2: The Handle and the Button Strap
- Part 3: Finishing and Fitting Your Cup
- Variations: Colors, Sizes, and Uses
- Troubleshooting a Cup Holder That Does Not Fit
- Care Instructions
- Frequently Asked Questions
- More Free Patterns to Try
A crocheted cup holder is a small project with a big payoff, and this free crochet cup holder pattern makes a snug sleeve for a mug or a takeaway coffee cup, with a handle and a strap so you can carry a hot drink without burning your hand. It takes about 2 hours, uses about 90 yards of cotton yarn, and makes a lovely gift for a coffee lover.
This is an original Little Loop Finds design, written in US terms and completely free. The holder is a short tube worked in the round, with a ribbed texture, a side handle, and a button strap that cinches the sleeve around the cup.
A quick note on scope: this holder is made for a mug or a takeaway coffee cup, so it is taller and sturdier than a can sleeve, and it has a handle and a strap for carrying. That makes it different from a koozie, which is a short snug sleeve for a cold can with no handle. If you want a can sleeve, see our crochet koozie pattern.
Key Takeaways
- Free original pattern: a Little Loop Finds original design, written in US terms, and completely free.
- A holder for mugs and takeaway cups: a snug ribbed sleeve with a handle and a button strap, made to fit a 12 oz cup.
- Simple stitches: worked in the round with half double crochet, plus a little single crochet for the edges.
- A 2 hour project: one holder takes about 2 hours, and the pieces are quick.
- Great for gifts: a sweet gift for a coffee lover, a teacher, or anyone who carries a takeaway cup.
Table of Contents
- Why You Will Love This Cup Holder
- Finished Size, Skill Level, and Time
- Materials You Need
- Abbreviations (US Terms)
- Gauge and Sizing Notes
- Part 1: The Sleeve
- Part 2: The Handle and the Button Strap
- Part 3: Finishing and Fitting Your Cup
- Variations: Colors, Sizes, and Uses
- Troubleshooting a Cup Holder That Does Not Fit
- Care Instructions
- Frequently Asked Questions
- More Free Patterns to Try
Why You Will Love This Cup Holder
A crocheted cup holder is one of the most useful things you can make, because it gets used every single day. It keeps your hand cool on a hot takeaway cup, stops condensation from dripping on a cold drink, and gives a plain paper cup a handmade look.
The holder is worked in the round, which means there are no seams to sew on the sleeve itself. You chain to fit your cup, join the chain into a ring, and work half double crochet in the back loop only, which makes a soft ribbed texture that grips the cup.
This holder also makes a wonderful gift. It is quick enough to make in one evening, it uses less than one ball of cotton yarn, and it pairs beautifully with a bag of coffee beans or a gift card. Make one in the recipient's favorite color, add a wooden button, and you have a thoughtful handmade gift.
Finished Size, Skill Level, and Time
- Finished size: one size, made to fit a standard 12 oz takeaway coffee cup and a regular ceramic mug. The sleeve is about 4 inches tall and about 10 inches around at the top, tapering to about 8 inches around at the bottom. The handle is about 3 inches long, and the strap is about 5 inches long.
- Skill level: Easy. You need a starting chain, half double crochet, single crochet, and a buttonhole made with a chain space.
- Time: about 2 hours per holder: 1 hour for the sleeve, 20 minutes for the handle, 20 minutes for the strap, and 20 minutes for finishing and fitting.
Materials You Need
| Item | What to get |
|---|---|
| Yarn, cotton | Worsted weight cotton yarn, about 90 yards |
| Hook | US H-8 (5.0 mm), or the size that gives you the gauge below |
| Notions | Tapestry needle, scissors, stitch markers, 1 wooden button (about 1 inch), measuring tape |
Cotton yarn is the best choice for a crochet cup holder because it holds its shape, it does not melt near a hot cup, and it washes well. Acrylic yarn also works, but it can feel slippery on a smooth paper cup, so cotton grips better.
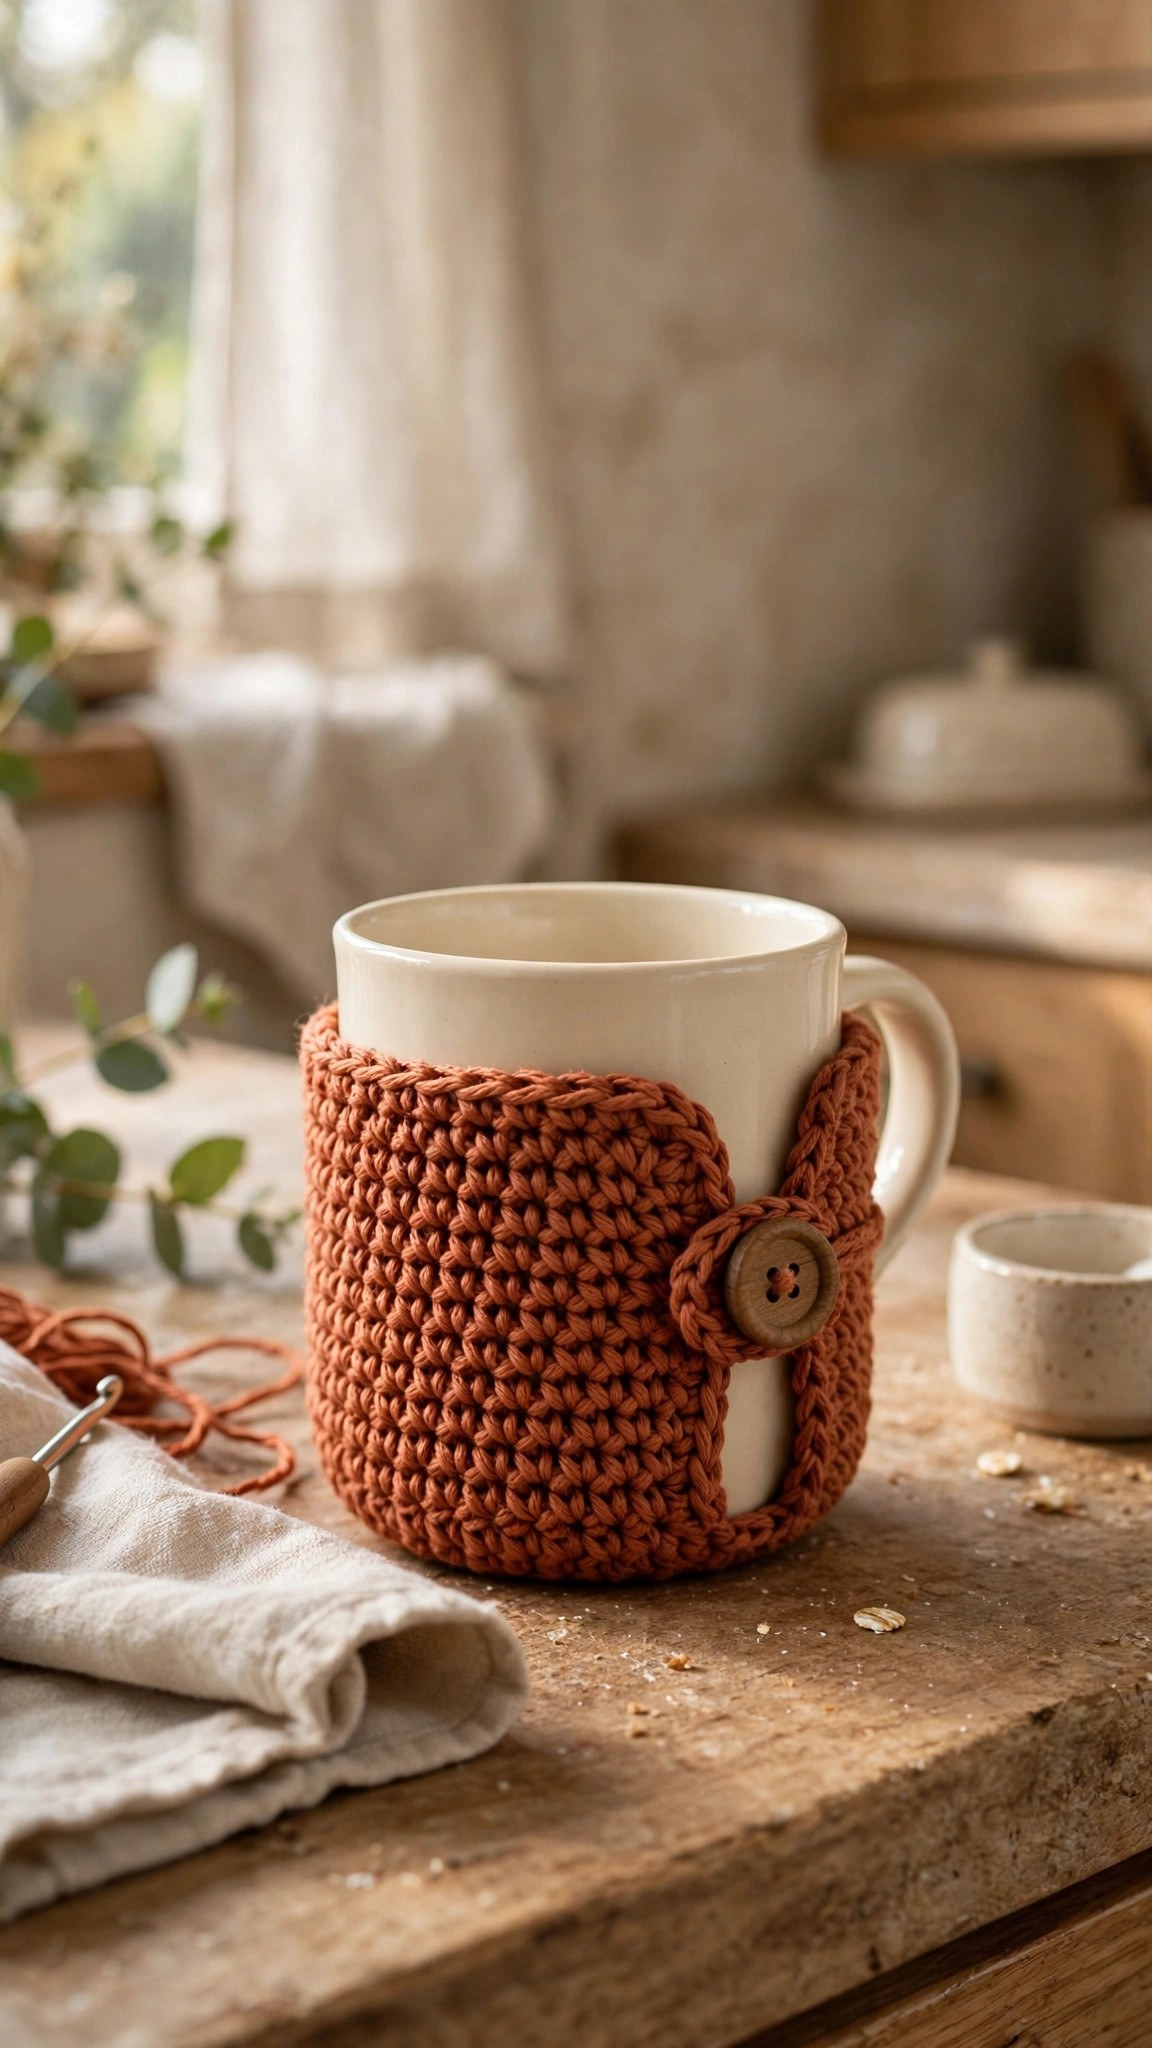
A wooden button is the best choice for the strap, because it is sturdy, it looks lovely against cotton yarn, and it will not melt or crack near a hot drink. A 1 inch button fits the buttonhole in this pattern, and a shank button is easier to sew on than a flat button.
Abbreviations (US Terms)
- ch = chain
- sl st = slip stitch
- sc = single crochet
- hdc = half double crochet
- BLO = back loop only
- st(s) = stitch(es)
- rep = repeat
- RS = right side
- FO = fasten off
Gauge and Sizing Notes
Gauge matters on a cup holder because the sleeve must grip the cup without sliding down. Work a swatch of 14 hdc and 10 rows in the cotton yarn. It should be about 4 inches wide and 4 inches tall.
The pattern is written in one size, made to fit a standard 12 oz takeaway coffee cup and a regular ceramic mug. A takeaway cup is wider at the top than at the bottom, so the sleeve is worked with a slight taper: the top edge is wider than the bottom edge, and the ribbed texture helps it grip. To fit a taller 16 oz cup, add 4 chains to the starting chain and work 2 more rounds on the sleeve.
Part 1: The Sleeve
The sleeve is a short tube worked in the round, from the top edge down to the bottom edge. The top edge is wider than the bottom edge, which matches the taper of a takeaway cup, and the back loop ribbing helps the sleeve grip the cup.
Measure your cup first. A standard 12 oz takeaway cup is about 10 inches around at the top and about 8 inches around near the bottom, and the starting chain of 32 gives a sleeve that fits it snugly. If your cup is wider, add 4 chains to the starting chain for every extra inch around.
With the cotton yarn, chain 32, and join with a sl st to form a ring. Take care not to twist the chain when you join it, because a twist will stay in the sleeve forever.
- Round 1: ch 2 (does not count as a st), hdc in each ch around, join with a sl st in the first hdc. (32)
- Round 2: ch 2, hdc in BLO of each st around, join. (32)
- Rounds 3-4: ch 2, hdc in BLO of each st around, join. (32)
- Round 5: ch 2, (hdc in BLO of the next 6 sts, hdc2tog in BLO) rep 4 times, join. (28)
- Rounds 6-8: ch 2, hdc in BLO of each st around, join. (28)
- Round 9: ch 1, sc in each st around, join. (28)
- Round 10: ch 1, sc in each st around, join. (28)
The sleeve should be about 4 inches tall when you reach round 10, and about 10 inches around at the top edge. The two rounds of single crochet at the bottom make a neat, firm edge that stops the sleeve from rolling up.
If the sleeve feels loose on your cup, work the next one with a smaller hook, or start with 28 chains instead of 32. If it feels too tight to slide on, start with 36 chains and work the decrease round as written. The ribbed texture has some stretch, so a snug fit is better than a loose one.
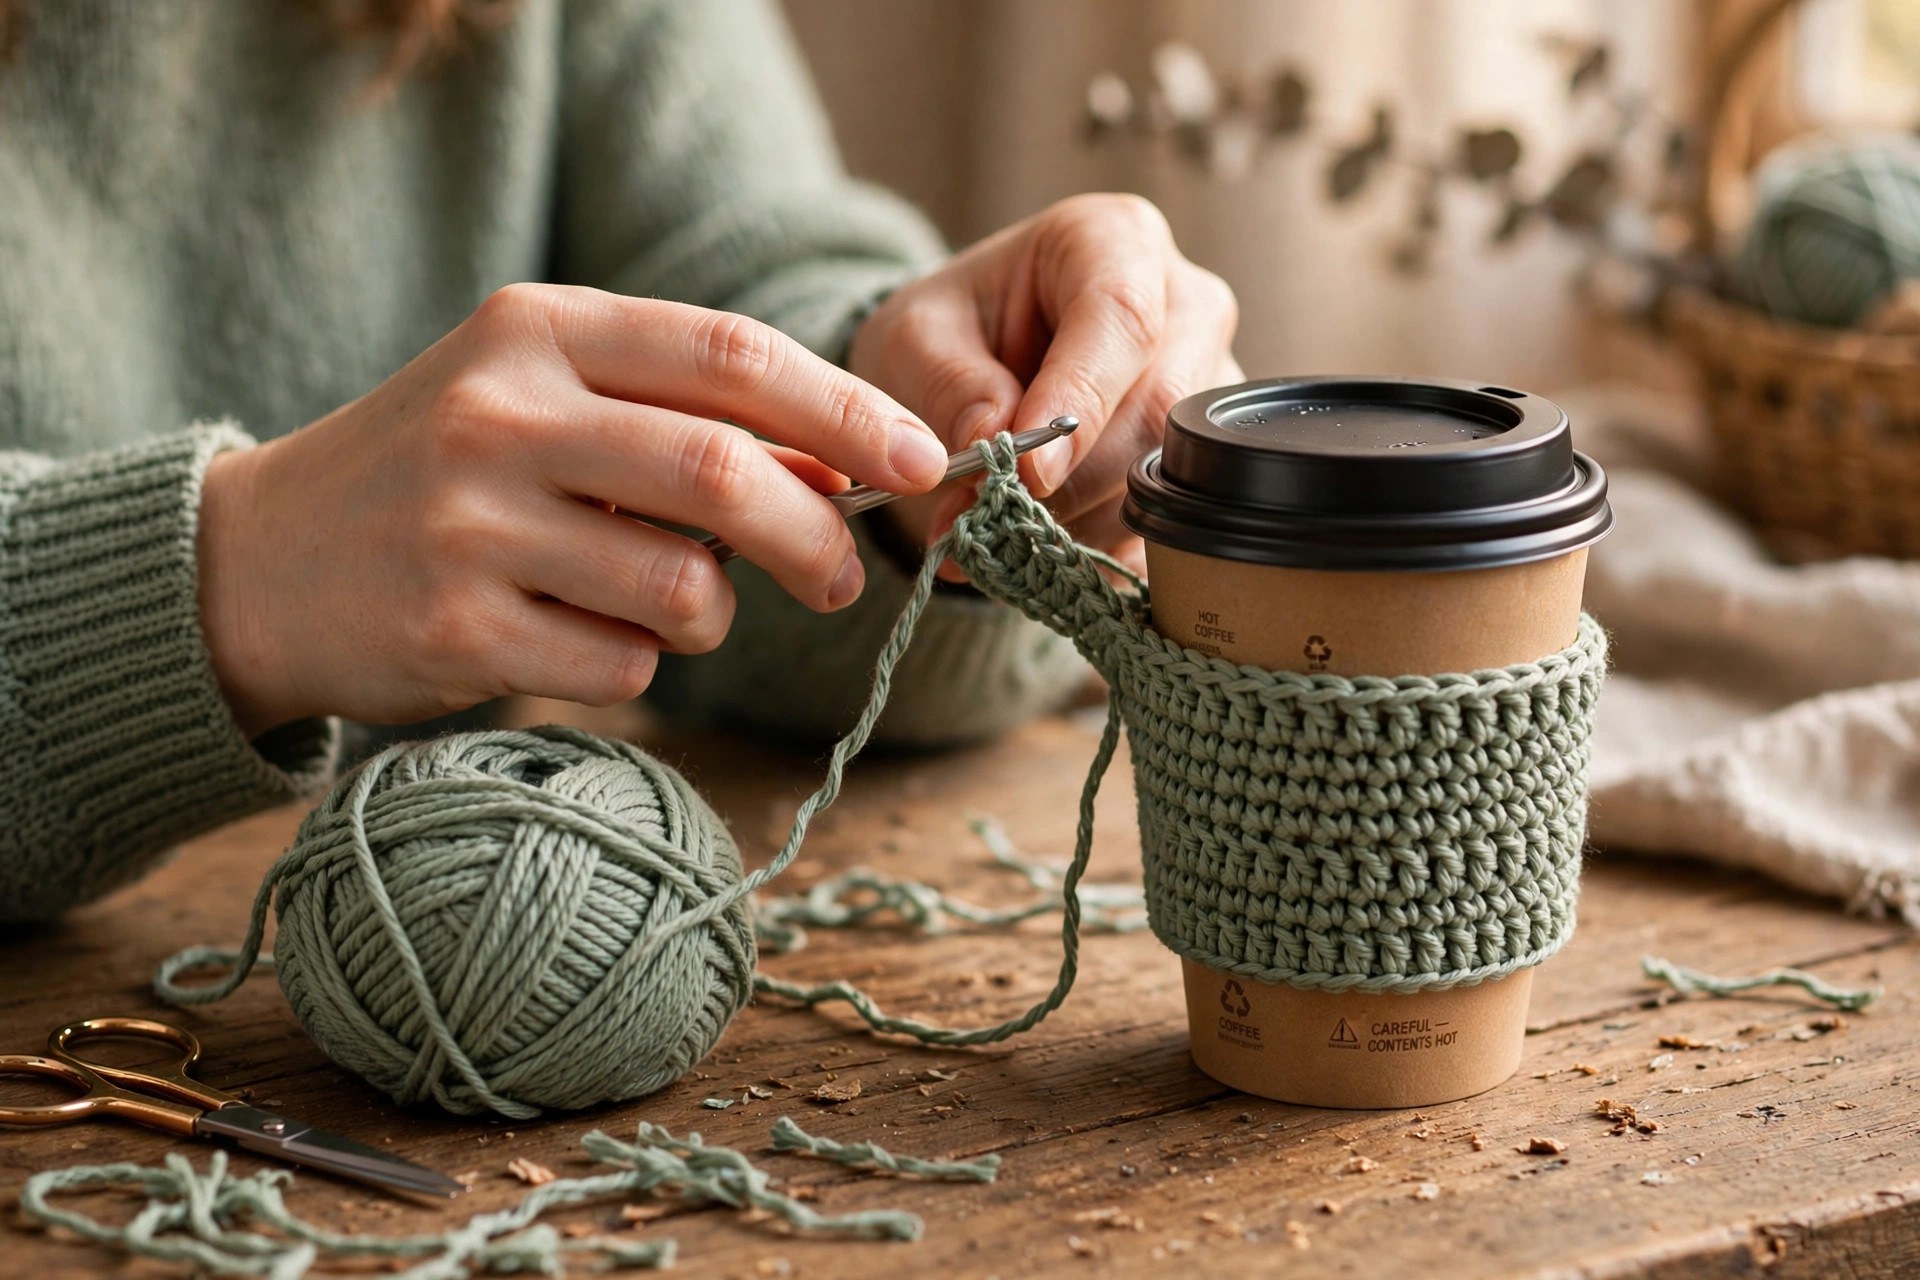
Making the Sleeve for a Straight Mug
A ceramic mug is straight sided, not tapered like a takeaway cup, so the sleeve for a mug needs no taper at all. Work the sleeve exactly as written, but skip round 5, the decrease round, and work rounds 6-8 with 32 stitches instead of 28. The sleeve will be a straight tube that slides over the mug and sits just below the rim.
Check the fit on your own mug before you add the handle and strap. The sleeve should sit snugly on the middle of the mug, with about half an inch of mug showing above and below it.
Part 2: The Handle and the Button Strap
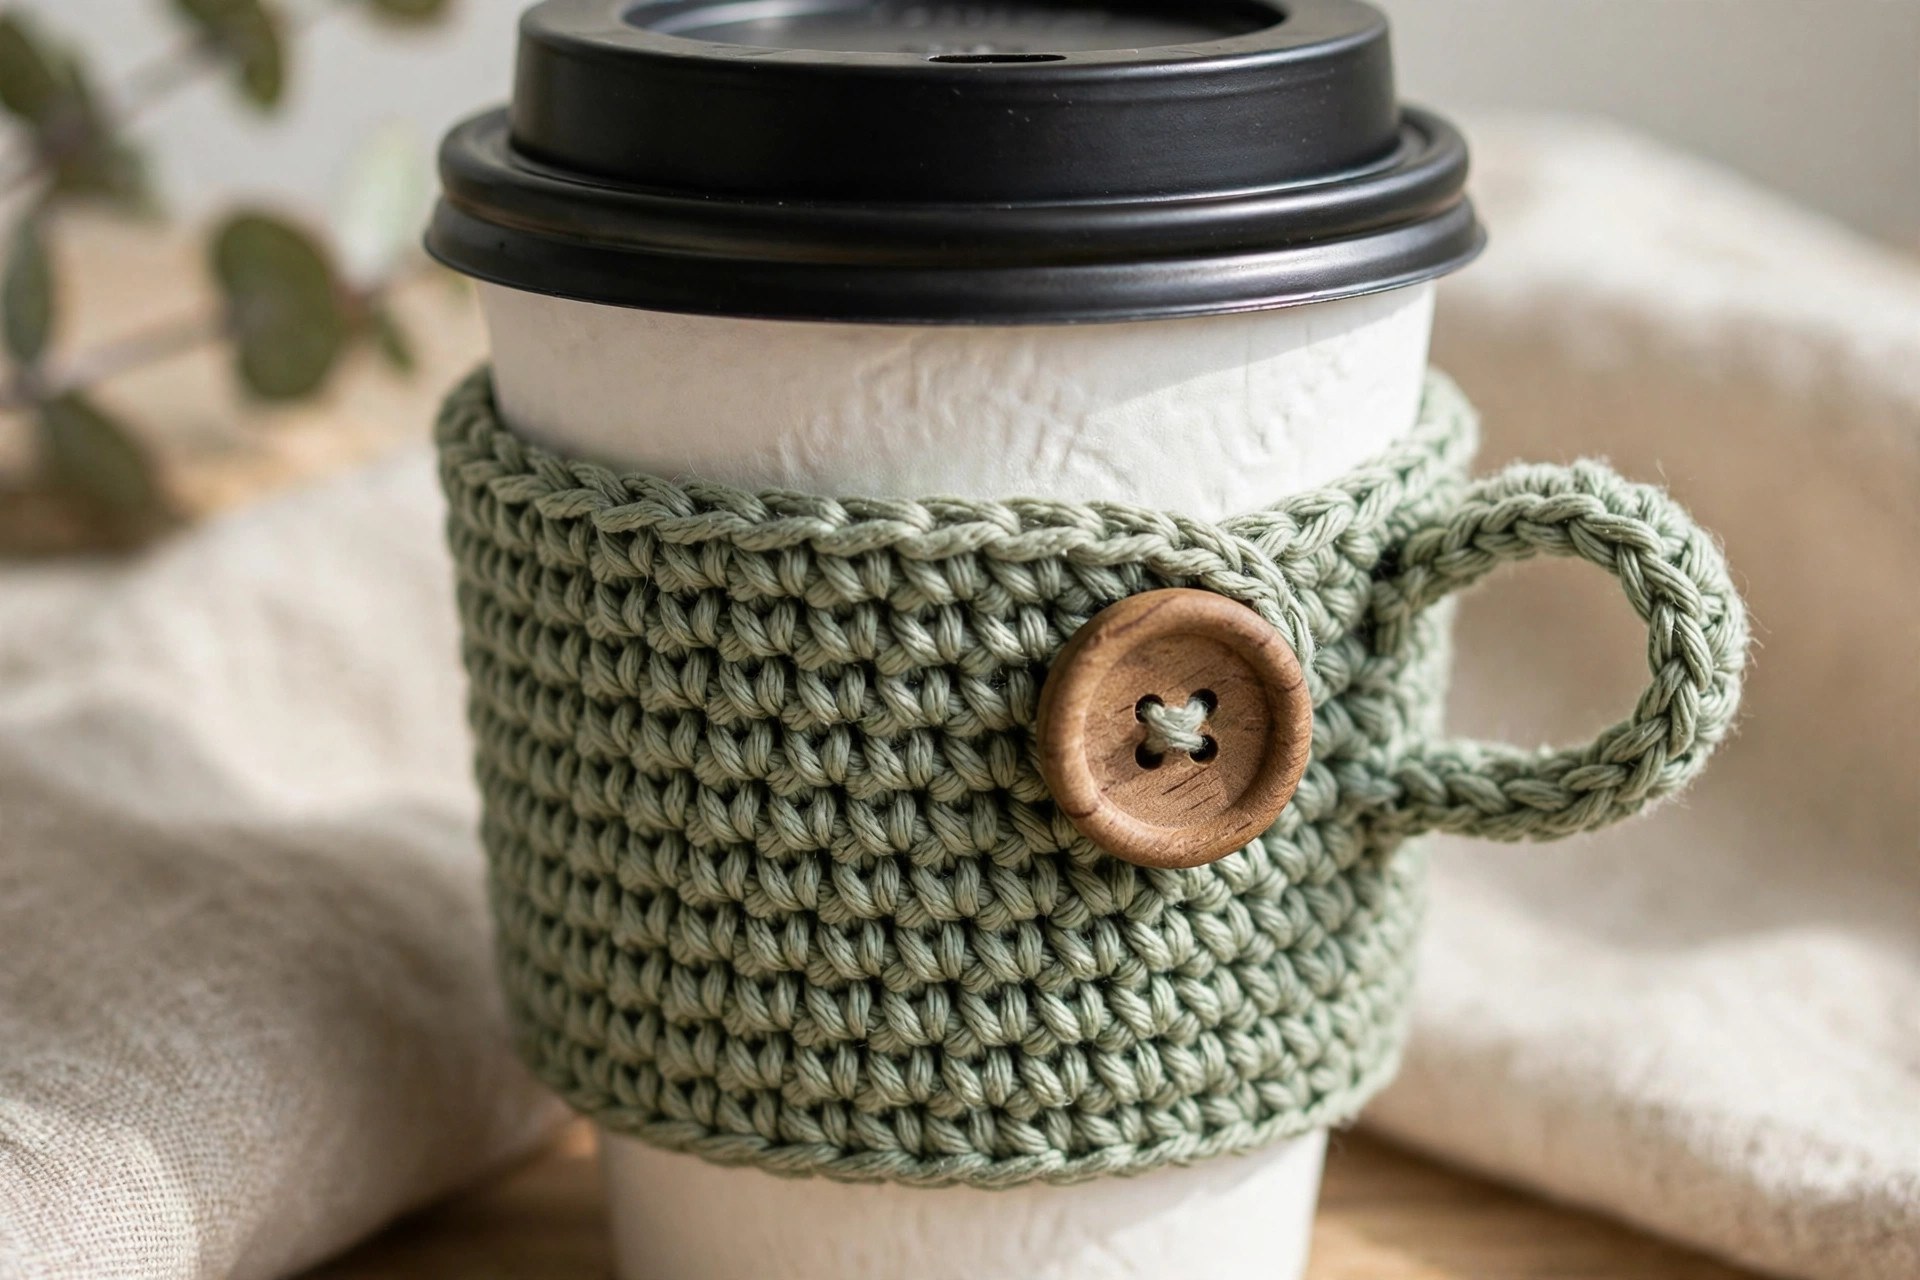
The handle is a short flat strip sewn to the side of the sleeve, and it bows outward to form a loop you can hook a finger through. The strap is a longer flat strip with a buttonhole, sewn to the top edge of the sleeve, and it fastens to a wooden button to form a hanging loop for your wrist or a bag hook.
Work the handle first. With the cotton yarn, chain 16.
- Row 1: sc in the 2nd ch from the hook and in each ch across. (15)
- Rows 2-3: ch 1, turn, sc in each st across. (15)
- FO, leaving a 10 inch tail for sewing.
The handle strip should be about 4 inches long and about 1 inch wide. Set it aside for now, and work the strap. With the cotton yarn, chain 26.
- Row 1: sc in the 2nd ch from the hook and in each ch across. (25)
- Row 2: ch 1, turn, sc in each st across. (25)
- Row 3: ch 1, turn, sc in the next 10 sts, ch 3, skip 3 sts, sc in the next 12 sts. (25, with a buttonhole)
- Row 4: ch 1, turn, sc in each st across, working 3 sc into the ch-3 space. (25)
- FO, leaving a 10 inch tail for sewing.
The strap should be about 7 inches long and about 1 inch wide, with a buttonhole near one end. Test the buttonhole with your wooden button before you sew anything: the button should pass through the hole with a gentle push, but not fall through on its own. If the hole is too small, work row 3 with ch 4 and skip 4 stitches instead of 3.
Part 3: Finishing and Fitting Your Cup
This is the part where a sleeve, a handle, and a strap become a cup holder you can actually use. Sew the handle on first, then the strap and button, and test the fit on your cup last.
Attaching the Handle
Lay the sleeve flat on a table, with the top edge at the top. Mark a spot on the side of the sleeve, halfway between the top and bottom edges. Take the handle strip and pin one short end to the sleeve just below the top edge, and the other short end to the sleeve just above the bottom edge, on the same side, so the strip bows outward in a loop.
Thread a tapestry needle with the tail from the handle, and sew each short end to the sleeve with a whip stitch, working through the end of the strip and the sleeve one stitch at a time. Sew each end down firmly, with at least two passes of stitches, because the handle takes the weight of a full cup.
Attaching the Strap and Button
Take the strap and pin the end without the buttonhole to the top edge of the sleeve, on the side opposite the handle. Thread a tapestry needle with the tail from the strap, and sew the end to the top edge with a whip stitch, working through the strap and the sleeve one stitch at a time.
Fold the strap up to form a loop, and mark where the buttonhole lands on the sleeve. Sew the wooden button to the sleeve at that spot, with the tapestry needle and a length of yarn, passing through the button holes several times until it is secure. Button the strap closed and check that the loop is big enough to slip over your wrist.
Fitting the Holder to Your Cup
Slide the sleeve onto your cup and check the fit. It should slide on with a gentle push and sit snugly without sliding down on its own. Fill the cup with hot water and hold it by the handle for a minute: your hand should feel warm, not hot, and the sleeve should stay in place.
If the sleeve slides down, it is too loose, so work the next one with a smaller hook or fewer starting chains. If it will not slide on at all, it is too tight, so add 4 chains to the starting chain. Weave in all the loose ends, and trim them close to the work.
Variations: Colors, Sizes, and Uses
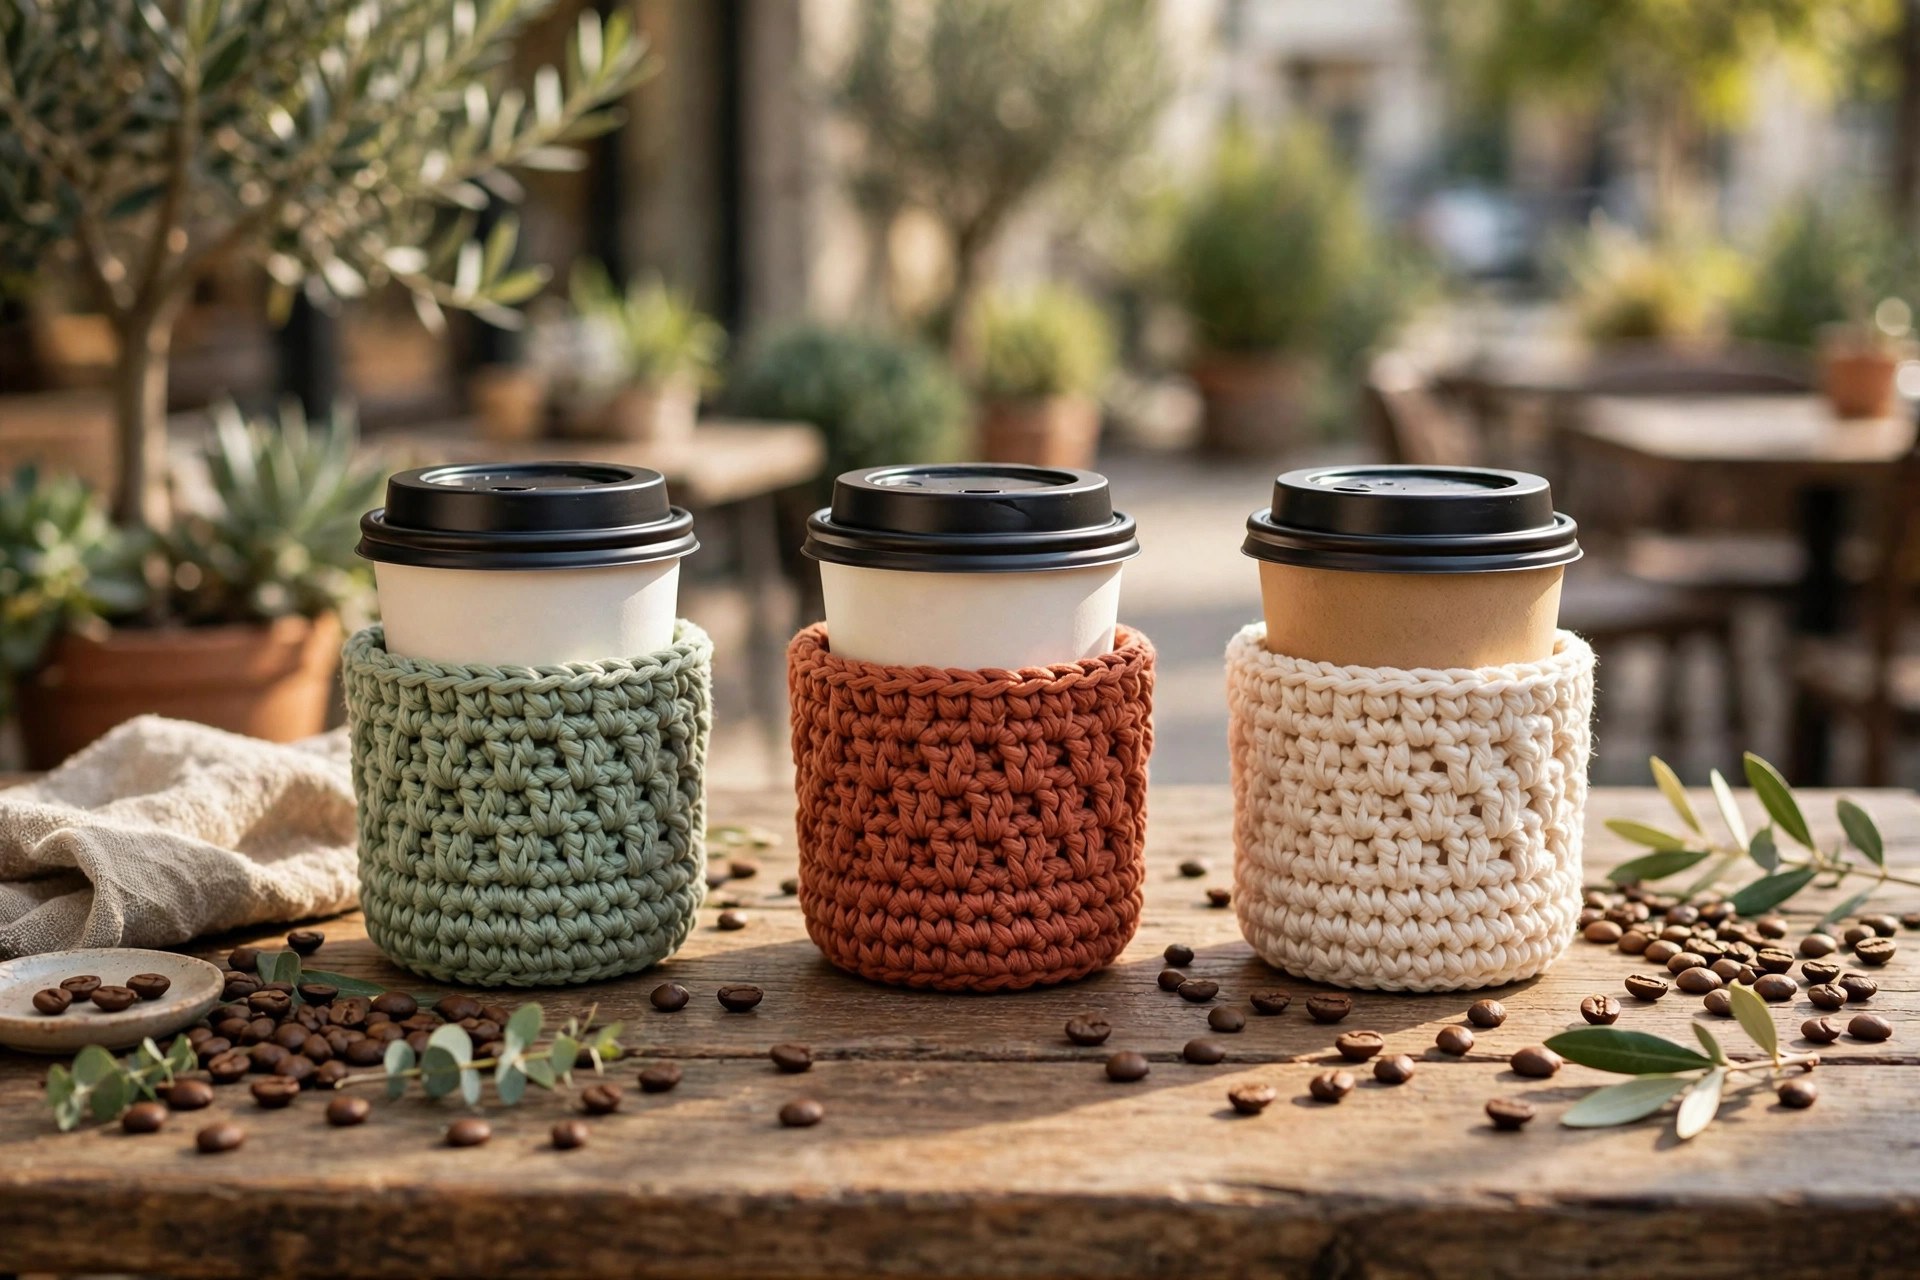
- Classic sage green holder: work the holder in sage green cotton with a wooden button for a calm, natural look.
- Terracotta holder: work the holder in warm terracotta with a cream button for a cozy kitchen feel.
- Cream holder: work the holder in cream cotton with a brown button for a clean, minimal look.
- Tall 16 oz holder: add 4 chains to the starting chain and work 2 more rounds on the sleeve for a taller cup.
- Mug holder: skip the decrease round, as explained in Part 1, for a straight sided ceramic mug.
- Gift set: pair a cup holder with a matching crochet coaster pattern and a crochet tea cozy pattern easy for a coffee themed gift set.
Troubleshooting a Cup Holder That Does Not Fit
- My sleeve slides down the cup. The sleeve is too loose, or the yarn is too slippery. Work the next one with a smaller hook, start with 4 fewer chains, or switch to cotton yarn if you used acrylic.
- My sleeve will not slide onto the cup. The sleeve is too tight. Add 4 chains to the starting chain, or use a larger hook. Check the fit on your own cup before you sew on the handle.
- My sleeve rolls up at the edges. The single crochet edge rounds are too loose, or you skipped them. Work the last two rounds in single crochet as written, and keep your tension even.
- My buttonhole is too small for the button. Work the buttonhole with ch 4 and skip 4 stitches instead of ch 3 and skip 3, and test the button through the hole before you sew anything.
- My handle pulls loose. The handle was sewn on with too few stitches. Sew each end down with at least two passes of whip stitch, and weave the tail through the sleeve for extra strength.
Care Instructions
Hand wash a crocheted cup holder in cool water with a mild detergent, and press the water out gently without wringing. Reshape the sleeve and lay it flat to dry away from direct heat. Cotton yarn softens a little with each wash, and the fit stays snug. If the button loosens over time, sew it back on with a few extra passes of yarn.
Frequently Asked Questions
Is this crochet cup holder pattern good for beginners?
Yes, it is best for an easy crocheter who knows how to chain, half double crochet, and single crochet. The sleeve is worked in the round, the handle and strap are simple flat strips, and the buttonhole is just a chain space.
What yarn is best for a crochet cup holder?
Cotton yarn is the best choice, because it holds its shape, it does not melt near a hot cup, and it washes well. Worsted weight cotton is ideal. Acrylic yarn also works, but it can feel slippery on a smooth paper cup, so cotton grips better.
How is a cup holder different from a koozie?
A cup holder is made for a mug or a takeaway coffee cup, so it is taller and sturdier, and it has a handle and a strap for carrying a hot drink. A koozie is a short snug sleeve for a cold can, with no handle. If you want a can sleeve, see our crochet koozie pattern.
What size cup does this holder fit?
This holder fits a standard 12 oz takeaway coffee cup and a regular ceramic mug. The sleeve is about 4 inches tall and about 10 inches around at the top. To fit a taller 16 oz cup, add 4 chains to the starting chain and work 2 more rounds on the sleeve.
Can I make the holder without the handle?
Yes, you can skip the handle and make just the sleeve and the strap, which works well for a takeaway cup that you hold in your hand. The sleeve alone still keeps your hand cool and stops the cup from slipping.
Can I sell cup holders made from this pattern?
Yes, you may sell finished cup holders made from this free pattern, with credit to Little Loop Finds. Do not sell or republish the pattern text itself.
More Free Patterns to Try
- Crochet koozie pattern
- Crochet coaster pattern
- Crochet tea cozy pattern easy
- Crochet chapstick holder pattern
- Crochet tote bag pattern
- Crochet monkey pattern
Happy stitching, and may your little cup holder keep every coffee warm and every hand cool.