Baby Pumpkin Hat Crochet Pattern (Sweet, Free)
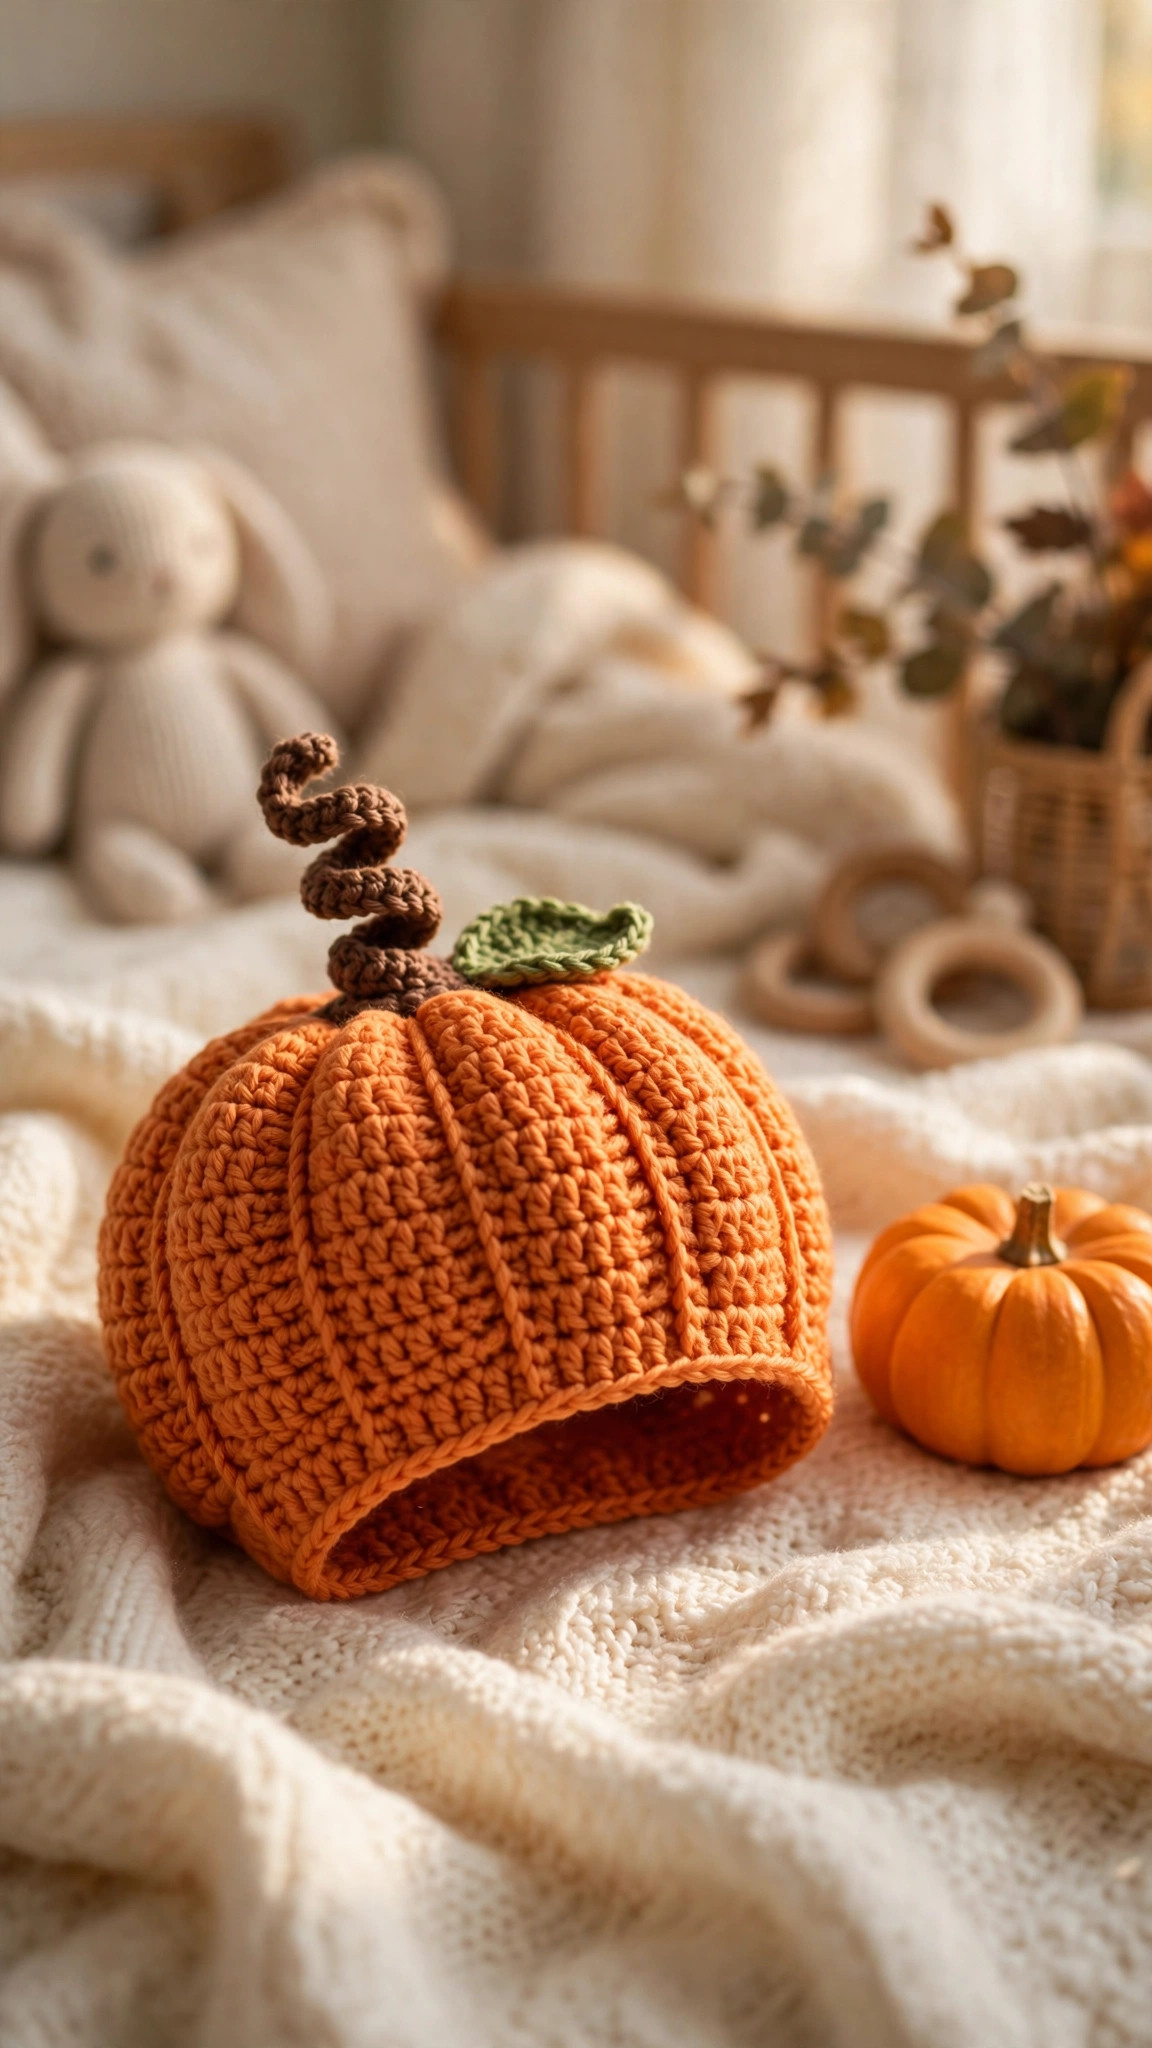
A soft, ribbed baby pumpkin hat with a curly stem and leaf, in four baby sizes.

Baby & Kids · Crochet
- Finished size
- 13 in around (0 to 3 months)
- Making time
- About 2 hours
- Hook
- US H-8 (5.0 mm)
- Set
- Hat, stem, and leaf
- Skill
- Beginner
In this post
- Key Takeaways
- Table of Contents
- Why you will love this baby pumpkin hat
- Materials you will need
- Sizes, gauge, and skill level
- Abbreviations in US terms
- The pattern: pumpkin hat body
- The pattern: stem and leaf
- Finishing and fitting
- Tips for a perfect pumpkin shape
- Variations to try
- Troubleshooting
- Care instructions
- Frequently Asked Questions
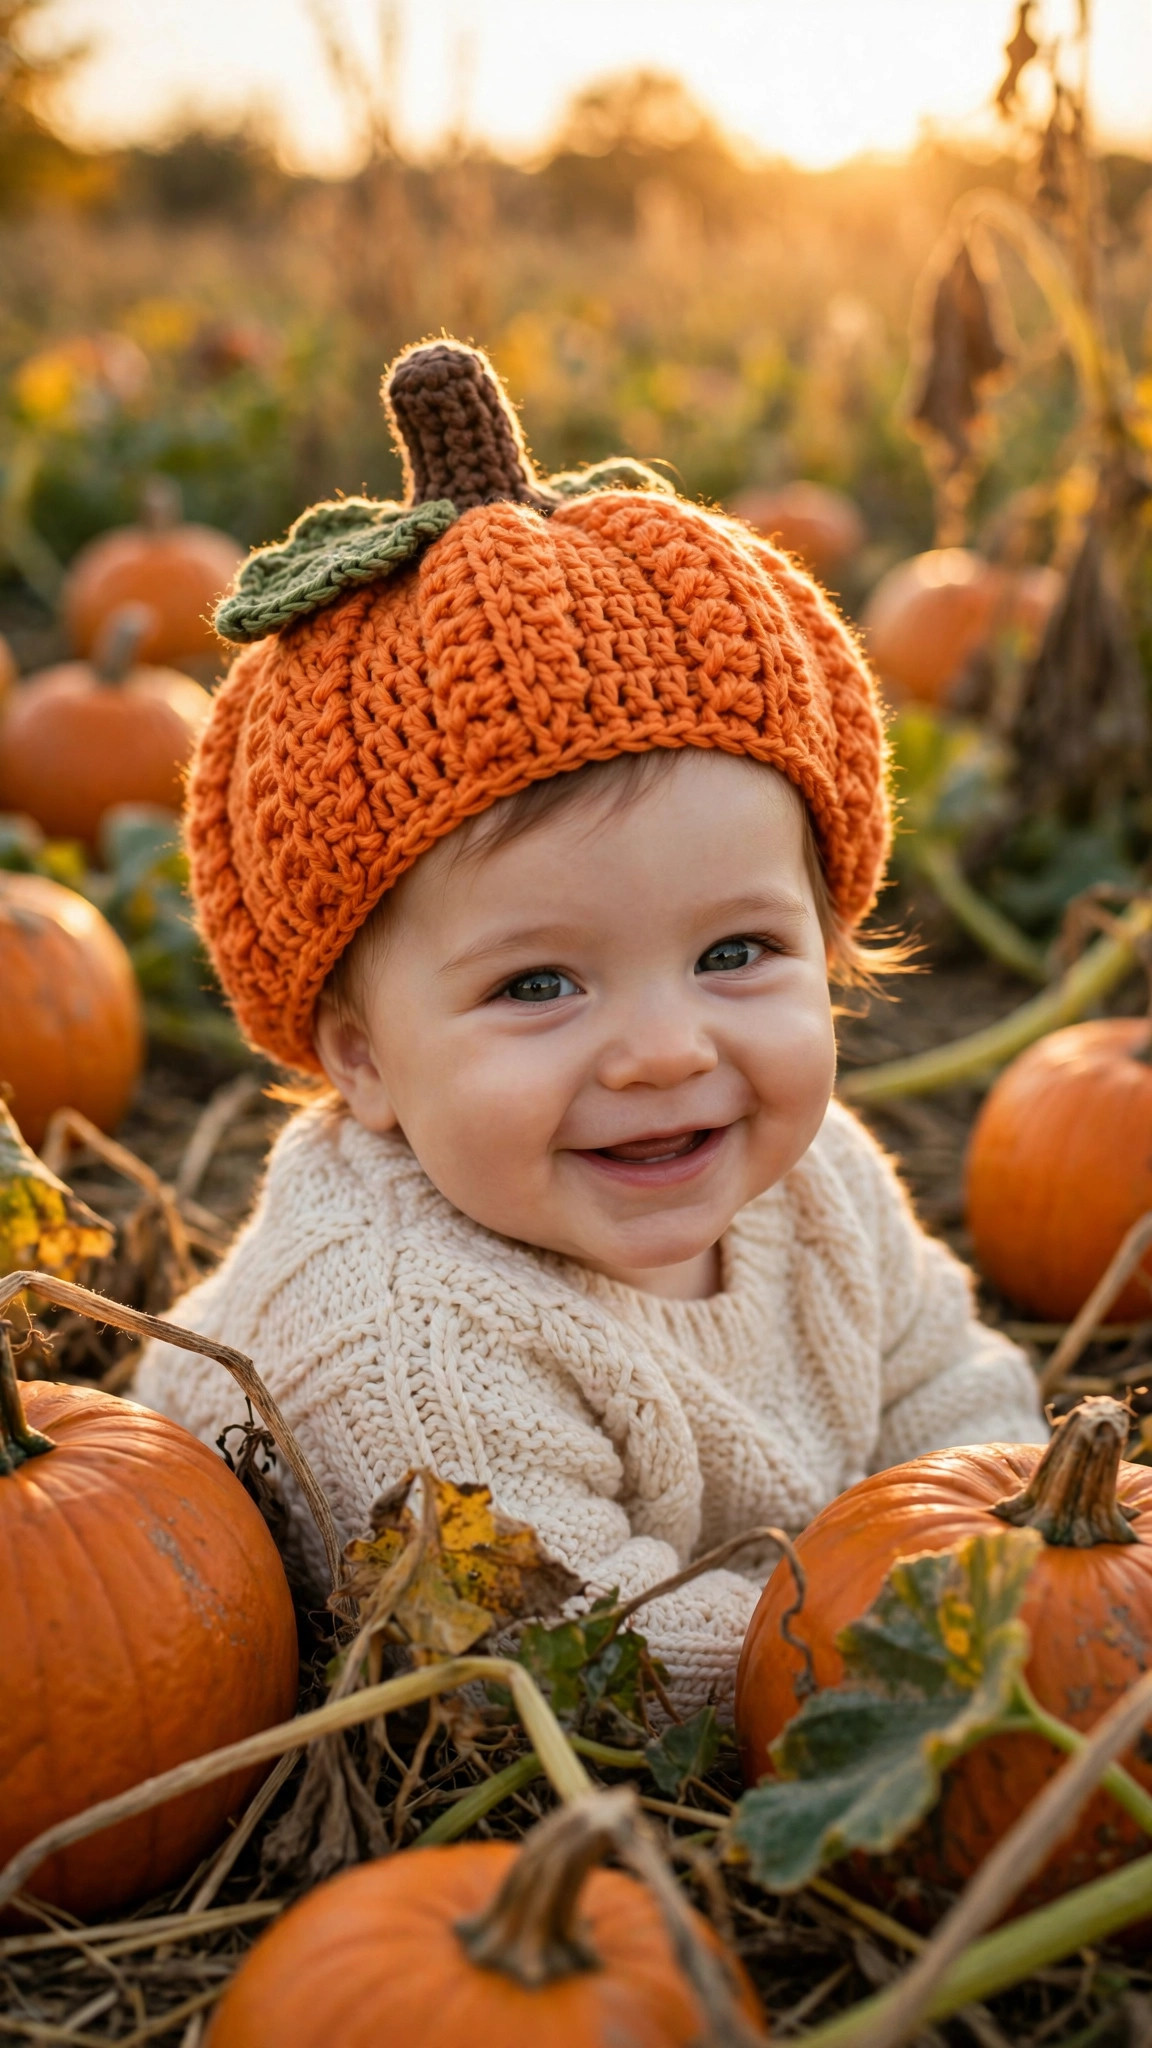
There is something about a baby in a pumpkin hat that stops everyone in their tracks. It is sweet, it is silly in the best way, and it photographs beautifully, whether you are heading to a pumpkin patch, a fall festival, or just the front porch for a quick photo. This baby pumpkin hat crochet pattern gives you that look in a soft, comfortable hat that a real baby can actually wear, not just pose in for thirty seconds before it slides off.
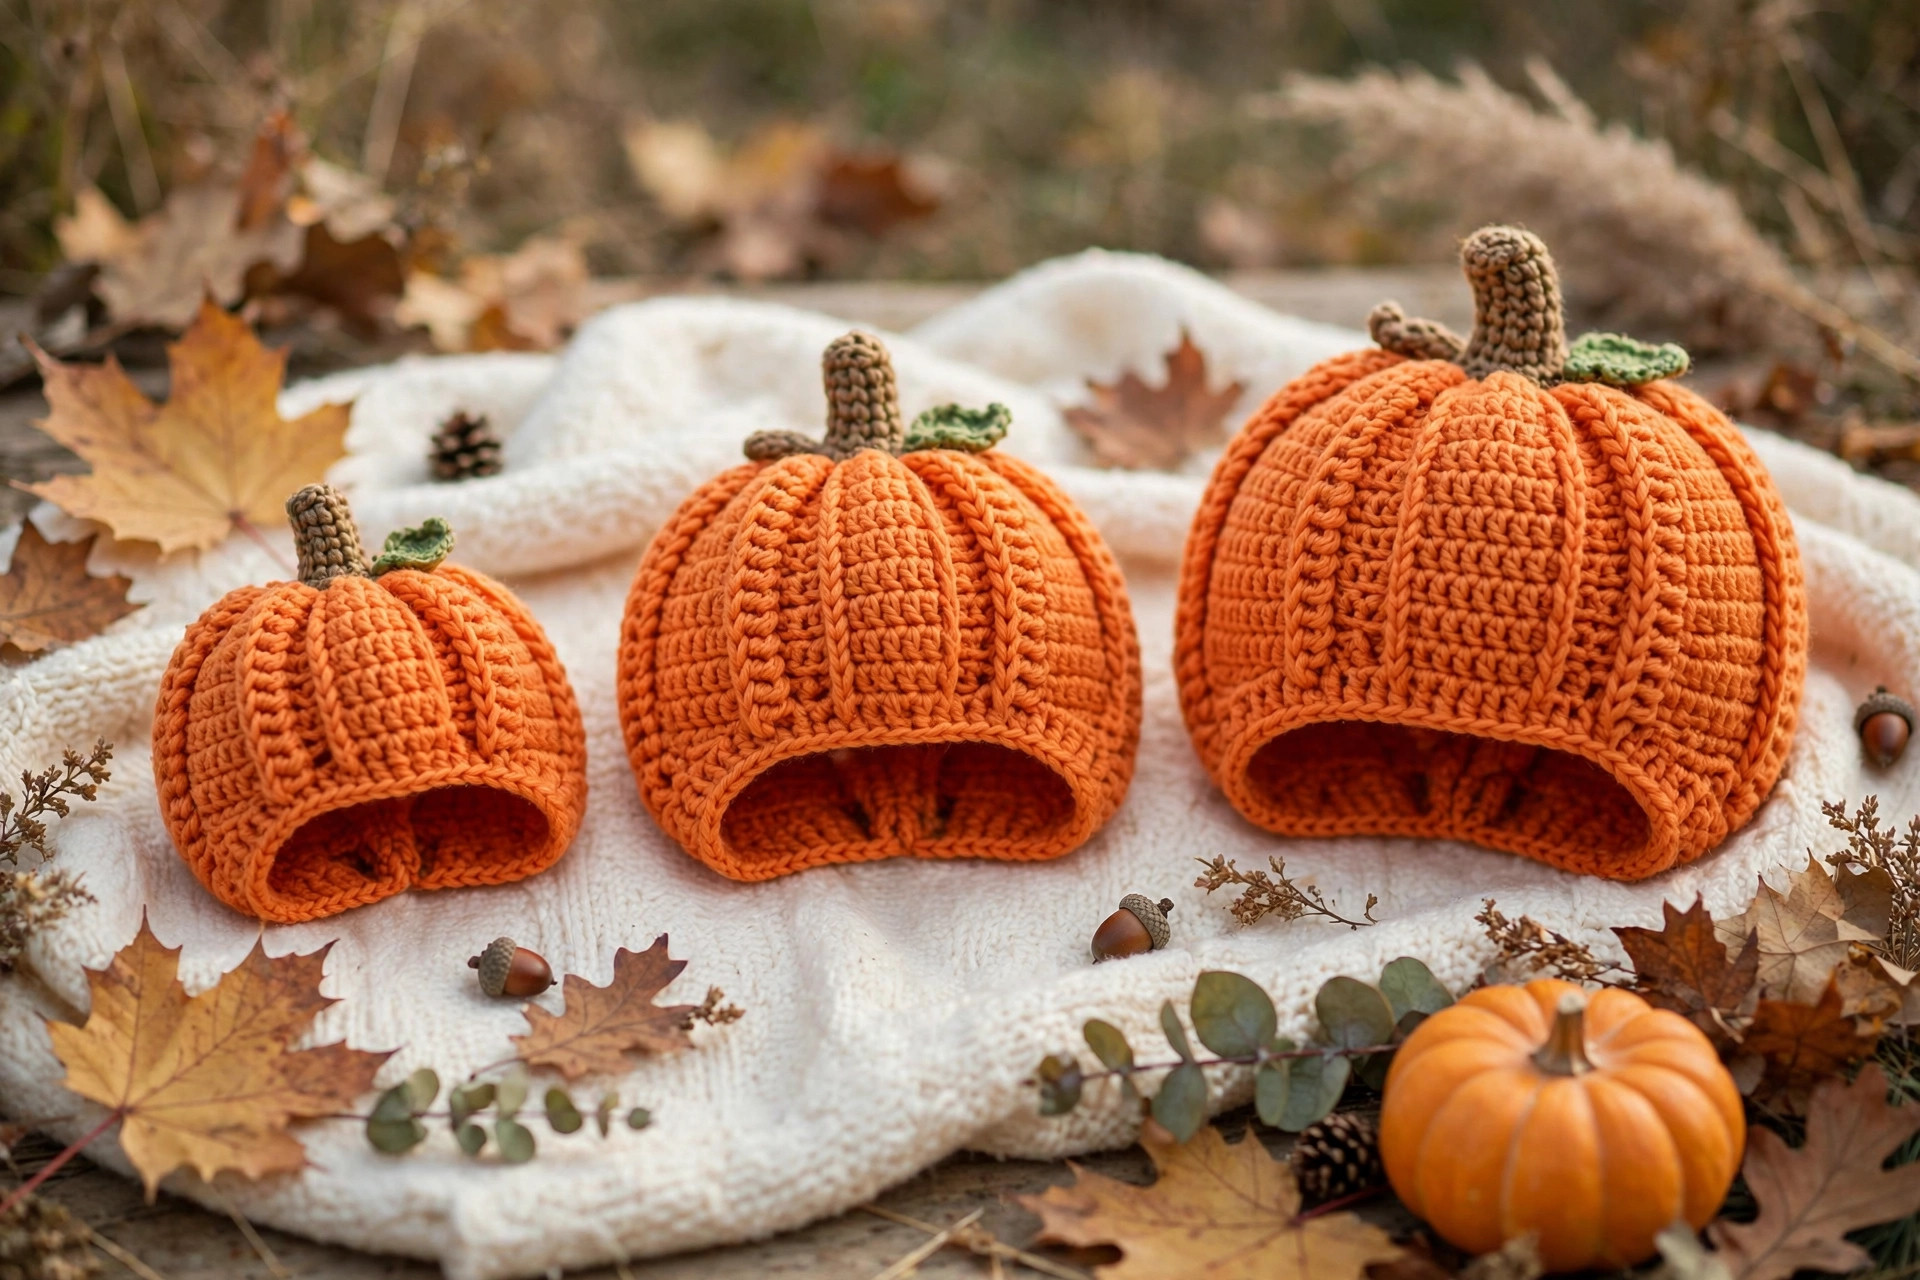
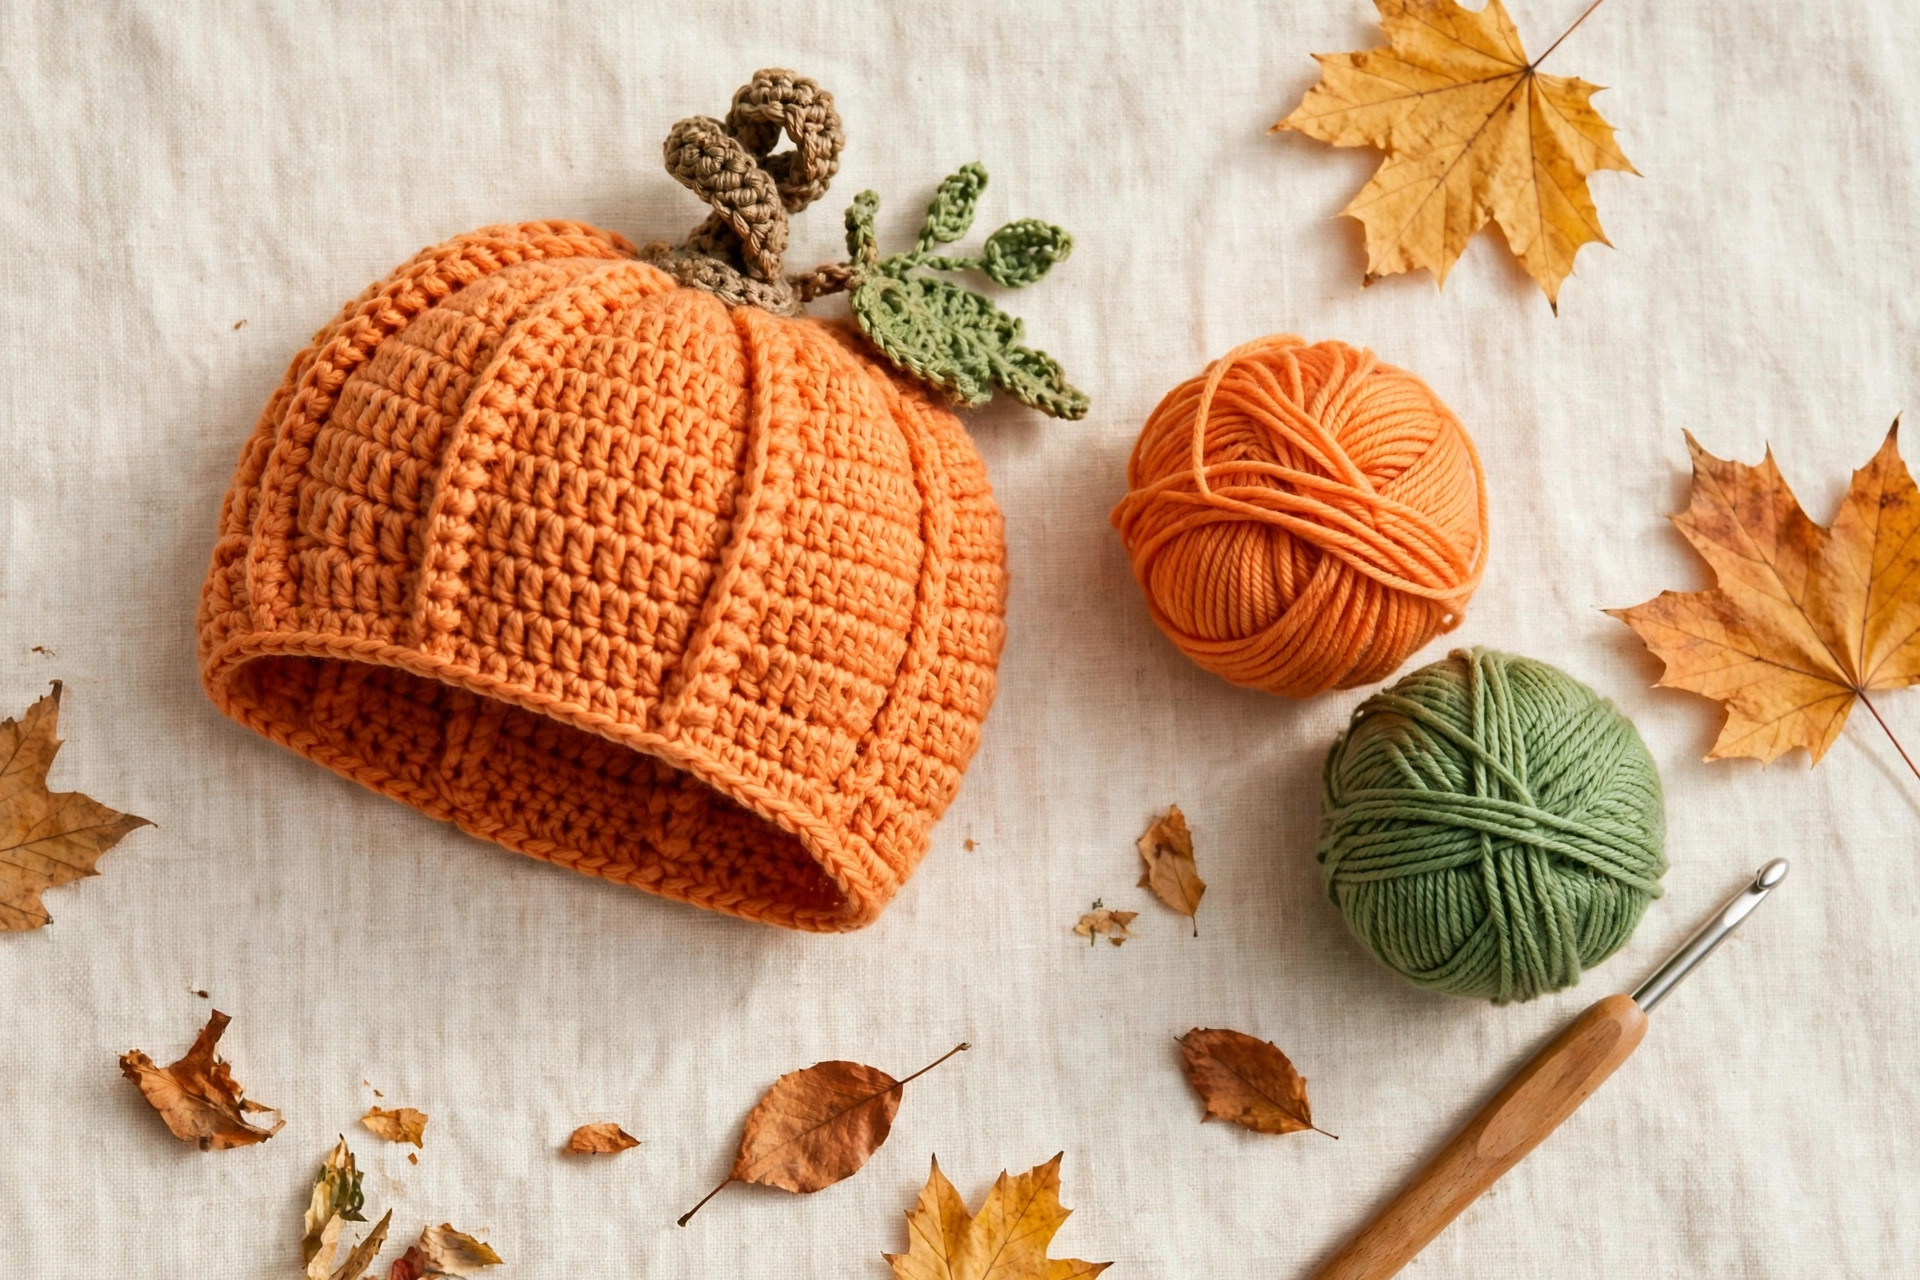
This is a baby-sized hat, through and through. It comes in four sizes, newborn, 0 to 3 months, 3 to 6 months, and 6 to 12 months, and it is shaped like a pumpkin from the crown down: gentle ribs that suggest pumpkin segments, a short brim that sits neatly above the eyebrows, a curly brown stem on top, and one small green leaf. The whole hat is worked in the round, so there is no seam to rub against a soft little head, and the ribbed texture stretches just enough to stay on without feeling tight.
If you have already made the grown-up version, this is not simply that pattern made smaller. The crown increases, the round counts, the brim depth, and the stem size are all reworked for a baby head, because a baby hat that is only a shrunken adult hat usually ends up too tall, too pointy, or too loose around the ears. For the adult version, see our pumpkin hat crochet pattern. For a plain everyday baby cap without the pumpkin shaping, our crochet baby hat pattern is a lovely, simple alternative.
This pattern is written in US terms, uses only basic stitches, and works up fast. Most makers finish the 0 to 3 month size in about two hours, and the larger sizes in two to three hours. That makes it a perfect last-minute baby shower gift, a quick charity make, or a same-weekend project when the pumpkin patch photos are already booked. Pair it with a simple orange outfit, or go all out and match it with our crochet baby dress pattern for a full fall photo set.
Key Takeaways
- A free, original baby pumpkin hat pattern in US terms, with a ribbed pumpkin body, a curly stem, and a leaf.
- Four baby sizes: newborn, 0 to 3 months, 3 to 6 months, and 6 to 12 months, with a size table and round counts for each.
- Worked in the round with no seaming, using half-double crochet and simple post stitches for the pumpkin ribs.
- About 2 hours for the 0 to 3 month size, using worsted weight yarn and a 5.0 mm hook.
- Soft, baby-safe finishing: no ties, no strings, no loose buttons, and every end woven in securely.
- Easy to customise with different pumpkin colours, a longer stem, or a second leaf.
Table of Contents
- Why you will love this baby pumpkin hat
- Materials you will need
- Sizes, gauge, and skill level
- Abbreviations in US terms
- The pattern: pumpkin hat body
- The pattern: stem and leaf
- Finishing and fitting
- Tips for a perfect pumpkin shape
- Variations to try
- Troubleshooting
- Care instructions
- Frequently Asked Questions
Why you will love this baby pumpkin hat
Most pumpkin hats look great in a photo and terrible in real life, because they are either too tall, too stiff, or they keep slipping over the baby's eyes. This one was designed around how babies actually wear hats. The crown is round and fairly flat, not pointy, so the stem sits upright instead of leaning. The body has just enough height to cover the ears on a cool day, without covering the eyebrows. The brim is a short, soft ribbed band that hugs gently, so the hat stays put during normal wiggling, without needing ties or chin straps, which you should never add to a baby hat anyway.
The pumpkin ribs are the clever part. Instead of sewing on separate segments or working a complicated stitch pattern, the ribs are made with front-post double crochet stitches spaced evenly around the body. From a distance, the hat reads instantly as a pumpkin. Up close, the texture is soft and stretchy, which is exactly what you want for a baby. The ribs also help the hat stretch and recover, so it fits a growing baby for longer than a plain hat in the same size.
Materials you will need
| Supply | What to get |
|---|---|
| Main colour (A) | Worsted weight (#4) yarn in pumpkin orange, about 90 yards for 0 to 3 months |
| Stem colour (B) | Worsted weight (#4) yarn in brown, about 10 yards |
| Leaf colour (C) | Worsted weight (#4) yarn in green, about 10 yards |
| Crochet hook | 5.0 mm (H-8) |
| Tapestry needle | For weaving in ends and sewing on the stem and leaf |
| Notions | Stitch markers, scissors, soft tape measure |
| Optional | A small amount of toy stuffing for the stem, if you want it firmer |
Yarn amounts are approximate and will vary with your tension. Newborn: colour A about 70 yards, colours B and C about 8 yards each. Size 0 to 3 months: colour A about 90 yards, colours B and C about 10 yards each. Size 3 to 6 months: colour A about 110 yards, colours B and C about 12 yards each. Size 6 to 12 months: colour A about 135 yards, colours B and C about 15 yards each. If you are between sizes, make the larger size and let the ribbed brim do the fitting work, because a slightly loose hat with a snug brim is far more comfortable than a tight hat.
Sizes, gauge, and skill level
Measure around the baby's head just above the eyebrows and ears, and pick the size whose hat circumference is about 1 inch smaller than the head measurement. That negative ease is what keeps the hat on. If you are making a gift and cannot measure, use age as a guide, but remember that babies vary a lot, so the tape measure is always better than a guess.
| Size | Head circumference | Hat circumference | Hat height (crown to brim) |
|---|---|---|---|
| Newborn | 13 to 14 inches | 12 inches | 4.5 inches |
| 0 to 3 months | 14 to 15 inches | 13 inches | 5 inches |
| 3 to 6 months | 15 to 16 inches | 14 inches | 5.5 inches |
| 6 to 12 months | 16 to 17 inches | 15 inches | 6 inches |
Gauge: 14 half-double crochet stitches and 10 rows equal 4 inches with a 5.0 mm hook. If your swatch is too big, use a 4.5 mm hook; if too small, use a 5.5 mm hook. Skill level: confident beginner. You should know chains, single crochet, half-double crochet, double crochet, and working in the round. Front-post double crochet is explained below.
Abbreviations in US terms
| Abbreviation | Meaning |
|---|---|
| ch | chain |
| sc | single crochet |
| hdc | half-double crochet |
| dc | double crochet |
| fpdc | front-post double crochet |
| sl st | slip stitch |
| inc | increase: 2 stitches in the same stitch |
| dec | decrease: 2 stitches worked together |
| st (sts) | stitch (stitches) |
| RS | right side |
| FO | fasten off |
| [ ] | total stitch count at the end of the round |
Pattern notes: the hat is worked top down, starting at the crown and working toward the brim. The crown is worked in continuous rounds, so place a stitch marker in the first stitch of each round and move it up as you go. The body and brim are worked in joined rounds, with a chain 2 at the start of each round that does not count as a stitch. For a front-post double crochet, yarn over, insert your hook from front to back to front around the post of the stitch below, yarn over and complete the double crochet as usual. This pushes the stitch forward and creates the raised rib.
The pattern: pumpkin hat body
Work the crown first, following the round counts for your size. The instructions below give the full sequence for the 0 to 3 month size, with the other sizes in brackets in this order: newborn, 0 to 3 months, 3 to 6 months, 6 to 12 months. Where only one number is given, it applies to all sizes.
Crown, worked in continuous rounds with colour A:
Round 1: magic ring, ch 2 (does not count as a stitch), 10 (10, 10, 12) hdc in the ring, pull the ring closed. [10 (10, 10, 12) sts] Round 2: 2 hdc in each stitch around. [20 (20, 20, 24) sts] Round 3: (hdc in the next stitch, 2 hdc in the next stitch) repeat around. [30 (30, 30, 36) sts] Round 4: (hdc in the next 2 stitches, 2 hdc in the next stitch) repeat around. [40 (40, 40, 48) sts] Round 5: (hdc in the next 3 stitches, 2 hdc in the next stitch) repeat around. [50 (50, 50, 60) sts] Round 6: for newborn, stop increasing here and move to the body. For 0 to 3 months and 3 to 6 months, work (hdc in the next 4 stitches, 2 hdc in the next stitch) repeat around. [60 sts] For 6 to 12 months, work the same round, then work one more increase round: (hdc in the next 5 stitches, 2 hdc in the next stitch) repeat around. [72 sts]
At this point, the crown should lie fairly flat, like a small disc, with only a gentle dome. If it cups upward like a bowl, your tension is tight or you need one more increase round. If it ripples or waves at the edge, you have increased too fast, so frog back one round and move to the body sooner. A flat crown now means a round, pumpkin-like hat later, not a pointy one.
Body, worked in joined rounds. Join each round with a slip stitch to the first stitch, then chain 2 (does not count as a stitch).
Body Round 1: hdc in each stitch around, join. Repeat this plain round once more for newborn, twice for 0 to 3 months and 3 to 6 months, and three times for 6 to 12 months. This plain section gives the hat its height before the ribs begin, and it is what keeps the crown from looking like a beanie with ribs all the way to the top.
Ribbed body rounds: now work the pumpkin ribs. The repeat is worked over 6 stitches: fpdc around the next stitch, hdc in the next 5 stitches. Repeat that 6-stitch sequence around the whole round, ending with a fpdc if your stitch count divides evenly, which it does for every size in this pattern. Join, chain 2, and repeat the ribbed round, working each fpdc around the fpdc from the round below, so the ribs stack neatly. Work 4 ribbed rounds for newborn, 5 for 0 to 3 months, 6 for 3 to 6 months, and 7 for 6 to 12 months.
Brim: the brim is a short band of alternating front-post and back-post style ribbing, worked more simply here as (fpdc, hdc) repeated, so it stays soft. Work 2 rounds for newborn and 0 to 3 months, and 3 rounds for the two larger sizes, as follows: (fpdc around the next stitch, hdc in the next stitch) repeat around, join, chain 2. On the final brim round, work one round of single crochet in each stitch around for a neat edge, join, and fasten off, leaving a tail to weave in. The brim should fold naturally at the ribbed section, and you can fold it up once for photos, or leave it down for more ear coverage on a cold day.
The pattern: stem and leaf
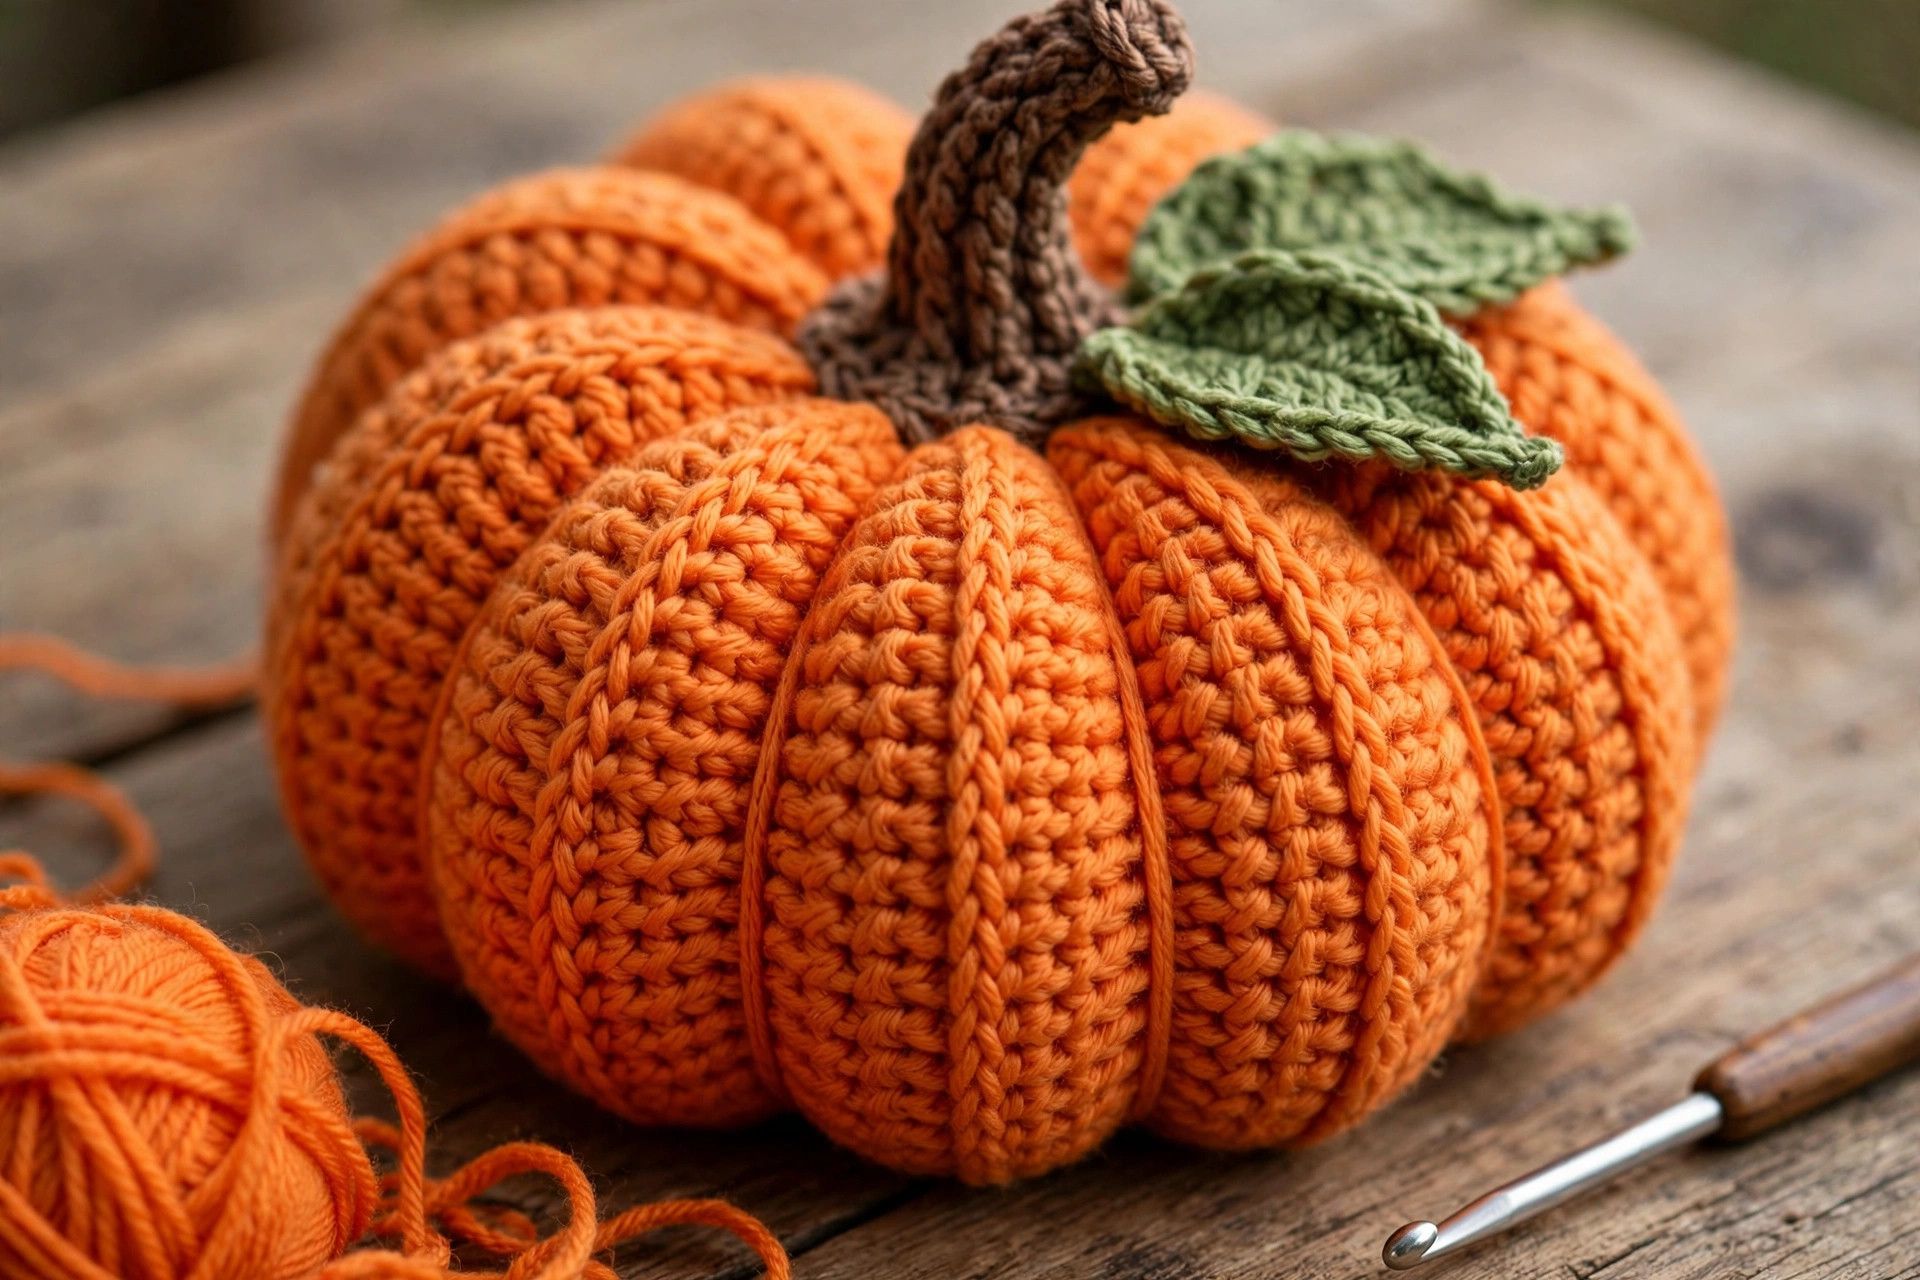
Stem, with colour B: chain 6. Row 1: sc in the second chain from the hook and in each chain across. [5 sts] Rows 2 to 6: chain 1, turn, sc in each stitch across. Roll the rectangle into a short tube and slip stitch the long edges together, or simply roll it and sew the seam closed with the tail. For a curly stem, chain 12, then work 2 sc in each chain across, which makes the strip curl naturally into a tendril shape. Fasten off, leaving a long tail for sewing.
Leaf, with colour C: chain 8. Row 1: sc in the second chain from the hook, hdc in the next 2 chains, dc in the next 2 chains, hdc in the next chain, sc in the last chain. Chain 1, and working back along the other side of the foundation chain, repeat the same sequence in reverse: sc, hdc, dc, dc, hdc, hdc, sc. Slip stitch to join, fasten off, and leave a tail for sewing. The leaf should be a simple oval, about 1.5 inches long. If you want a slightly larger leaf for the 6 to 12 month hat, chain 10 and add one extra double crochet on each side.
Sew the stem to the centre top of the crown with the tail, going through the crown several times and pulling snugly so the stem stands upright. Sew the leaf at the base of the stem, angled slightly to one side, which looks more natural than a perfectly centred leaf. Weave in all ends on the inside of the hat, and check the inside by running your fingers over it: there should be no hard knots, no loops a tiny finger could catch on, and no loose tails.
Finishing and fitting
Block the hat very lightly if needed: dampen it, shape it over a small bowl or a ball that matches the hat size, and let it air dry flat. Do not stretch it aggressively, because the ribs will lose their spring. Once dry, try the fit check: the hat should sit just above the eyebrows, cover the top of the ears, and stay on when the baby turns their head from side to side. If it slides down, the crown is too tall or the brim is too loose, and one extra brim round usually fixes it. If it leaves a mark after a few minutes, go up a size, because babies grow fast and a hat that is slightly big today will fit perfectly next month.
Tips for a perfect pumpkin shape
Variations to try
Troubleshooting
Care instructions
Machine wash cold on a gentle cycle in a mesh laundry bag, then reshape and lay flat to dry. Do not put a baby hat in the dryer on high heat, because acrylic can go stiff and the ribs can lose their stretch. If the stem gets bent in the wash, dampen it, reshape it by hand, and let it dry upright. Store the hat flat or stuffed very lightly with tissue paper, not squashed under heavier items, so the stem keeps its shape between wears.
Frequently Asked Questions
Is this baby pumpkin hat pattern really free?
Yes. The full pattern, including all four sizes, the stem, and the leaf, is right here in this post, free to use for personal projects and for gifts. You may sell finished hats made from this pattern in small batches, with credit to Little Loop Finds, but please do not copy, repost, or sell the pattern text itself.
What age is this pumpkin hat for?
This pattern covers newborn through 12 months, with four sizes: newborn, 0 to 3 months, 3 to 6 months, and 6 to 12 months. Always measure the head if you can, because babies grow at very different rates, and age alone is only a rough guide. If you are between sizes, choose the larger one.
How is this different from the adult pumpkin hat pattern?
The adult version, our pumpkin hat crochet pattern, is sized for grown-up heads, with a taller body, a deeper brim, and a larger stem. This baby version is reworked from the crown up for a baby head: flatter crown, shorter body, softer brim, and a smaller stem and leaf, so it looks like a pumpkin on a baby, not like a shrunken adult hat.
Can a beginner make this hat?
Yes, if you are a confident beginner who knows single crochet, half-double crochet, and double crochet, and you are willing to learn one new stitch, the front-post double crochet. The pattern explains that stitch step by step, and the rest of the hat is simple rounds. If you have made one plain baby hat before, this is a very natural next project.
Is the stem safe for a baby to wear?
The stem and leaf are sewn on with yarn and many stitches, with no buttons, no glue, and no loose parts, which is the safest way to finish a baby hat. Always check the sewing before each wear, tug gently on the stem and leaf, and remove the hat for unsupervised sleep, as you would with any hat. Never add ties, cords, or buttons to a baby hat.
What yarn works best for a baby pumpkin hat?
A soft, machine-washable worsted weight acrylic or acrylic blend in pumpkin orange, with small amounts of brown and green for the stem and leaf. The yarn should feel soft against your cheek, have no metallic or novelty fibres, and wash well, because baby items get washed a lot. Avoid scratchy wool and any yarn that sheds fibres.
Can I make this hat in other colours?
Absolutely. Classic orange is traditional, but rust, peach, cream, and even sage green all make beautiful pumpkin hats, as long as you keep the brown stem and green leaf so the pumpkin shape still reads clearly. A cream pumpkin hat is especially lovely for newborn photos, while a deep rust version suits older babies and fall portraits.
Happy crocheting, and happy pumpkin season. If you make this hat, take that pumpkin patch photo: it is the kind of picture that ends up framed on a grandparent's wall, and the hat that made it took you only an evening to crochet.


