Polar bear crochet pattern: cuddly arctic plush
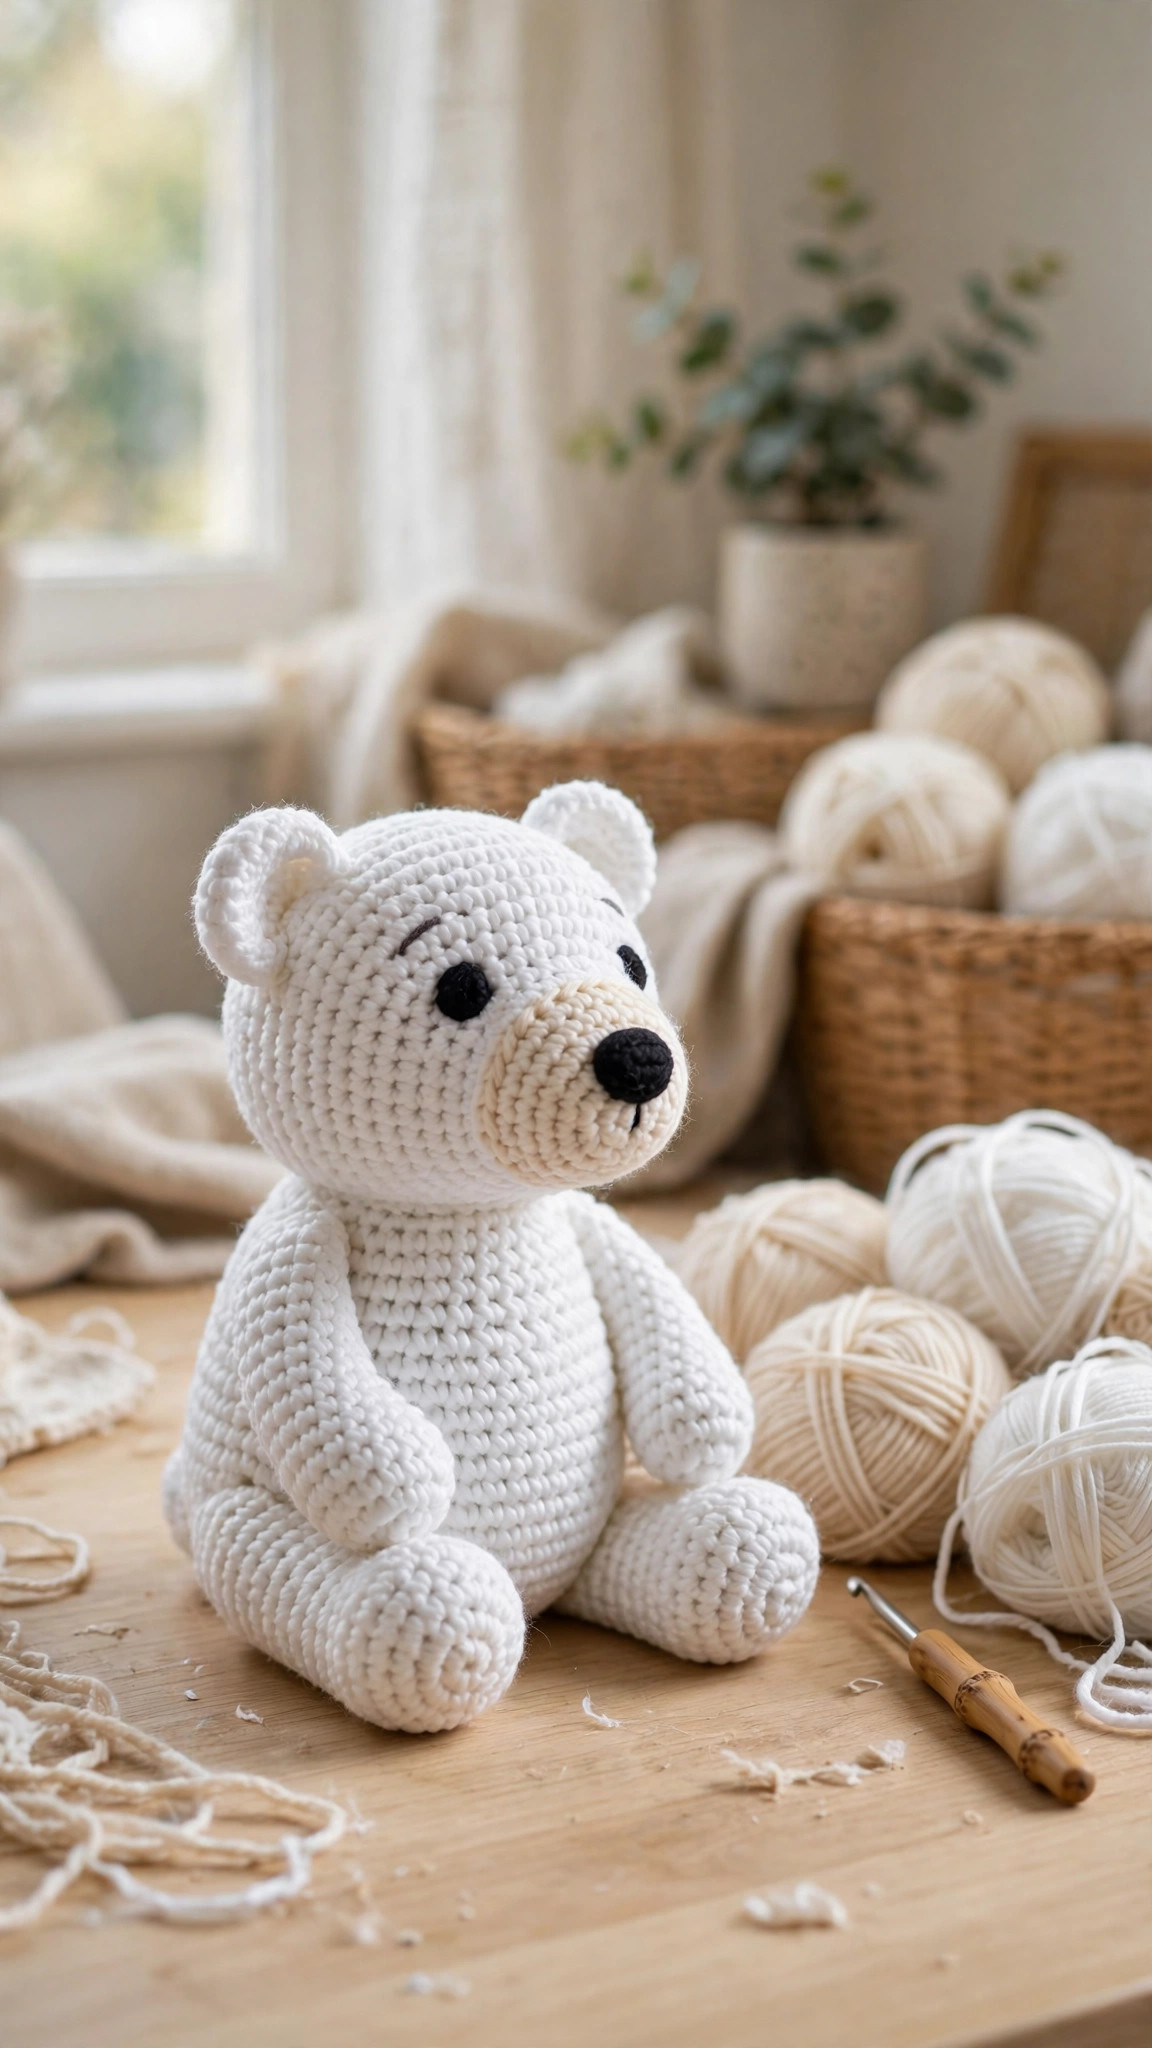
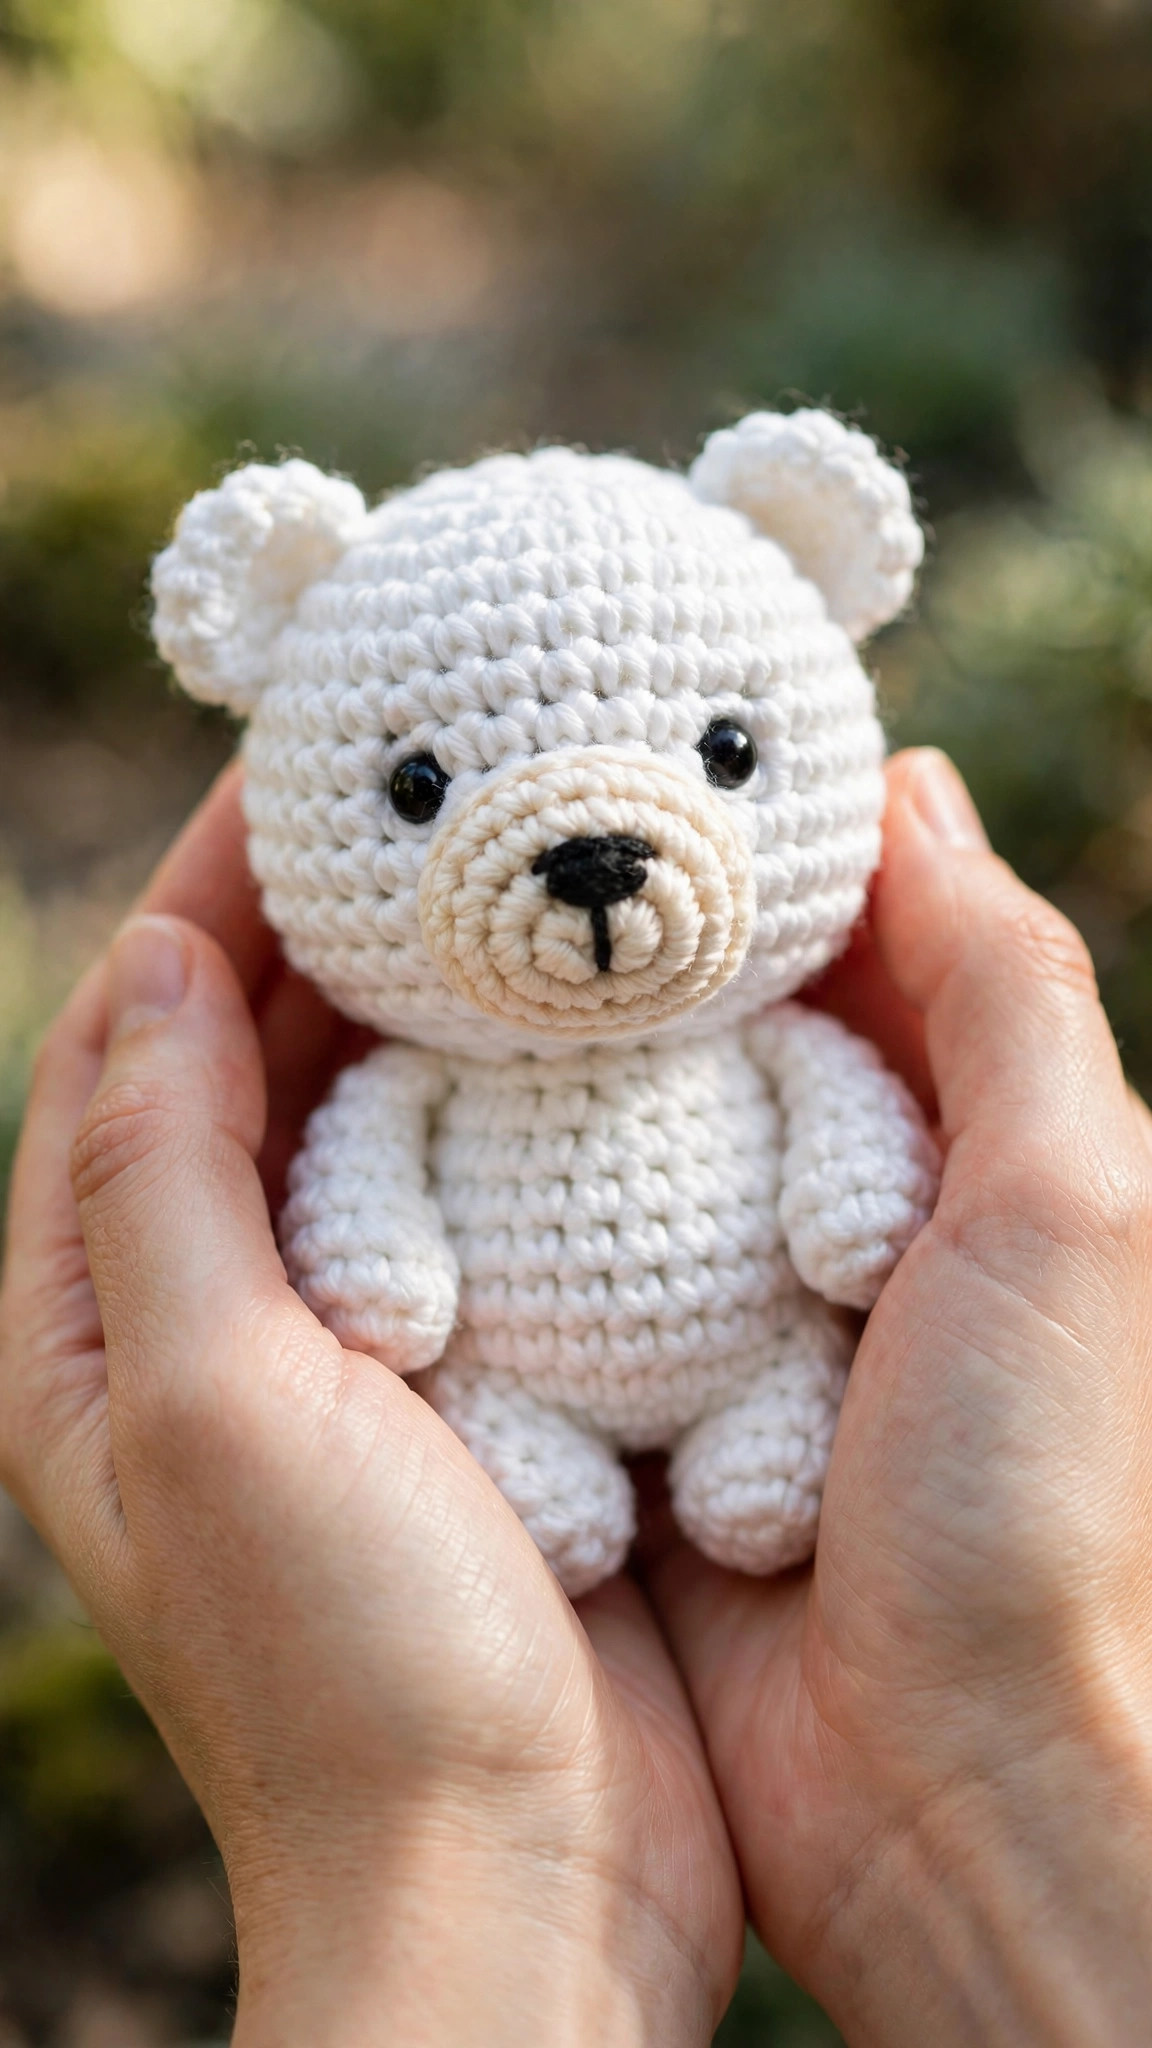
A cuddly arctic plush in fluffy white yarn with a cream muzzle, dark safety eyes, and an embroidered nose, about 10 inches tall.

Amigurumi · Crochet
- Finished size
- 10 in tall (standard)
- Making time
- About 3 hours
- Hook
- 3.5 mm, aran yarn
- Set
- Body and head in one piece
- Skill
- Beginner
In this post
If you have been looking for a polar bear crochet pattern that is soft, huggable, and simple enough for a confident beginner, this little arctic friend is the one. He is worked in fluffy white yarn with a cream muzzle, dark safety eyes, and a hand-embroidered nose, and he sits about 10 inches tall when finished. He takes about three hours to make, which makes him perfect for a weekend project, a baby shower gift, or a cosy winter make when you want something soft and sweet on your shelf by Sunday evening.
Why you'll love this polar bear crochet pattern
Most crochet polar bear patterns fall into one of two traps: they are either so small and fiddly that the pieces take forever to sew together, or so large and heavy that they flop over and never sit up. This pattern dodges both. The body and head are worked as one piece from the bottom up, so there is no head-to-body seam to wobble, and the legs are short and sturdy so the bear sits upright on a shelf, a bed, or a nursery chair.
The construction is simple and forgiving. You work in a continuous spiral, which means no joining rounds and no visible seam line, and the shaping is just single crochet with evenly spaced increases and decreases. The muzzle is a separate oval that you sew on with a few stitches, and the ears are two small half-circles that take five minutes each. If you can single crochet and count to twelve, you can make this bear.
Materials you'll need
| Supply | What to get |
|---|---|
| Yarn (A) | Aran-weight (#4) yarn in white, about 180 yds / 165 m |
| Yarn (B) | Aran-weight (#4) yarn in cream, about 30 yds / 27 m for the muzzle and inner ears |
| Yarn (C) | Small amount of black yarn for the embroidered nose and mouth |
| Crochet hook | 3.5 mm (E-4) |
| Safety eyes | Two 12 mm black safety eyes with washers |
| Stuffing | Polyester toy stuffing, about 60 g |
| Tapestry needle | For weaving in ends, sewing pieces, and embroidery |
| Notions | Scissors, stitch markers, pins for positioning pieces |
| Optional | Small blue scarf yarn, a tiny crocheted fish, or a snowflake button |
A smooth aran-weight acrylic yarn is the best pick here: it is soft, washable, and holds the stitch definition that makes the bear look neat. A fluffy or chenille-style yarn looks wonderfully polar-bear-like, but it hides your stitches, so save it for a second bear once you know the pattern. Avoid very dark yarn for the muzzle: the cream colour is what makes the face pop against the white body.
Yarn amounts by size (approximate): Small (7 in tall) — 120 yds white. Standard (10 in tall) — 180 yds white. Large (13 in tall) — 260 yds white. One 100 g ball of aran yarn (about 200 yds) makes one standard bear with yarn to spare.
Size, gauge and skill level
The bear is worked in a continuous spiral in single crochet. Do not join rounds; use a stitch marker in the first stitch of every round and move it up as you go.
| Size | Finished height (sitting) | Hook | Safety eye size |
|---|---|---|---|
| Small | 7 in / 18 cm | 3.0 mm | 10 mm |
| Standard | 10 in / 25 cm | 3.5 mm | 12 mm |
| Large | 13 in / 33 cm | 4.0 mm | 15 mm |
- Finished size (standard): about 10 in (25 cm) tall sitting, 6 in (15 cm) wide at the body. He sits upright on his own, with short legs and arms that rest at his sides.
- Gauge: 18 sc and 20 rows = 4 in (10 cm) with a 3.5 mm hook. Gauge matters for amigurumi because loose stitches let the stuffing show through. Your stitches should be tight and even: if you can see stuffing between stitches, go down half a hook size.
- Skill level: confident beginner. You should know how to single crochet, increase, decrease, and work in a spiral. The pattern uses only single crochet and simple shaping, and every round tells you the stitch count.
Abbreviations — US terms
| Abbreviation | Meaning |
|---|---|
| ch | chain |
| sc | single crochet |
| inc | increase: 2 sc in the same stitch |
| dec | invisible decrease: 2 sc worked together through the front loops |
| sl st | slip stitch |
| st(s) | stitch(es) |
| RS | right side |
| FO | fasten off |
| [ ] | total stitch count at the end of the round |
| ( ) x n | repeat the instructions in brackets n times |
A note on the invisible decrease: work the decrease through the front loops only, which makes it nearly invisible and keeps the bear's shaping smooth. Insert your hook under the front loop of the next stitch, then under the front loop of the stitch after that, yarn over, pull through both loops, yarn over, and pull through the two loops on your hook.
The pattern (US terms)
Work the body and head as one piece from the bottom up, in a continuous spiral. Stuff firmly as you go, a little at a time, so the shaping stays smooth.
Body and head — one piece
With color A (white) and a 3.5 mm hook, start with a magic ring.
- Round 1: 6 sc into the ring. [6]
- Round 2: inc in each st around. [12]
- Round 3: (sc in next st, inc) x 6. [18]
- Round 4: (sc in next 2 sts, inc) x 6. [24]
- Round 5: (sc in next 3 sts, inc) x 6. [30]
- Round 6: (sc in next 4 sts, inc) x 6. [36]
- Rounds 7–12: sc in each st around. [36]
- Round 13: (sc in next 4 sts, dec) x 6. [30]
- Round 14: (sc in next 3 sts, dec) x 6. [24]
- Round 15: (sc in next 2 sts, dec) x 6. [18]
- Round 16: (sc in next st, dec) x 6. [12]
Start stuffing the body now, firmly but not so hard that the stitches stretch open. Add small handfuls of stuffing and push them into the base first, then build upward so the body is evenly filled.
- Round 17: inc in each st around. [24]
- Round 18: (sc in next st, inc) x 12. [36]
- Round 19: (sc in next 2 sts, inc) x 12. [48]
- Rounds 20–27: sc in each st around. [48]
- Round 28: (sc in next 6 sts, dec) x 6. [42]
- Round 29: (sc in next 5 sts, dec) x 6. [36]
- Round 30: (sc in next 4 sts, dec) x 6. [30]
Place the safety eyes now, between Rounds 23 and 24, about 8 stitches apart, with the washers pushed on firmly on the inside. The eyes should sit on the front of the head, centred over the muzzle position below. If you are embroidering the eyes instead, mark their positions with pins and embroider them after the head is finished.
- Round 31: (sc in next 3 sts, dec) x 6. [24]
- Round 32: (sc in next 2 sts, dec) x 6. [18]
Stuff the head firmly now, shaping it into a soft round ball with your hands. Add extra stuffing to the cheeks so the face is full and friendly, and make sure the neck area (Round 17) is well stuffed so the head does not wobble.
- Round 33: (sc in next st, dec) x 6. [12]
- Round 34: dec x 6. [6]
Fasten off, leaving a long tail. Thread the tail through the front loops of the last 6 stitches, pull tight to close the hole, and weave the tail into the head.
Muzzle — the cream oval
With color B (cream) and a 3.5 mm hook, chain 7.
- Round 1: sc in 2nd ch from hook, sc in next 4 ch, 3 sc in last ch, then working along the other side of the chain, sc in next 4 ch, 2 sc in last ch. [14]
- Round 2: inc, sc in next 4 sts, inc x 3, sc in next 4 sts, inc x 2. [20]
- Round 3: sc in next st, inc, sc in next 5 sts, (sc in next st, inc) x 3, sc in next 5 sts, (sc in next st, inc) x 2. [26]
- Round 4: sc in each st around. [26]
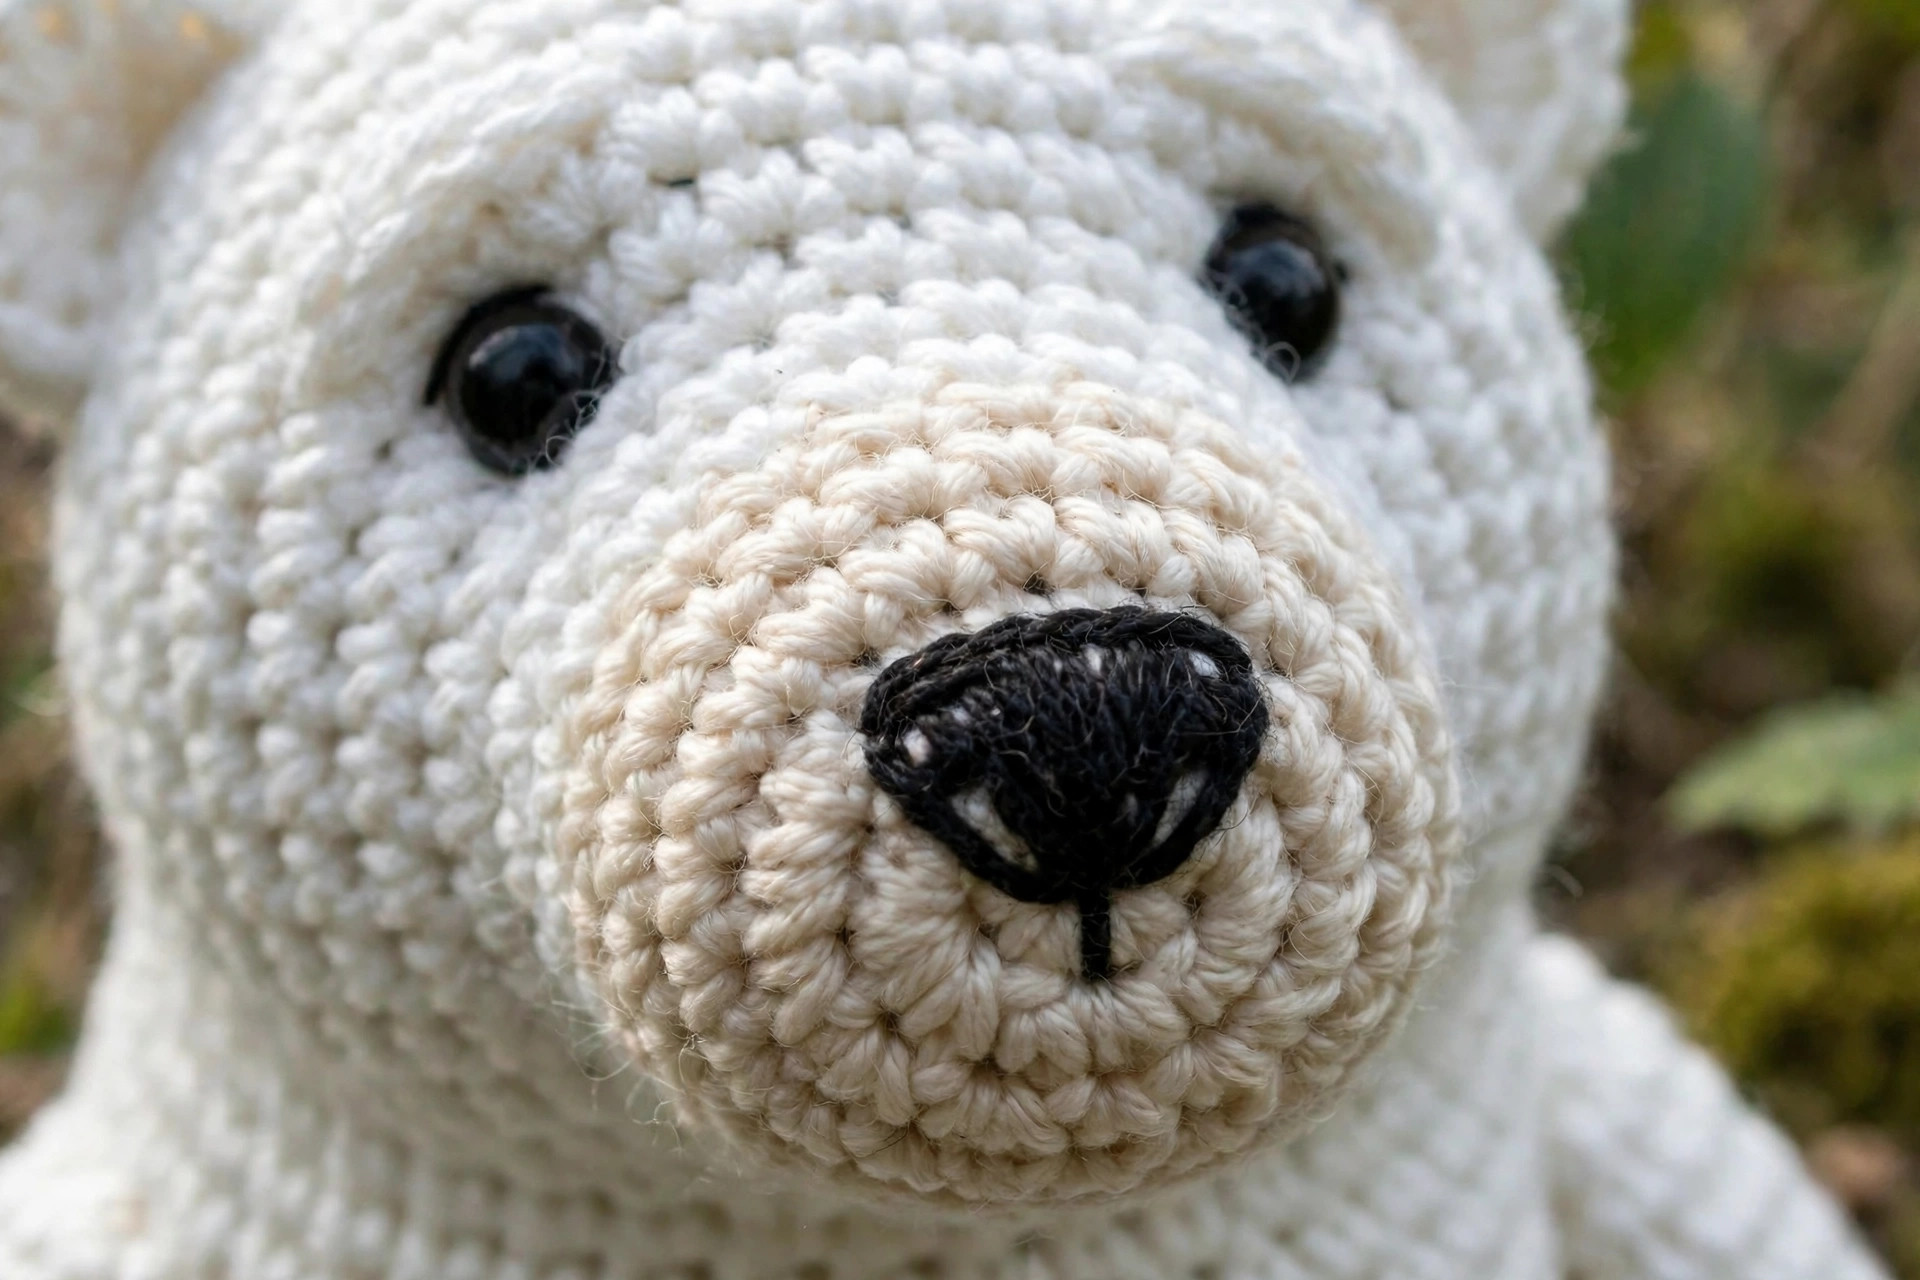
Fasten off, leaving a long tail for sewing. Stuff the muzzle very lightly with a pinch of stuffing, then pin it to the front of the head, centred under the eyes, with its top edge at about Round 24 and its bottom edge at about Round 28. Sew it on with small neat stitches all the way around, tucking the edge under slightly as you go so no stuffing escapes.
Nose and mouth
With color C (black) yarn and a tapestry needle, embroider a triangle nose on the top half of the muzzle: three straight stitches forming a triangle about half an inch wide, filled in with small horizontal stitches until it is solid black. Then embroider a short vertical line down from the centre of the nose, and two small curved lines branching out to each side, like a tiny upside-down Y. Keep the stitches neat and even, and knot the yarn on the inside of the muzzle.
Ears (make 2)
With color A (white) and a 3.5 mm hook, start with a magic ring.
- Round 1: 6 sc into the ring. [6]
- Round 2: inc in each st around. [12]
- Round 3: (sc in next st, inc) x 6. [18]
- Round 4: sc in each st around. [18]
Fasten off, leaving a long tail. Do not stuff the ears. Flatten each ear into a half-circle and sew it to the top of the head, at about Round 29, with the ears about 4 in apart.
Arms (make 2)
With color A (white) and a 3.5 mm hook, start with a magic ring.
- Round 1: 6 sc into the ring. [6]
- Round 2: (sc in next st, inc) x 3. [9]
- Rounds 3–8: sc in each st around. [9]
Fasten off, leaving a long tail. Stuff the arms lightly, only in the lower half, so the tops stay flat for sewing. Sew each arm to the side of the body at about Round 12, with the top of the arm just below the neck shaping, so the arms rest naturally at the bear's sides.
Legs (make 2)
With color A (white) and a 3.5 mm hook, start with a magic ring.
- Round 1: 6 sc into the ring. [6]
- Round 2: inc in each st around. [12]
- Round 3: (sc in next st, inc) x 6. [18]
- Rounds 4–6: sc in each st around. [18]
- Round 7: (sc in next st, dec) x 6. [12]
- Rounds 8–9: sc in each st around. [12]
Fasten off, leaving a long tail. Stuff the legs firmly in the foot end and lightly in the top. Sew each leg to the front of the body at about Round 7, with the feet pointing forward and slightly outward, so the bear sits upright without tipping.
Finishing the bear
Weave in all ends, hiding them inside the body. Check the bear from the front: the eyes should be level, the muzzle centred, the ears even, and the arms and legs symmetrical. Sit the bear on a flat surface and check that he sits upright without leaning. If he tips forward, add a little more stuffing to the back of the body; if he tips backward, add a little more to the front of the head.
Finishing touches
Take five unhurried minutes here: it is the difference between homemade and handmade.
Shape the head. Cup the head in your hands and gently roll it to smooth out any lumps in the stuffing. Push the cheeks out slightly with your thumbs so the face looks full and friendly, and pinch the top of the head into a soft round shape. A well-shaped head is what makes a plush look professional.
Check the face. Hold the bear at arm's length and look at his face. The eyes should be level and the same distance from the muzzle, the nose should sit in the centre of the muzzle, and the mouth lines should be even. If anything is off by a stitch or two, it is easy to adjust now: unpick one or two embroidery stitches and redo them.
Three cute variations to try next
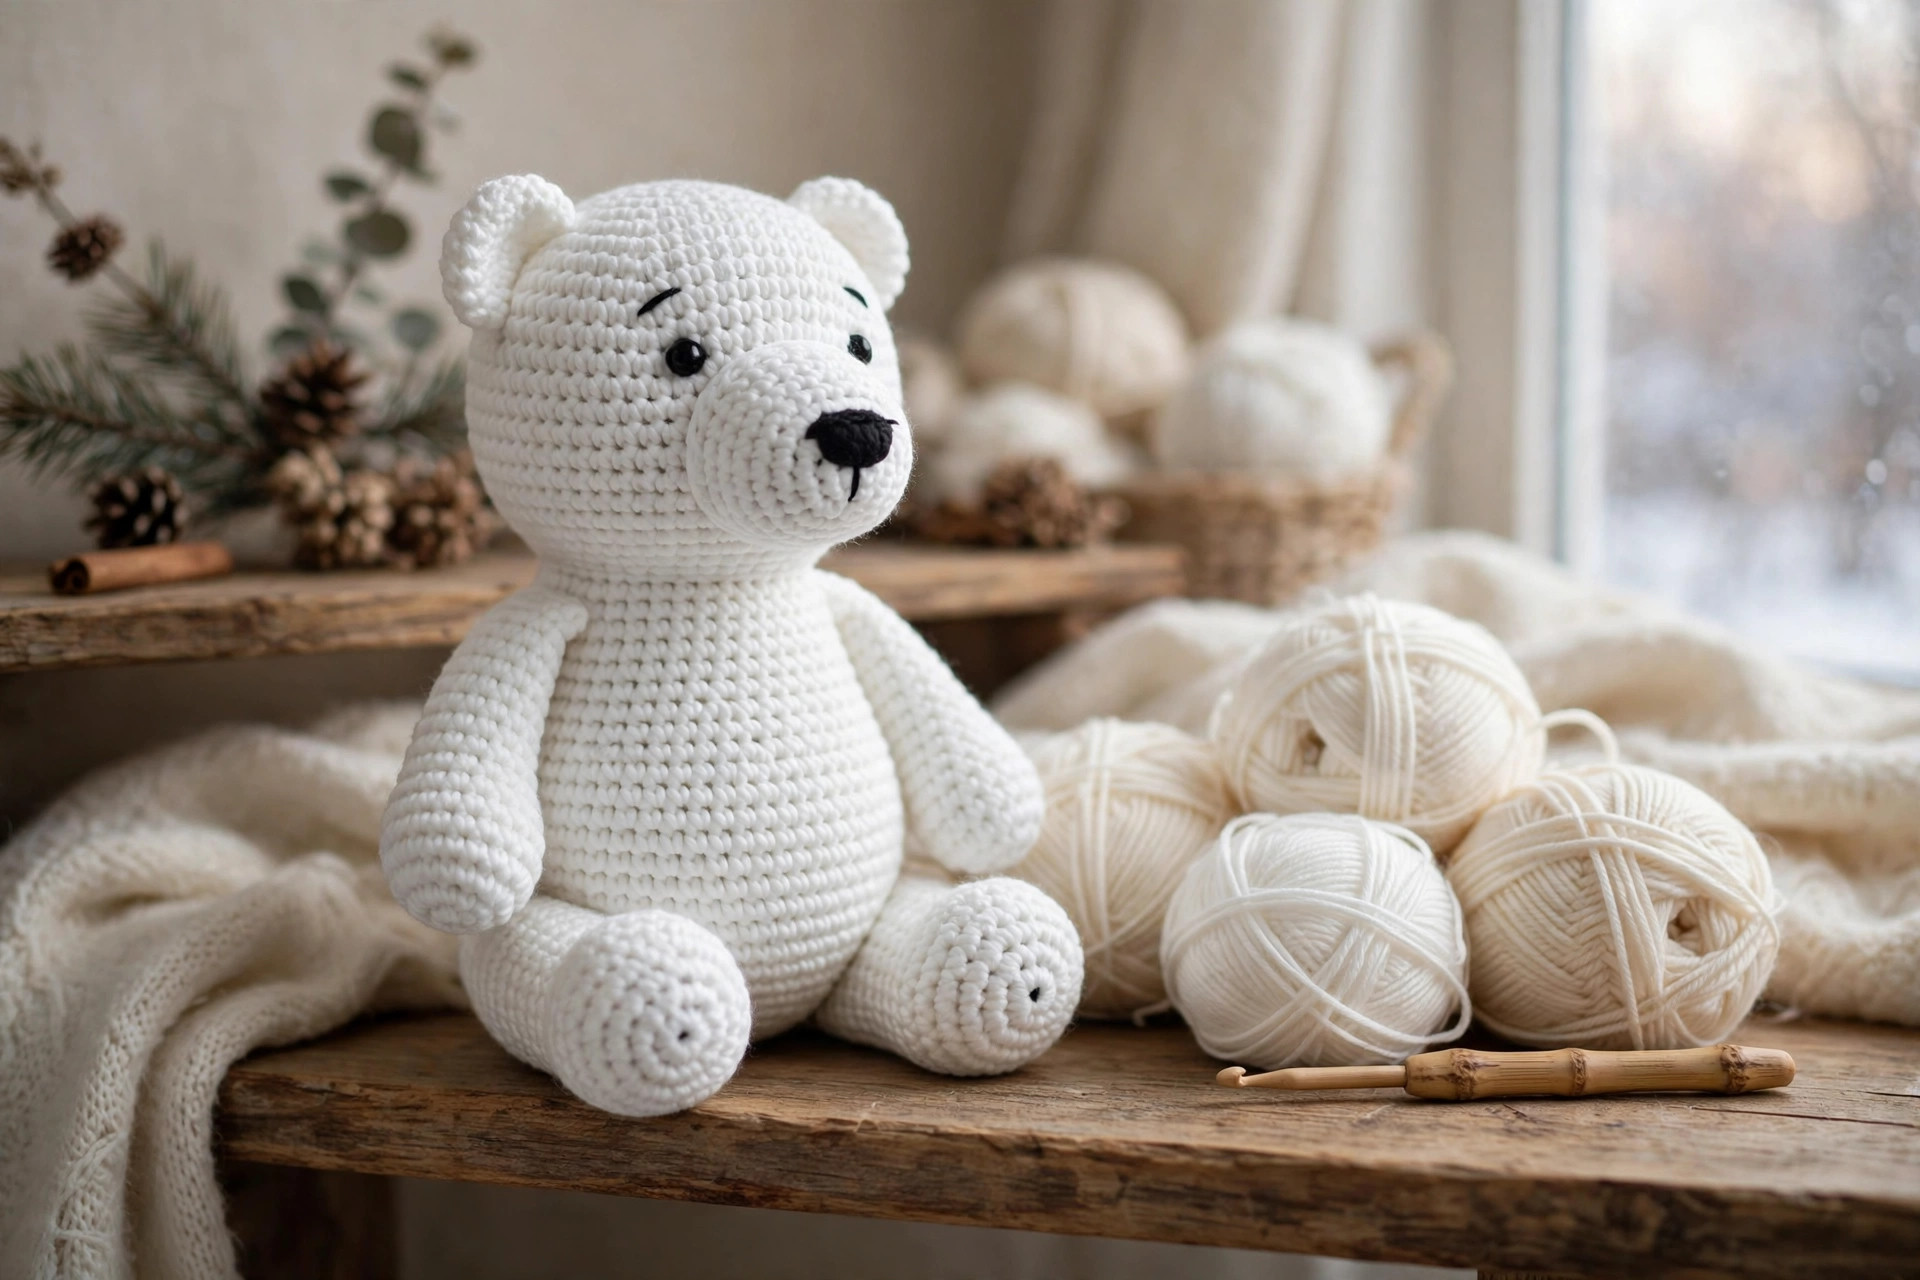
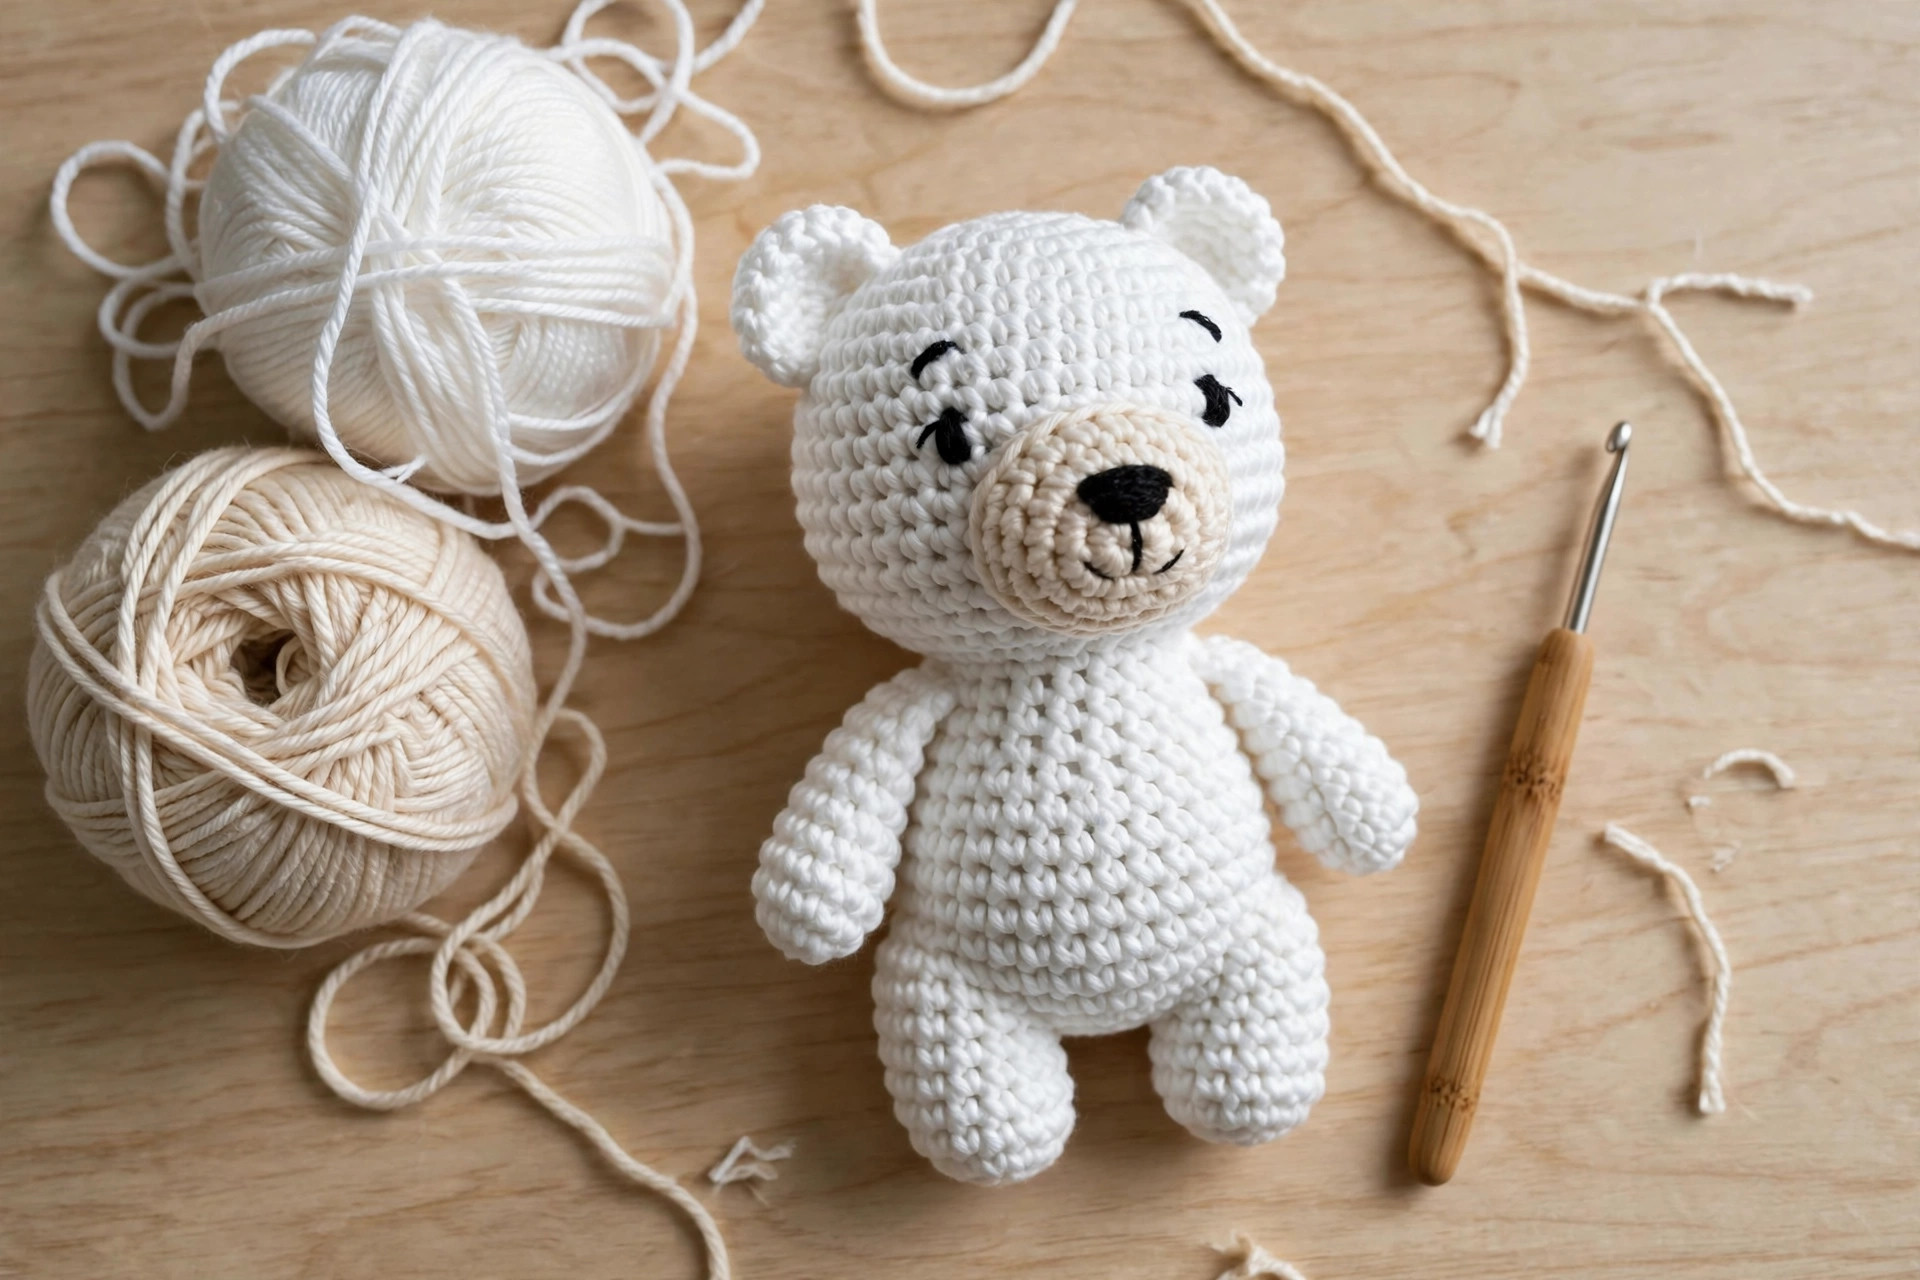
Once you have made one bear, the same body construction makes a whole arctic family. Same shaping, three personalities:
- Polar bear with a blue scarf. Crochet a simple scarf: chain 60, work 3 rows of half-double crochet in soft blue yarn, and wrap it around the bear's neck once, tying it in a small knot at the side. The scarf adds a pop of colour and makes the bear look ready for winter.
- Baby polar bear. Work the pattern with a 3.0 mm hook and DK-weight yarn, following the small size. The bear comes out about 7 in tall, which is the perfect size for small hands and a pram toy. Use embroidered eyes instead of safety eyes, and sew every piece on extra firmly.
- Polar bear with a fish. Crochet a tiny grey fish: chain 8, work a few rows of single crochet with increases at the tail end, and sew it into the bear's paws. A bear holding a fish tells a story, and children love it.
Troubleshooting tips
- Your stuffing shows through the stitches. Your stitches are too loose. Go down half a hook size, or switch to a tighter tension. You should not be able to see white stuffing between white stitches.
- The head wobbles on the neck. The neck area is under-stuffed. Add more stuffing to Rounds 16–18, packing it firmly so the head sits solidly on the body.
- The bear will not sit up. The legs are sewn too high or too far apart. Reposition them lower on the body, at about Round 7, with the feet pointing forward and slightly outward.
- The muzzle looks lopsided. You sewed it on without pinning it first. Always pin the muzzle in place and check it from the front before you sew: a millimetre off at the top becomes very visible at the bottom.
- The eyes are uneven. One eye is a round higher or a stitch further out than the other. Count the stitches between the eyes carefully, and use pins to mark both eye positions before you push the safety eyes through.
- The ears flop forward. They are sewn too far forward on the head. Sew the ears at about Round 29, slightly toward the back of the head, so they sit upright and frame the face.
Frequently asked questions
Is this polar bear crochet pattern really free?
Yes, the complete pattern above is free, no email signup, no PDF purchase required.
What skill level is this polar bear pattern?
Confident beginner. If you can single crochet, increase, and decrease, you have every skill this pattern needs. The body and head are worked as one piece, which makes the sewing much easier.
How long does it take to make the polar bear?
About three hours for the standard size: roughly one hour for the body and head, one hour for the arms, legs, ears, and muzzle, and one hour for sewing, stuffing, and finishing. Your second bear will be faster.
How much yarn do I need?
About 180 yds of white aran-weight yarn for the standard bear, plus about 30 yds of cream for the muzzle and inner ears. One 100 g ball of aran yarn (about 200 yds) is enough for one bear.
Can I make this polar bear for a baby?
Yes, with two changes: embroider the eyes with black yarn instead of using safety eyes, and sew every piece on extra firmly.
Can I wash the finished polar bear?
Yes. Hand wash in cool water, squeeze out the water without wringing, and reshape the head and muzzle while the bear is damp. Lay flat to dry.
Can I sell the finished bears I make?
Yes! You may sell finished bears made from this pattern in small batches (craft fairs, markets, gifts). Please credit Little Loop Finds as the pattern designer with a link back to this page.
More free patterns to try
If this polar bear was fun, keep the hook moving. The crochet panda bear pattern free is the next bear to try, the one-piece crochet teddy bear pattern free is another no-sew favourite, the crochet bunny plush uses the same small-size construction, and the free snowman crochet pattern is the matching winter make.