Crochet squirrel pattern free: cute amigurumi squirrel
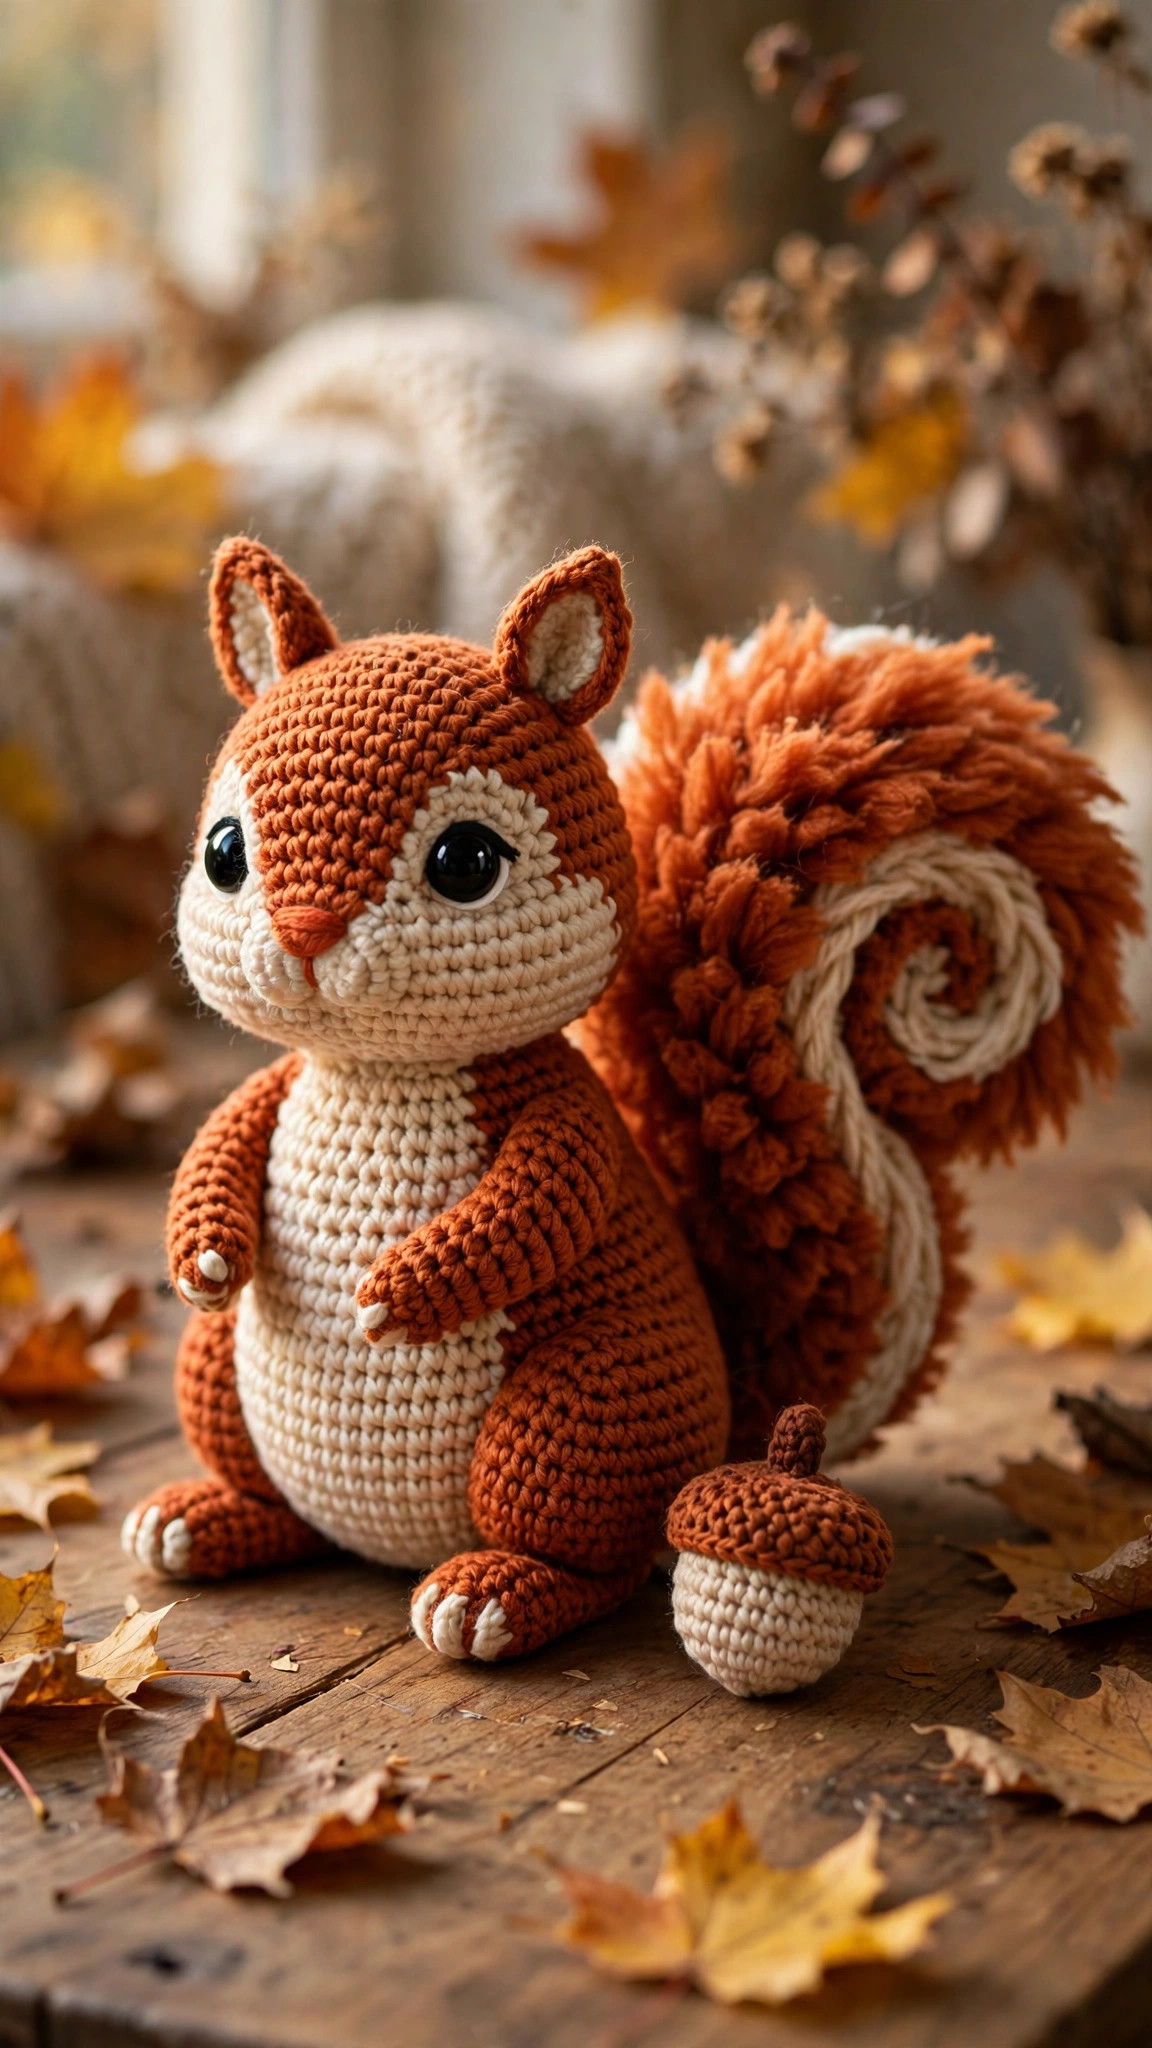
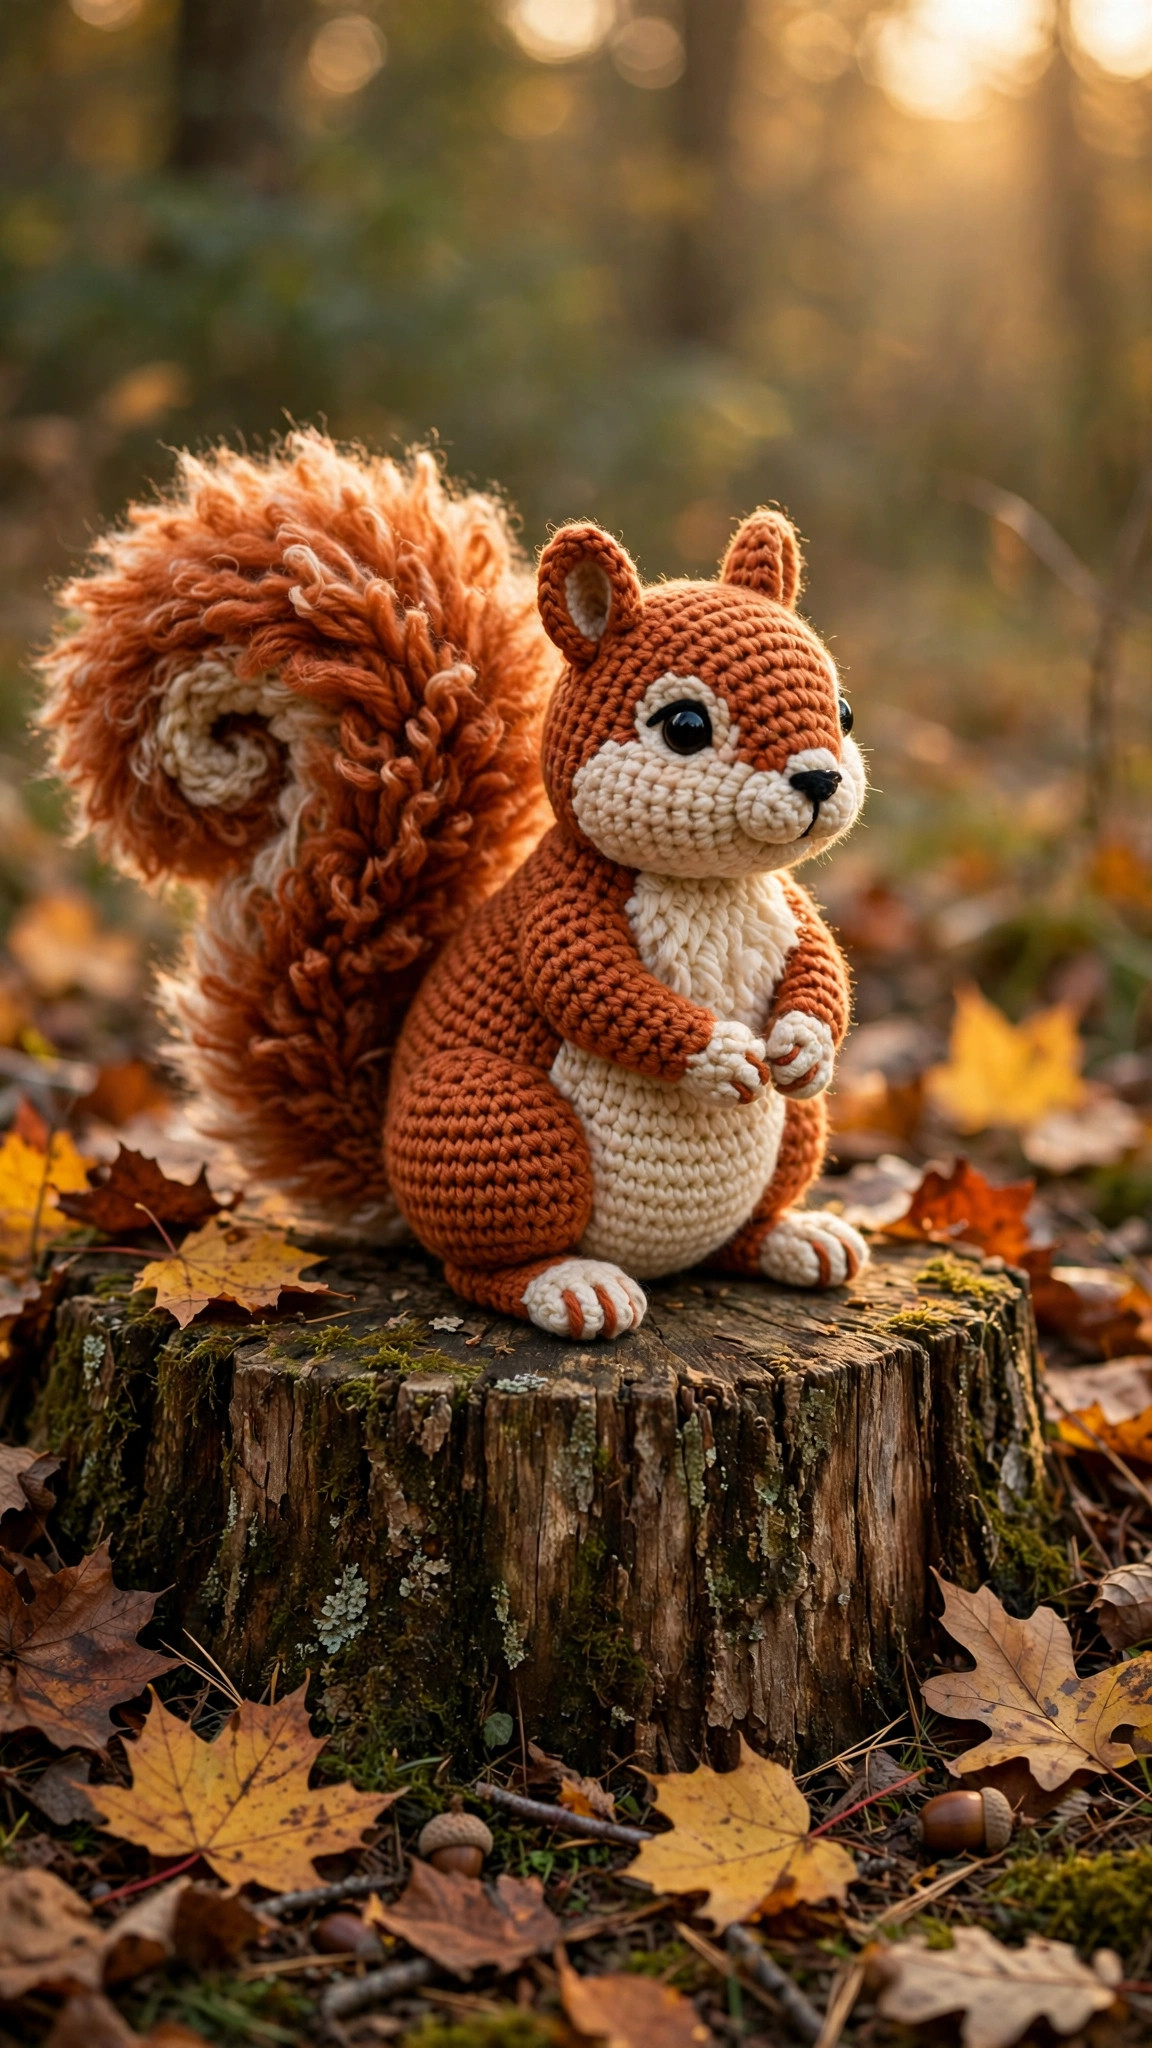
A cute amigurumi squirrel in rusty orange and cream yarn, with a big curled tail, tufted ears, a cream belly and a tiny acorn, worked up in an afternoon.

Amigurumi · Crochet
- Finished size
- 8 in tall (standard)
- Making time
- About 4 hours
- Hook
- 3.5 mm, DK yarn
- Set
- 3 colours, tiny acorn
- Skill
- Easy
In this post
If you have been looking for a crochet squirrel pattern that is free, cute, and actually looks like a squirrel, this little amigurumi friend is the one. He is worked in rusty orange and cream yarn, with a big curled tail, tufted ears, a cream belly, and a crochet acorn to hold in his paws. He stands about 8 inches tall and works up in an afternoon: perfect for an autumn gift, a woodland nursery, or a market-stall make.
Why you'll love this crochet squirrel pattern
Most amigurumi squirrel patterns are either so simple that the animal could be anything with a tail, or so complicated that the tail alone takes a whole evening. This pattern dodges both. The body is a classic amigurumi shape in plain single crochet, and the squirrel-ness comes from four features: the big curled tail, the tufted ears, the cream belly patch, and the tiny acorn.
The construction is simple and forgiving. Every piece is worked in the round or in short rows, with the same single crochet increases and decreases you already know. The tail is the only piece that takes patience: it is worked in rows with increases that make it fan out, then folded and sewn to the back, and the curl comes from the sewing, not from a fancy stitch.
He is also the perfect gift and market make. A woodland animal in autumn colours sells beautifully at craft fairs, and a squirrel with an acorn turns a small present into a thoughtful one. If you like amigurumi animals, our free crochet bunny pattern is the natural next project: same construction, same one-afternoon speed, with long ears instead of a tail.
Materials you'll need
| Supply | What to get |
|---|---|
| Yarn (A) | DK-weight (#3) yarn in rusty orange, about 80 yds / 73 m |
| Yarn (B) | DK-weight (#3) yarn in cream, about 40 yds / 37 m |
| Yarn (C) | DK-weight (#3) yarn in dark brown, about 15 yds / 14 m |
| Crochet hook | 3.5 mm (E-4) |
| Safety eyes | Two 10 mm black safety eyes with washers |
| Tapestry needle | For sewing pieces together and weaving in ends |
| Notions | Scissors, stitch markers, polyester stuffing, black embroidery thread |
A soft DK-weight yarn is the best pick here: it makes a squirrel that is firm enough to sit up on its own, but soft enough to cuddle. Acrylic DK works beautifully and is the easiest to find in autumn colours. Avoid fluffy or eyelash yarn for amigurumi: it hides the shaping completely.
Yarn amounts (approximate): Standard — 80 yds orange, 40 yds cream, 15 yds brown. Small — 55 yds orange, 30 yds cream, 10 yds brown. Large — 110 yds orange, 55 yds cream, 20 yds brown.
Size, gauge and skill level
The squirrel is worked in continuous rounds in single crochet. Do not join the rounds; use a stitch marker in the first stitch of every round.
| Size | Finished height | Hook | Safety eyes | Yarn (orange) |
|---|---|---|---|---|
| Small | 6 in / 15 cm | 3.0 mm | 8 mm | 55 yds |
| Standard | 8 in / 20 cm | 3.5 mm | 10 mm | 80 yds |
| Large | 10 in / 25 cm | 4.0 mm | 12 mm | 110 yds |
- Finished size (standard): about 8 in (20 cm) tall sitting down and 5 in (13 cm) wide including the tail.
- Gauge: 20 sc and 22 rows = 4 in (10 cm) with a 3.5 mm hook. Loose stitches let the stuffing show through, so your stitches should be tight and even.
- Skill level: easy. You should know how to chain, single crochet, increase, and decrease in continuous rounds.
If you have never made amigurumi before, this is a lovely first animal: the body and head are the classic shapes you will use again and again, and you will have a finished squirrel by the end of the afternoon.
Abbreviations — US terms
| Abbreviation | Meaning |
|---|---|
| ch | chain |
| sc | single crochet |
| inc | increase: 2 sc in the same stitch |
| dec | decrease: single crochet 2 together |
| sl st | slip stitch |
| st(s) | stitch(es) |
| RS | right side |
| FO | fasten off |
| [ ] | total stitch count at the end of the round |
| MR | magic ring |
A note on the magic ring: every round piece in this pattern starts with a magic ring. If you do not like the magic ring, chain 2 and work the first round into the second chain from the hook.
The pattern (US terms)
Work the squirrel in continuous rounds in single crochet. Instructions below are for the standard size, with small and large in brackets: small (standard, large).
Body
With color A (rusty orange) and a 3.5 mm hook, start with a magic ring.
- Round 1: 6 sc in MR. [6]
- Round 2: inc in each st around. [12]
- Round 3: *sc in next st, inc in next st; rep from * around. [18]
- Round 4: *sc in next 2 sts, inc in next st; rep from * around. [24]
- Round 5: *sc in next 3 sts, inc in next st; rep from * around. [30 (36, 42)]
- Rounds 6 to 10: sc in each st around. [30 (36, 42)]
- Round 11: *sc in next 3 sts, dec in next st; rep from * around. [24 (30, 36)]
- Round 12: sc in each st around. [24 (30, 36)]
- Round 13: *sc in next 2 sts, dec in next st; rep from * around. [18 (24, 30)]
Stuff the body firmly now, shaping it into a gentle egg shape.
- Round 14: *sc in next st, dec in next st; rep from * around. [12 (16, 20)]
- Round 15: dec in each st around. [6 (8, 10)]
Fasten off, leaving a long tail. Weave the tail through the last round and pull it closed, then weave in the end.
Head
With color A (rusty orange) and a 3.5 mm hook, start with a magic ring.
- Round 1: 6 sc in MR. [6]
- Round 2: inc in each st around. [12]
- Round 3: *sc in next st, inc in next st; rep from * around. [18]
- Round 4: *sc in next 2 sts, inc in next st; rep from * around. [24]
- Round 5: *sc in next 3 sts, inc in next st; rep from * around. [30 (36, 42)]
- Rounds 6 to 11: sc in each st around. [30 (36, 42)]
Fit the safety eyes between Rounds 8 and 9, 7 stitches apart, and press the washers on firmly from the inside.
- Round 12: *sc in next 3 sts, dec in next st; rep from * around. [24 (30, 36)]
- Round 13: *sc in next 2 sts, dec in next st; rep from * around. [18 (24, 30)]
- Round 14: *sc in next st, dec in next st; rep from * around. [12 (16, 20)]
Stuff the head firmly, then fasten off, leaving a long tail for sewing. Sew the head to the top of the body with small neat stitches all the way around, stuffing the neck a little more before you close the last few stitches, so the head sits upright.
Belly patch
With color B (cream) and a 3.5 mm hook, work the belly in rows.
- Row 1: ch 7 (9, 11), sc in 2nd ch from hook and in each ch across. [6 (8, 10)]
- Rows 2 to 3: ch 1, turn, sc in each st across. [6 (8, 10)]
- Row 4: ch 1, turn, dec in first st, sc in each st to last 2 sts, dec in last st. [4 (6, 8)]
- Row 5: ch 1, turn, sc in each st across. [4 (6, 8)]
- Row 6: ch 1, turn, dec in first st, sc in each st to last 2 sts, dec in last st. [2 (4, 6)]
Fasten off, leaving a long tail. Sew the belly patch to the front of the body, centred, with the wide end at the bottom and the narrow end at the top, using small stitches around the edge.
Muzzle
With color B (cream) and a 3.5 mm hook, start with a magic ring.
- Round 1: 6 sc in MR. [6]
- Round 2: inc in each st around. [12]
- Round 3: *sc in next st, inc in next st; rep from * around. [18]
Fasten off, leaving a long tail. Sew the muzzle to the lower front of the head, centred under the eyes, stuffing it very lightly so it puffs out gently. Embroider a small triangle nose in black thread at the top centre of the muzzle, with a tiny smile below it.
Ears — make 2
With color A (rusty orange) and a 3.5 mm hook, work the ears in rows.
- Row 1: ch 5, sc in 2nd ch from hook and in each ch across. [4]
- Row 2: ch 1, turn, sc in each st across. [4]
- Row 3: ch 1, turn, dec in first st, dec in last st. [2]
- Row 4: ch 1, turn, dec in the 2 sts. [1]
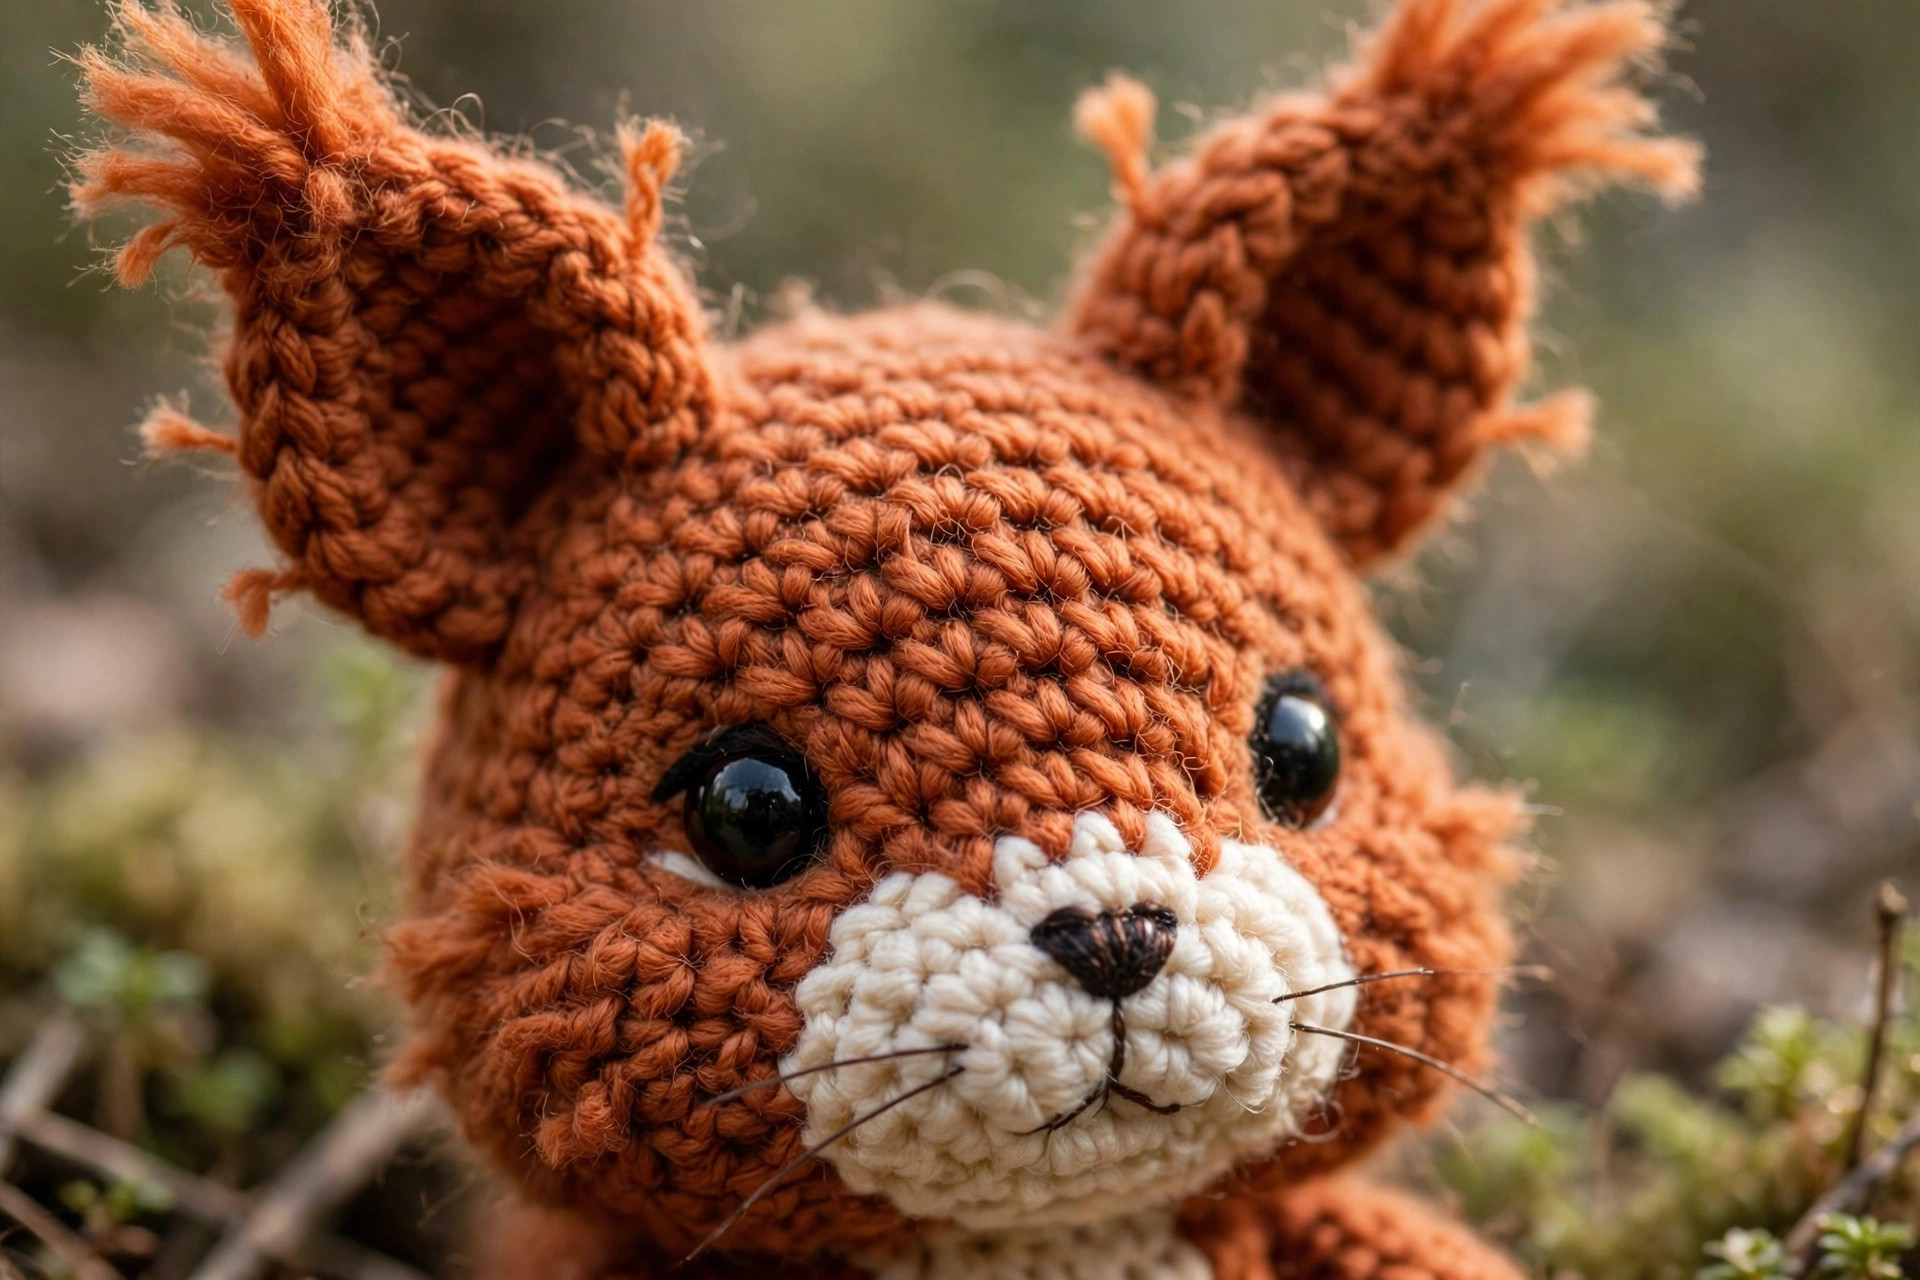
Fasten off, leaving a long tail. Sew one ear to each side of the top of the head, about 4 stitches apart, tilting them slightly outward. Then add the tufts: cut three short strands of orange yarn, about 2 in long, fold each one in half, pull the loop through the tip of the ear with the crochet hook, then pull the ends through the loop.
Tail
With color A (rusty orange) and a 3.5 mm hook, work the tail in rows. This is the biggest piece, and it is what makes the squirrel.
- Row 1: ch 10 (12, 14), sc in 2nd ch from hook and in each ch across. [9 (11, 13)]
- Rows 2 to 3: ch 1, turn, sc in each st across. [9 (11, 13)]
- Row 4: ch 1, turn, inc in first st, sc in each st to last st, inc in last st. [11 (13, 15)]
- Rows 5 to 6: ch 1, turn, sc in each st across. [11 (13, 15)]
- Row 7: ch 1, turn, inc in first st, sc in each st to last st, inc in last st. [13 (15, 17)]
- Rows 8 to 9: ch 1, turn, sc in each st across. [13 (15, 17)]
- Row 10: ch 1, turn, inc in first st, sc in each st to last st, inc in last st. [15 (17, 19)]
- Rows 11 to 12: ch 1, turn, sc in each st across. [15 (17, 19)]
- Row 13: ch 1, turn, dec in first st, sc in each st to last 2 sts, dec in last st. [13 (15, 17)]
- Row 14: ch 1, turn, sc in each st across. [13 (15, 17)]
- Row 15: ch 1, turn, dec in first st, sc in each st to last 2 sts, dec in last st. [11 (13, 15)]
Fasten off, leaving a long tail. Fold the tail in half lengthwise and sew the long edges together, stuffing it lightly as you go so it stays soft and bendable. Then curl the tail: hold the wide end at the bottom and bend the narrow end up and over, so the tail makes a big C shape. Sew the bottom of the tail to the back of the body, low down, and sew the curled tip to the upper back, so the curl holds its shape.
Arms — make 2
With color A (rusty orange) and a 3.5 mm hook, start with a magic ring.
- Round 1: 6 sc in MR. [6]
- Round 2: *sc in next st, inc in next st; rep from * around. [9]
- Rounds 3 to 6: sc in each st around. [9]
Stuff the arms very lightly, then flatten the top and sew them closed. Sew one arm to each side of the body, just below the head, angled slightly forward, so the paws meet in front where the acorn will sit.
Feet — make 2
With color A (rusty orange) and a 3.5 mm hook, start with a magic ring.
- Round 1: 6 sc in MR. [6]
- Round 2: inc in each st around. [12]
- Rounds 3 to 5: sc in each st around. [12]
Stuff the feet lightly, flatten the top, and sew them closed. Sew one foot to each side of the base of the body, pointing forward, so the squirrel sits flat.
Tiny acorn
With color C (dark brown) and a 3.5 mm hook, start with a magic ring.
- Round 1: 6 sc in MR. [6]
- Round 2: *sc in next st, inc in next st; rep from * around. [9]
- Round 3: sc in each st around. [9]
Change to color B (cream) for the acorn body.
- Round 4: *sc in next 2 sts, inc in next st; rep from * around. [12]
- Rounds 5 to 6: sc in each st around. [12]
- Round 7: *sc in next 2 sts, dec in next st; rep from * around. [9]
- Round 8: *sc in next st, dec in next st; rep from * around. [6]
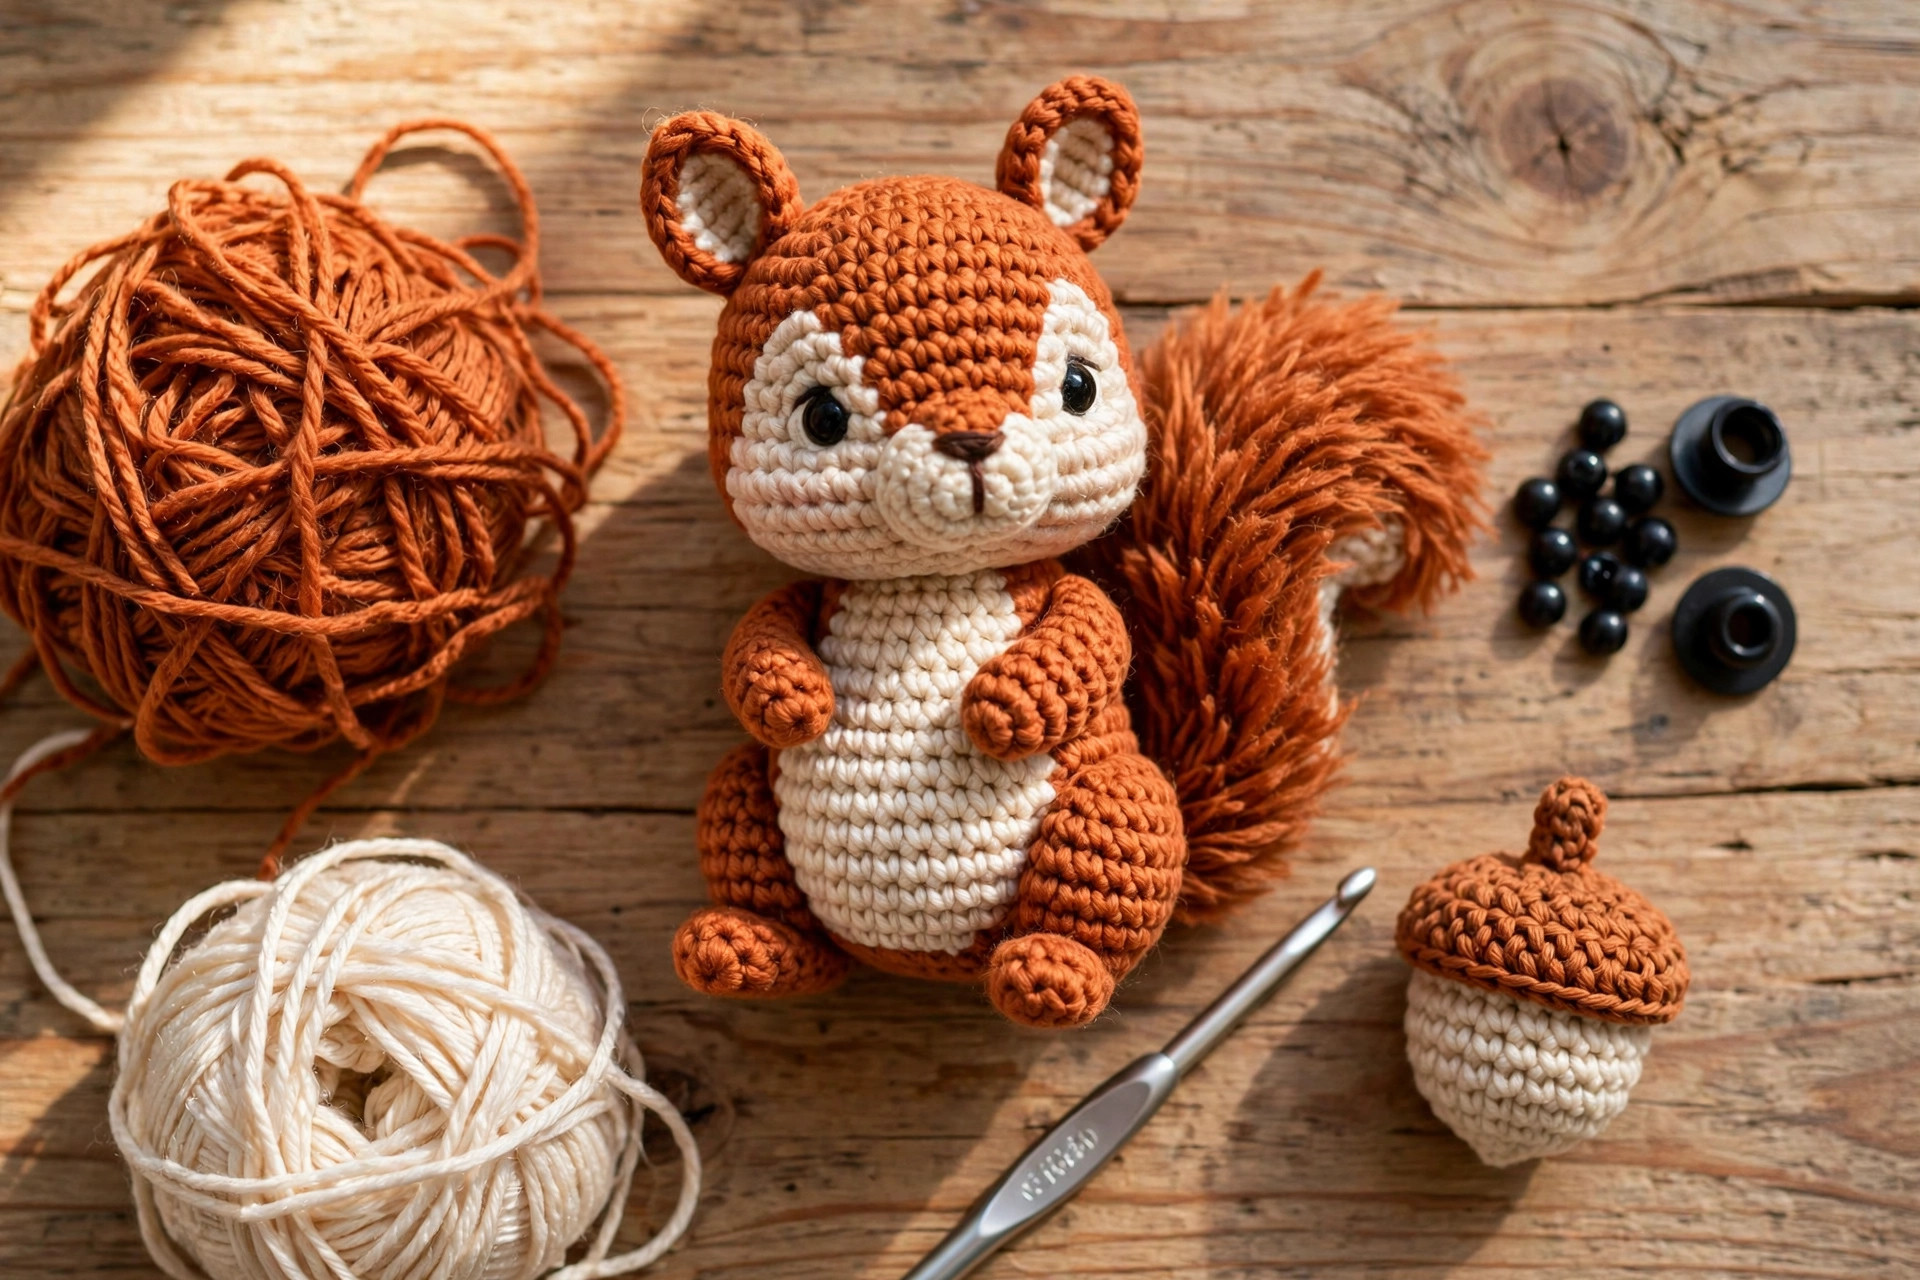
Stuff the acorn lightly, fasten off, and weave the tail through the last round to close it. Sew the acorn between the squirrel's paws, or leave it loose beside him. If you like tiny accessories, our mini amigurumi patterns free are full of small makes like this one.
Finishing touches
Check the face. Hold the squirrel up at eye level and look at him straight on. The eyes should be level, the muzzle centred, and the nose in the middle of the muzzle.
Three cute variations to try next
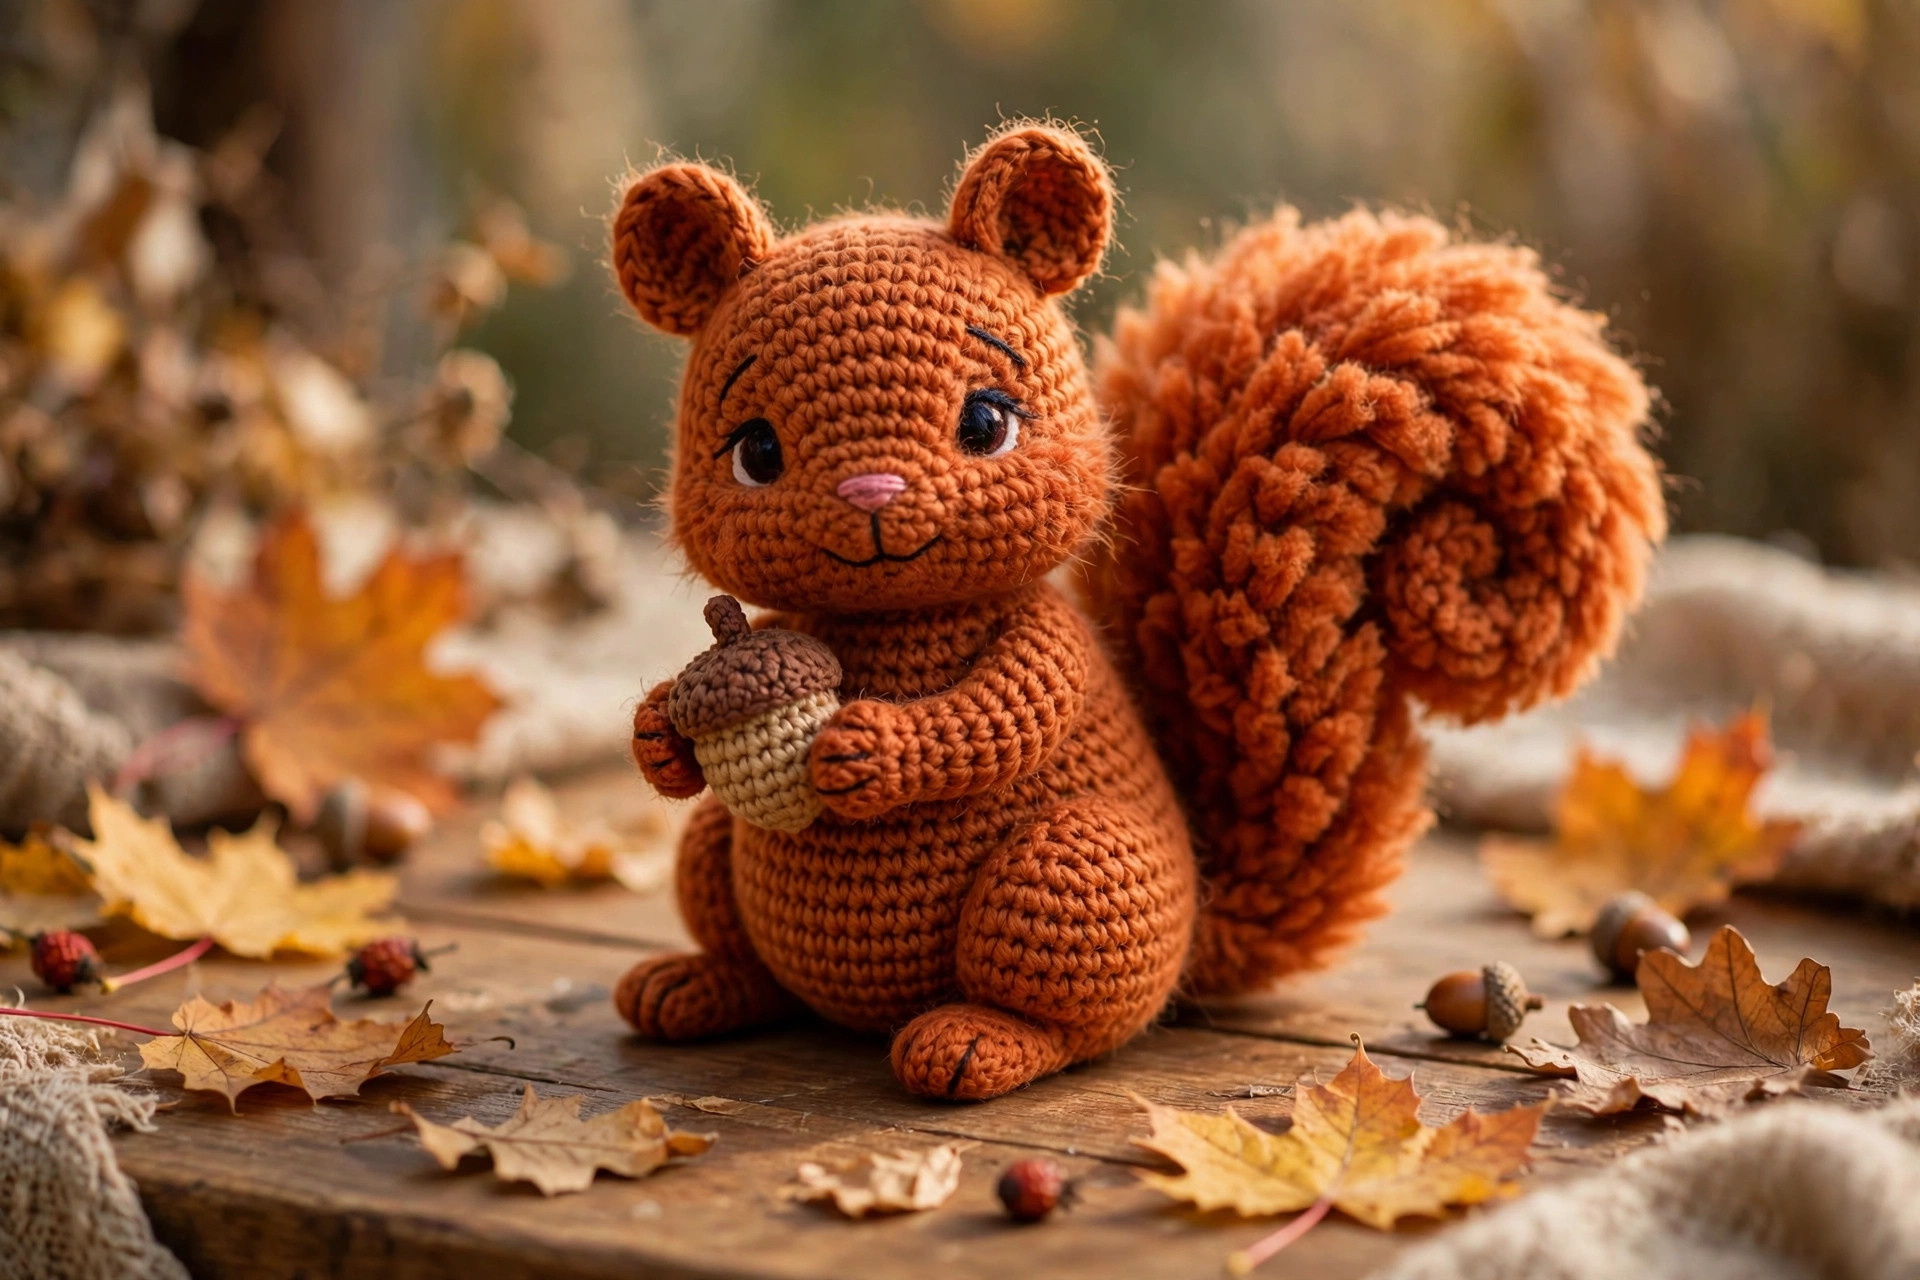
Once you have made one squirrel, the same body shape makes a whole woodland shelf:
- The grey squirrel. Work the whole squirrel in soft grey yarn with a white belly and muzzle. The grey and white version suits a modern nursery beautifully. If you like woodland animals in soft colours, the free crochet bunny pattern in grey is the matching piece.
- The squirrel with a scarf. Work a tiny scarf in rows of single crochet, about 20 chains wide and 8 rows long, in mustard yellow, and tie it around the squirrel's neck. For more autumn animals, our crochet fox pattern free wears a scarf beautifully too.
- The baby squirrel. Work the small size, 6 in tall, with embroidered eyes instead of safety eyes, so the squirrel is safe for a baby's cot. A small squirrel in soft pastel orange makes a lovely baby shower gift. If you like small amigurumi, the mini amigurumi patterns free are the next make: same yarn, same speed, in miniature.
And if this squirrel gave you the woodland bug, the free crochet moose pattern is the next animal: same construction, same autumn colours, with antlers instead of a tail.
Troubleshooting tips
- Your squirrel will not sit up. The body is under-stuffed at the base. Stuff the base firmly and flat, and sew the tail lower on the back.
- The stuffing shows through the stitches. Your stitches are too loose for the yarn. Go down half a hook size, and stuff a little less firmly.
- The tail will not curl. The tail is stuffed too firmly, or sewn on too low. Stuff the tail lightly so it stays bendable, and sew the curled tip to the upper back.
- The head wobbles. The neck join is under-stuffed. Push a little extra stuffing into the neck before you sew the last few stitches of the head to the body.
- The ears look like triangles, not squirrel ears. The tufts are missing, or the ears are sewn on too far apart. Add the yarn tufts, and sew the ears closer together, about 4 stitches apart.
- The face looks lopsided. The eyes are not level, or the muzzle is off-centre. Count the stitches on both sides before you fit the washers.
Frequently asked questions
Is this crochet squirrel pattern really free?
Yes, the complete pattern above is free, no email signup, no PDF purchase required.
What skill level is this squirrel pattern?
Easy. If you can single crochet, increase, and decrease in the round, you have every skill this pattern needs.
How long does it take to make a crochet squirrel?
About 4 hours for the standard size: 1 hour for the body and head, 1 hour for the tail, 1 hour for the small pieces, and 1 hour for sewing and finishing. The small size takes about 3 hours, and the large about 5.
Is this squirrel safe for babies?
It can be, with two changes: embroider the eyes instead of using safety eyes, and sew the acorn firmly to the paws instead of leaving it loose.
Can I sell the finished squirrels I make?
Yes! You may sell finished squirrels made from this pattern in small batches (craft fairs, markets, gifts). Please credit Little Loop Finds as the pattern designer with a link back to this page.
More free patterns to try
If this squirrel was fun, keep the hook moving. The free crochet bunny pattern is the matching woodland animal, the crochet fox pattern free is another autumn favourite, and the mini amigurumi patterns free are the next tiny makes.