Free Granny Square Christmas Stocking Pattern: Cosy & Classic
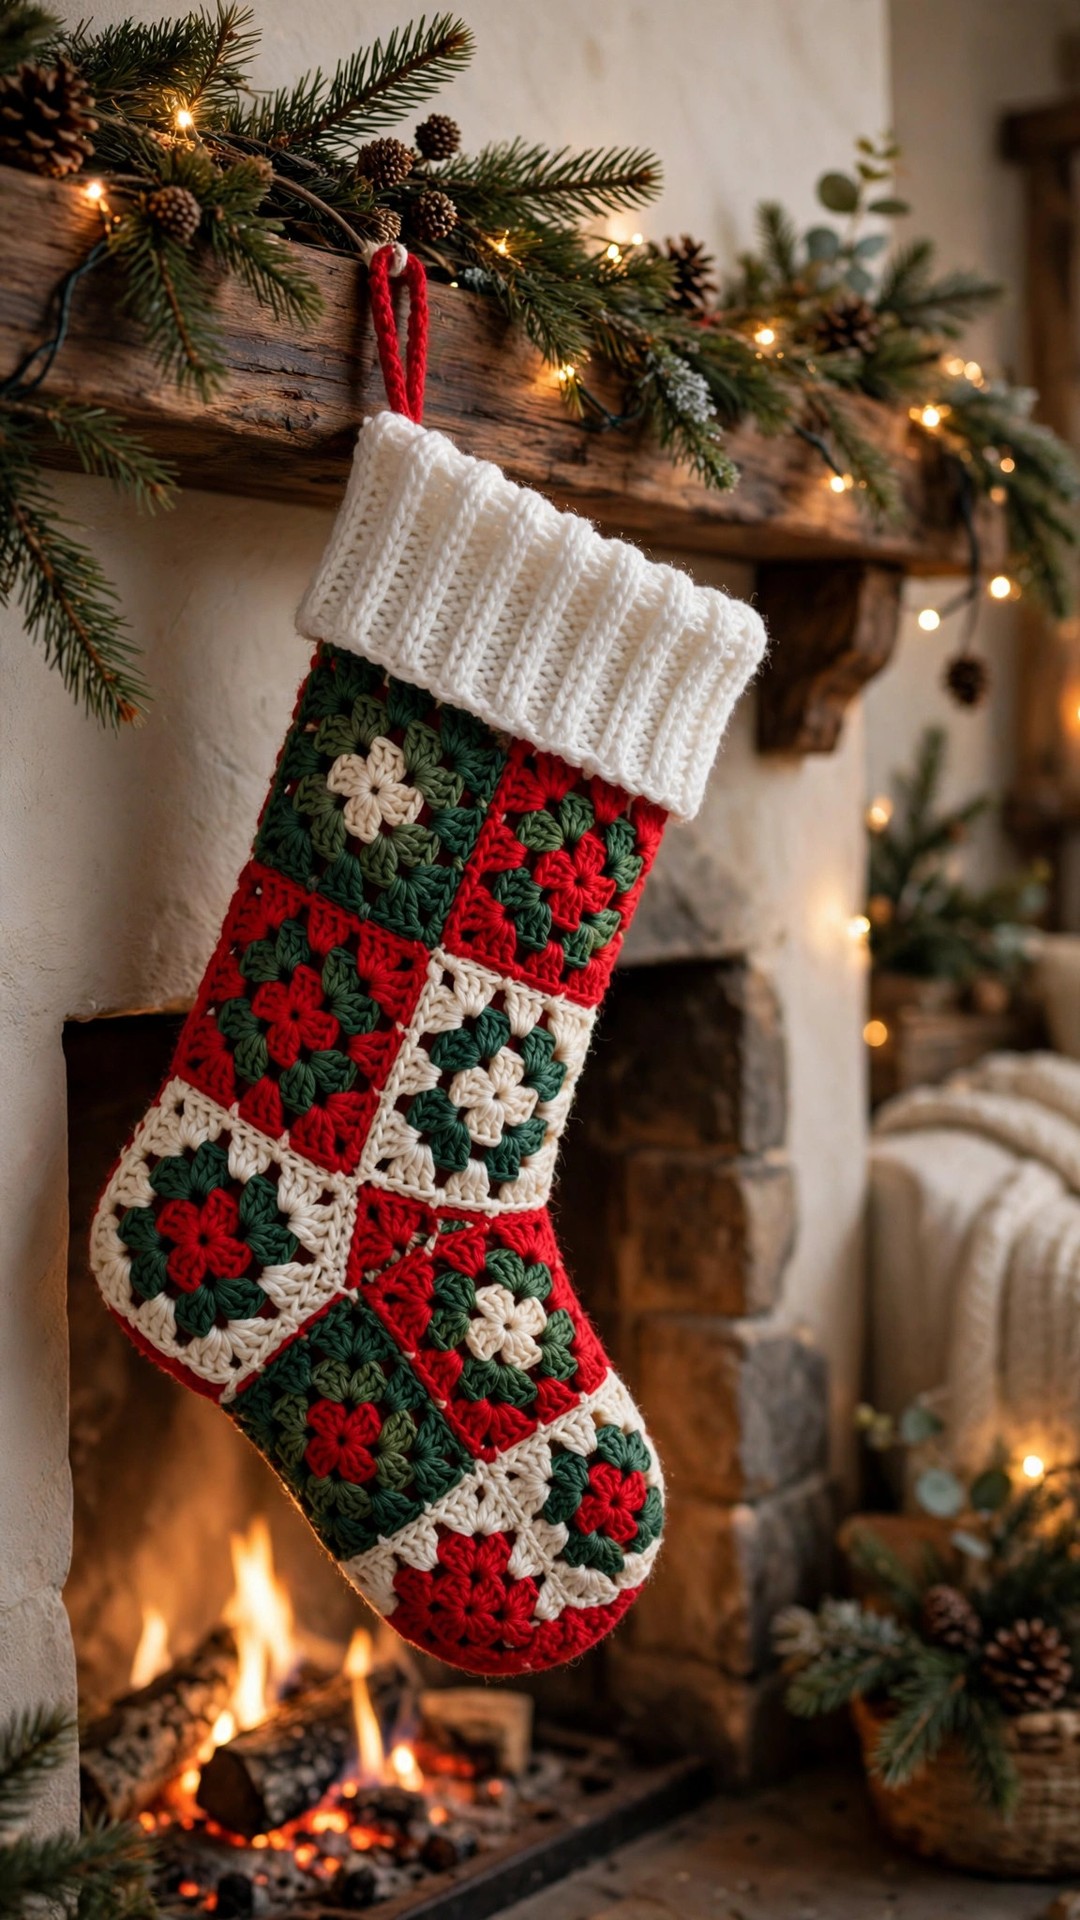
A classic Christmas stocking built from fourteen granny squares in red, green and cream — two L-shaped panels, a heel gusset, a shaped toe cap, a thick ribbed cuff and a hanging loop, with full stitch counts in US terms.

Christmas · Crochet
- Finished size
- About 16 in tall, 10.5 in foot
- Making time
- About 6 hours
- Hook
- 5.0 mm, worsted-weight yarn
- Squares
- 14 squares — 6 Poinsettia / 4 Holly / 4 Snow
- Skill
- Easy
In this post
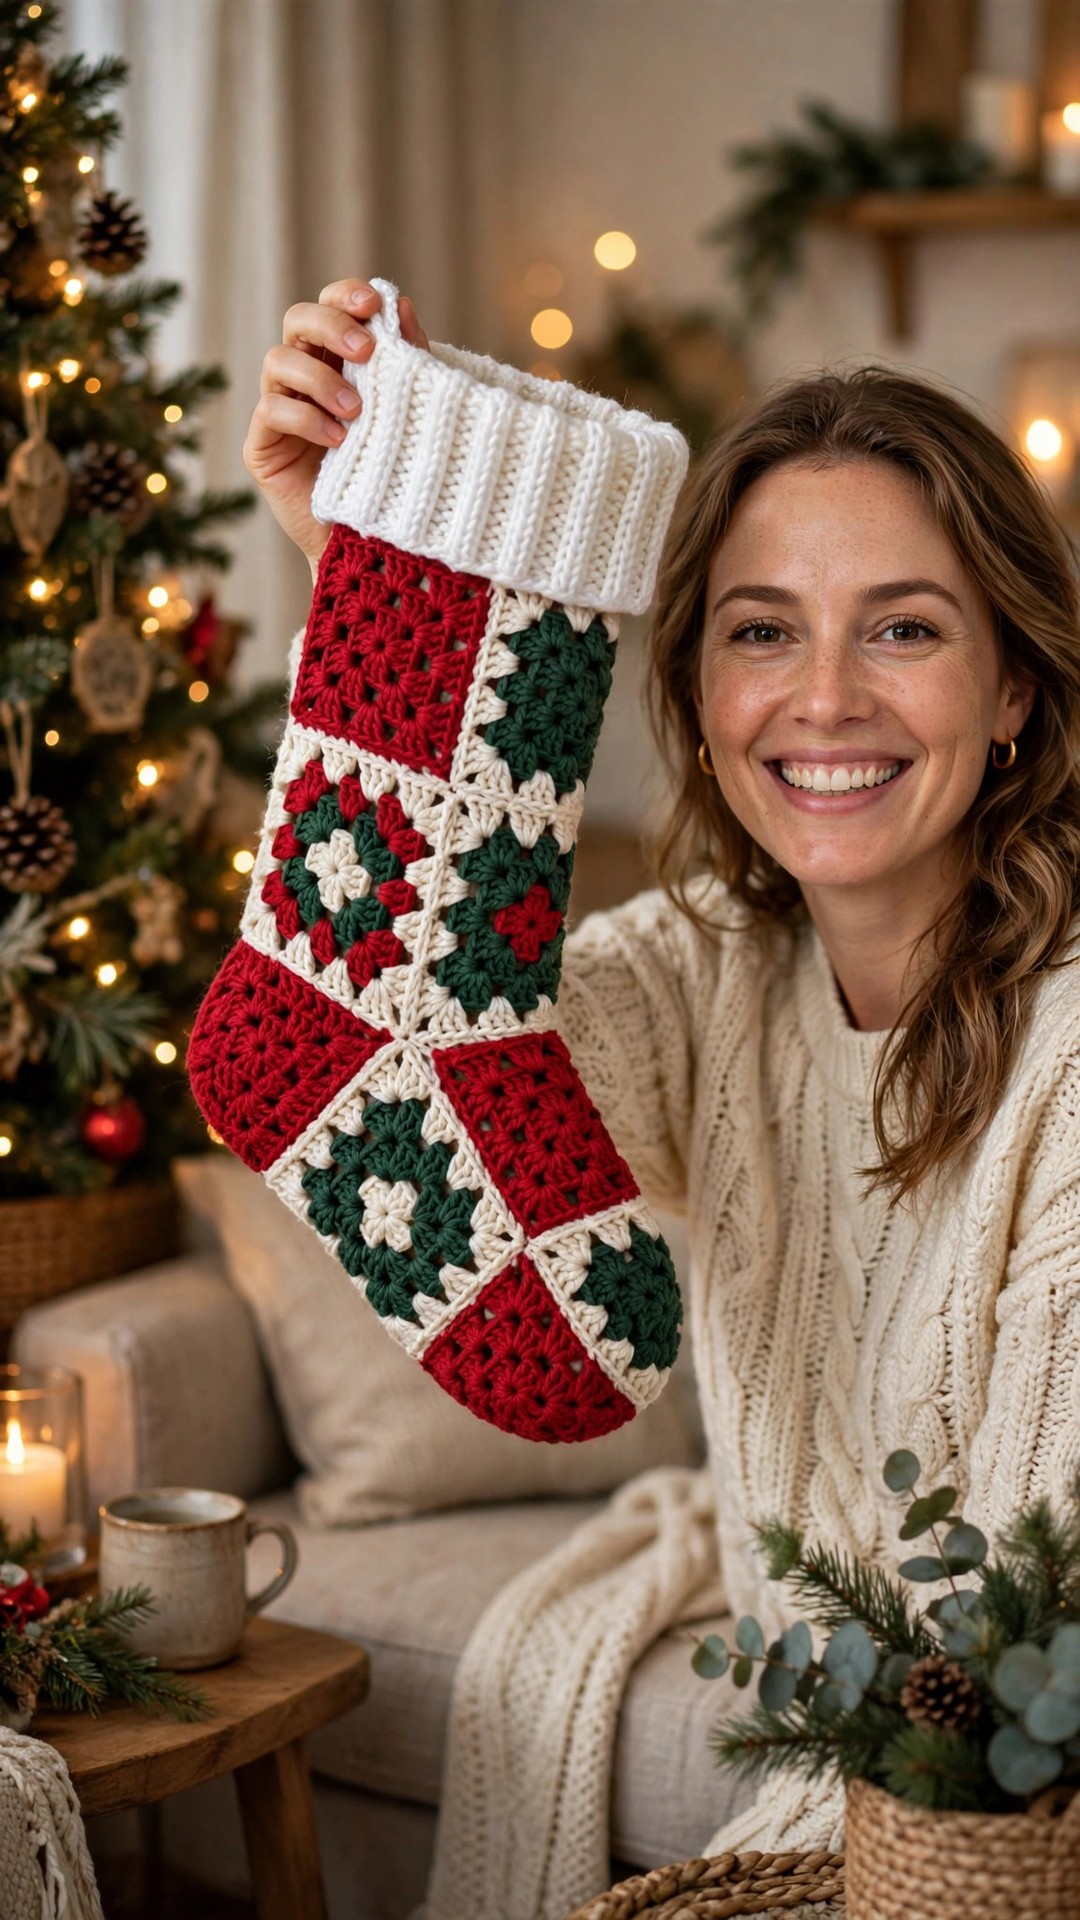
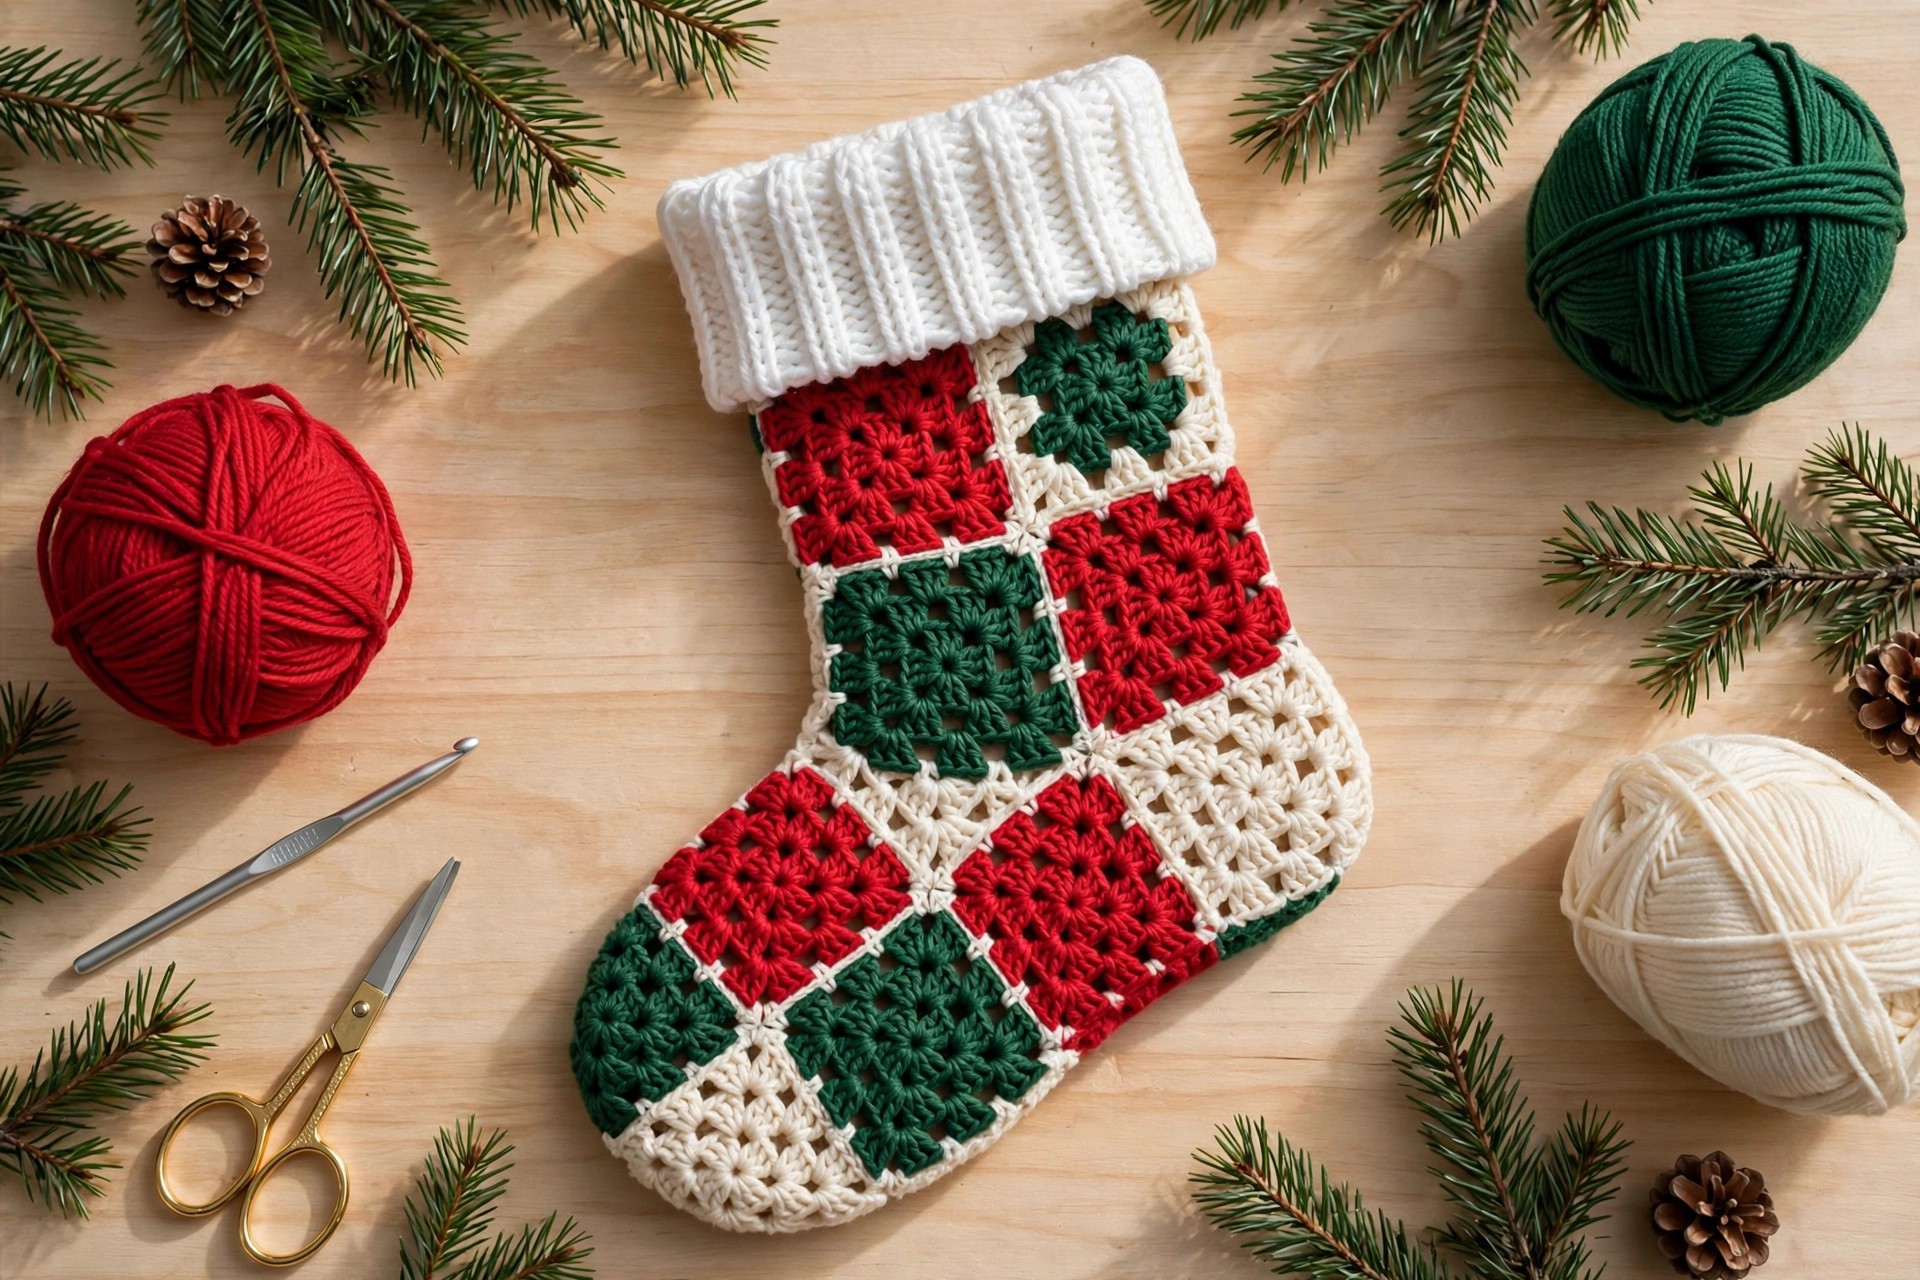
There is a particular kind of Christmas magic in a stocking made square by square. You start with a little pile of granny squares in red, green and cream, and somewhere between the joining and the cuff it stops looking like a blanket-in-progress and starts looking like the stocking that belongs at the front of the mantelpiece. This free granny square Christmas stocking pattern is exactly that: fourteen classic granny squares joined into a proper stocking shape, with a thick ribbed cream cuff, a shaped heel and toe, and a sturdy hanging loop.
This is an original Little Loop Finds design, written in US terms with every stitch count spelled out. Two identical L-shaped panels of seven squares each give you a straight leg and a foot that turns at just the right place, a heel gusset fills the corner, and a short toe cap rounds the tip. If you can crochet a granny square, you can make this stocking.
Contents
- Why you'll love this granny square stocking
- Materials you'll need
- Size, gauge and skill level
- Abbreviations — US terms
- The pattern (US terms)
- Finishing and assembly
- Tips for a stocking that hangs beautifully
- FAQ
- What to crochet next
Why you'll love this granny square stocking
First, the squares do the decorating for you. No chart, no colourwork headache, no bobbles — the red, green and cream squares alternate like wrapped presents, and the cream final round on every square gives the whole stocking a neat, quilted outline.
Second, it is a genuinely portable project. Each square takes about twenty minutes and fits in a coat pocket, so you can make the whole stocking in stolen moments and only need a table for the joining.
Third, the shaping is built in, not fudged at the end. The L-shaped panels give you a real foot, the heel gusset fills the corner so the stocking holds its shape when stuffed, and the toe cap rounds the tip. The ribbed cuff is worked straight onto the opening, so there is no separate band to sew on.
Finally, this is a stocking that lasts. Worsted-weight yarn and a firm 5.0 mm hook mean it can be used year after year, and a damaged square can be replaced without unravelling the whole stocking. Make one for each person in the house and the mantelpiece looks like a family portrait. If you love the classic red-and-white pairing, our free crochet Santa hat pattern uses the same yarns and makes a wonderful matching gift set.
Materials you'll need
Worsted-weight yarn in three colours does everything here. Choose a smooth acrylic or acrylic-wool blend with a bit of body, and buy the cream in the largest quantity: it edges every square and makes the whole cuff.
| Supply | What to get |
|---|---|
| Red yarn | Worsted weight (category 4) in classic Christmas red — about 100 g / 210 yards |
| Green yarn | Worsted weight (category 4) in forest green — about 80 g / 170 yards |
| Cream yarn | Worsted weight (category 4) in cream or soft white — about 130 g / 275 yards, including the cuff |
| Hook | 5.0 mm (US H-8) crochet hook |
| Notions | Yarn needle with a large eye, stitch marker, sharp scissors, tape measure, pins |
| Optional | 0.5 yard of cotton lining fabric and a needle and thread, if you plan to line the stocking |
Size, gauge and skill level
Skill level: Easy. You need a magic ring, chain, double crochet, single crochet, front-post and back-post double crochet for the cuff, and simple decreases. If you can work a granny square and join two squares together, you can make this stocking. Our crochet Christmas stocking pattern is a good next step if you want a second stocking in a different style.
Finished size: About 16 in (40.5 cm) tall from the top of the cuff to the bottom of the foot, and about 10.5 in (26.5 cm) long from the back of the heel to the tip of the toe. The leg measures about 7 in (18 cm) across when laid flat, and the opening is about 14 in (35.5 cm) around.
Gauge: One finished granny square measures 3.5 in (9 cm) square after light blocking, worked with a 5.0 mm hook. In double crochet, 17 stitches and 8 rows measure about 4 in (10 cm). Gauge matters because the squares are the sizing: if your squares come out at 4 in instead of 3.5 in, your stocking will be about 2 in taller and 1.5 in longer.
Abbreviations — US terms
US terms throughout. (UK note: a US double crochet is a UK treble crochet, and a US single crochet is a UK double crochet.)
| Abbreviation | Meaning |
|---|---|
| MR | magic ring |
| ch | chain |
| sl st | slip stitch |
| sc | single crochet |
| dc | double crochet |
| FPdc | front-post double crochet |
| BPdc | back-post double crochet |
| dc2tog | double crochet 2 together — decrease |
| st(s) | stitch(es) |
| sp(s) | space(s) |
| rnd(s) | round(s) |
| FO | fasten off |
A note on rounds: Each square is worked in joined rounds — join with a slip stitch to the top of the starting chain 3, then slip stitch across to the next corner space. The bold number is your double crochet count, not counting the chain spaces.
The pattern (US terms)
The granny square — make 14, 5.0 mm hook
Every square follows the same four rounds; only the colours change. The counts are easy to check: 12, then 36, then 48, then 60 double crochet. Each finished square has 15 double crochet along each edge, plus a chain-2 corner at each corner.
- R1: MR, ch 3 (counts as dc), 2 dc into the ring, ch 2, [3 dc into the ring, ch 2] × 3, join with a sl st to the top of the ch 3 (12 dc, 4 ch-2 corners)
- R2: Sl st into the next ch-2 corner sp, ch 3, (2 dc, ch 2, 3 dc) in the same corner sp, [3 dc in the next sp, (3 dc, ch 2, 3 dc) in the next corner sp] × 3, 3 dc in the last sp, join (36 dc)
- R3: As R2, working 3 dc in each of the 2 sps on each side, with (3 dc, ch 2, 3 dc) in each corner, join (48 dc)
- R4: As R2, working 3 dc in each of the 3 sps on each side, with (3 dc, ch 2, 3 dc) in each corner, join (60 dc)
Fasten off, leaving a 6 in (15 cm) tail on every square. Block each square lightly to 3.5 in (9 cm) — a quick steam is enough — because squares that are all the same size join up without puckering.
The three colourways
Make the squares in these three colour combinations, changing colour at the start of a round:
- Poinsettia — make 6: R1–R2 red, R3 green, R4 cream.
- Holly — make 4: R1–R2 green, R3 red, R4 cream.
- Snow — make 4: R1 red, R2–R4 cream.
Count your pile before you start joining: 6 Poinsettia, 4 Holly and 4 Snow makes 14 squares in total.
The panels — two L-shaped panels of 7 squares
Lay out each panel the same way, with the back of the stocking on the left and the front on the right. The top row is the cuff end; the bottom row is the foot.
- Row 1 (top): Poinsettia, Holly
- Row 2: Snow, Poinsettia
- Row 3: Holly, Snow
- Row 4 (foot): —, Poinsettia
Row 4 has only one square, under the front column. That empty space under the back column is not a mistake: it is the heel notch, and the heel gusset fills it later. Each panel uses 3 Poinsettia, 2 Holly and 2 Snow squares — 7 squares per panel, 14 in total.
Join the squares in each panel with a slip-stitch join through the back loops only, using cream yarn on the wrong side so the join sits flat and almost invisible from the front. Join row by row first, then join the rows together, matching corner to corner and counting 15 stitches along every shared edge.
Seaming the two panels together
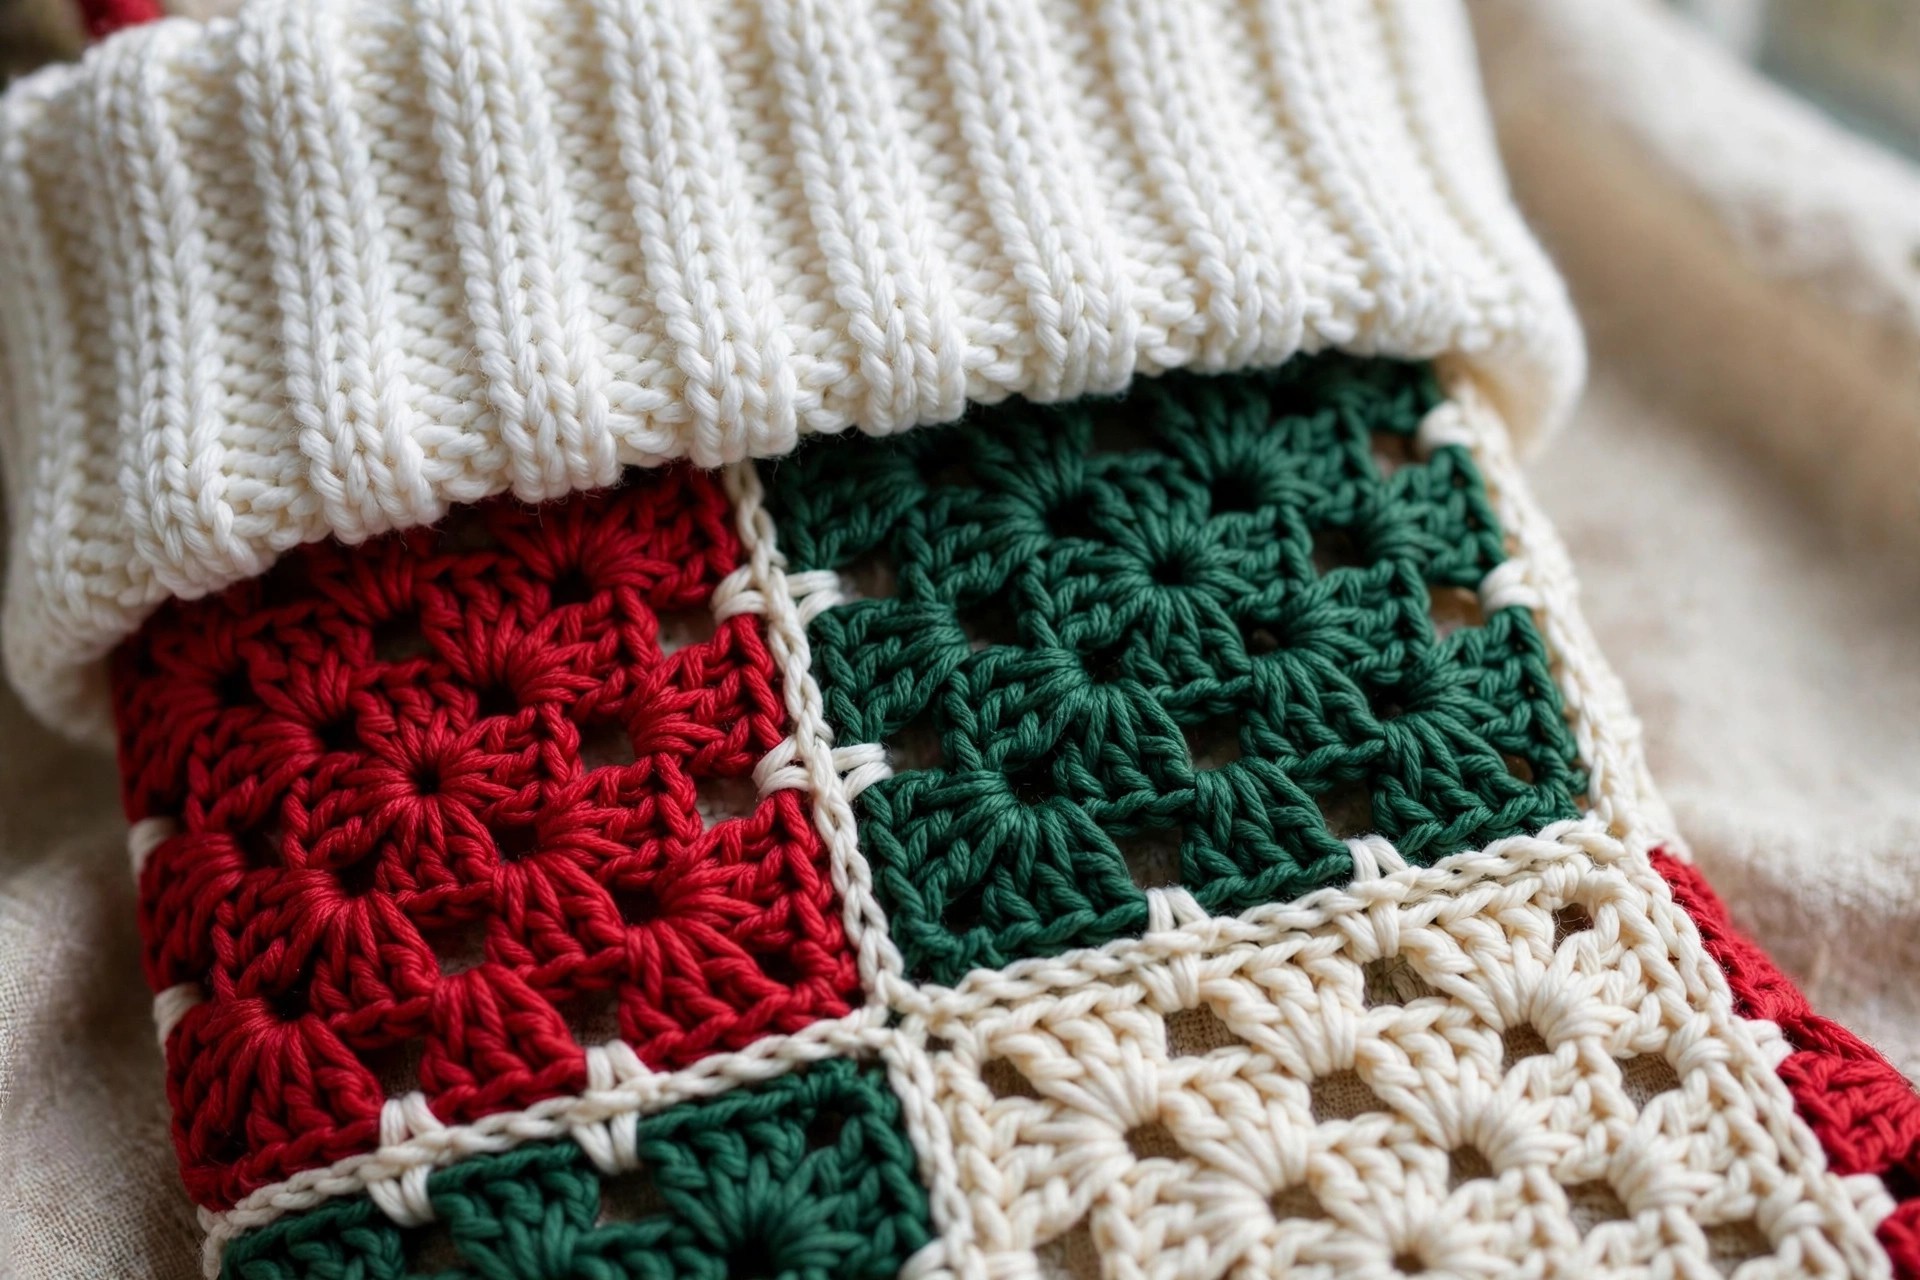
Place the two panels wrong sides together, matching the L-shapes exactly. Using cream yarn, slip-stitch join through the back loops only around the outside edge, starting at the top of the back edge. Seam the back edge of the leg (rows 1–3, back column), around the heel notch edges — but do not seam across the notch itself — then along the bottom of the foot, around the toe square, and up the front of the foot and leg to the top. Leave the whole top edge open: that is the cuff opening.
Ease the corners around the toe square so they sit flat rather than pointed. Fasten off and weave in the end inside. Turn the stocking right side out and check the shape: a straight leg, a foot that turns forward, and a square notch at the back of the heel waiting for its gusset.
The heel gusset — cream yarn, 5.0 mm hook
The heel gusset is a small square patch of double crochet that fills the notch. It is worked flat, then seamed into place on two sides; the other two sides become the outside corner of the heel.
- Foundation: Ch 16.
- Row 1: Dc in the 4th ch from the hook (the skipped ch 3 counts as the first dc), dc in each ch across (15 dc)
- Rows 2–7: Ch 3 (counts as dc), turn, dc in each st across (15 dc) — 7 rows in total
Fasten off, leaving a long tail. The patch measures about 3.5 in (9 cm) square, matching one granny square exactly. Seam its top edge to the bottom edge of the back leg square (15 stitches to 15 stitches) and its front edge to the back edge of the toe square (15 to 15), using a whip stitch in cream yarn. The two unseamed edges form the heel corner. Weave in the ends inside, then press the heel into shape — it should sit square and firm, not baggy.
The toe cap — red yarn, 5.0 mm hook
The toe cap rounds off the square tip of the foot. It is worked across the front edge of the toe square, decreasing at both ends of every row, then folded down and seamed to the bottom edge of the same square.
- Row 1: Join red yarn in the first stitch of the front edge of the toe square. Ch 3 (counts as dc), dc2tog over the next 2 sts, dc in each st to the last 3 sts, dc2tog, dc in the last st (13 dc)
- Row 2: Repeat Row 1 (11 dc)
- Row 3: Repeat Row 1 (9 dc)
Fasten off, leaving a long tail. Fold the cap down over the tip of the toe and seam its 9-stitch edge to the bottom edge of the toe square, easing the 9 stitches evenly across the 15-stitch edge so the tip curves instead of creasing.
The ribbed cuff — cream yarn, 5.0 mm hook
The cuff is worked in joined rounds straight onto the top opening. The opening is four square edges of 15 stitches each — exactly 60 stitches to work around. Count them before the first round, because a cuff started on 59 or 61 stitches will ripple.
- C1: Join cream yarn in any stitch of the top edge. Ch 1, sc in each st around, join with a sl st to the first sc (60 sc)
- C2: Ch 2 (does not count as a stitch), dc in each st around, join (60 dc)
- C3–C8: Ch 2, [FPdc in the next st, BPdc in the next st] around, join (60 sts) — 6 rounds of ribbing
Fasten off and weave in the end inside the cuff. The cuff stands about 2.5 in (6.5 cm) tall, with a deep rib that keeps the opening from flopping. If you prefer a folded cuff, fold the top 1 in (2.5 cm) down and catch it with a few stitches.
The hanging loop — red yarn, 5.0 mm hook
- Join red yarn at the centre back of the top edge of the cuff, on the inside. Ch 25, then sc in the 2nd ch from the hook and in each ch across (24 sc), sl st into the cuff one stitch to the side of the join to form the loop.
- Fasten off, weave in the ends inside the cuff, and give the loop a firm tug: it should hold the full weight of a stuffed stocking.
Your stocking is finished. Hang it up and check the silhouette — straight leg, rounded toe, square heel, cuff standing proud.
Finishing and assembly
Finishing is about making every seam disappear and every end stay put.
1. Weave in every end properly. There are a lot of them — fourteen squares plus the gusset, cap, cuff and loop — so do them in batches as you go. Travel at least 1 in (2.5 cm) through the stitches one way with your yarn needle, then back another, before trimming.
2. Block the finished stocking. Lay it flat, pin the leg straight and the foot at its natural angle, and steam it lightly or mist it with water and leave it to dry. Blocking evens out the joins and settles the heel gusset.
3. Line it if you are filling it with small things. Granny squares have small gaps, especially at the corners, and a chocolate coin will find every one of them. Cut two lining pieces to the same L-shape, sew them together, slip the lining inside, and hand-stitch it just below the cuff. Or skip the lining and fill the stocking with larger gifts.
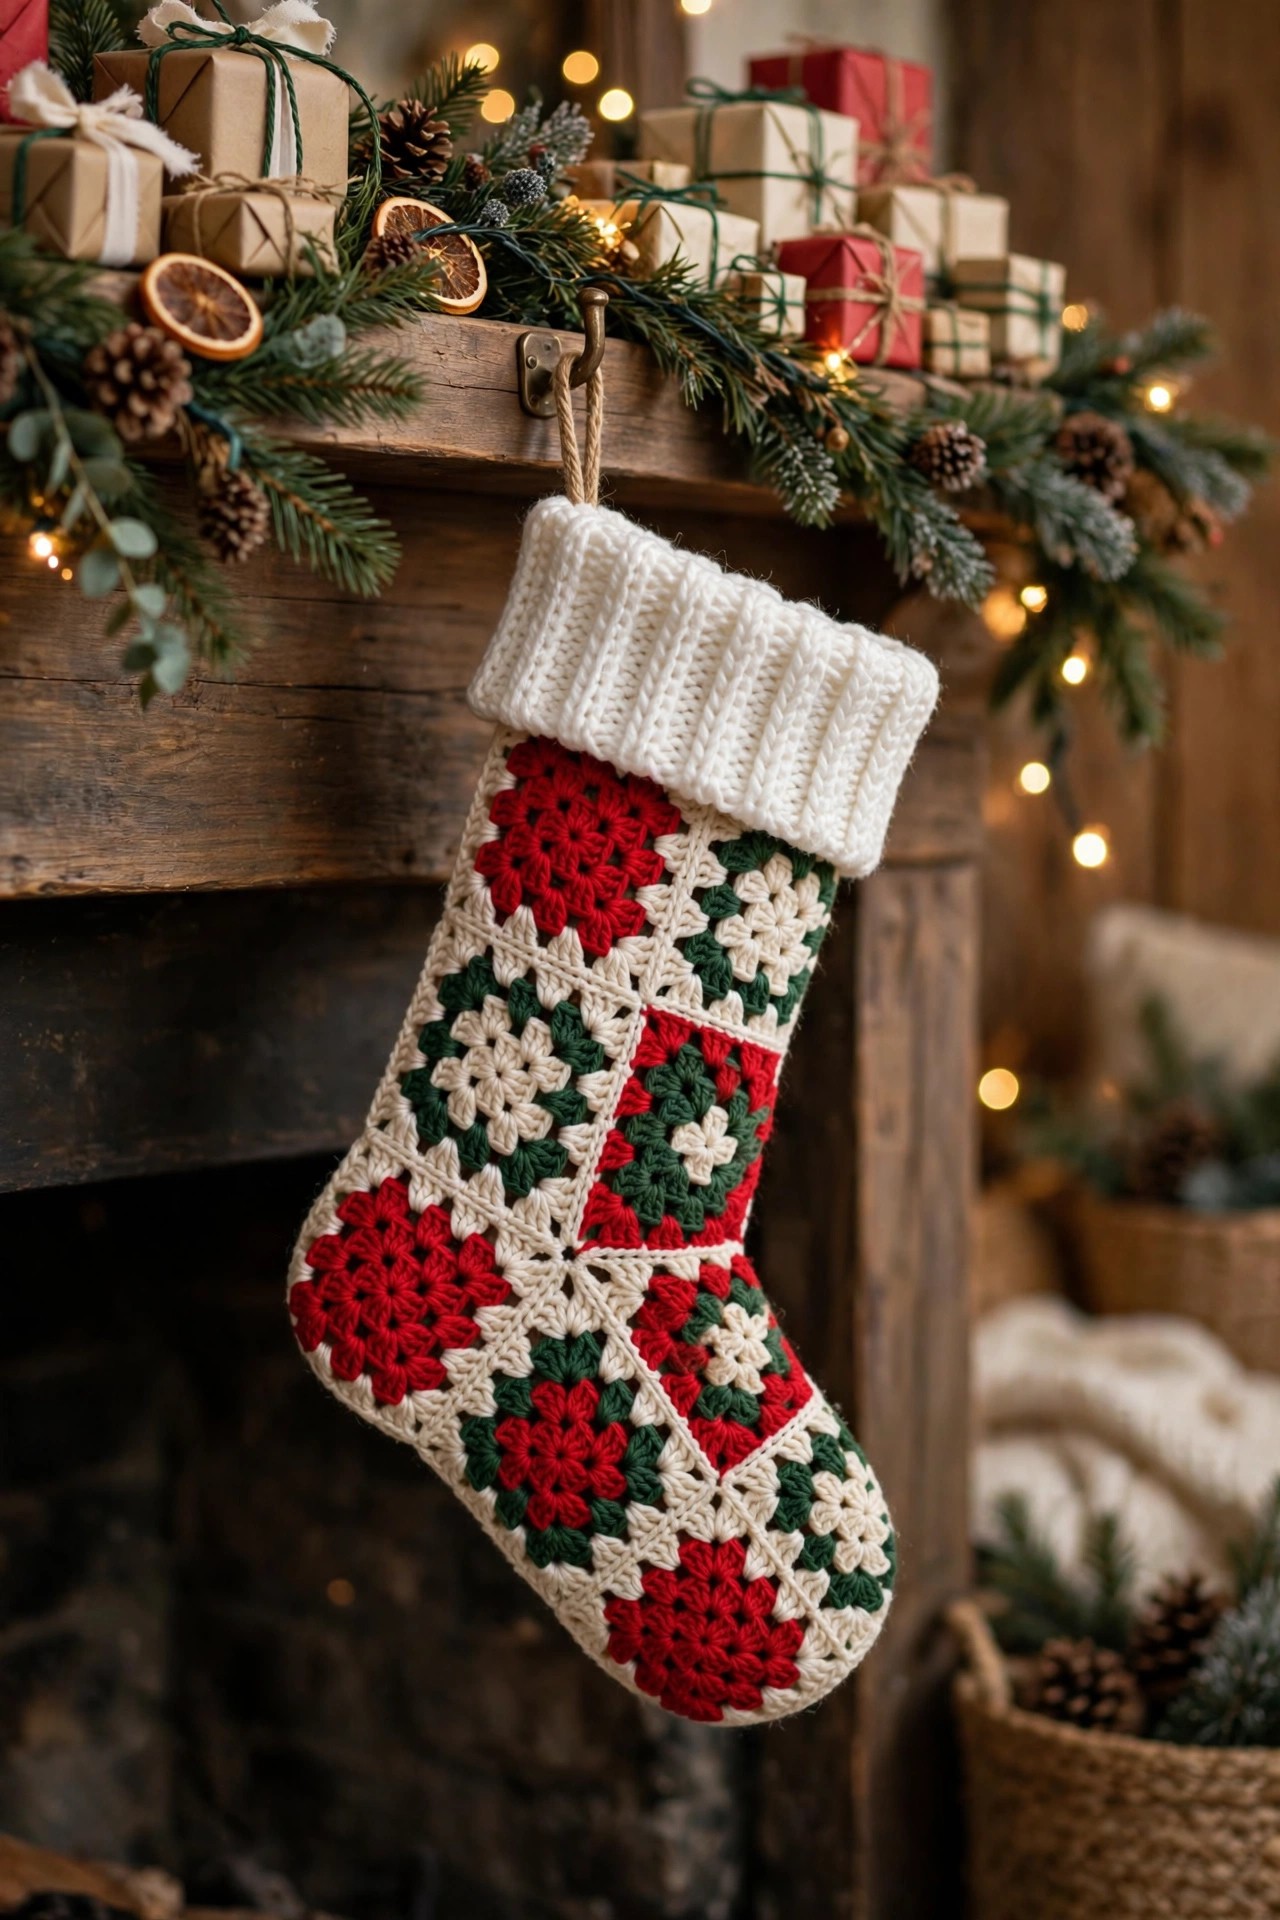
4. Check the loop and the hang. Hang the empty stocking from its loop and look at it from the side: the leg should hang straight down and the foot should point forward, not twist. If it twists, one panel was seamed flipped — check that the heel gusset is at the back on both sides.
Tips for a stocking that hangs beautifully
Measure the first square, then make thirteen more. Everything in this pattern hangs off the 3.5 in square, from the 60-stitch cuff to the 15-stitch heel gusset. Check the first one against a ruler before you settle in for the pile.
Join on the wrong side, every time. Slip-stitch joins through the back loops only are nearly invisible from the front and leave a neat ridge on the inside that helps the stocking keep its shape. Join on the right side and the ridge shows on the outside.
Keep the cream round honest. The final cream round is the same on all fourteen squares, and it is what makes the different colourways look like one family. Work it in the same cream, at the same tension, on every square.
Do not skip the blocking. Squares fresh off the hook are slightly different sizes even when the counts are right. Blocking is the great equaliser, and it takes ten minutes. Do it before joining, and again when the stocking is finished.
FAQ
Is this granny square Christmas stocking pattern really free and original?
Yes — a complete, original Little Loop Finds design with its own square colourways, panel layout, heel gusset and toe cap, published in full here.
How long does a granny square stocking take to make?
About 6 hours in total: roughly 20 minutes per square, about 45 minutes for joining and seaming, and about 45 minutes for the heel gusset, toe cap, cuff and loop.
What if I have never joined granny squares before?
This is an ideal first joining project, because the squares are large and the joins are all straight lines. Practise the slip-stitch join on two spare squares first. If a join puckers, your joining tension is tighter than your square tension: go up half a hook size for the joining only.
Can I make the stocking bigger or smaller?
Yes. For a smaller stocking, work each square to three rounds instead of four — 12 stitches per edge, a 48-stitch cuff and a square of about 2.75 in — and keep the same layout. For a larger stocking, add a fifth round to every square — 18 stitches per edge, a 72-stitch cuff and a square of about 4.25 in — and add one extra row to the heel gusset.
Will small gifts fall through the gaps in the granny squares?
They can — classic granny squares have small spaces, especially at the corners. Line the stocking with cotton fabric as described in the finishing section, or fill it with larger gifts.
What to crochet next
Your stocking deserves a whole festive mantelpiece to match:
- Make the matching hat with this free crochet Santa hat pattern — the same red, green and cream yarns, and the same cosy evening of crochet.
- Dress the door with a wreath crochet pattern free so the hallway matches the fireplace.
- Fill the tree with these crochet ornaments free patterns — small, quick and wonderful for using up the leftover balls from the stocking.
Happy crocheting — may your squares stay square, your cuff stand tall, and your stocking be the first one Santa reaches for on Christmas Eve.
The box below contains an Etsy link. If you buy through it, we may earn a small commission at no extra cost to you. Learn more.
No time to make one?
Short on time? Find handmade granny square Christmas stockings from independent makers on Etsy.
Browse on Etsy (opens Etsy in a new tab)