Dog Bandana Crochet Pattern (Free, Easy)
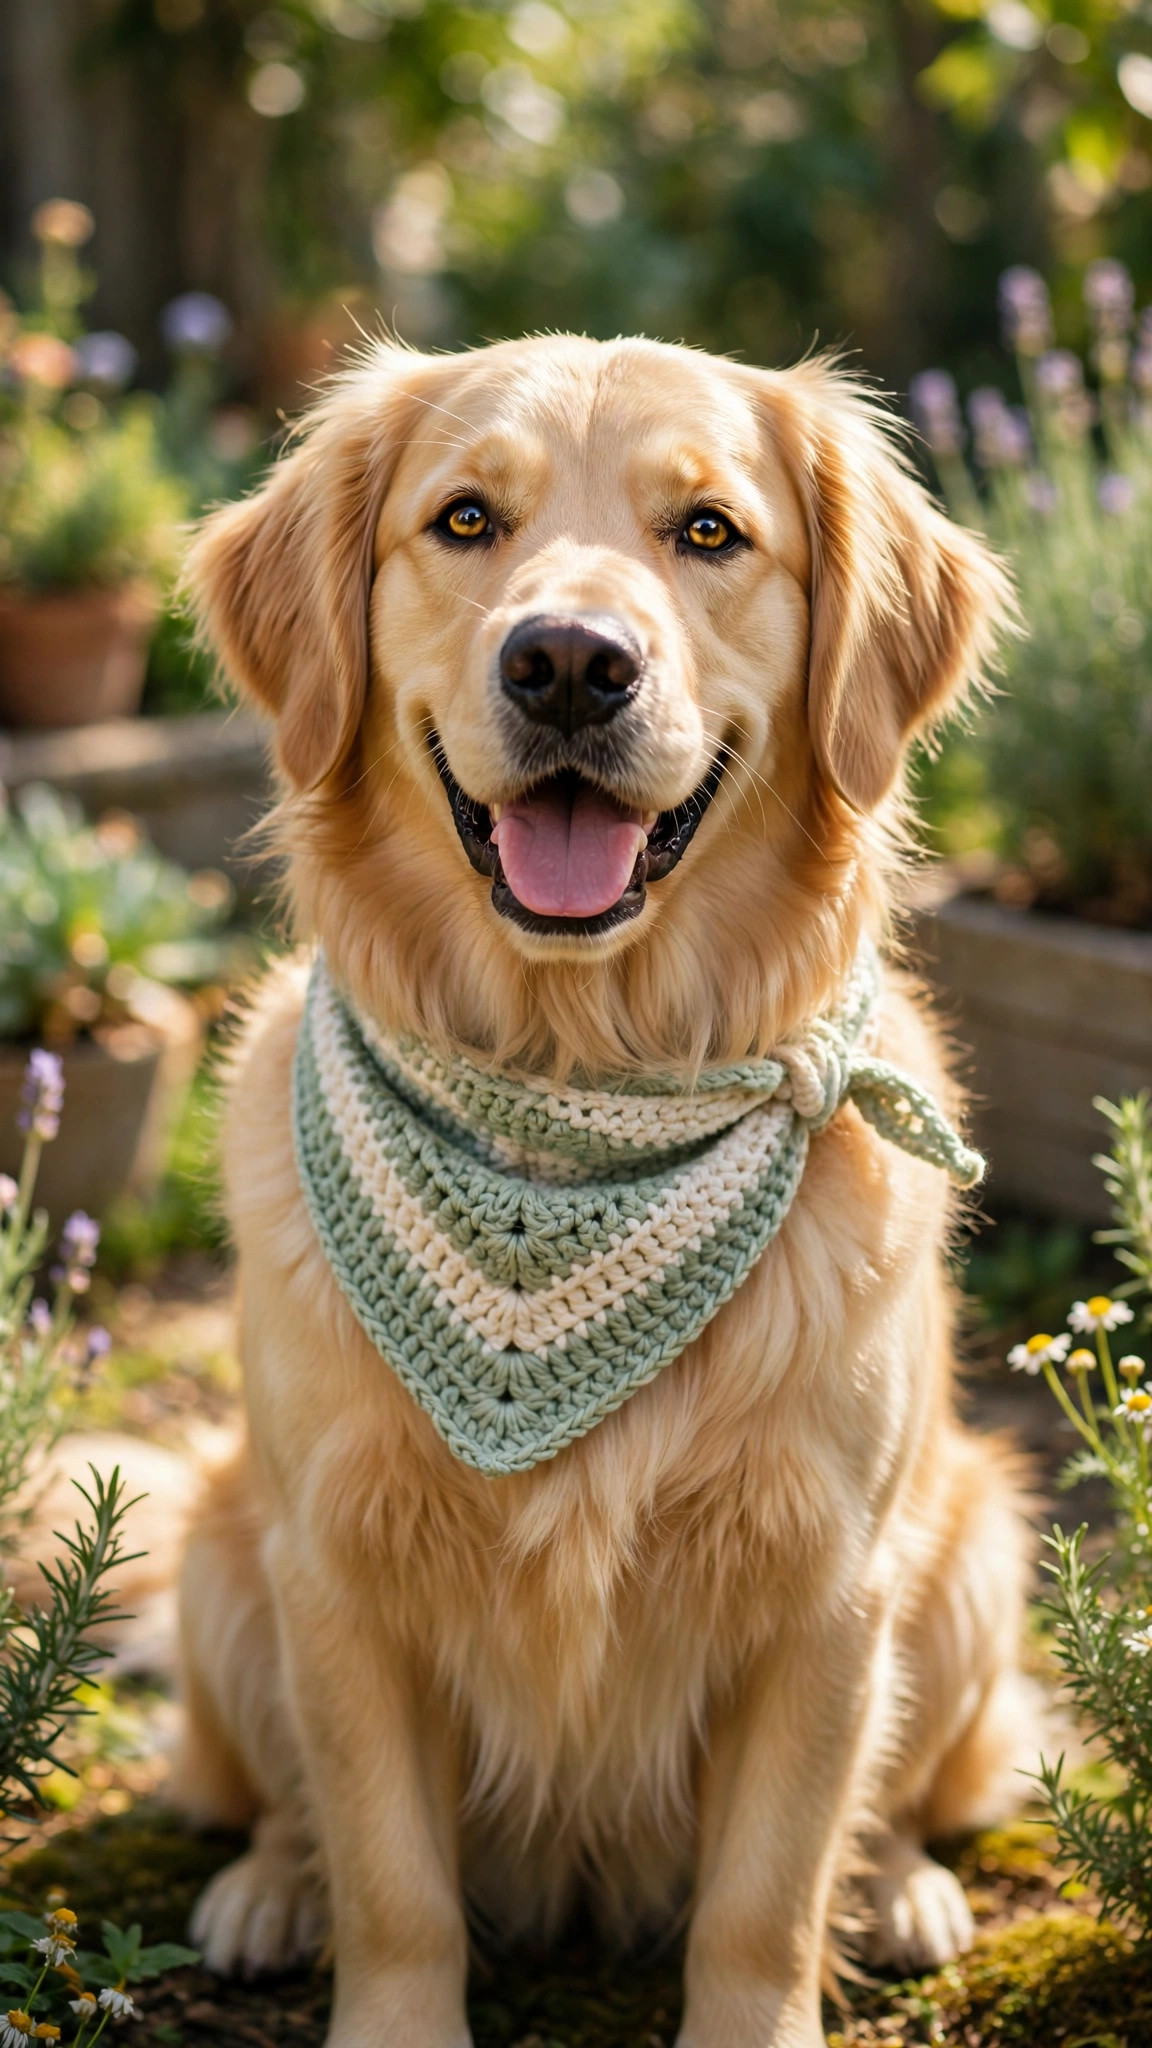
Stitch a soft triangular bandana that ties around your dogs neck, with neat stripes and a tidy pointed tip.

Patterns · Crochet
- Finished size
- XS to L, neck 10 to 22 in
- Making time
- 1 to 2 hours
- Hook
- US H-8 (5.0 mm)
- Set
- Triangle, ties, button band and edging
- Skill
- Easy
In this post
- Key Takeaways
- Table of Contents
- Why You Will Love This Dog Bandana
- Finished Size, Skill Level, and Time
- Materials You Need
- Abbreviations (US Terms)
- Gauge and Sizing Notes
- Part 1: The Bandana Triangle
- Part 2: Ties, Button Band, and Edging
- Part 3: Fitting, Styling, and Safety
- Variations: Colors, Appliques, and Holidays
- Troubleshooting Bandanas That Curl or Slip
- Care Instructions
- Frequently Asked Questions
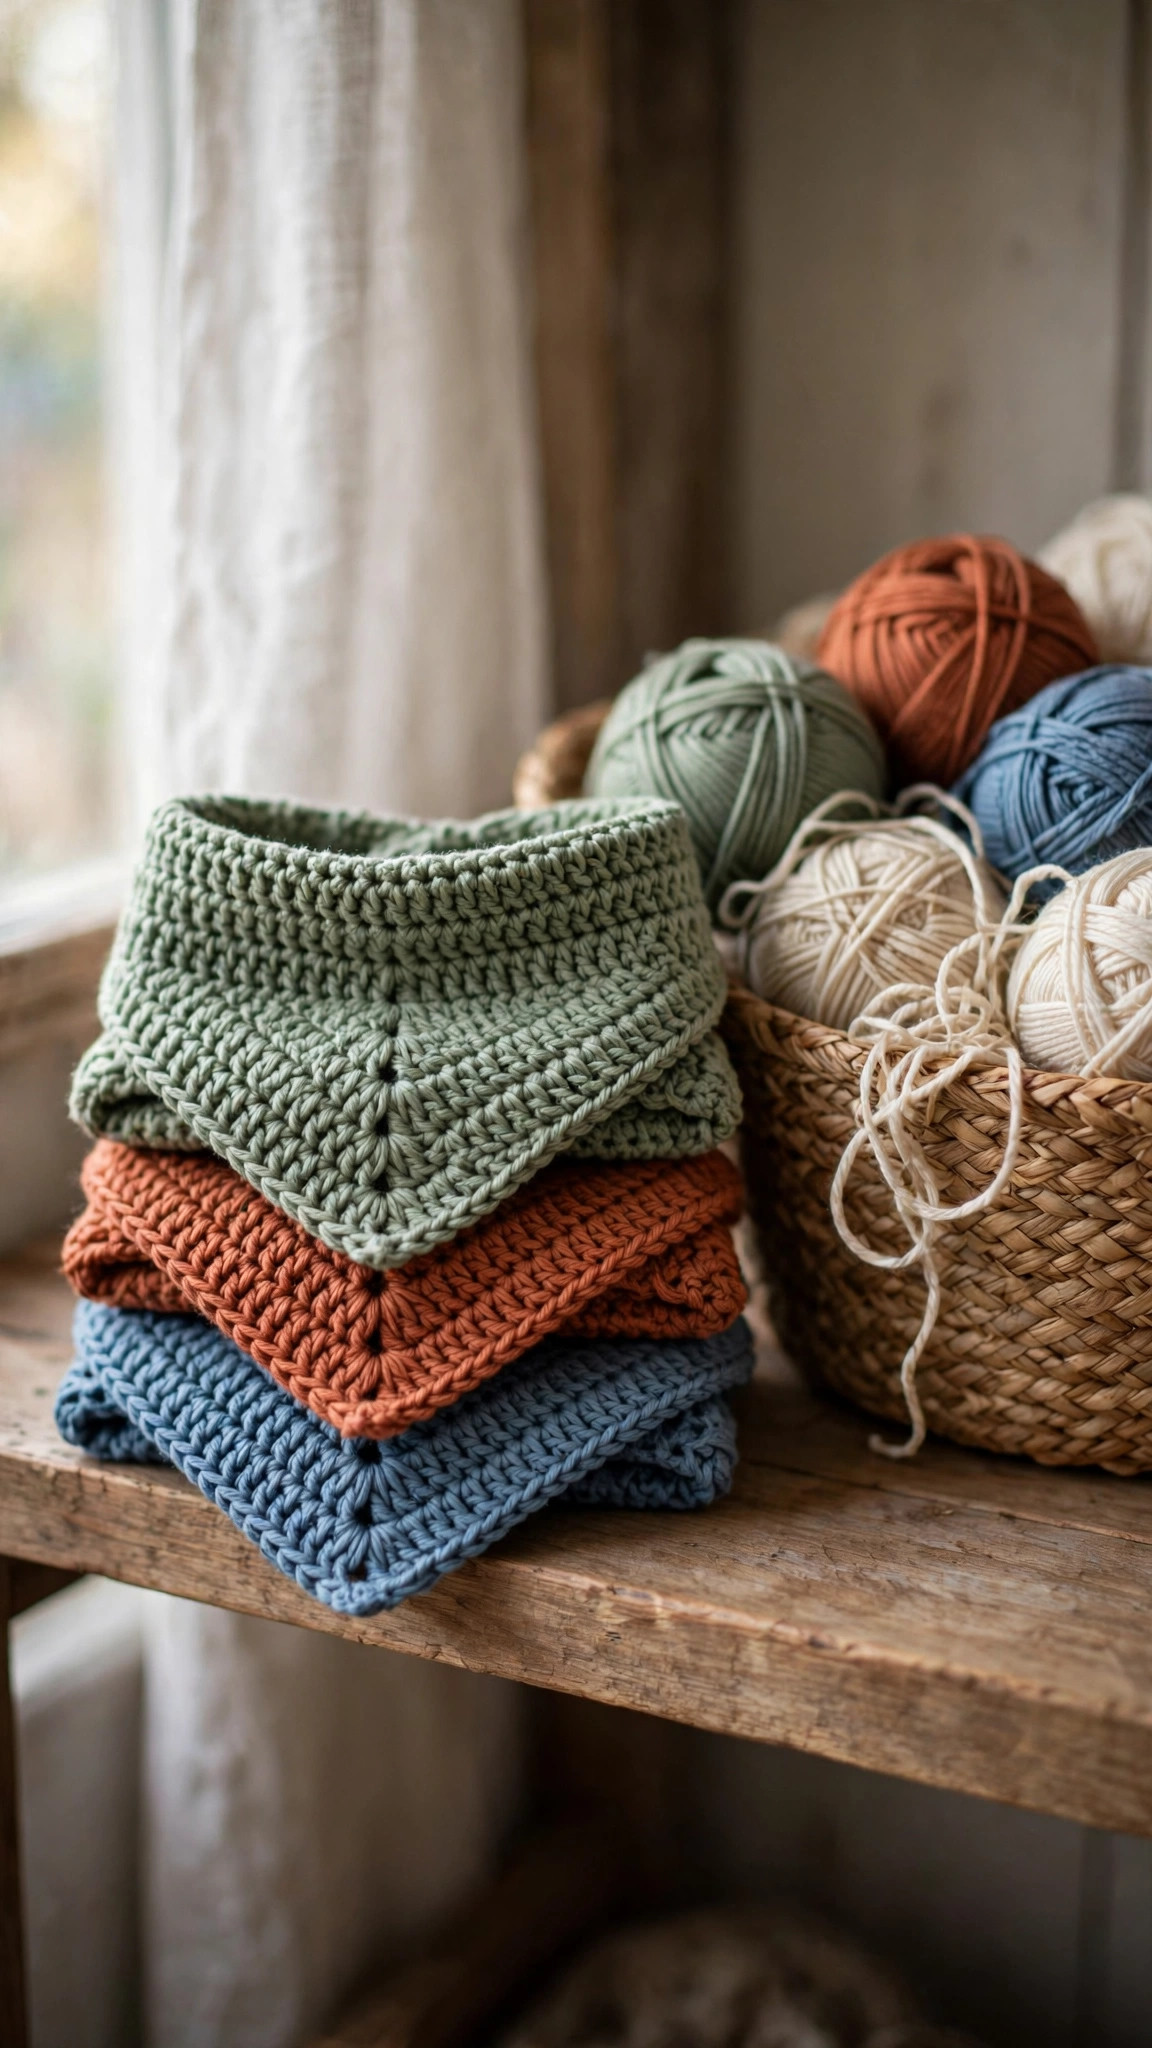
A crocheted bandana is the quickest way to make a dog look ready for a photo, a birthday, or a walk around the block. This free dog bandana crochet pattern gives you a soft triangular bandana that ties gently around your dogs neck, with neat stripes and ties long enough to knot without fuss. It works up in about an hour, uses less than one skein of yarn, and fits dogs from tiny terriers to big retrievers, because you simply adjust the starting chain to match the neck you are dressing.
This is an original Little Loop Finds design, written in US terms and completely free. The bandana is worked in rows from the wide neck edge down to a point, so there is no shaping to memorize and no sewing of separate pieces. Two decreases at each end of every row do all the shaping, the stripes are optional, and the ties are simple chains worked back in single crochet. It is a perfect first garment for a crocheter who has never made anything wearable before.
A quick note on scope: this post is about a bandana for a real dog, a pet accessory that ties around a dogs neck, not a bandana for a person. If you want the human version, our crochet bandana free pattern is the one to use, and you will find links to more dog projects below.
Key Takeaways
- Free original pattern: this dog bandana crochet pattern is a Little Loop Finds original design, written in US terms, and completely free.
- Made for real dogs: a soft triangular bandana that ties around a dogs neck, sized from XS to L.
- Beginner friendly: chains, double crochet, and two simple decreases per row, with no sewing of pieces.
- One hour project: about 1 to 2 hours from first stitch to finished bandana, including the ties and edging.
- Wonderfully giftable: perfect for dog birthdays, adoption day gifts, holiday photos, and shelter fundraisers.
Table of Contents
- Why You Will Love This Dog Bandana
- Finished Size, Skill Level, and Time
- Materials You Need
- Abbreviations (US Terms)
- Gauge and Sizing Notes
- Part 1: The Bandana Triangle
- Part 2: Ties, Button Band, and Edging
- Part 3: Fitting, Styling, and Safety
- Variations: Colors, Appliques, and Holidays
- Troubleshooting Bandanas That Curl or Slip
- Care Instructions
- Frequently Asked Questions
Why You Will Love This Dog Bandana
Dogs wear their personality on their faces, and a crocheted bandana frames that face beautifully. A bandana turns an ordinary walk into a photo opportunity, and it turns a plain Tuesday into a little celebration. It is also one of the kindest handmade gifts you can give a dog owner, because it is useful, washable, and personal in a way a shop bought accessory rarely is. Choose the dogs favorite color or stitch one in holiday colors, and you have a gift that gets used every week.
This design is also a wonderful stash project. One small skein of cotton or acrylic makes two or three bandanas, so you can make a whole set in an afternoon. The triangle shape is forgiving, the stripes hide small mistakes, and the ties mean you never have to worry about an exact fit. New crocheters learn double crochet rhythm and simple decreases in a project that finishes fast, and experienced crocheters love it as a portable project for the park or the waiting room.
Finished Size, Skill Level, and Time
- Finished size: four sizes, XS (neck 10 to 12 inches), S (neck 12 to 14 inches), M (neck 14 to 18 inches), and L (neck 18 to 22 inches). The finished bandana hangs about 6 to 9 inches from neck to point, depending on size.
- Skill level: Easy. You need chains, slip stitches, single crochet, half double crochet, and double crochet, plus a simple double crochet decrease.
- Time: about 1 to 2 hours total: roughly 45 minutes for the triangle, 15 minutes for the ties, and 15 minutes for the edging and finishing.
Materials You Need
| Item | What to get |
|---|---|
| Yarn, main color | DK or worsted weight (light 3 or medium 4) cotton or acrylic in sage green, about 60 to 90 yards |
| Yarn, stripe color | Small amount of cream or a contrast color, about 25 to 35 yards |
| Hook | US H-8 (5.0 mm) for worsted weight, or US G-6 (4.0 mm) for DK weight |
| Notions | Tapestry needle, scissors, stitch markers, tape measure, two 3/4 inch buttons (optional, for the button closure) |
Cotton yarn is the best choice for a dog bandana, because it is breathable, holds its shape, and washes well after muddy walks. Acrylic is a good second choice, because it is soft, cheap, and comes in every color. Avoid fuzzy yarn, because it hides the stitch pattern and sheds fibers that tickle a dogs nose. Choose a yarn that feels smooth against your own neck, because that is how it will feel against your dogs neck too.
Abbreviations (US Terms)
- ch = chain
- sl st = slip stitch
- sc = single crochet
- hdc = half double crochet
- dc = double crochet
- dc2tog = double crochet 2 together (decrease)
- st(s) = stitch(es)
- rep = repeat
- RS = right side
- WS = wrong side
Gauge and Sizing Notes
Gauge for this bandana is about fit, not about exact numbers. Work a small swatch of double crochet and measure it: in worsted weight yarn with a 5.0 mm hook, 13 double crochet stitches should measure about 4 inches across. If your swatch is wider, go down a hook size. If it is narrower, go up a hook size. The bandana is forgiving, because the ties adjust the fit, but one that is far too wide will flop over your dogs eyes.
Measure your dogs neck with a soft tape measure, snug but not tight, then choose your size from the table below. The pattern below is written for size M, with the other sizes in parentheses. If your dog falls between sizes, choose the larger size, because a bandana that is slightly big can be tied a little tighter, while one that is too small cannot be stretched.
| Size | Neck | Starting chain | Starting dc count | Triangle rows |
|---|---|---|---|---|
| XS | 10 to 12 in | ch 38 | 36 dc | 22 rows |
| S | 12 to 14 in | ch 44 | 42 dc | 25 rows |
| M | 14 to 18 in | ch 50 | 48 dc | 28 rows |
| L | 18 to 22 in | ch 56 | 54 dc | 31 rows |
Part 1: The Bandana Triangle
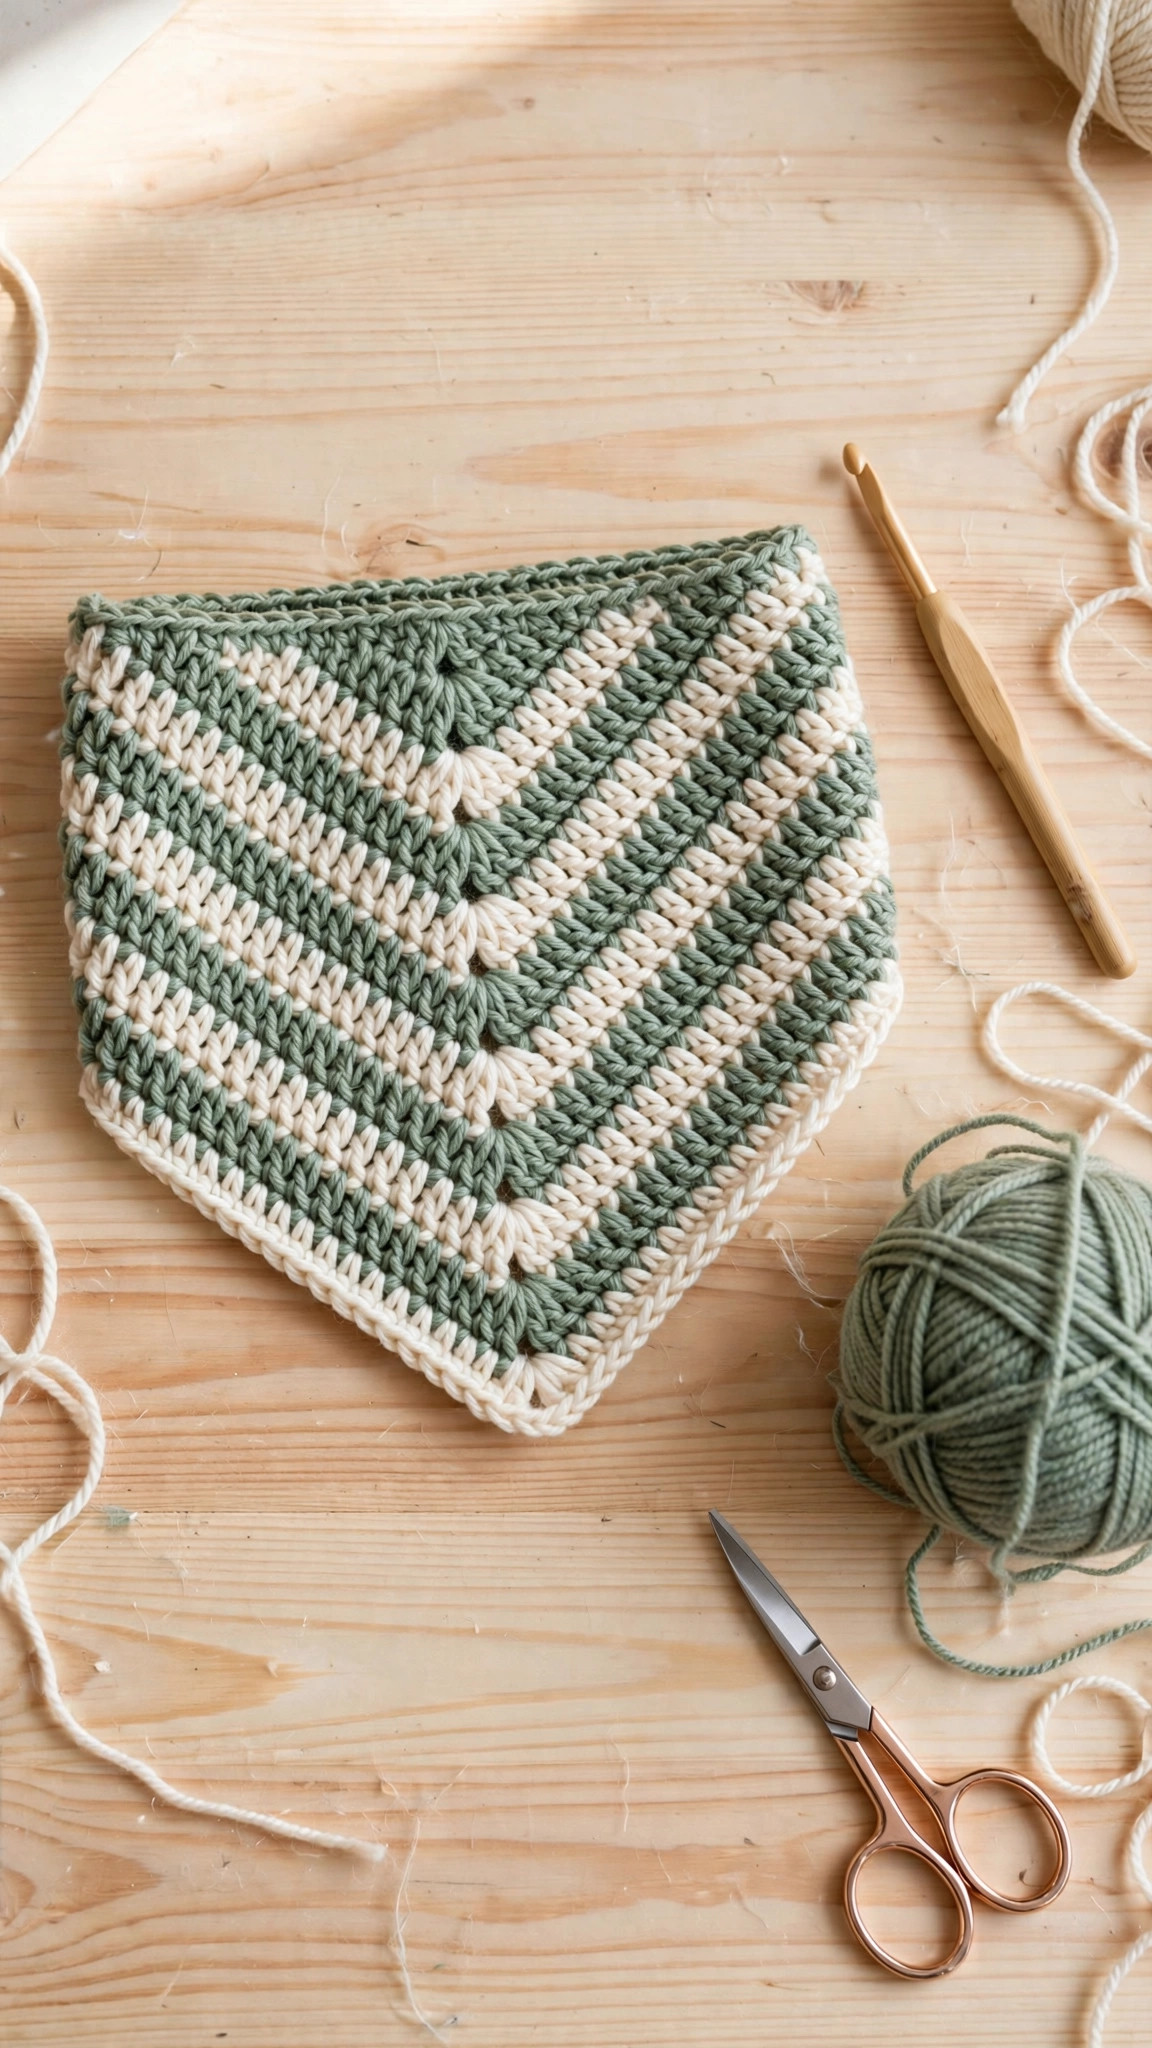
The bandana is worked in rows from the wide neck edge down to a point. Decrease one stitch at each end of every row to shape the triangle, and change color every two rows if you want stripes. Keep your turning chains loose so the edges stay straight.
Neck Edge and Stripes
With your main color, ch 50 (38, 44, 56 for XS, S, L).
- Row 1 (RS): dc in 4th ch from hook and in each ch across. (48 dc for M; 36, 42, 54 for XS, S, L)
- Row 2: ch 3 (counts as first dc), turn, dc in each st across. (48 sts)
- Row 3: ch 3, turn, dc in each st across. Change to stripe color at the end of Row 3 if you want stripes, carrying the unused yarn loosely up the side.
- Rows 4 to 5: with stripe color, ch 3, turn, dc in each st across. Change back to main color at the end of Row 5.
Continue in this rhythm, two rows of main color and two rows of stripe color, until the shaping rows begin. The stripes run horizontally across the bandana, which is exactly the classic bandana look.
Shaping the Triangle
From here, decrease one stitch at each end of every row: a dc2tog over the first two stitches, and a dc2tog over the last two.
- Row 6: ch 3, turn, dc2tog, dc in each st across to last 2 sts, dc2tog, dc in last st. (46 sts)
- Row 7: ch 3, turn, dc2tog, dc in each st across to last 2 sts, dc2tog, dc in last st. (44 sts)
- Rows 8 to 26: repeat Row 7, decreasing 2 stitches every row, changing color every two rows to keep the stripes even, until 6 stitches remain.
- Row 27: ch 3, turn, dc2tog, dc2tog, dc2tog. (3 sts)
- Row 28: ch 2, turn, dc3tog over the last 3 sts. Fasten off, leaving a 6 inch tail.
The point should sit neatly in the center. If your point leans to one side, count your stitches on the last few rows, because a missed decrease on one side is the usual cause. Steam the triangle lightly with an iron held above the fabric, or block it flat on a towel, so the point lies flat and the edges relax into straight lines.
Part 2: Ties, Button Band, and Edging
Ties (make 2)
The ties are worked directly onto the top corners of the triangle, so there is nothing to sew on later. Hold the bandana with the right side facing you.
With main color, join yarn with a slip stitch in the top corner stitch of the neck edge.
- Ch 40 (35 for XS and S, 45 for L). This chain is the tie itself.
- Work back along the chain: sc in 2nd ch from hook and in each ch across to the bandana edge. (39 sc)
- Sl st into the next stitch along the neck edge to anchor the tie, then fasten off, leaving a 6 inch tail.
Repeat on the other top corner. The ties should be mirror images of each other. If one tie is longer than the other, count the chains, because a chain miscount is the usual cause. Weave in the tails along the neck edge, hiding them inside the stitches so they cannot tickle your dog.
Button Closure (optional)
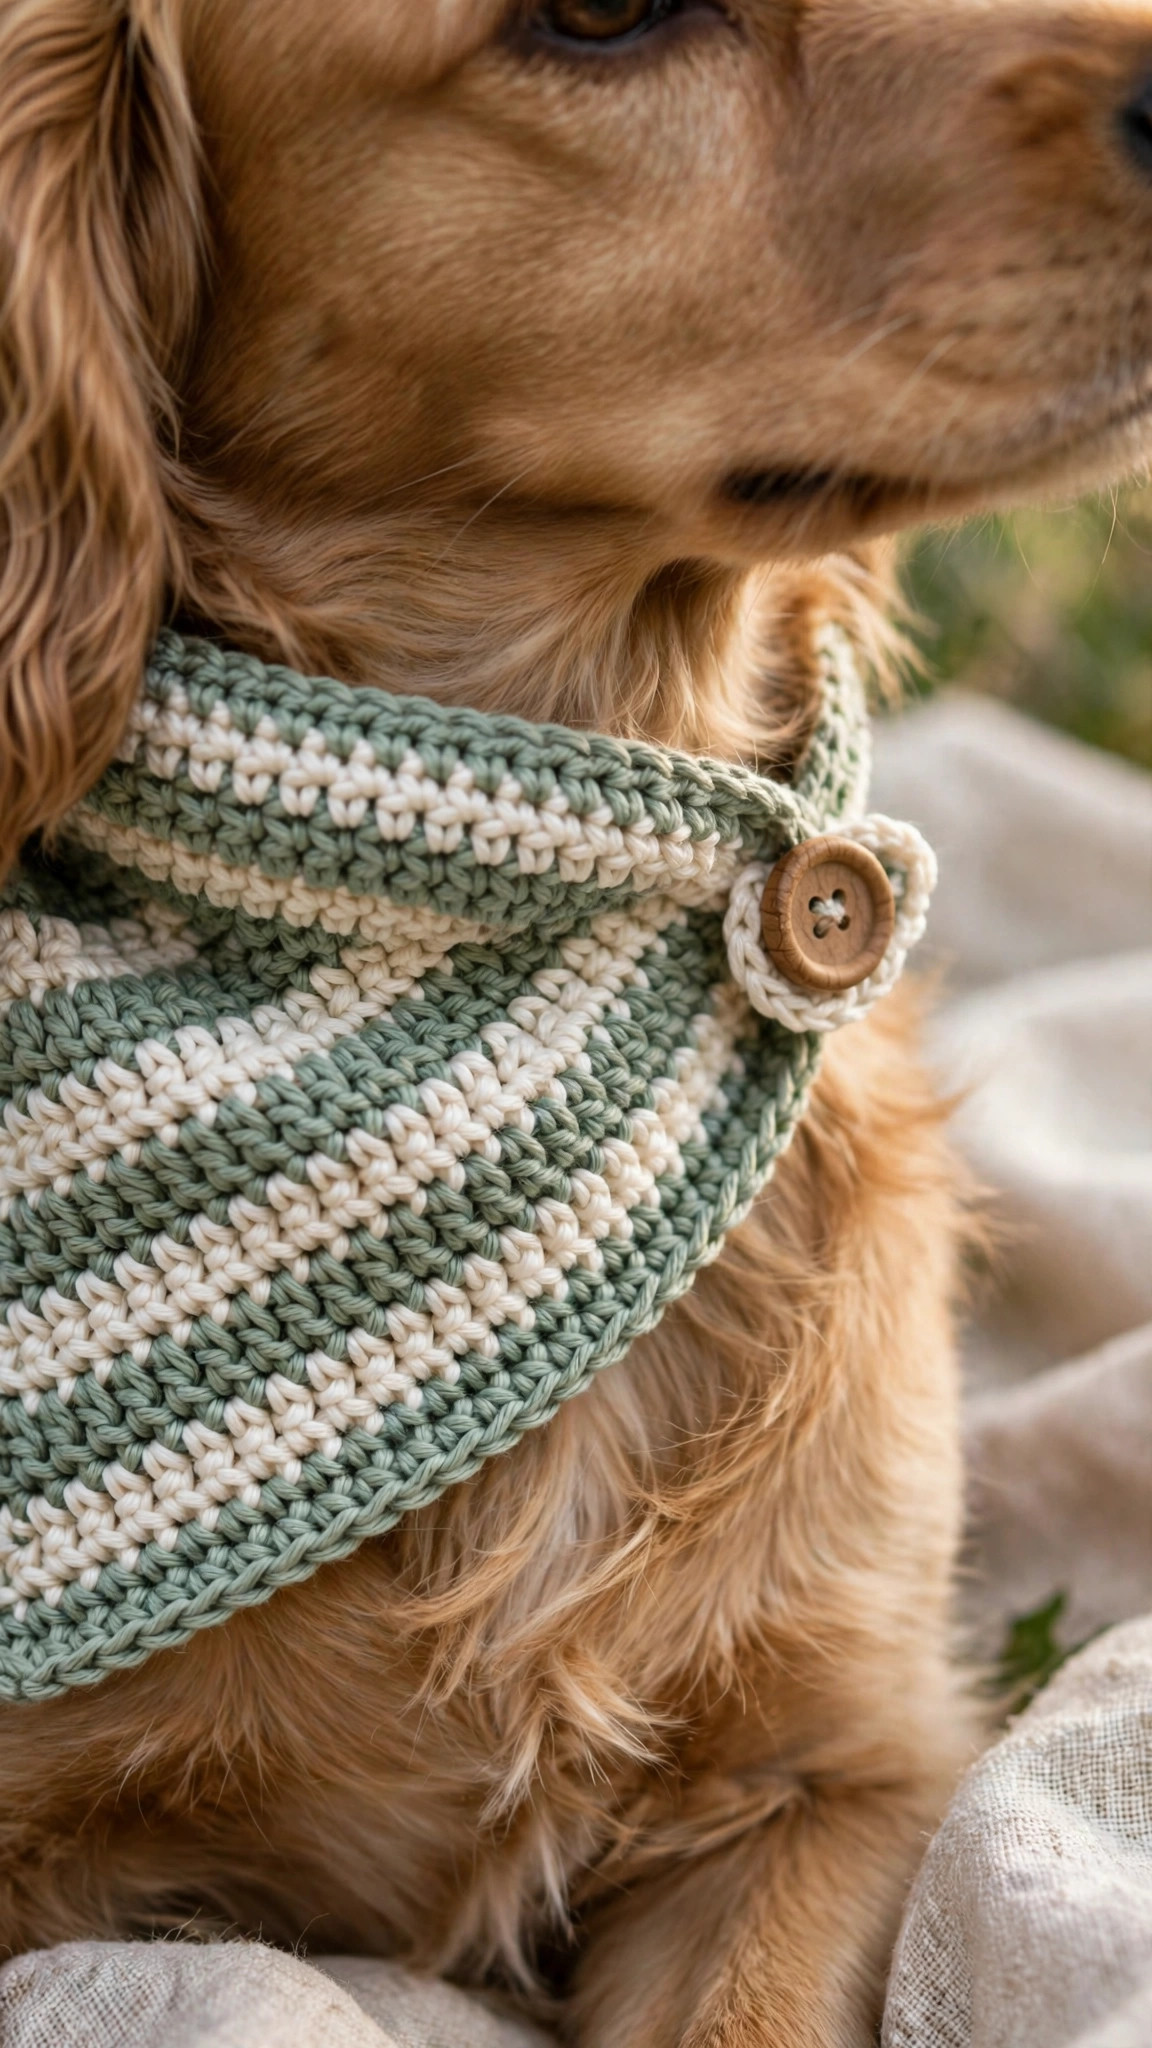
If your dog hates things tied around its neck, or if you are making a bandana for a puppy that wriggles, a button closure is a kinder option. Instead of ties, work a short band at each top corner. Join yarn at a top corner, ch 2, and work 4 rows of 4 half double crochet stitches. On the last row of one band, make a buttonhole by chaining 2 and skipping 2 stitches in the middle of the row. Sew a button to the other band, opposite the buttonhole. Two buttons sit flatter than one on a wide bandana, so add a second button and buttonhole pair about an inch below the first for sizes M and L.
Edging
A tidy edge stops the triangle from curling and gives the bandana a finished, shop bought look. With the right side facing you and using your stripe color or main color, join yarn at the top right corner of the neck edge.
- Round 1: ch 1, sc evenly down the first slanted edge, working 1 sc into the end of each row and 3 sc into the point stitch, then sc evenly up the second slanted edge and across the neck edge. Join with a sl st to the first sc.
- Round 2 (optional scallop): ch 1, (sc in next st, skip 1 st, 5 dc in next st, skip 1 st) repeat around the slanted edges only, working plain sc across the neck edge so it stays flat against your dogs neck. Join with a sl st and fasten off.
Weave in all ends, then block the bandana flat. The edging should lie flat without pulling the triangle into a curve. If the edge ripples, your stitches are too loose, so go down a hook size for the edging round. If the edge pulls tight and cups the bandana, go up a hook size.
Part 3: Fitting, Styling, and Safety
Fitting a dog bandana is simple, and the two finger rule is the one to remember. Tie the bandana around your dogs neck with the point hanging down the chest, and check that you can slip two fingers flat between the bandana and the neck. Tighter than that is uncomfortable, and looser will slide around and end up over one ear. The ties should knot at the back of the neck, never under the chin where they can press on the throat.
For a complete dog wardrobe, pair the bandana with a crochet dog collar pattern in the same colors, add a dog sweater pattern for cold mornings, and try a dog hat crochet pattern for birthday photos. Our dog crochet pattern gives you a floppy eared puppy toy in matching colors for the shelf.
Never leave a bandana on a dog that is unsupervised in a crate, at daycare, or playing with other dogs, because ties can catch on things. Take it off before bath time, before sleep, and before any rough play. Check the fit every few weeks for a growing puppy. If your dog scratches at the bandana constantly, it is probably too tight or too scratchy, and that is fine. Some dogs love dressing up and some do not.
Variations: Colors, Appliques, and Holidays
- Classic red bandana: work the whole triangle in cherry red with a white edging, for the timeless cowboy look.
- Paw print applique: crochet a small paw (one oval pad and four tiny circles) in a contrast color and sew it near the point, for a sweet finishing touch.
- Bee buddy: add a tiny yellow and black striped bee applique from our crochet bee pattern for a spring bandana that makes everyone smile.
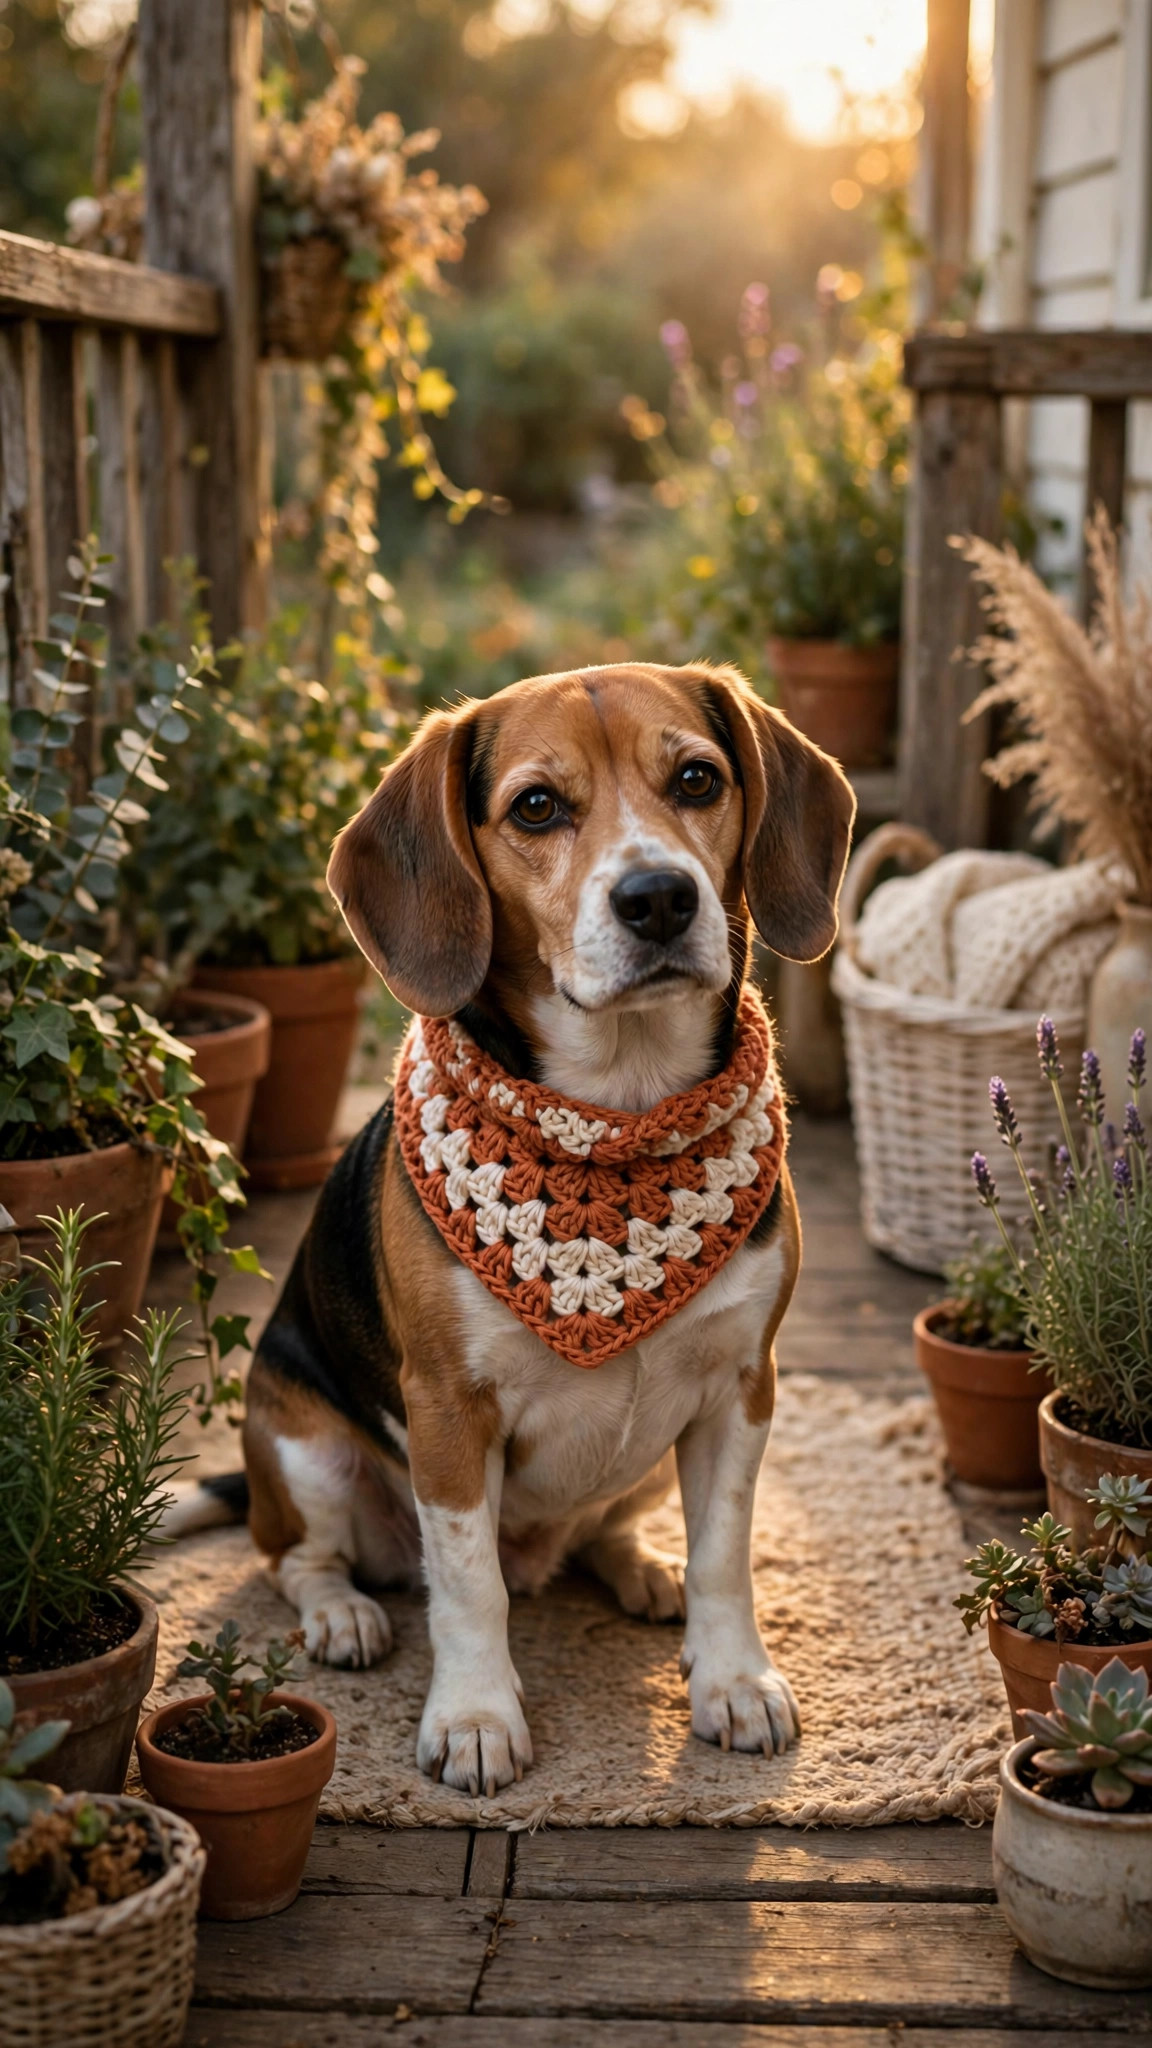
- Holiday sets: make a red and green striped bandana for Christmas, orange and black for Halloween, and pastel pink and mint for Easter, all from the same pattern.
- Matching owner and dog: work a human bandana from our crochet bandana free pattern in the same yarn, so you and your dog can match on walks.
- Fancy edging: swap the scallop edging for a picot edge (ch 3, sl st in first ch, sc in next st, repeat) for a dressy bandana that suits weddings and photo shoots.
Troubleshooting Bandanas That Curl or Slip
- The edges curl up. Your tension is too tight, or the edge needs blocking. Steam the bandana lightly and press it flat under a heavy book overnight. Adding the sc edging round usually fixes mild curling.
- The point leans to one side. Count the stitches on each side of the point. A missed decrease on one side shifts the point, so unpick back to the mistake and redo the decrease rows evenly.
- The bandana slides around the neck. The ties are too loose, or the yarn is very slippery. Tie a small double knot, or switch to the button closure, which cannot slide at all.
- The stripes look uneven. You changed color at a different point in the row. Always change color on the last yarn over of the last stitch of the row, so the new color starts cleanly at the edge.
- The ties stretch out. Cotton and acrylic ties stretch with wear. Make the ties a couple of chains shorter than the pattern says, or work them in single crochet through the back loop only for a firmer cord.
Care Instructions
Hand wash the bandana in cool water with a small amount of mild soap, squeezing gently without wringing, and lay it flat to dry. Machine washing is fine on a gentle cold cycle inside a laundry bag, but air drying is still best, because the dryer can shrink cotton and fuzz acrylic. Reshape the point with your fingers while the bandana is still damp, and store it flat or folded, never hanging by the ties, which stretches them out. Check the ties and button stitching every few washes, because a loose tie on a dog accessory is a safety issue, not just a cosmetic one.
Frequently Asked Questions
Is this dog bandana crochet pattern good for beginners?
Yes, it is one of the best first wearable projects. You need chains, double crochet, and one simple decrease, and the triangle shape is very forgiving. If you can crochet a scarf, you can crochet this bandana.
How do I measure my dog for a bandana?
Measure around the neck with a soft tape measure, snug but not tight, then add half an inch for comfort. Match that number to the size table above, and choose the larger size if your dog falls between sizes, because the ties adjust the fit.
Is a crochet bandana safe for my dog?
Yes, when it is fitted correctly and worn supervised. Use the two finger rule, never leave it on an unsupervised dog, and check the ties regularly. Remove it before sleep, crate time, and rough play.
What yarn is best for a dog bandana?
Cotton is the best choice, because it is breathable, washable, and holds its shape. Soft acrylic is a good second choice. Avoid fuzzy yarns, because they shed fibers that tickle a dogs nose.
Can I make this bandana for a cat?
Yes, with care. Measure the cats neck and make size XS, and use the button closure instead of ties, with a breakaway clasp if you can find one. Never leave a bandana on an unsupervised cat.
Can I sell bandanas made from this pattern?
Yes, you may sell finished bandanas made from this free pattern, with credit to Little Loop Finds. Please do not sell or republish the pattern text itself.
Will the bandana fit a puppy that is still growing?
Yes, make one size up and tie it a little tighter, then let the puppy grow into it. Check the fit every two or three weeks, because puppies grow fast.
Happy stitching, and may your dogs walks be full of compliments, wagging tails, and one very stylish bandana.


