Crochet Gloves Pattern (Free, Full Finger)
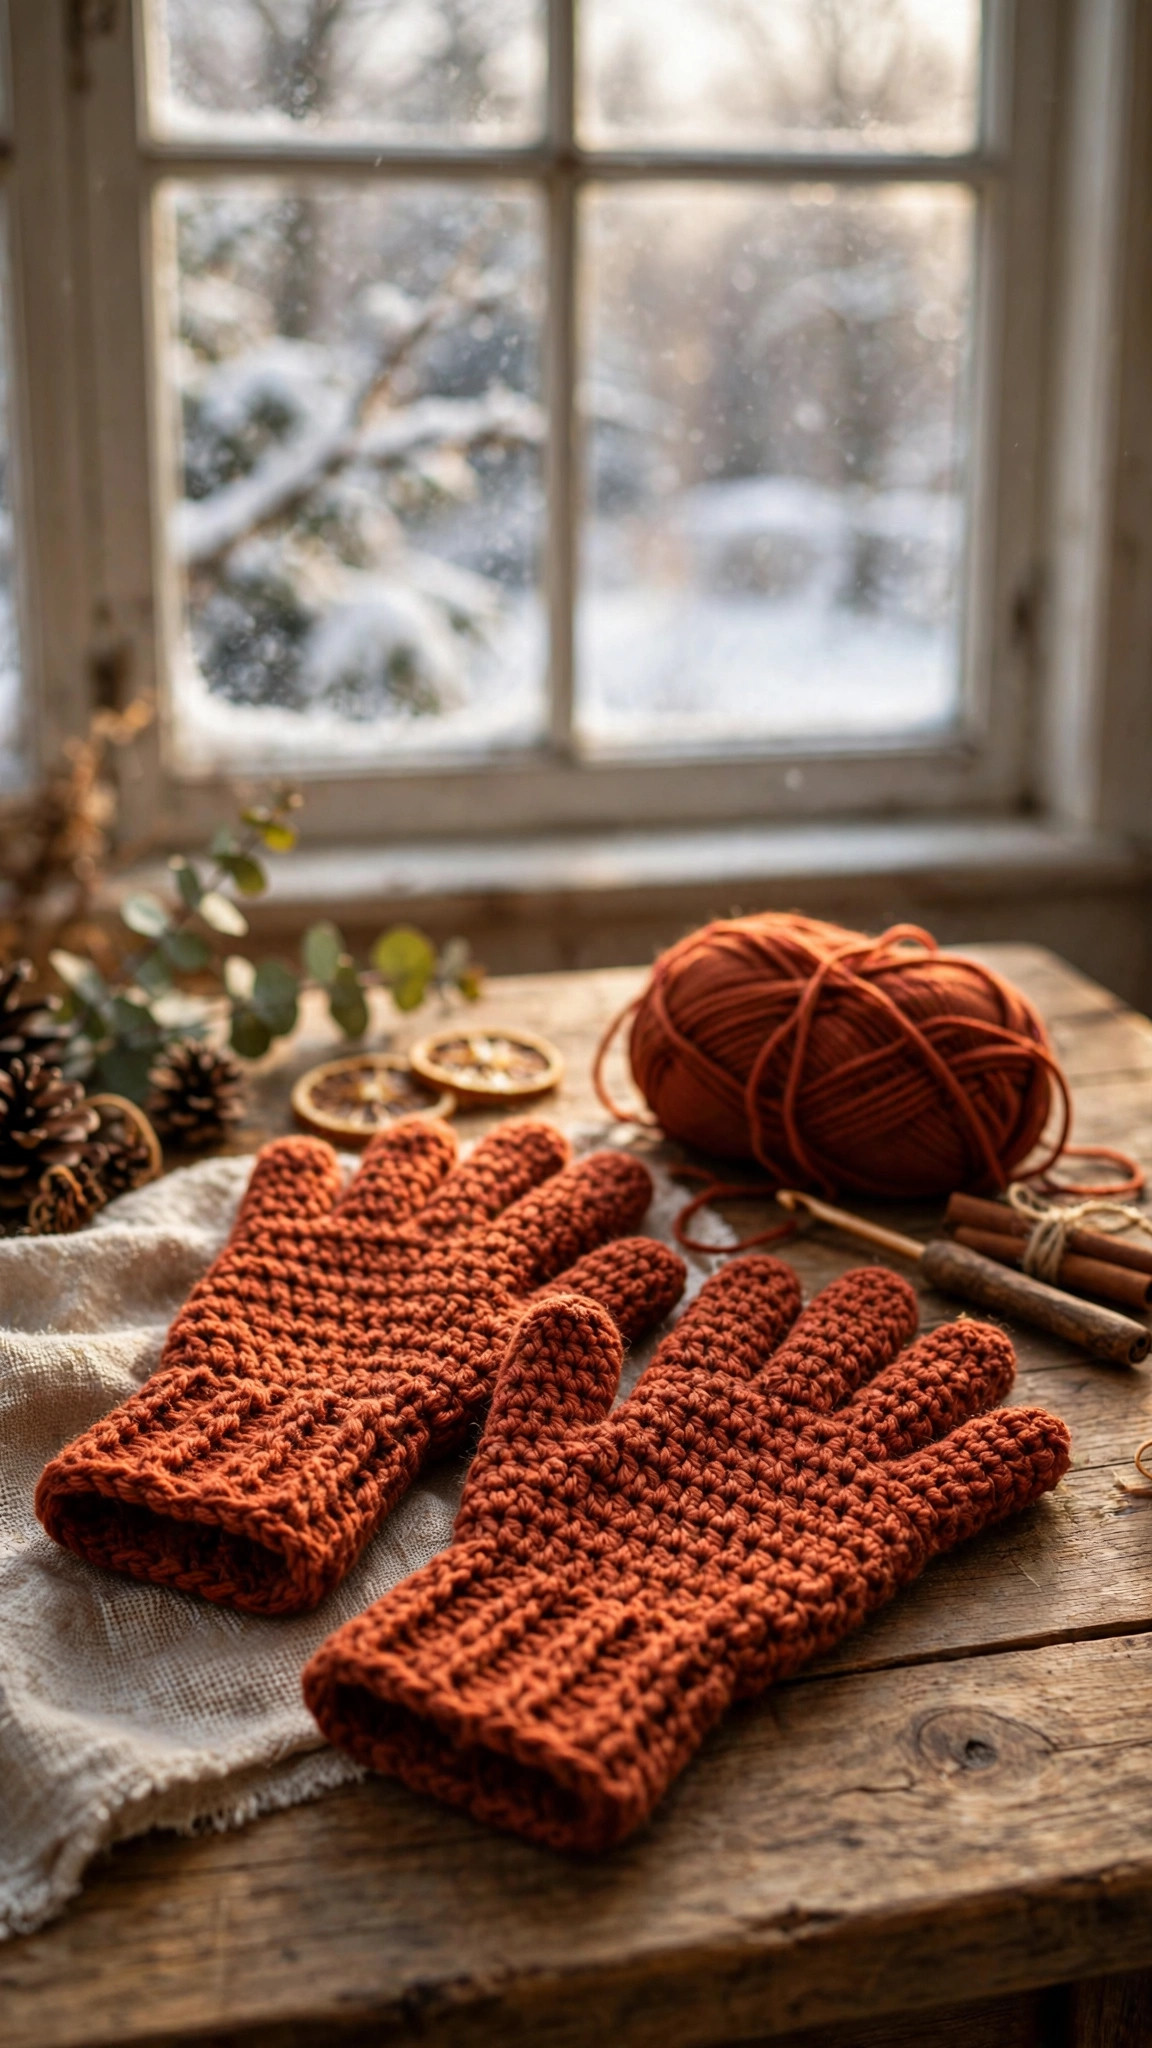
Crochet warm full finger gloves with individual fingers, a shaped thumb, and a snug ribbed cuff, then wear them all winter.

Patterns · Crochet
- Finished size
- S, M, L; 8 in long
- Making time
- 4 hours per pair
- Hook
- US G-6 (4.0 mm)
- Set
- Cuff, hand, fingers
- Skill
- Intermediate
In this post
- Key Takeaways
- Table of Contents
- Why You Will Love These Crochet Gloves
- Finished Size, Skill Level, and Time
- Materials You Need
- Abbreviations (US Terms)
- Gauge and Sizing Notes
- Part 1: The Ribbed Cuff
- Part 2: The Hand and Thumb Opening
- Part 3: The Thumb
- Part 4: The Four Fingers
- Making the Second Glove
- Variations: Colors, Sizes, and Uses
- Troubleshooting Gloves That Are Too Tight or Too Loose
- Care Instructions
- Frequently Asked Questions
Warm hands make winter days better, and nothing beats a pair of gloves you crocheted yourself. This free crochet gloves pattern makes classic full finger gloves with individual fingers, a snug ribbed cuff, and a shaped thumb, all worked in the round from the cuff up.
This is an original Little Loop Finds design, written in US terms and completely free. The gloves are worked in the round from the ribbed cuff up through the hand, then the thumb is worked separately, and the four fingers are worked one at a time with simple decreases at the tips. Every round ends with a stitch count, and the pattern includes sizes for small, medium, and large hands.
A quick note on scope: this post is about full finger gloves, warm winter gloves with a separate finger for every finger and a thumb. They are not fingerless gloves or mittens. If you want the open finger version, our crochet fingerless gloves pattern free is a separate pattern. If you want mittens instead, our easy mitten crochet pattern is a simpler project with no separate fingers.
Key Takeaways
- Free original pattern: this crochet gloves pattern is a Little Loop Finds original design, written in US terms, and completely free.
- Full finger gloves: individual fingers, a shaped thumb, and a snug ribbed cuff, worked in the round from the cuff up.
- Three sizes included: small, medium, and large, with stitch counts for every size at each step.
- Warm winter weight: worsted weight yarn and tight stitches keep cold air out.
- A satisfying project: one pair takes about 4 hours, and it uses about 200 yards of worsted weight yarn.
Table of Contents
- Why You Will Love These Crochet Gloves
- Finished Size, Skill Level, and Time
- Materials You Need
- Abbreviations (US Terms)
- Gauge and Sizing Notes
- Part 1: The Ribbed Cuff
- Part 2: The Hand and Thumb Opening
- Part 3: The Thumb
- Part 4: The Four Fingers
- Making the Second Glove
- Variations: Colors, Sizes, and Uses
- Troubleshooting Gloves That Are Too Tight or Too Loose
- Care Instructions
- Frequently Asked Questions
Why You Will Love These Crochet Gloves
A handmade pair of gloves is one of the most satisfying winter projects. They are useful every single day, they fit the person you made them for, and they show off your crochet skills every time they are worn. A pair of crochet gloves also makes a wonderful gift, because gloves are the one winter accessory that always gets used.
Full finger gloves look harder than they are. The cuff and hand are simple rounds of single crochet, the thumb is a small tube worked from a chain opening, and each finger is a smaller tube worked the same way.
Finished Size, Skill Level, and Time
- Finished size: three sizes. Small fits a hand about 7 inches around the palm, medium fits about 8 inches, and large fits about 9 inches. The finished glove is about 8 inches long from cuff to fingertip.
- Skill level: Intermediate. You need chains, slip stitches, single crochet, half double crochet, increases, and decreases, worked in the round, plus confidence working small tubes for the fingers.
- Time: about 4 hours per pair: roughly 1 hour for the cuffs and hands, 30 minutes for the thumbs, and 2.5 hours for the fingers.
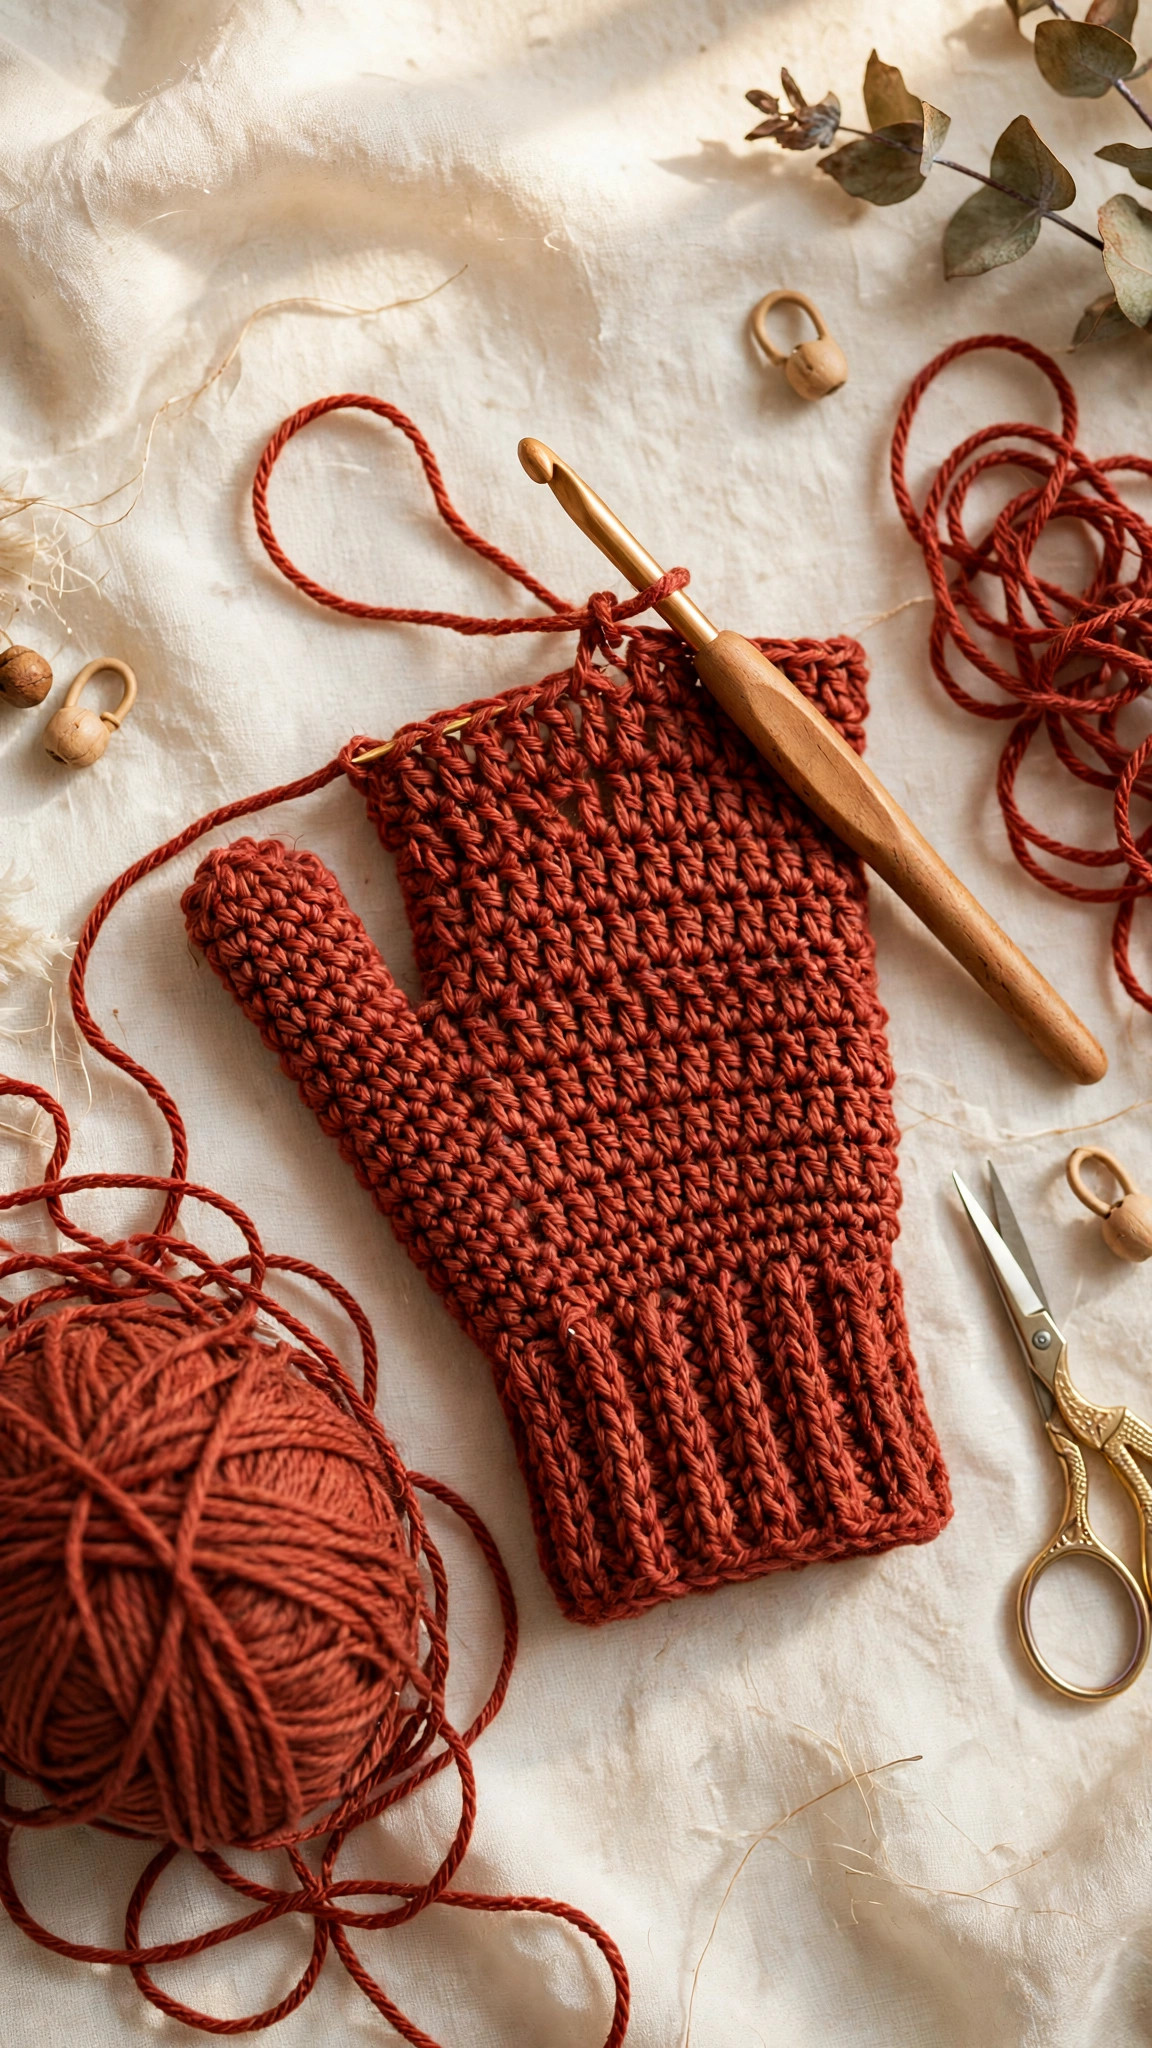
Materials You Need
| Item | What to get |
|---|---|
| Yarn | Worsted weight (size 4) yarn in your chosen color, about 200 yards per pair |
| Hook | US G-6 (4.0 mm), or the size that gives you tight stitches with no gaps |
| Notions | Tapestry needle, scissors, stitch markers, scrap yarn for holding stitches |
Worsted weight yarn is the best choice for crochet gloves because it works up quickly, the fabric is warm and dense, and the finished gloves hold their shape. A smooth wool blend yarn is the warmest choice, because wool traps heat even when it gets damp. A smooth acrylic yarn works well too, and it washes easily. Avoid fuzzy or eyelash yarns, because they hide the stitch definition and make the fingers hard to work.
Abbreviations (US Terms)
- ch = chain
- sl st = slip stitch
- sc = single crochet
- hdc = half double crochet
- dc = double crochet
- inc = increase, 2 sc in the same stitch
- dec = decrease, single crochet 2 stitches together
- st(s) = stitch(es)
- rnd(s) = round(s)
- rep = repeat
- BLO = back loop only
- FLO = front loop only
Gauge and Sizing Notes
Gauge for gloves is about fit, not about hitting an exact number. Work the cuff and the first few rounds of the hand, then try the glove on. It should fit snugly over your hand, with no baggy fabric at the palm and no tight pulling across the knuckles. If the glove feels loose, go down a hook size, and if it feels tight, go up a hook size.
Measure around your palm at the knuckles, not counting the thumb, to pick your size. Small is for a palm up to 7 inches, medium is for a palm up to 8 inches, and large is for a palm up to 9 inches. The stitch counts in this pattern are written as small (medium, large), so follow the number for your size at every step.
Part 1: The Ribbed Cuff
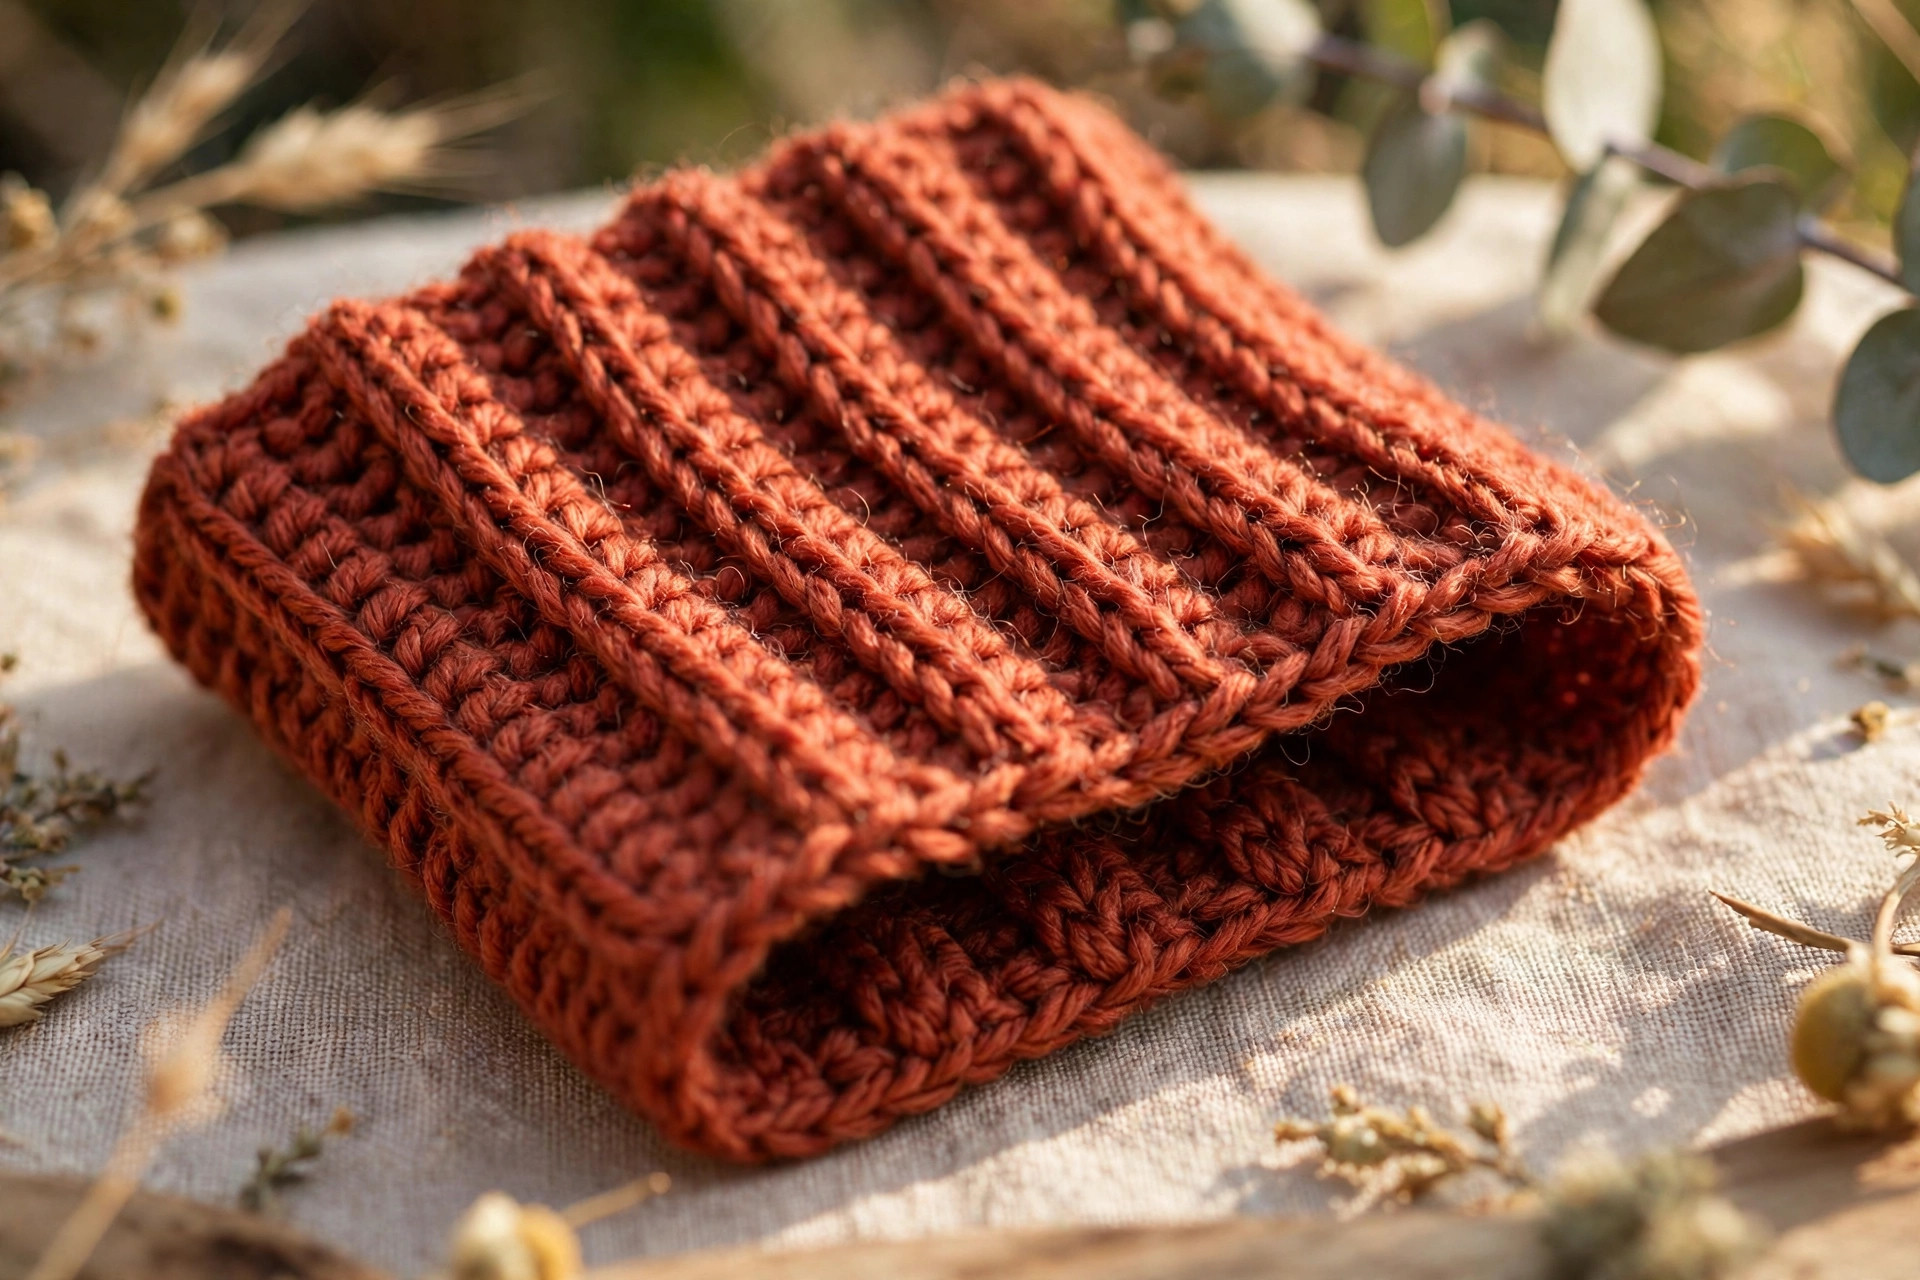
The cuff is worked flat in rows of half double crochet in the back loop only, which makes a stretchy ribbed band. The band is then joined into a circle, and the hand is worked in the round from the top edge of the cuff. Work the cuff the same way for both gloves: the thumb placement is what makes them different, and that comes later.
Cuff
Ch 13.
- Row 1: hdc in the 3rd ch from the hook, hdc in each ch across, turn. (11 hdc)
- Rows 2-24 (26, 28): ch 2, hdc in BLO of each st across, turn. (11 hdc)
The cuff band should measure about 6 (7, 8) inches long when stretched slightly, and about 2 inches wide. Fold the band in half so the short ends meet, and join the ends with a slip stitch seam through both layers. Turn the cuff right side out.
Part 2: The Hand and Thumb Opening
The hand is worked in the round from the top edge of the cuff, in single crochet, with increases to shape the palm and a chain opening that leaves room for the thumb. Work in a continuous spiral and mark the first stitch of every round.
Hand
With the right side facing, join the yarn to the top edge of the cuff with a sl st, ch 1.
- Rnd 1: sc evenly around the top edge of the cuff, working 1 sc into the end of each cuff row. Join with a sl st to the first sc. (24 (26, 28) sc)
- Rnd 2: ch 1, sc in each st around. (24 (26, 28) sc)
- Rnd 3: ch 1, (sc in next 5 sts, inc in next st) rep 4 times, sc in the last 0 (2, 4) sts. (28 (30, 32) sc)
- Rnds 4-6: ch 1, sc in each st around. (28 (30, 32) sc)
The hand should now measure about 2 inches from the cuff, and it should fit snugly over your palm. Try it on: the cuff should sit at your wrist, and the hand should reach to the base of your fingers.
Thumb Opening
- Rnd 7: ch 1, sc in next 22 (24, 26) sts, ch 5, skip 6 sts, join with a sl st to the first sc of the round. (22 (24, 26) sc, 5 ch)
- Rnd 8: ch 1, sc in each sc around, sc in each of the 5 chs across the thumb gap. (27 (29, 31) sc)
- Rnds 9-13: ch 1, sc in each st around. (27 (29, 31) sc)
The hand should now reach to the base of your fingers, about 4 inches from the cuff. Mark the side where the thumb opening sits: for the right glove it sits on the left side of the hand when the palm faces down, and for the left glove it sits on the right side.
Part 3: The Thumb
The thumb is worked in the round from the opening you left, picking up stitches around the hole and working a small tube with decreases at the tip. Use a stitch marker to mark the first stitch of every round.
Thumb
Join the yarn to the thumb opening with a sl st, ch 1.
- Rnd 1: sc in each st around the opening, plus 1 sc in each side to close any gaps. Join with a sl st to the first sc. (13 (14, 15) sc)
- Rnds 2-7 (8, 9): ch 1, sc in each st around. (13 (14, 15) sc)
The thumb should now reach to the tip of your thumb, about 2 inches long.
- Next rnd: ch 1, (sc in next st, dec) rep 4 (4, 5) times, sc in the last 1 (2, 0) sts. (9 (10, 10) sc)
- Next rnd: ch 1, dec around, sc in the last 1 (0, 0) sts. (5 (5, 5) sc)
- Fasten off, leaving a long tail. Weave the tail through the front loops of the last 5 stitches, pull it tight to close the hole, and weave in the end.
Your finished thumb should be a neat tapered tube that fits your thumb snugly.
Part 4: The Four Fingers
The fingers are worked one at a time, from the index finger to the little finger, each one a small tube worked in the round. The first finger uses the stitches at the front of the hand, and each following finger shares a stitch with the one before it, so there are no gaps between the fingers.
Index Finger
Join the yarn to the first stitch at the front of the hand, at the side nearest the thumb, ch 1.
- Rnd 1: sc in the next 7 (7, 8) sts, ch 2, join with a sl st to the first sc. (9 (9, 10) sc)
- Rnds 2-9 (10, 11): ch 1, sc in each st around. (9 (9, 10) sc)
The index finger should reach to its tip, so try the glove on before you decrease.
- Next rnd: ch 1, (sc in next st, dec) rep 3 times, sc in the last 0 (0, 1) sts. (6 (6, 7) sc)
- Next rnd: ch 1, dec around. (3 (3, 3) sc)
- Fasten off, leaving a long tail. Weave the tail through the last stitches, pull tight to close, and weave in the end.
Middle Finger
The middle finger is the longest, so it gets one extra round. Join the yarn to the next stitch after the index finger, ch 1.
- Rnd 1: sc in the next 7 (7, 8) sts, working 1 sc into the side of the index finger base, ch 2, join with a sl st to the first sc. (10 (10, 11) sc)
- Rnds 2-10 (11, 12): ch 1, sc in each st around. (10 (10, 11) sc)
- Next rnd: ch 1, (sc in next st, dec) rep 3 times, sc in the last 1 (1, 2) sts. (7 (7, 8) sc)
- Next rnd: ch 1, dec around, sc in the last 1 (1, 0) sts. (4 (4, 4) sc)
- Fasten off, leaving a long tail. Weave the tail through the last stitches, pull tight to close, and weave in the end.
Ring Finger
The ring finger is worked like the index finger. Join the yarn to the next stitch after the middle finger, ch 1.
- Rnd 1: sc in the next 7 (7, 8) sts, working 1 sc into the side of the middle finger base, ch 2, join with a sl st to the first sc. (10 (10, 11) sc)
- Rnds 2-9 (10, 11): ch 1, sc in each st around. (10 (10, 11) sc)
- Next rnd: ch 1, (sc in next st, dec) rep 3 times, sc in the last 1 (1, 2) sts. (7 (7, 8) sc)
- Next rnd: ch 1, dec around, sc in the last 1 (1, 0) sts. (4 (4, 4) sc)
- Fasten off, leaving a long tail. Weave the tail through the last stitches, pull tight to close, and weave in the end.
Little Finger
The little finger is the shortest finger. Join the yarn to the remaining stitches at the back of the hand, ch 1.
- Rnd 1: sc in each remaining st around, working 1 sc into the side of the ring finger base, join with a sl st to the first sc of the round. (8 (8, 9) sc)
- Rnds 2-7 (8, 9): ch 1, sc in each st around. (8 (8, 9) sc)
- Next rnd: ch 1, (sc in next st, dec) rep 2 (2, 3) times, sc in the last 2 (2, 0) sts. (6 (6, 6) sc)
- Next rnd: ch 1, dec around. (3 (3, 3) sc)
- Fasten off, leaving a long tail. Weave the tail through the last stitches, pull tight to close, and weave in the end.
Your first glove is done. Try it on: every finger should reach its tip, and the cuff should hug your wrist.
Making the Second Glove
The second glove is the mirror image of the first. Work the cuff and the hand exactly the same way, but place the thumb opening on the opposite side, so the thumb sits on the other hand. To do this, work round 7 of the hand as the mirror image: sc in the first 6 sts, ch 5, skip 6 sts, sc in the remaining sts, then continue as written. Work the thumb and the fingers in the same order, index to little finger, and try both gloves on together before you weave in the last ends.
Variations: Colors, Sizes, and Uses
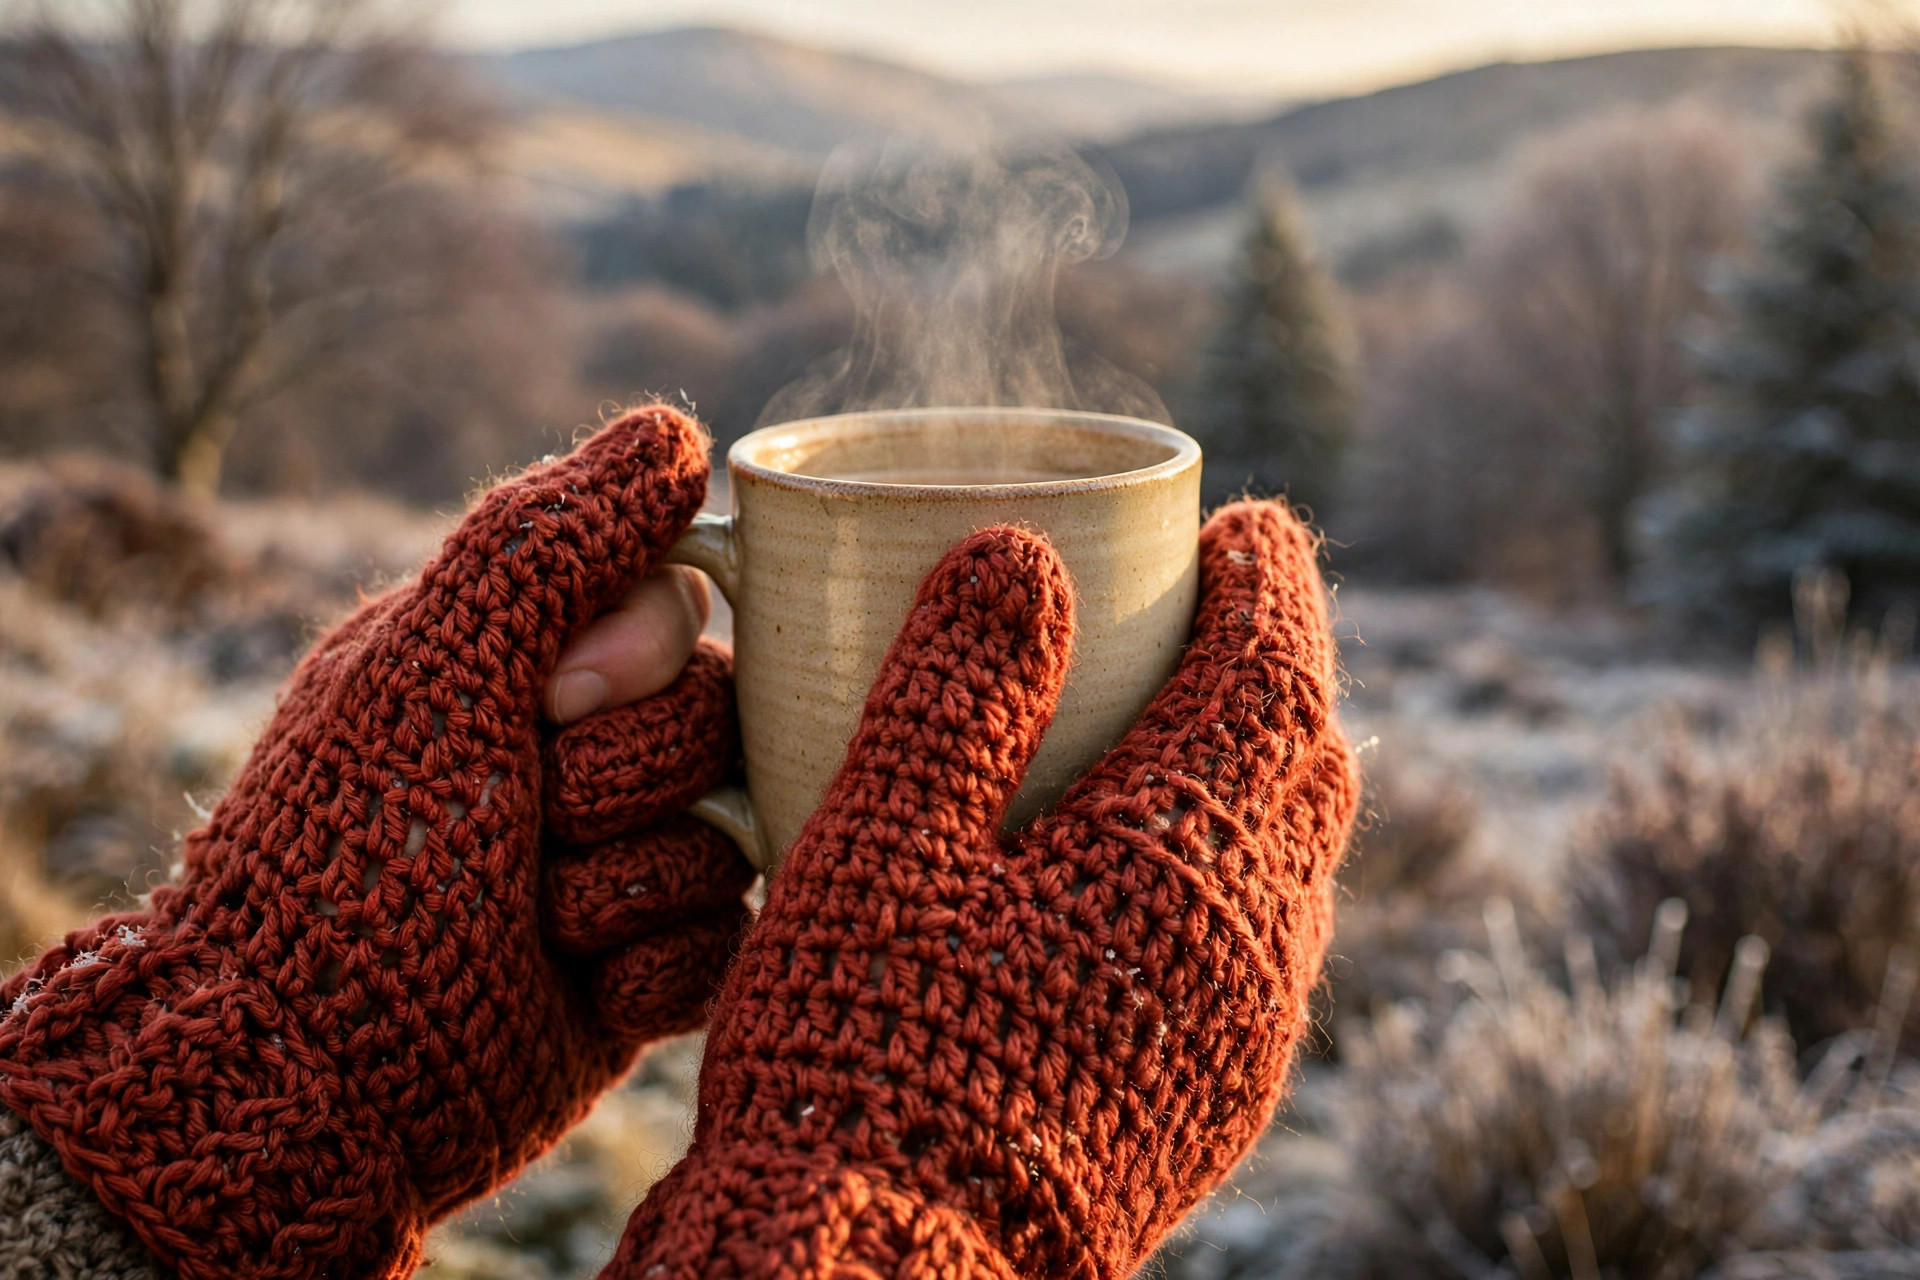
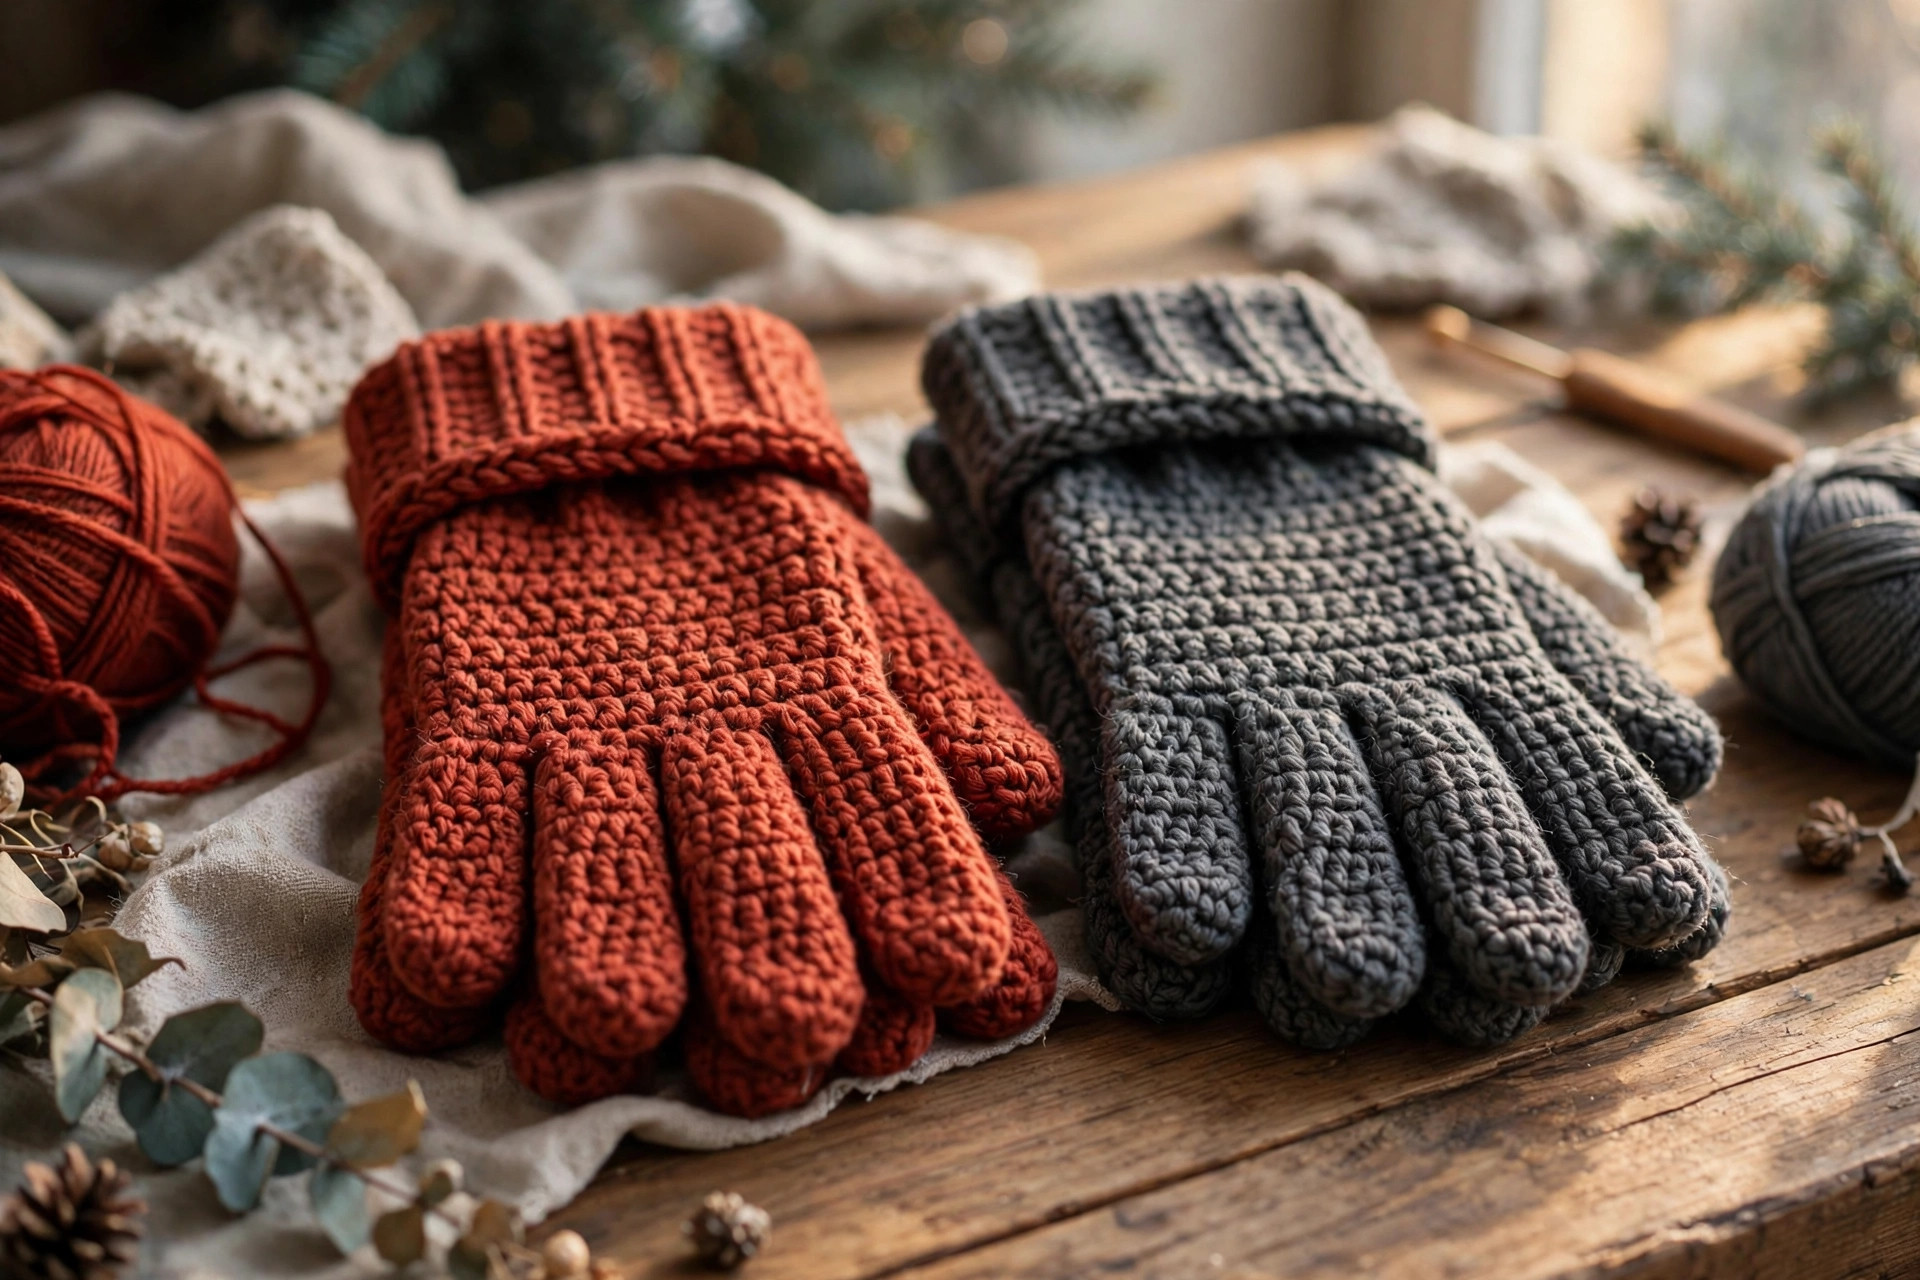
- Classic rust red gloves: work the pair in a warm rust red, the colorway in the photos, for gloves that stand out against a winter coat. Our crochet scarf patterns for beginners makes a matching scarf in the same yarn.
- Neutral charcoal gloves: make the gloves in charcoal grey or navy for a pair that goes with every coat. Our easy crochet ear warmer pattern free makes a matching headband in the same neutral color.
- Striped gloves: work the cuff in one color and the hand in another for a playful pair. Our crochet earflap hat free pattern is another striped winter accessory in the same style.
- Gloves for kids: follow the small size with DK weight yarn and a 3.5 mm hook for a child sized pair. Our easy mitten crochet pattern is a simpler option for younger children who find separate fingers fiddly.
Troubleshooting Gloves That Are Too Tight or Too Loose
- My gloves are too tight across the knuckles. Your gauge is too tight, or you need the next size up. Go up a hook size on the next glove, or follow the stitch counts for the larger size.
- My gloves are too loose and baggy. Your gauge is too loose, or you need the next size down. Go down a hook size on the next glove, or follow the stitch counts for the smaller size.
- My fingers are too long. You worked too many rounds before the decreases. Try the glove on before you decrease, and stop one round earlier on the next finger.
- My fingers are too short. You decreased too soon. Add one or two rounds before the decrease round, and try the glove on as you go.
- There is a hole where the thumb joins the hand. The join was too loose. Close the hole with the tail end of the yarn and a tapestry needle.
Care Instructions
Hand wash crochet gloves gently in cool water with a tiny amount of mild soap, squeeze gently without wringing, and lay them flat to dry so the fingers keep their shape. If the yarn label says machine washable, use a gentle cycle in a mesh laundry bag, and lay the gloves flat to dry. Do not put crochet gloves in the dryer on high heat, because the fingers can lose their shape. Reshape each finger by hand while the gloves are still damp.
Frequently Asked Questions
Is this crochet gloves pattern good for beginners?
These gloves are an intermediate project, because the fingers are small tubes worked in the round. If you can work in the round and follow stitch counts, you can make these gloves. If you are new to crochet, start with our easy mitten crochet pattern first, then come back to gloves.
What yarn is best for crochet gloves?
Worsted weight yarn is the best choice, because it works up quickly and the fabric is warm and dense. A smooth wool blend is the warmest choice, because wool traps heat even when it gets damp. A smooth acrylic works well too, and it washes easily.
How big are the finished gloves?
Three sizes are included. Small fits a palm about 7 inches around, medium fits about 8 inches, and large fits about 9 inches. The finished glove is about 8 inches long from cuff to fingertip.
Can I make these gloves without separate fingers?
No, this pattern is written for full finger gloves. If you want a simpler project, try our easy mitten crochet pattern or our crochet fingerless gloves pattern free.
How do I make the second glove face the other way?
Work the cuff and hand the same way, but place the thumb opening on the opposite side, so the thumb sits on the other hand.
Can I sell gloves made from this pattern?
Yes, you may sell finished gloves made from this free pattern, with credit to Little Loop Finds. Please do not sell or republish the pattern text itself.
Happy stitching, and may your new gloves keep your hands warm all winter long.