Witch Crochet Pattern (Amigurumi Doll)
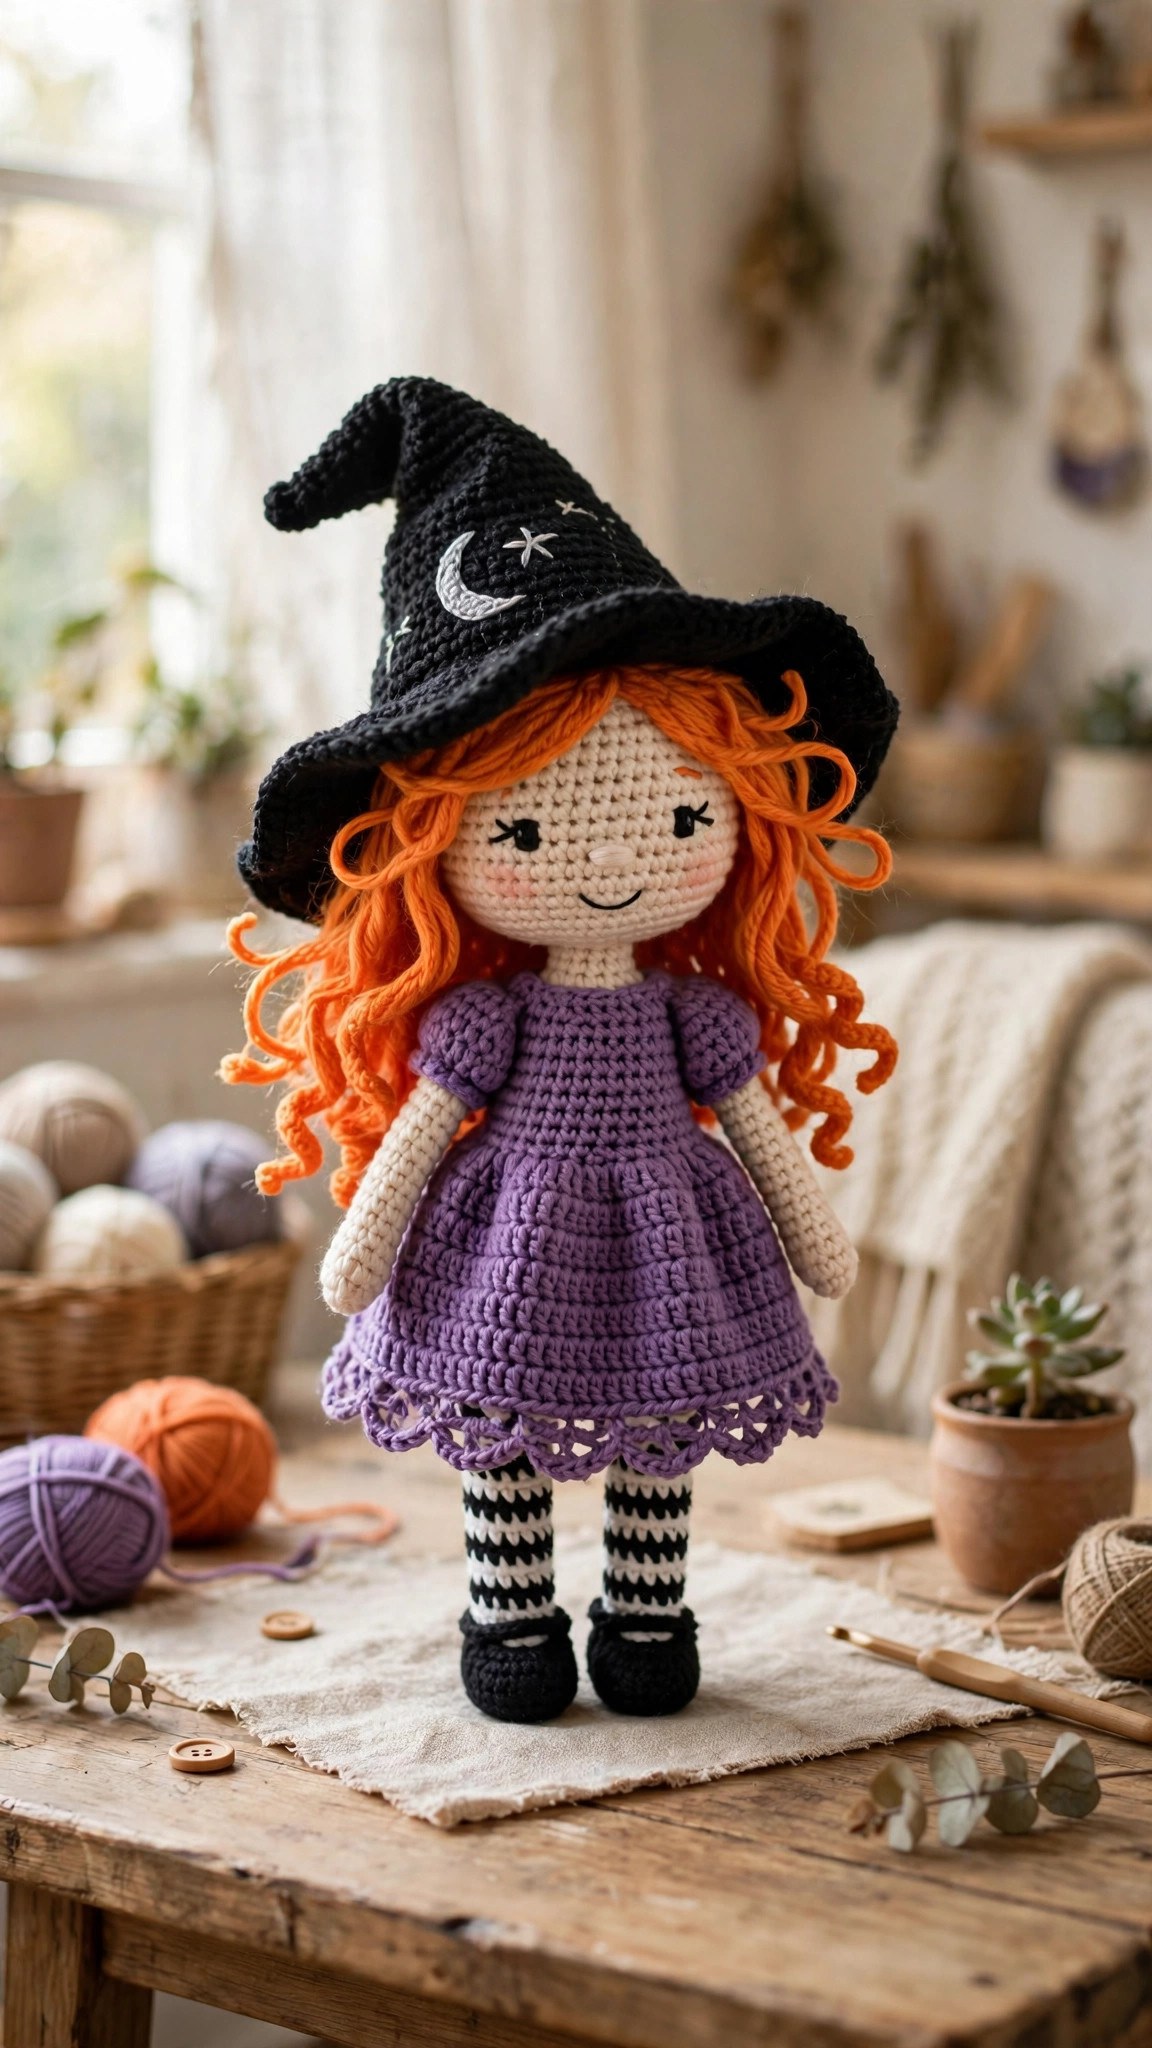
Crochet a 12 inch amigurumi witch doll with a pointy hat, purple dress, and striped stockings in about eight hours, then sit her on your Halloween shelf.

Patterns · Crochet
- Finished size
- 12 in tall
- Making time
- 8 hours
- Hook
- US G-6 (4.0 mm)
- Set
- Doll, hat, dress
- Skill
- Easy to Intermediate
In this post
- Key Takeaways
- Table of Contents
- Why You Will Love This Witch Doll
- Finished Size, Skill Level, and Time
- Materials You Need
- Abbreviations (US Terms)
- Gauge and Sizing Notes
- Part 1: The Head and the Body
- Part 2: The Hat and the Hair
- Part 3: Arms, Legs, and the Dress
- Part 4: Assembly and the Face
- Variations: Colors, Sizes, and Uses
- Troubleshooting a Witch Doll That Does Not Look Right
- Care Instructions
- Frequently Asked Questions
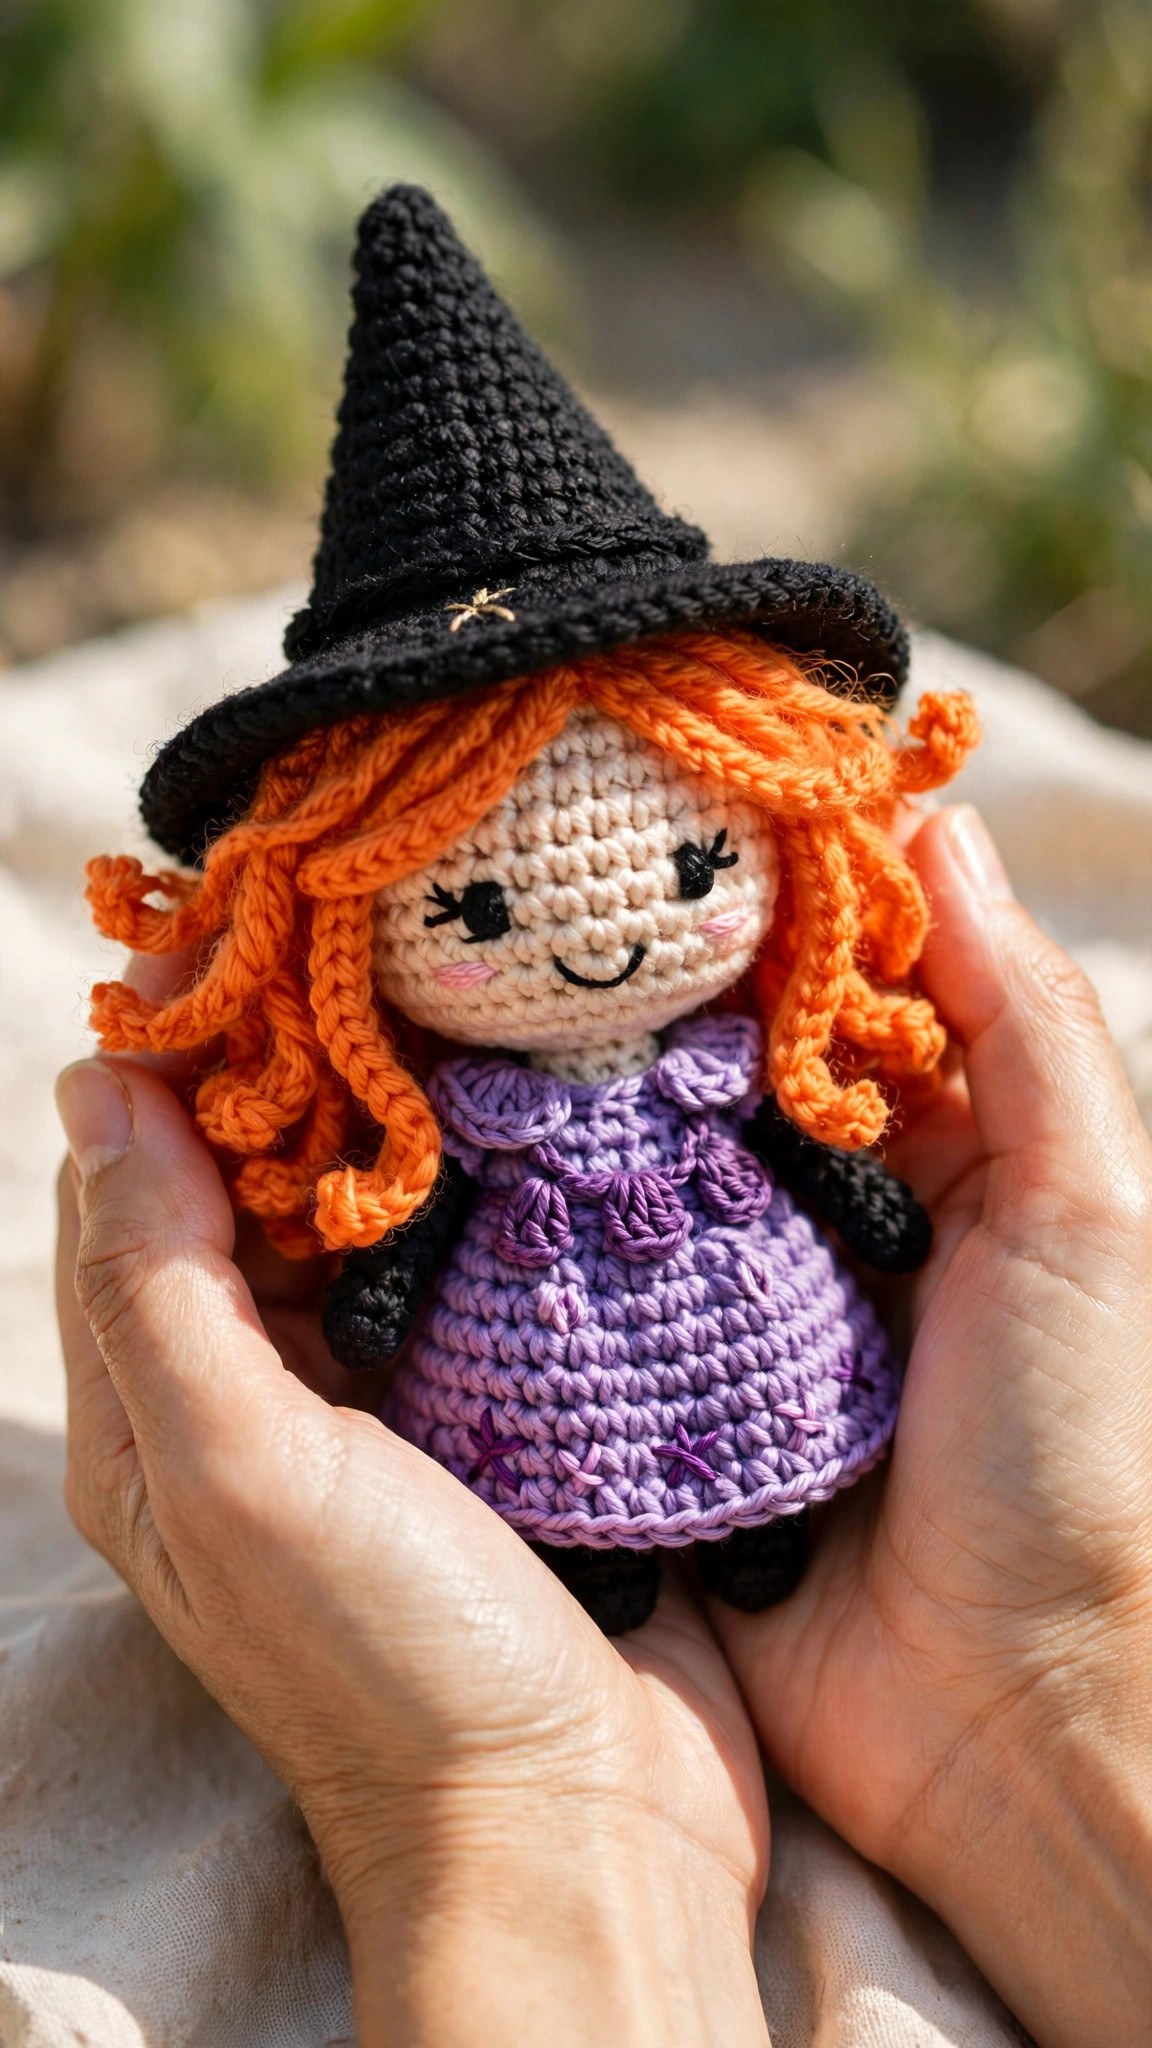
A crochet witch doll is the cutest way to bring a little Halloween magic into your home. This free witch crochet pattern makes a soft amigurumi witch doll with a pointy black hat, a purple dress, and striped stockings. She is about 12 inches tall, worked in the round with simple single crochet stitches, and she makes a lovely shelf decoration or Halloween gift.
This is an original Little Loop Finds design, written in US terms and completely free. The doll is made from separate pieces, a round head, a cone shaped body, a floppy hat, two arms, two legs, and a little dress, all sewn together with a tapestry needle.
A quick note on scope: this post is about one specific crochet witch, an amigurumi witch doll with a pointy hat and a dress, not a wearable witch hat. If you want a hat to wear instead, our crochet witch hat pattern free is the matching project.
Key Takeaways
- Free original pattern: a Little Loop Finds original, written in US terms, and completely free.
- An amigurumi witch doll: a 12 inch doll with a pointy hat, a purple dress, and striped stockings.
- One skill level: written for a confident beginner who knows single crochet.
- Simple stitches: worked in the round with single crochet, increases, and decreases only.
- A weekend project: one witch doll takes about 8 hours, one piece at a time.
Table of Contents
- Why You Will Love This Witch Doll
- Finished Size, Skill Level, and Time
- Materials You Need
- Abbreviations (US Terms)
- Gauge and Sizing Notes
- Part 1: The Head and the Body
- Part 2: The Hat and the Hair
- Part 3: Arms, Legs, and the Dress
- Part 4: Assembly and the Face
- Variations: Colors, Sizes, and Uses
- Troubleshooting a Witch Doll That Does Not Look Right
- Care Instructions
- Frequently Asked Questions
Why You Will Love This Witch Doll
A crochet witch doll turns a few balls of yarn into a character with real personality. The pointy hat flops to one side, the striped stockings peek out under the dress, and the orange hair gives her a friendly, storybook look instead of a spooky one.
The doll is worked in the round with single crochet, the easiest amigurumi stitch there is. Each piece starts with a magic ring and grows with simple increases, then shrinks with simple decreases. There is no colorwork and no tricky shaping. The hat is the best part, because it is a simple cone that flops over on its own.
Finished Size, Skill Level, and Time
- Finished size: about 12 inches tall from the tip of the hat to the bottom of the shoes, and about 4 inches wide at the dress. The head is about 3 inches across.
- Skill level: Easy to intermediate. You need a magic ring, single crochet, increases, decreases, and basic seaming. No color changes inside a round are needed.
- Time: about 8 hours per doll: 1 hour for the head, 1 hour for the body, 1 hour for the hat and hair, 2 hours for the arms, legs, and dress, and 3 hours for assembly and the face.
Materials You Need
| Item | What to get |
|---|---|
| Yarn, skin color | Worsted weight yarn in a skin tone, about 60 yards |
| Yarn, black | Worsted weight yarn in black, about 120 yards |
| Yarn, purple | Worsted weight yarn in purple, about 100 yards |
| Yarn, orange | Worsted weight yarn in orange, about 60 yards |
| Yarn, striped | Worsted weight yarn in white and black for the stockings, about 40 yards each |
| Hook | US G-6 (4.0 mm), or the size that gives you the gauge below |
| Notions | Tapestry needle, scissors, stitch marker, polyester stuffing, two 10 mm safety eyes, black embroidery floss |
Worsted weight yarn is the best choice for a crochet witch doll because it works up quickly, holds its shape when stuffed, and shows the single crochet texture clearly. A soft acrylic yarn works well and washes easily.
Safety eyes are the easiest way to give the doll a friendly face, and 10 mm eyes suit a 12 inch doll well. If the doll is for a small child, embroider the eyes with black yarn instead. A stitch marker is the most important notion here, because amigurumi is worked in a spiral with no turning chain, and it is easy to lose track of where a round starts.
Abbreviations (US Terms)
- ch = chain
- sl st = slip stitch
- sc = single crochet
- inc = increase (2 sc in one stitch)
- dec = decrease (sc 2 stitches together)
- st(s) = stitch(es)
- rep = repeat
- MR = magic ring
- FO = fasten off
Gauge and Sizing Notes
Gauge matters on an amigurumi doll because the pieces must be firm enough to hold their stuffing without gaps. Work a swatch of 12 sc and 12 rounds. It should be about 2 inches wide and 2 inches tall. If you can see stuffing through the stitches, go down a hook size. If the fabric is very stiff, go up a hook size.
The pattern is written for one size, a 12 inch doll. To make a smaller witch, use DK weight yarn and a US E-4 (3.5 mm) hook, which gives a doll about 9 inches tall. To make a larger witch, use bulky weight yarn and a US H-8 (5.0 mm) hook, which gives a doll about 15 inches tall. Keep the same stitch counts in every case, and change only the yarn and hook. Our amigurumi doll free pattern uses the same magic ring start if you want to practice the head on a simpler doll first.
Part 1: The Head and the Body
The witch doll starts with the two biggest pieces, a round head and a cone shaped body. Both are worked in the round in a spiral, with a stitch marker at the start of each round. Stuff each piece firmly as you go, a little at a time.
The Head
With the skin color yarn, make a magic ring.
- Round 1: 6 sc in the ring. (6)
- Rounds 2 to 6: increase evenly each round, working (sc, inc), then (2 sc, inc), then (3 sc, inc), then (4 sc, inc). (36)
- Rounds 7 to 12: sc in each st around. (36)
- Rounds 13 to 16: decrease evenly each round, working (4 sc, dec), then (3 sc, dec), then (2 sc, dec), then (sc, dec). (12)
Place the safety eyes between rounds 10 and 11, about 6 stitches apart, before you stuff the head. Stuff the head firmly, keeping it round and smooth, then fasten off, leaving a long tail for sewing. Count your stitches at the end of every round, because a missed increase will make the head lopsided.
The Body
With the purple yarn, make a magic ring.
- Round 1: 6 sc in the ring. (6)
- Rounds 2 to 6: increase evenly each round, working (sc, inc), then (2 sc, inc), then (3 sc, inc), then (4 sc, inc). (36)
- Rounds 7 to 14: sc in each st around. (36)
- Rounds 15 to 18: decrease evenly each round, working (4 sc, dec), then (3 sc, dec), then (2 sc, dec), then (sc, dec). (12)
The body should be about 5 inches tall when you reach round 18. Stuff it firmly, keeping the bottom flat so the doll can sit upright. Fasten off, leaving a long tail for sewing. The body is wider at the bottom than at the top, which gives the witch a dress shaped silhouette.
Part 2: The Hat and the Hair
The hat is the part that makes the doll a witch. It is a simple cone worked in the round, with a wide flat brim added at the end. The hair is orange yarn strands, attached one at a time around the head.
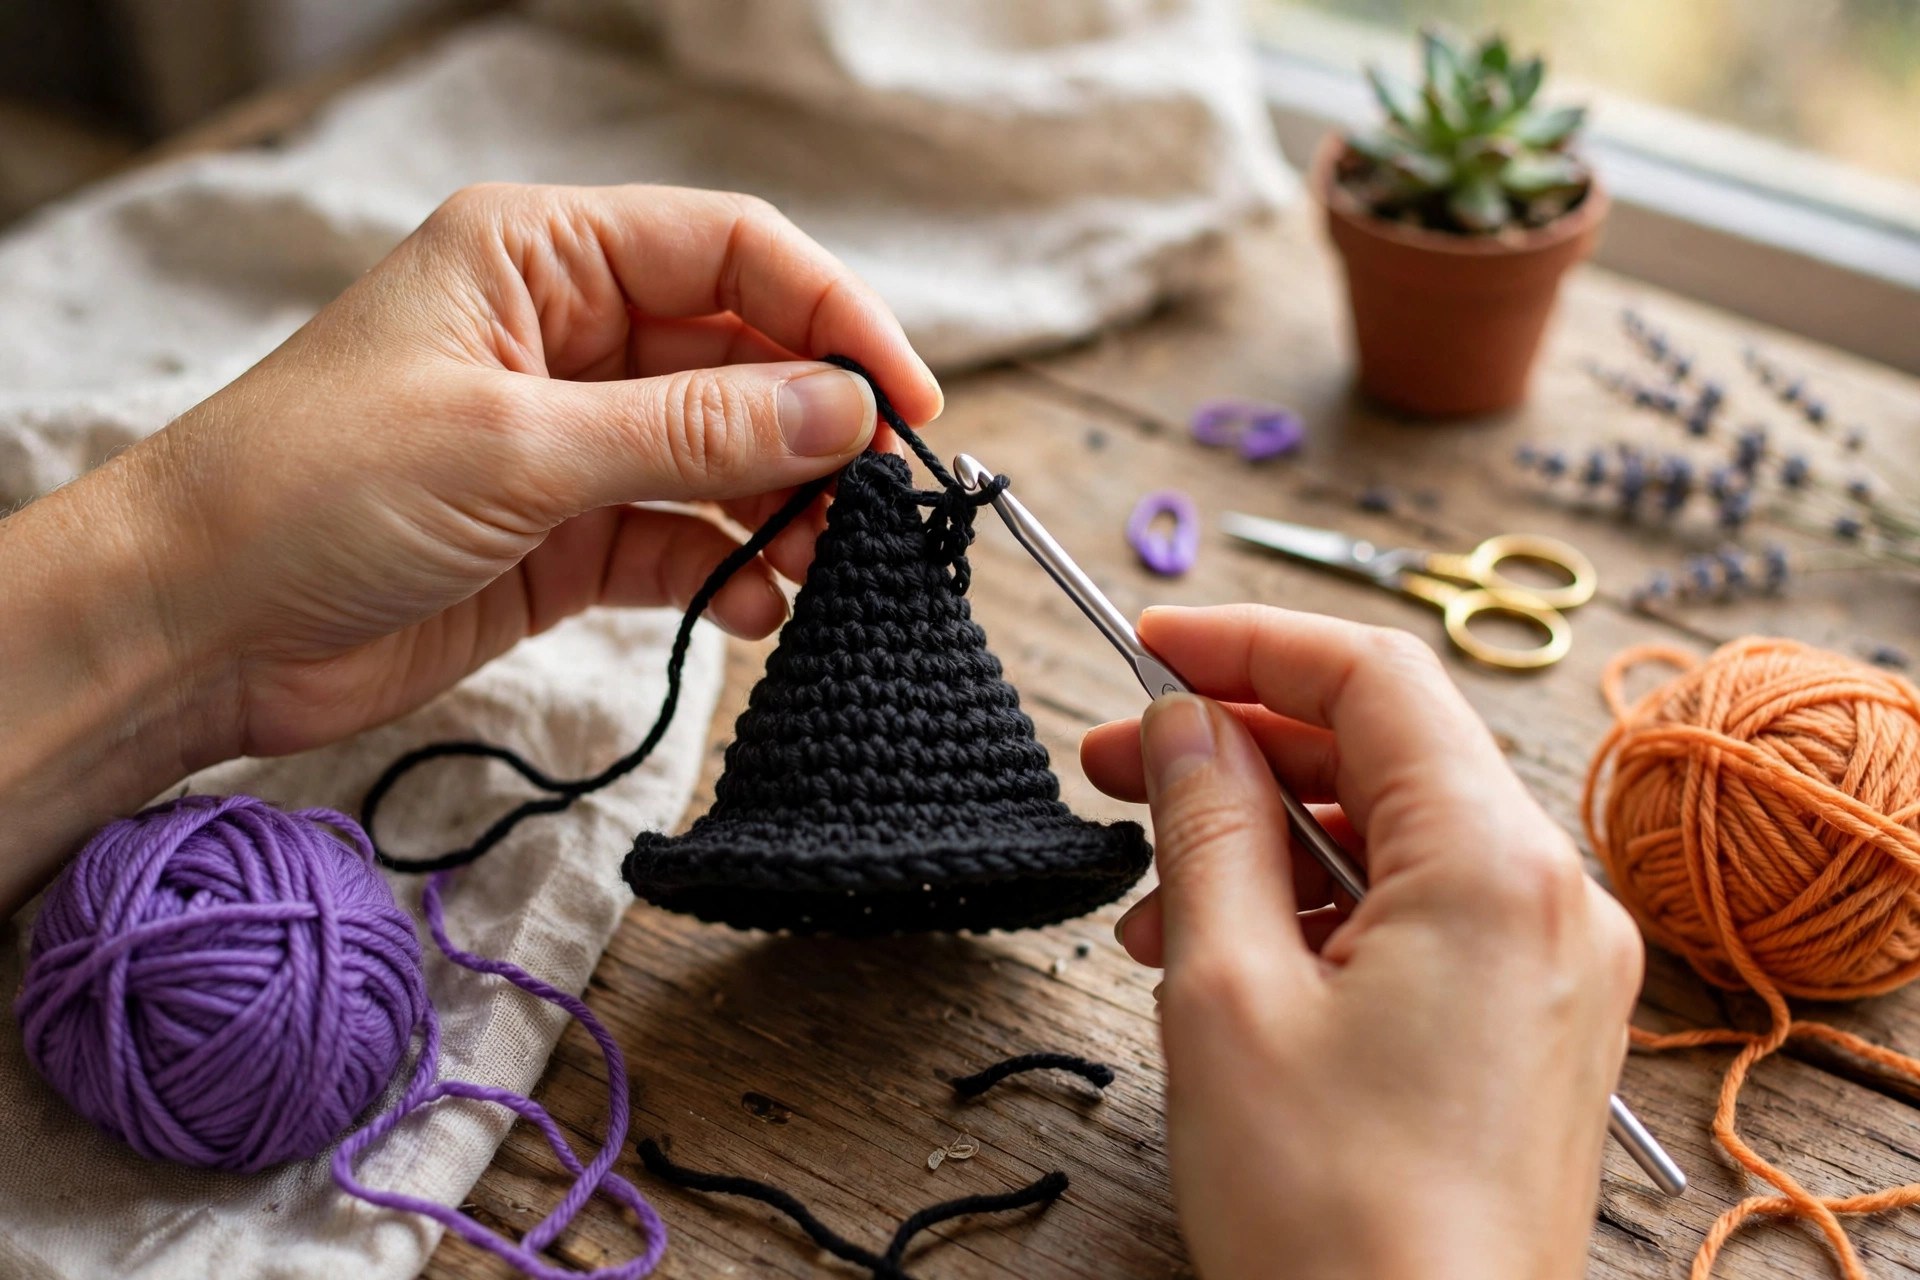
The Hat
With the black yarn, make a magic ring.
- Round 1: 6 sc in the ring. (6)
- Rounds 2 to 15: work an increase round and a plain round in turn, increasing by 3 stitches on each increase round: (sc, inc), then (2 sc, inc), then (3 sc, inc), then (4 sc, inc), then (5 sc, inc), then (6 sc, inc), then (7 sc, inc), then (8 sc, inc). (30)
- Round 16: (sc, inc) rep around. (45)
- Round 17: (2 sc, inc) rep around. (60)
- Round 18: sc in each st around, then fasten off and weave in the end. (60)
Rounds 16 to 18 form the brim, which should lie flat, about 5 inches across. If the brim curls up, work one more round of single crochet into it. If the brim ripples, take out the last brim round and work it with fewer increases.
To make the hat flop, bend the tip over to one side and tack it down with a few stitches of black yarn. For a purple band, chain 30 with purple yarn, join, work 2 rounds of single crochet, then slip the band over the hat and stitch it in place. Our mini amigurumi patterns free collection has more small hats if you want to practice the cone shape on a smaller piece first.
The Hair
Cut about 30 strands of orange yarn, each about 8 inches long. Fold each strand in half, pull the loop through a stitch on the head with your hook, then pull the two ends through the loop and tug gently to knot it. Work around the head in rows, starting at the forehead and moving back, leaving the face clear.
Trim the hair to about 3 inches long, and give it a little fringe across the forehead if you like. A witch doll looks best with slightly wild hair. If the hair looks thin, add more strands between the ones you have already placed.
Part 3: Arms, Legs, and the Dress
The arms and legs are small tubes worked in the round, and the dress is a simple cone that slips over the body. The legs wear striped stockings, worked by changing color every two rounds.
The Arms
With the skin color yarn, make a magic ring. Make two arms, exactly the same.
- Round 1: 6 sc in the ring. (6)
- Round 2: (sc, inc) rep around. (9)
- Rounds 3 to 10: sc in each st around. (9)
Change to purple yarn at round 11, and work rounds 11 to 16 in purple, 1 sc in each stitch around. (9) The purple part is the sleeve. Stuff the hand end lightly, leave the top half unstuffed so the arm can be sewn flat, then fasten off, leaving a long tail for sewing.
The Legs and Striped Stockings
With the black yarn, make a magic ring. Make two legs, exactly the same.
- Round 1: 6 sc in the ring. (6)
- Round 2: (sc, inc) rep around. (9)
- Rounds 3 to 12: sc in each st around, changing color every two rounds in this order: black, white, black, white, black. (9)
Stuff each leg lightly, then fasten off, leaving a long tail for sewing. Each leg should be about 4 inches long, with black shoes at the bottom and black and white stripes above.
The Dress
With the purple yarn, chain 36 and join with a slip stitch to form a ring, taking care not to twist the chain.
- Round 1: ch 1, sc in each ch around, join with a sl st. (36)
- Rounds 2 to 9: work an increase round and a plain round in turn, increasing by 6 stitches on each increase round: (5 sc, inc), then (6 sc, inc), then (7 sc, inc), then (8 sc, inc). (60)
- Round 10: work 1 round of (sc, ch 1, skip 1) around for a lacy hem edge, join and fasten off.
The dress should slip over the body easily and fall to just above the shoes. Try it on the body before you sew anything, and add or remove a round if it is too long or too short.
Part 4: Assembly and the Face
This is the part where the pieces become a witch. Sew the head to the body, attach the arms and legs, put on the dress and the hat, and add the face. Work slowly here, because neat assembly is what makes a doll look finished.
Sewing the Pieces Together
Thread a tapestry needle with the long tail from the head, and sew the head to the top of the body with small whip stitches, working around the join one stitch at a time. Pull each stitch snug, and go around the join twice so it is strong.
Sew the arms to the sides of the body, just below the head, with the purple sleeve at the top and the skin color hand at the bottom. Pin them in place first, and check from the front that both arms sit at the same height. Sew the legs to the bottom of the body, about 1 inch apart, with the shoes pointing forward. Set the doll down and check that she sits upright.
Slip the dress over the body and pull it up to the neck. Stitch the top of the dress to the body with a few small stitches so it does not slip down. Place the hat on the head, tilted slightly to one side, and stitch the brim to the hair in a few places so it stays put. Our 30 free amigurumi animal patterns collection uses the same whip stitch assembly if you want to practice joining pieces first.
The Face
The eyes are already in place, so the face needs only a smile and cheeks. With black embroidery floss, embroider a small smile under the eyes, working a curved line about 4 stitches wide, with a tiny stitch up at each end.
Add rosy cheeks with a little pink yarn or a touch of pink blush, placed just below and outside the eyes. Step back and look at the doll from a little distance, because a face that looks fine up close can look uneven from far away.
Variations: Colors, Sizes, and Uses
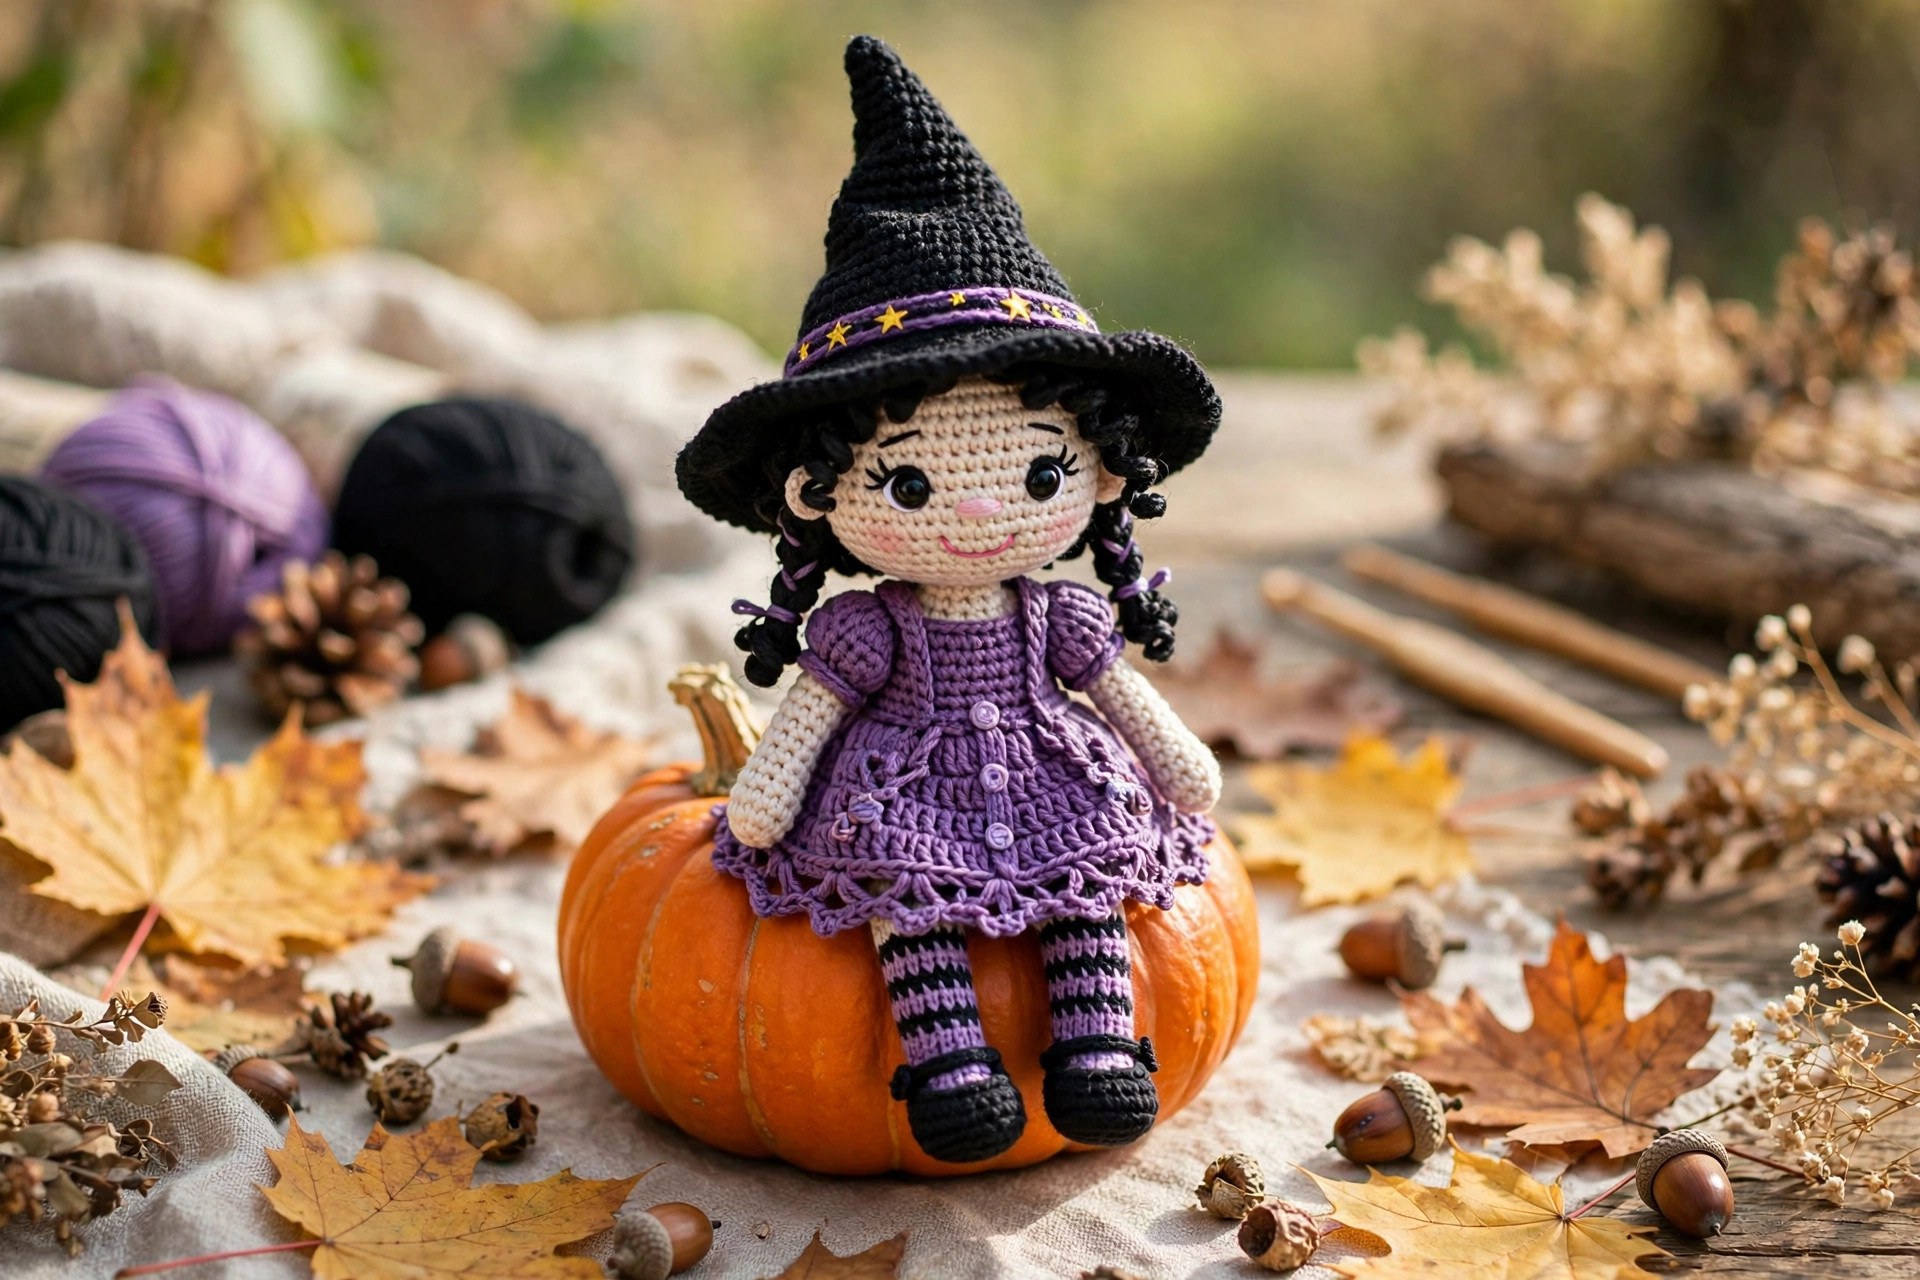
- Classic Halloween witch: black and purple, just as written, with orange hair and striped stockings.
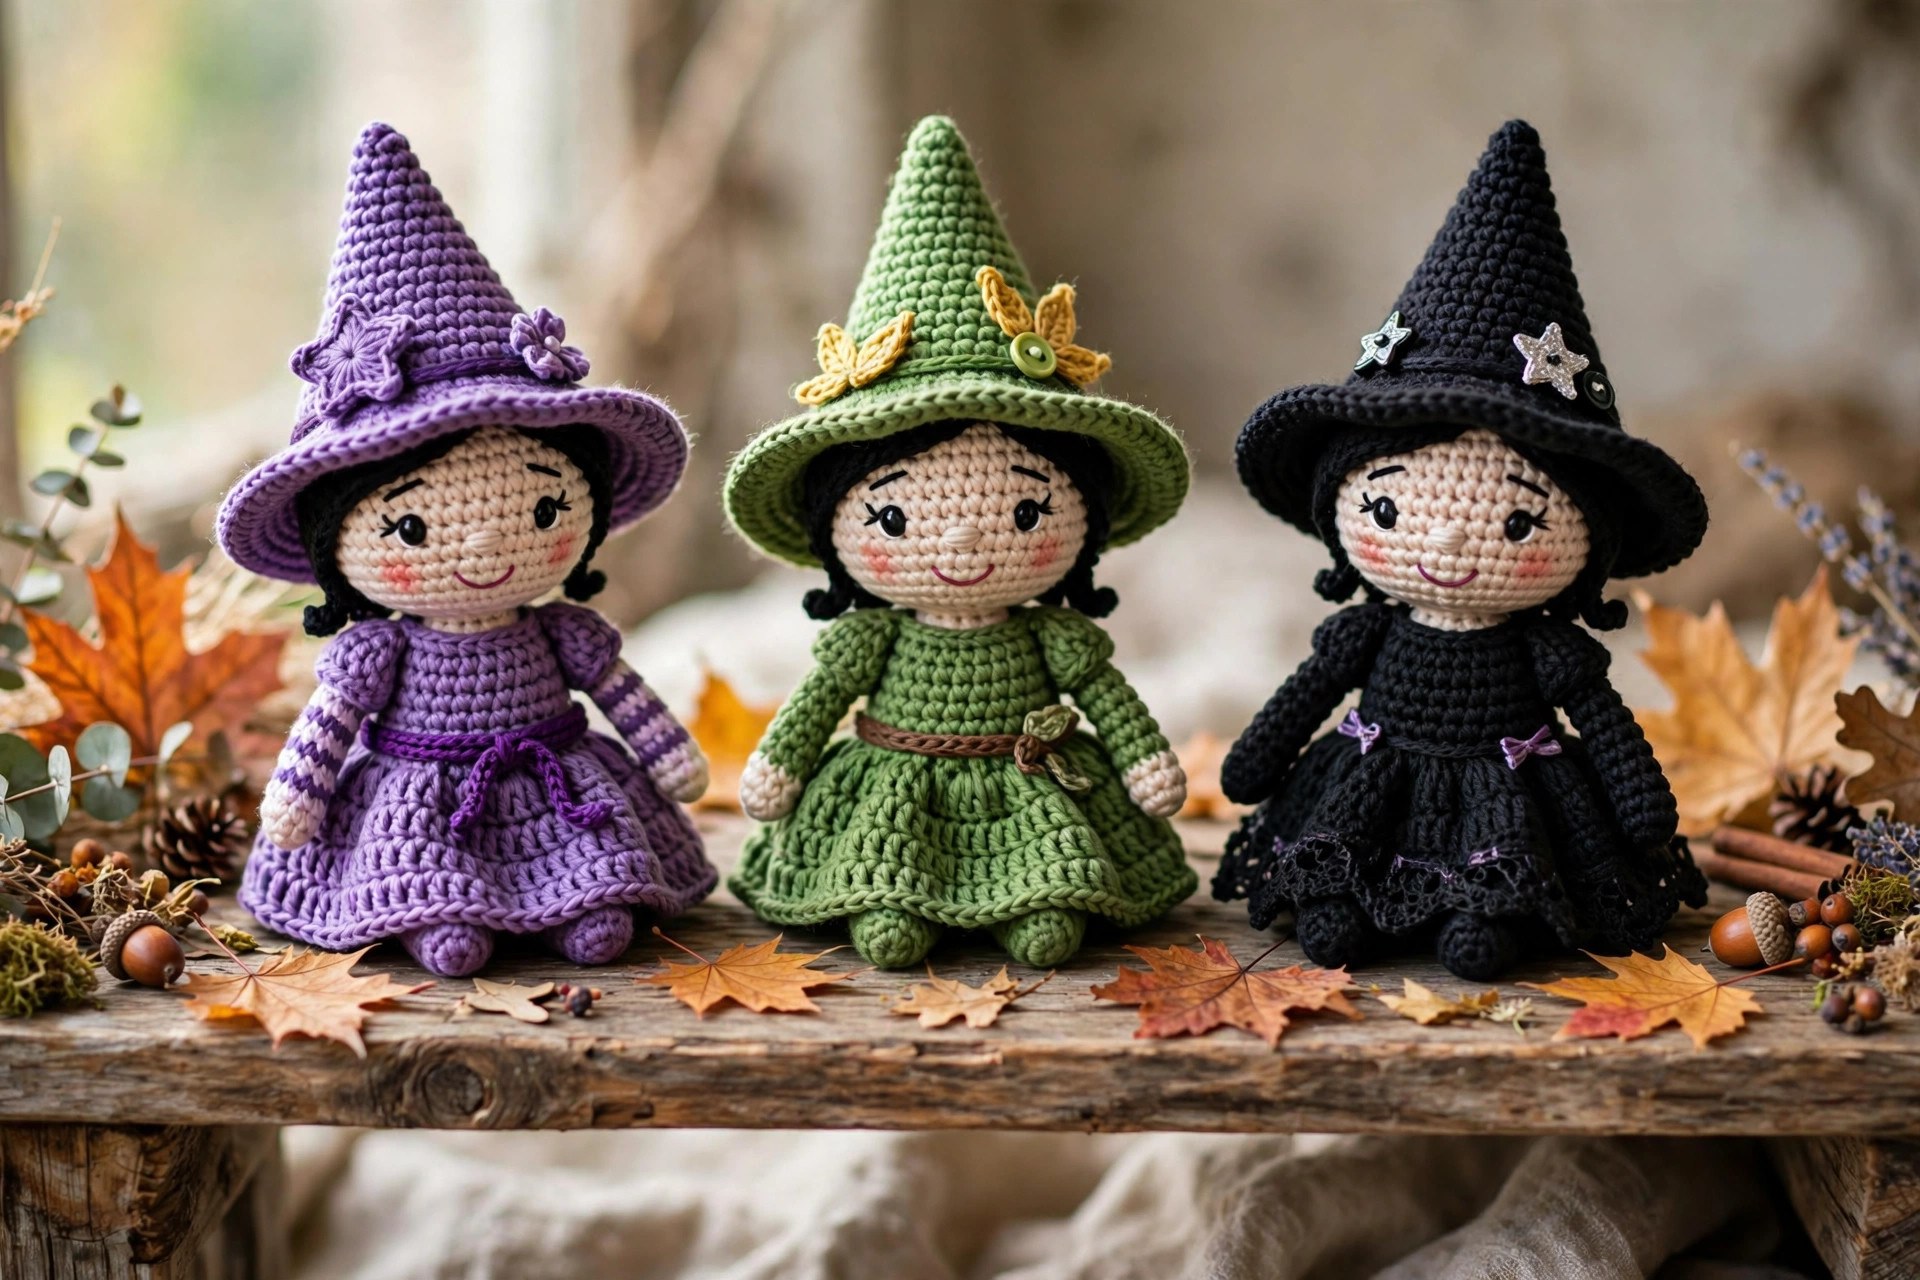
- Green witch: a green dress and black hair for a classic storybook witch.
- Autumn witch: a burnt orange dress and a brown hat for a softer autumn look.
- Good witch: a pink dress and a lavender hat for a friendly witch that suits a child's room.
- Halloween shelf sitter: make two witches in different colors and sit them side by side on a mantel.
- Gift set: pair a witch doll with a matching crochet dragonfly pattern in the same purple yarn.
Troubleshooting a Witch Doll That Does Not Look Right
- My doll's head is lopsided. A stitch was missed or added in the increase rounds. Count your stitches at the end of every round.
- My stuffing shows through the stitches. The hook is too big for the yarn, or the doll is overstuffed. Go down a hook size, or take out a little stuffing.
- My hat brim curls up. The brim has too few increases, or the yarn is stiff. Work one more round of single crochet into the brim.
- My stripes do not line up. The color change happened on a different round on each leg. Count the rounds on the first leg and match them on the second leg.
- My doll will not sit up. The body is understuffed at the bottom, or the legs are sewn too far apart. Add stuffing to the bottom of the body and press it flat.
Care Instructions
Hand wash a crochet witch doll in cool water with a mild detergent, and press the water out gently without wringing. Reshape the hat and the dress and lay the doll flat to dry away from direct heat. Hand washing keeps the face stitching neat and the hair from tangling. Store the doll sitting upright, away from direct sunlight, so the black yarn does not fade.
Frequently Asked Questions
Is this witch crochet pattern good for beginners?
Yes, it is best for a confident beginner who knows single crochet, increases, and decreases. Every piece uses the same stitches, and the dress is a simple cone, so it is a great first amigurumi doll.
What yarn is best for a crochet witch doll?
Worsted weight yarn is the best choice, because it works up quickly, holds its shape when stuffed, and shows the single crochet texture clearly. A soft acrylic yarn works well and washes easily.
How tall is the finished witch doll?
The finished doll is about 12 inches tall from the tip of the hat to the bottom of the shoes. Use DK weight yarn and a US E-4 (3.5 mm) hook for a doll about 9 inches tall, or bulky weight yarn and a US H-8 (5.0 mm) hook for a doll about 15 inches tall.
Can I make this witch doll without safety eyes?
Yes, embroider the eyes with black yarn instead. Work two small French knots where the eyes would go, between rounds 10 and 11, about 6 stitches apart. Embroidered eyes are the safest choice if the doll is for a small child.
Is this pattern a witch hat or a witch doll?
This pattern makes a witch doll, an amigurumi figure with a pointy hat, a dress, and striped stockings. It is not a wearable hat. If you want a hat to wear, see our crochet witch hat pattern.
Can I sell witch dolls made from this pattern?
Yes, you may sell finished witch dolls made from this free pattern, with credit to Little Loop Finds. Do not sell or republish the pattern text itself.
Happy stitching, and may your little witch bring friendly magic to your shelf.