Crochet Dragonfly Pattern (Amigurumi Dragonfly)
Crochet a soft amigurumi dragonfly with a striped body and four delicate wings in about three hours, then let it brighten a shelf or a nursery mobile.

Patterns · Crochet
- Finished size
- 8 in long
- Making time
- 3 hours
- Hook
- US E-4 (3.5 mm)
- Set
- Dragonfly, 4 wings
- Skill
- Easy
In this post
- Key Takeaways
- Table of Contents
- Why You Will Love This Dragonfly
- Finished Size, Skill Level, and Time
- Materials You Need
- Abbreviations (US Terms)
- Gauge and Sizing Notes
- Part 1: The Body and the Head
- Part 2: The Four Wings
- Part 3: Assembly, Face, and Antennae
- Variations: Colors, Sizes, and Uses
- Troubleshooting a Dragonfly That Does Not Look Right
- Care Instructions
- Frequently Asked Questions
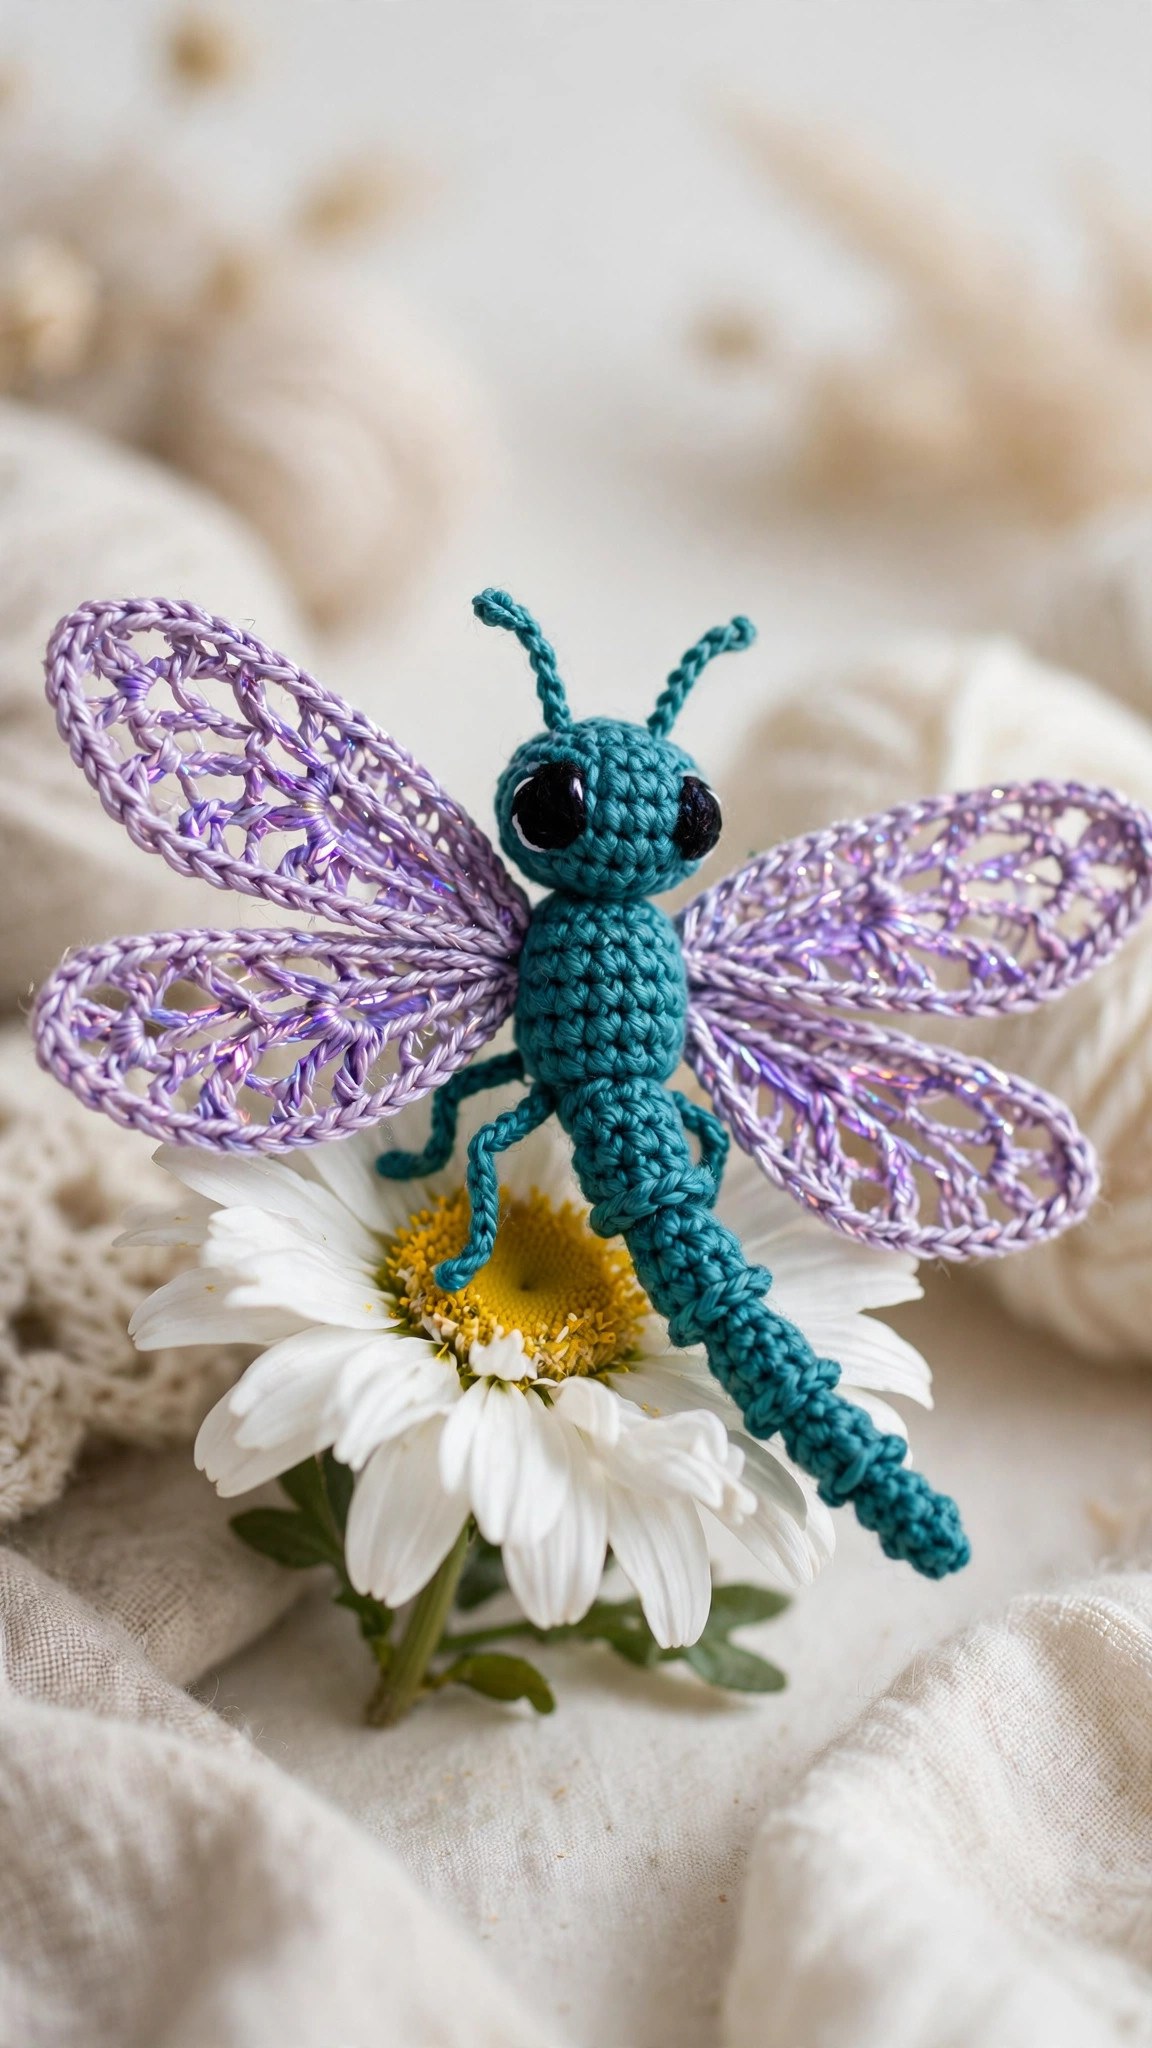
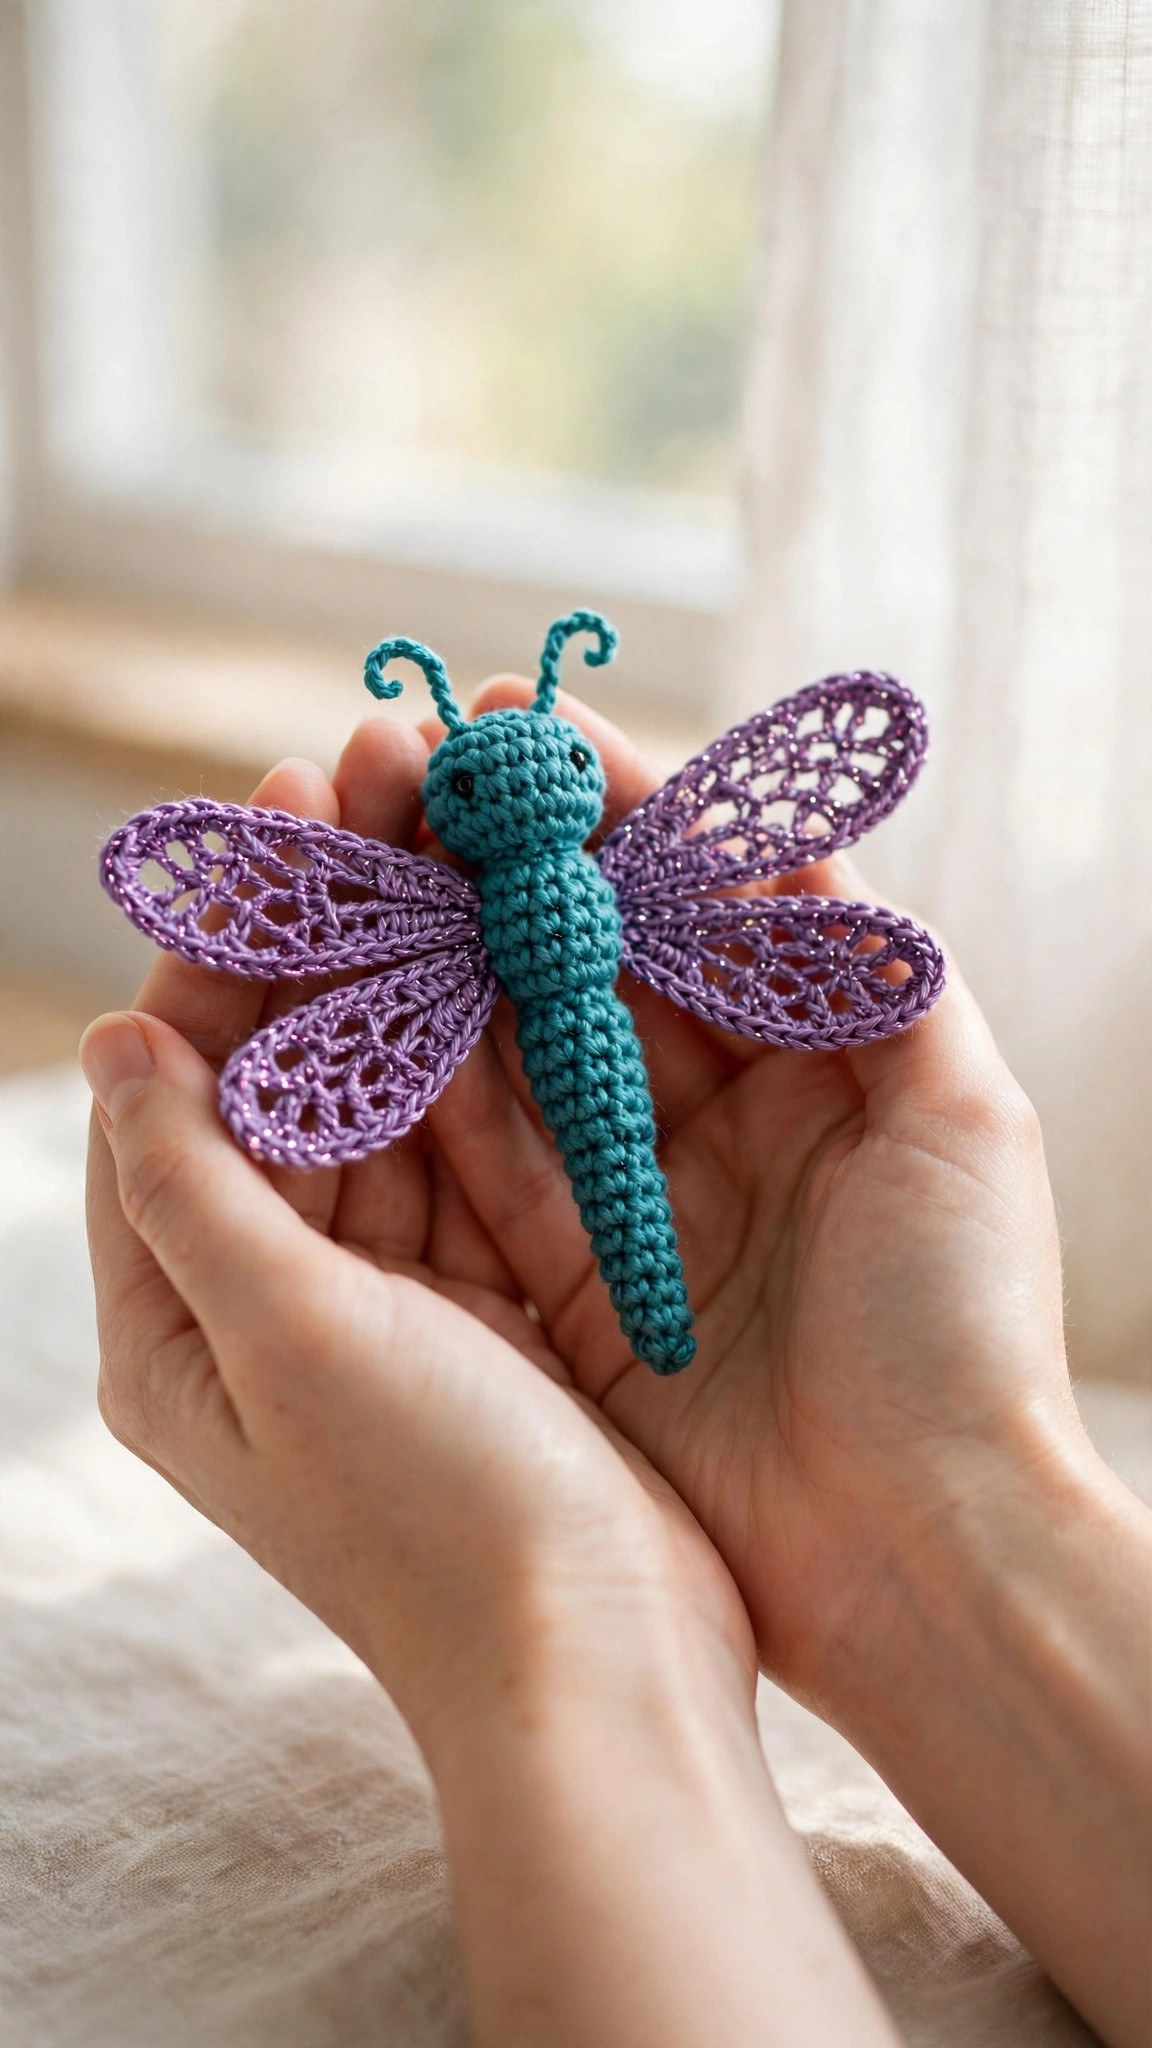
A crochet dragonfly is one of the sweetest small amigurumi projects you can make, and it works up fast enough to finish in a single evening. This free crochet dragonfly pattern makes a soft amigurumi dragonfly with a long striped body, a round head, big sparkly eyes, and four delicate wings. It takes about 3 hours, uses less than 100 yards of yarn, and makes a lovely gift or a cheerful decoration.
This is an original Little Loop Finds design, written in US terms and completely free. The dragonfly is worked in the round with single crochet, so there are no seams to sew except for joining the wings and the antennae. The body is one long piece, the head is a simple ball, and the wings are flat ovals worked in rows.
A quick note on scope: this post is about one specific crochet dragonfly, a soft amigurumi dragonfly with four wings and a long body, made to sit on a shelf or hang from a mobile. That makes it different from a flat dragonfly applique, which is a flat shape sewn onto a blanket or a bag. If you want a flat insect shape instead, our crochet butterfly pattern is a good next project.
Key Takeaways
- Free original pattern: a Little Loop Finds original design, written in US terms, and completely free.
- A soft amigurumi dragonfly: a long striped body, a round head, big eyes, and four delicate wings.
- One size, about 8 inches long: the body measures about 8 inches from head to tail, with a wingspan of about 6 inches.
- Simple stitches: worked in the round with single crochet, increases, and decreases only.
- A 3 hour project: one dragonfly takes about 3 hours, worked one small piece at a time.
Table of Contents
- Why You Will Love This Dragonfly
- Finished Size, Skill Level, and Time
- Materials You Need
- Abbreviations (US Terms)
- Gauge and Sizing Notes
- Part 1: The Body and the Head
- Part 2: The Four Wings
- Part 3: Assembly, Face, and Antennae
- Variations: Colors, Sizes, and Uses
- Troubleshooting a Dragonfly That Does Not Look Right
- Care Instructions
- Frequently Asked Questions
Why You Will Love This Dragonfly
A crochet dragonfly brings a little bit of summer indoors. The long body and the wide wings give it a graceful shape that looks good on a shelf, in a window, or on a plant pot.
The dragonfly is made from small pieces, so it is a perfect project for using up leftover yarn. The body uses one main color, the stripes use a second color, and the wings use a light, airy yarn. You can make one piece in a spare half hour, and the whole dragonfly comes together in an evening.
Finished Size, Skill Level, and Time
- Finished size: one size. The body measures about 8 inches long from head to tail, and about 1.5 inches wide at the head. The wingspan measures about 6 inches across.
- Skill level: Easy. You need a magic ring, single crochet, increases, decreases, and basic sewing to join the pieces. The wings are worked flat in rows, and everything else is worked in the round.
- Time: about 3 hours per dragonfly: 1 hour for the body and head, 1 hour for the four wings, and 1 hour for assembly and the face.
Materials You Need
| Item | What to get |
|---|---|
| Yarn, main color | DK weight yarn in teal, about 50 yards |
| Yarn, stripe color | DK weight yarn in lilac or purple, about 20 yards |
| Yarn, wing color | DK or fingering weight yarn in white or pale lilac, about 30 yards |
| Hook | US E-4 (3.5 mm), or the size that gives you the gauge below |
| Notions | Tapestry needle, scissors, stitch markers, toy stuffing, 9 mm safety eyes, craft wire (optional) |
DK weight yarn is the best choice for a crochet dragonfly because it is light enough for the wings to hold their shape, and firm enough for the body to keep its long, slim form. A cotton yarn works well for the body, because it gives a clean stitch definition and the stripes show up clearly. A soft acrylic yarn also works, and it is the best choice if you want a dragonfly that can be washed often. Safety eyes give the dragonfly a friendly face, and 9 mm eyes are the right size here. If the dragonfly is for a baby or a small child, embroider the eyes with black yarn instead, because safety eyes can come loose. A short piece of craft wire inside each wing is optional, and it helps the wings hold a gentle curve. A stitch marker is the most important notion here, because the body is worked in a continuous spiral. Mark the first stitch of every round, and move the marker up as you work.
Abbreviations (US Terms)
- ch = chain
- sl st = slip stitch
- sc = single crochet
- hdc = half double crochet
- dc = double crochet
- inc = increase (2 sc in the same stitch)
- dec = decrease (sc 2 together)
- st(s) = stitch(es)
- rep = repeat
- rnd = round
- RS = right side
- WS = wrong side
- FO = fasten off
Gauge and Sizing Notes
Gauge matters on an amigurumi dragonfly because the stuffing shows through if the stitches are too loose. Work a swatch of 10 sc and 10 rows in the main color. It should be about 2 inches wide and 2 inches tall. If it is wider, go down a hook size. If it is narrower, go up a hook size.
The pattern is written in one size, and the dragonfly measures about 8 inches long at the gauge above. For a smaller dragonfly, use a fingering weight yarn with a US C-2 (2.75 mm) hook. For a larger one, use a worsted weight yarn with a US G-6 (4.0 mm) hook. The stripes are worked by changing color every few rounds, so keep your tension even when you change yarn. Carry the unused color loosely up the inside of the body instead of cutting it each time. Our crochet bee pattern uses the same stripe method.
Part 1: The Body and the Head
The dragonfly starts with the body, a long slim tube worked in the round from the tail up to the neck. The head is a separate ball, worked in the round and joined to the body at the end. Work in continuous rounds.
The Body
With the main color, make a magic ring.
- Rnd 1: 6 sc in the ring. (6)
- Rnd 2: inc in each st around. (12)
- Rnd 3: (sc, inc) rep 6 times. (18)
- Rnd 4: sc in each st around. (18)
- Rnd 5: (sc in the next 2 sts, inc) rep 6 times. (24)
- Rnds 6 to 8: sc in each st around. (24)
The body is widest in the middle, and it narrows gently toward the tail and toward the neck. Change color at the start of round 9, and keep alternating in blocks of 3 rounds, stripe color then main color, until the body is long enough. This gives the dragonfly its classic banded look.
- Rnds 9 to 20: alternate 3 rounds stripe color and 3 rounds main color, sc in each st around. (24)
Now begin to narrow the body toward the tail. Stuff the body lightly as you work, a little at a time, so the stuffing stays even and the body keeps its slim shape. Do not overstuff the tail, because a fat tail makes the dragonfly look like a bee.
- Rnd 21: (sc in the next 2 sts, dec) rep 6 times. (18)
- Rnds 22 to 24: sc in each st around. (18)
- Rnd 25: (sc, dec) rep 6 times. (12)
- Rnds 26 to 28: sc in each st around. (12)
- Rnd 29: dec in each st around. (6)
Fasten off, leaving a 12 inch tail. Thread the tail through the remaining 6 stitches and pull it closed to shape the tip of the tail. Weave in the end on the inside of the body. The body should be about 6 inches long when you finish.
The Head
With the main color, make a magic ring.
- Rnd 1: 6 sc in the ring. (6)
- Rnd 2: inc in each st around. (12)
- Rnd 3: (sc, inc) rep 6 times. (18)
- Rnd 4: (sc in the next 2 sts, inc) rep 6 times. (24)
- Rnds 5 to 9: sc in each st around. (24)
- Rnd 10: (sc in the next 2 sts, dec) rep 6 times. (18)
- Rnd 11: (sc, dec) rep 6 times. (12)
Stuff the head firmly, so it holds a round shape and the eyes sit flat. If the dragonfly is for a child, put the safety eyes in now, before you close the head, placing them on rounds 7 and 8 with 5 stitches between them. Fasten off, leaving a 12 inch tail for sewing the head to the body.
Part 2: The Four Wings
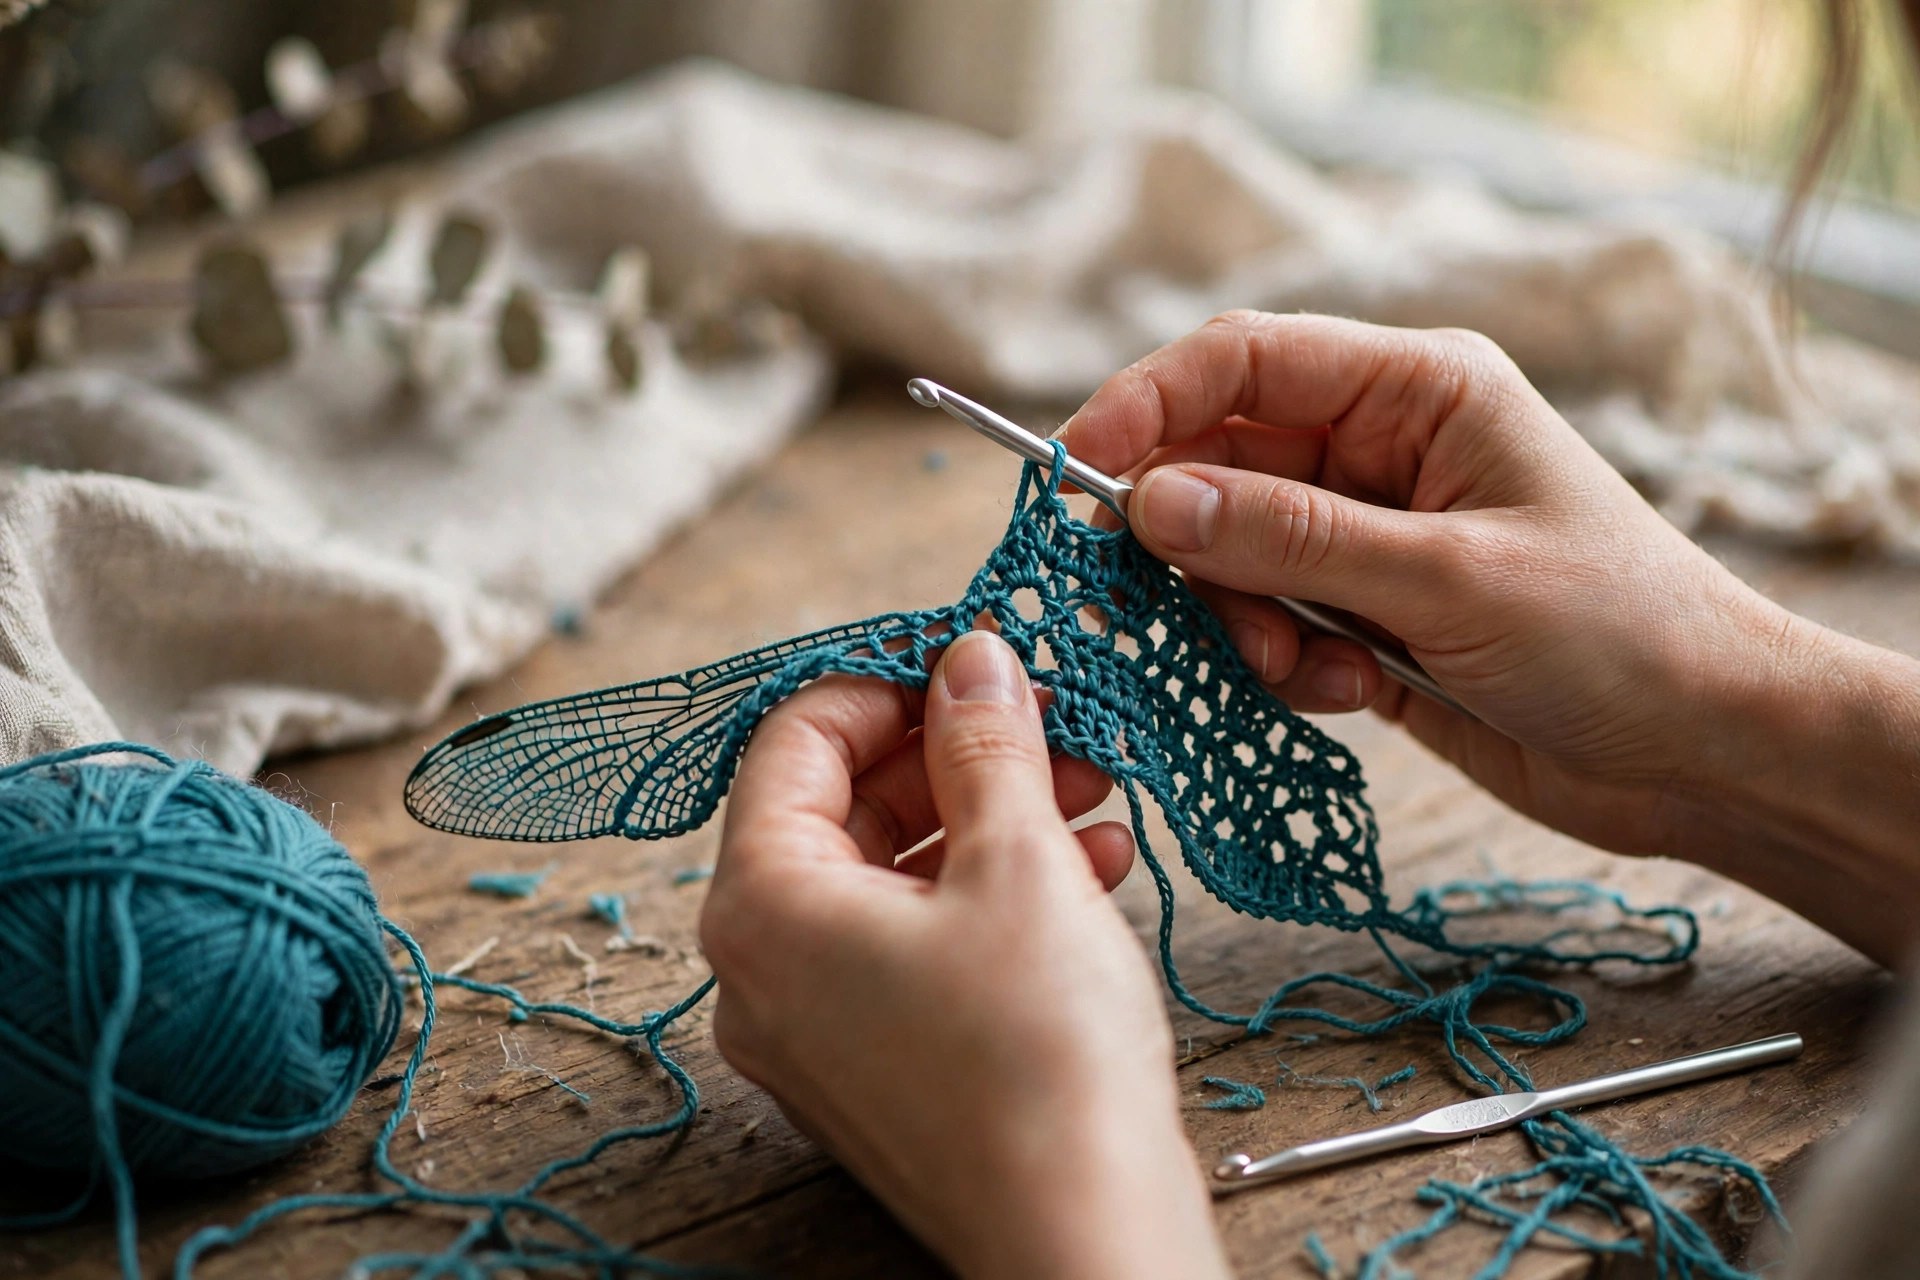
The wings are what make a dragonfly look like a dragonfly, so take your time with them. Each wing is a flat oval, worked in rows with the wing color yarn. Make two large wings for the front and two smaller wings for the back.
The Large Wings (Make 2)
With the wing color, chain 16.
- Row 1: sc in the 2nd ch from the hook and in each ch across. (15)
- Row 2: ch 1, turn, inc in the first st, sc in each st across to the last st, inc in the last st. (17)
- Row 3: ch 1, turn, sc in each st across. (17)
- Row 4: ch 1, turn, inc in the first st, sc in each st across to the last st, inc in the last st. (19)
- Rows 5 to 8: ch 1, turn, sc in each st across. (19)
- Row 9: ch 1, turn, dec, sc in each st across to the last 2 sts, dec. (17)
- Row 10: ch 1, turn, sc in each st across. (17)
- Row 11: ch 1, turn, dec, sc in each st across to the last 2 sts, dec. (15)
- Row 12: ch 1, turn, dec, sc in each st across to the last 2 sts, dec. (13)
Fasten off, leaving a 10 inch tail for sewing the wing to the body. The large wing should be about 3 inches long and 1.5 inches wide at its widest point, with a gently rounded tip.
The Small Wings (Make 2)
With the wing color, chain 13.
- Row 1: sc in the 2nd ch from the hook and in each ch across. (12)
- Row 2: ch 1, turn, inc in the first st, sc in each st across to the last st, inc in the last st. (14)
- Row 3: ch 1, turn, sc in each st across. (14)
- Row 4: ch 1, turn, inc in the first st, sc in each st across to the last st, inc in the last st. (16)
- Rows 5 to 6: ch 1, turn, sc in each st across. (16)
- Row 7: ch 1, turn, dec, sc in each st across to the last 2 sts, dec. (14)
- Row 8: ch 1, turn, sc in each st across. (14)
- Row 9: ch 1, turn, dec, sc in each st across to the last 2 sts, dec. (12)
- Row 10: ch 1, turn, dec, sc in each st across to the last 2 sts, dec. (10)
Fasten off, leaving a 10 inch tail for sewing. The small wing should be about 2.5 inches long and 1.25 inches wide. Lay all four wings side by side before you sew them on, and check that each pair matches.
Part 3: Assembly, Face, and Antennae
This is the part where the pieces become a dragonfly. Sew the head to the body, join the wings in pairs on each side, add the face, and finish with two curly antennae.
Joining the Head to the Body
Thread the tail from the head onto a tapestry needle, and sew the head to the top of the body with small whip stitches, working around the opening one stitch at a time. Pull each stitch snug so the seam lies flat and no stuffing shows through. The head should sit straight, so check it from the front and from the side before you finish the seam.
Attaching the Wings
Pin the wings in place before you sew them, so you can check the position from every angle. The large wings go on the upper body, just behind the head, and the small wings go about half an inch below them. Each wing should stick out to the side at a slight upward angle. Sew each wing to the body with a few small stitches through the base of the wing, working through the body stitches so the join is strong. Sew the large wing first, then the small wing just below it on the same side, then repeat on the other side. The wings should mirror each other, so check from above after each wing. Our crochet leaf pattern uses the same flat shaping if you want to practice the sewing on a simpler leaf first.
If you are using craft wire, thread a short piece through the base of each wing before you sew it on, and bend it gently so the wing holds a soft curve. Trim the wire so it stays inside the wing.
The Face and the Antennae
If you have not already placed the safety eyes, sew or embroider the eyes now, on rounds 7 and 8 of the head, with 5 stitches between them. For embroidered eyes, work a small French knot or a few straight stitches in black yarn for each eye, and keep the two eyes the same size. Add a tiny smile with a single curved line of black yarn below and between the eyes, worked in backstitch across 3 stitches.
For the antennae, cut two pieces of yarn in the main color, each about 6 inches long. Fold each piece in half and thread the folded end through the top of the head, about half an inch apart, then pull the loop through and pass the ends through the loop to knot it in place. Trim each antenna to about 1.5 inches long, and curl the tip around a pencil. Our free crochet hummingbird pattern has the same antennae finish on another small flying creature.
Variations: Colors, Sizes, and Uses
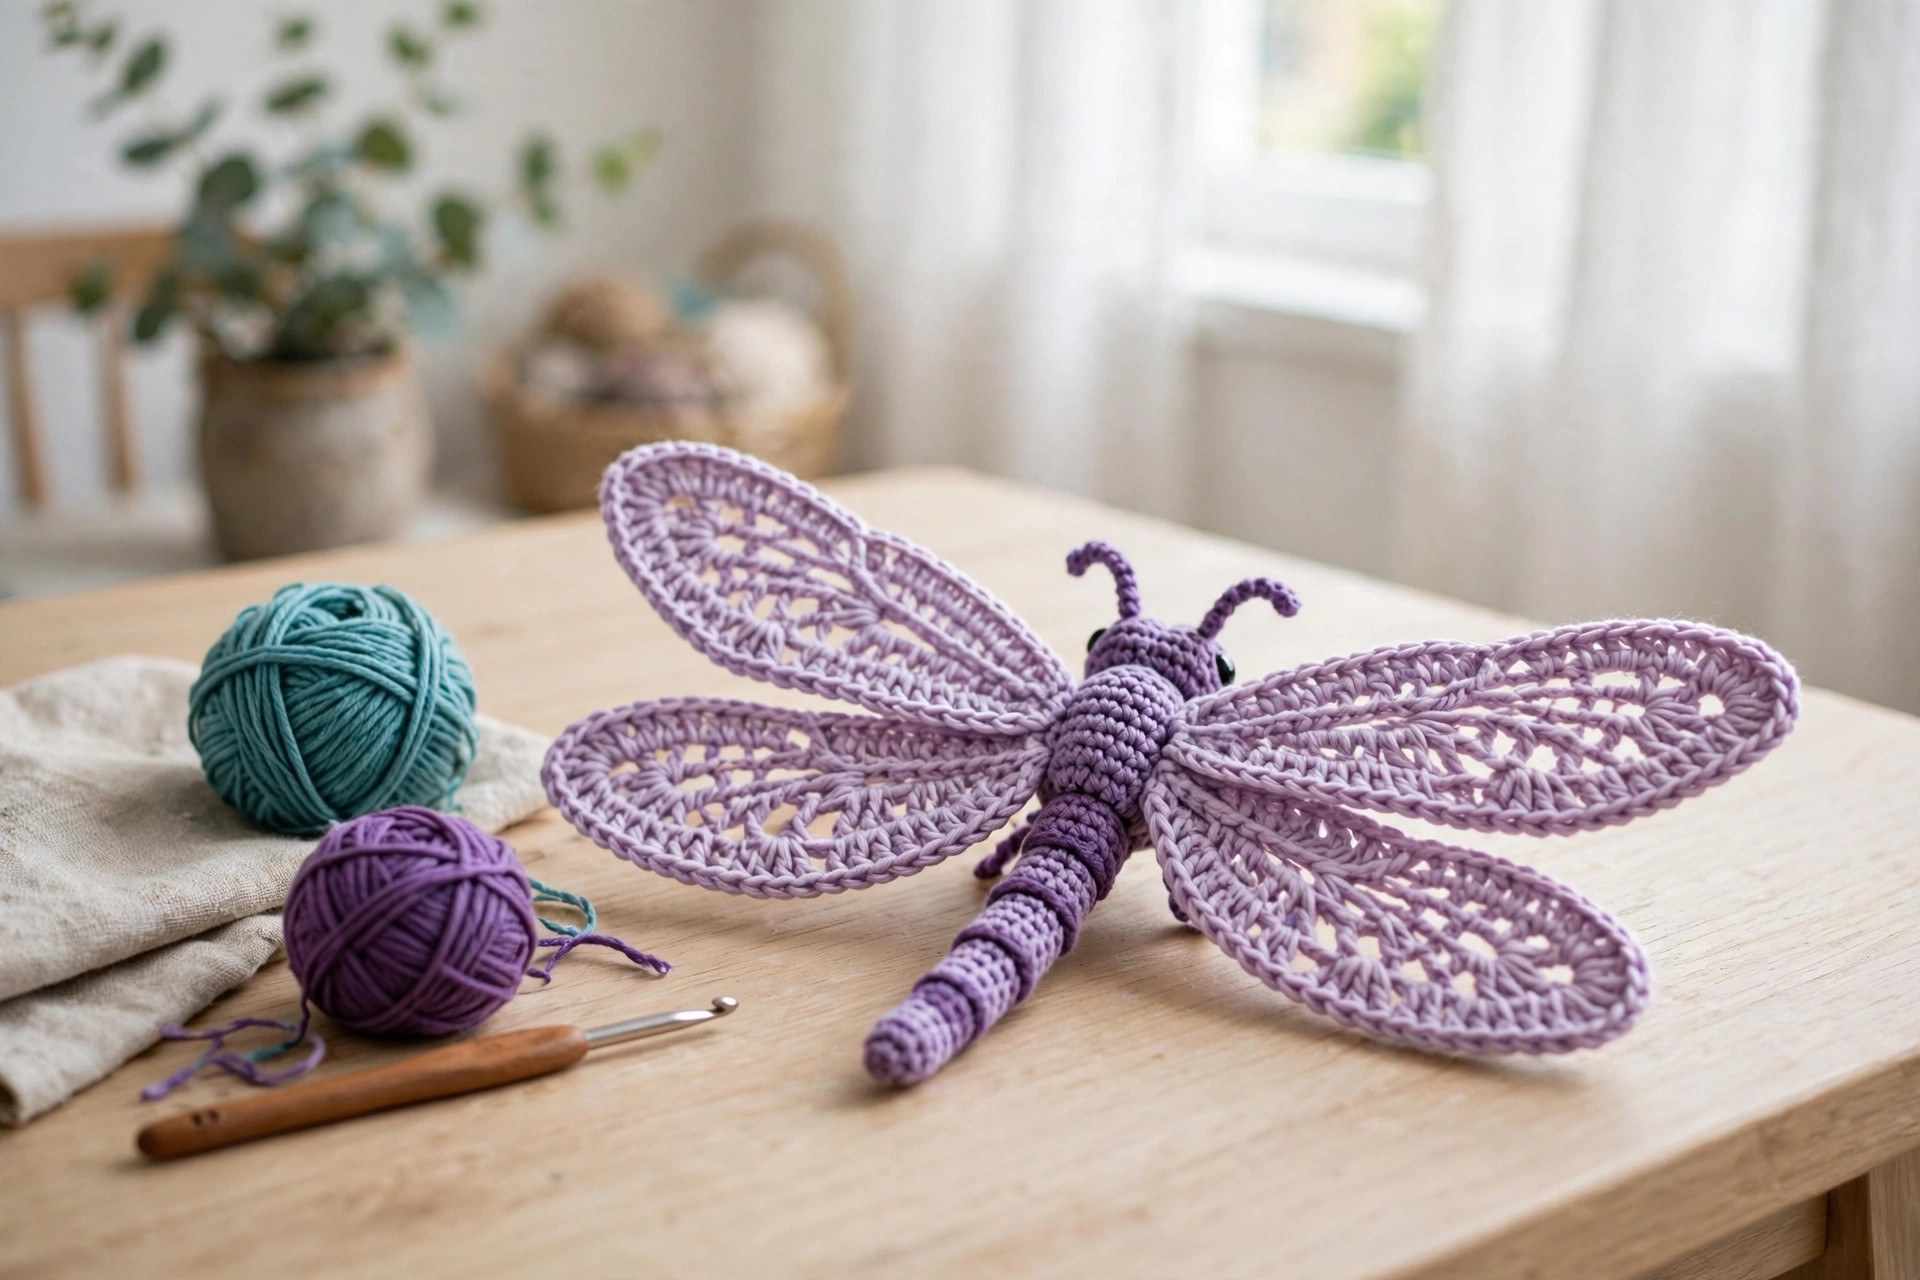
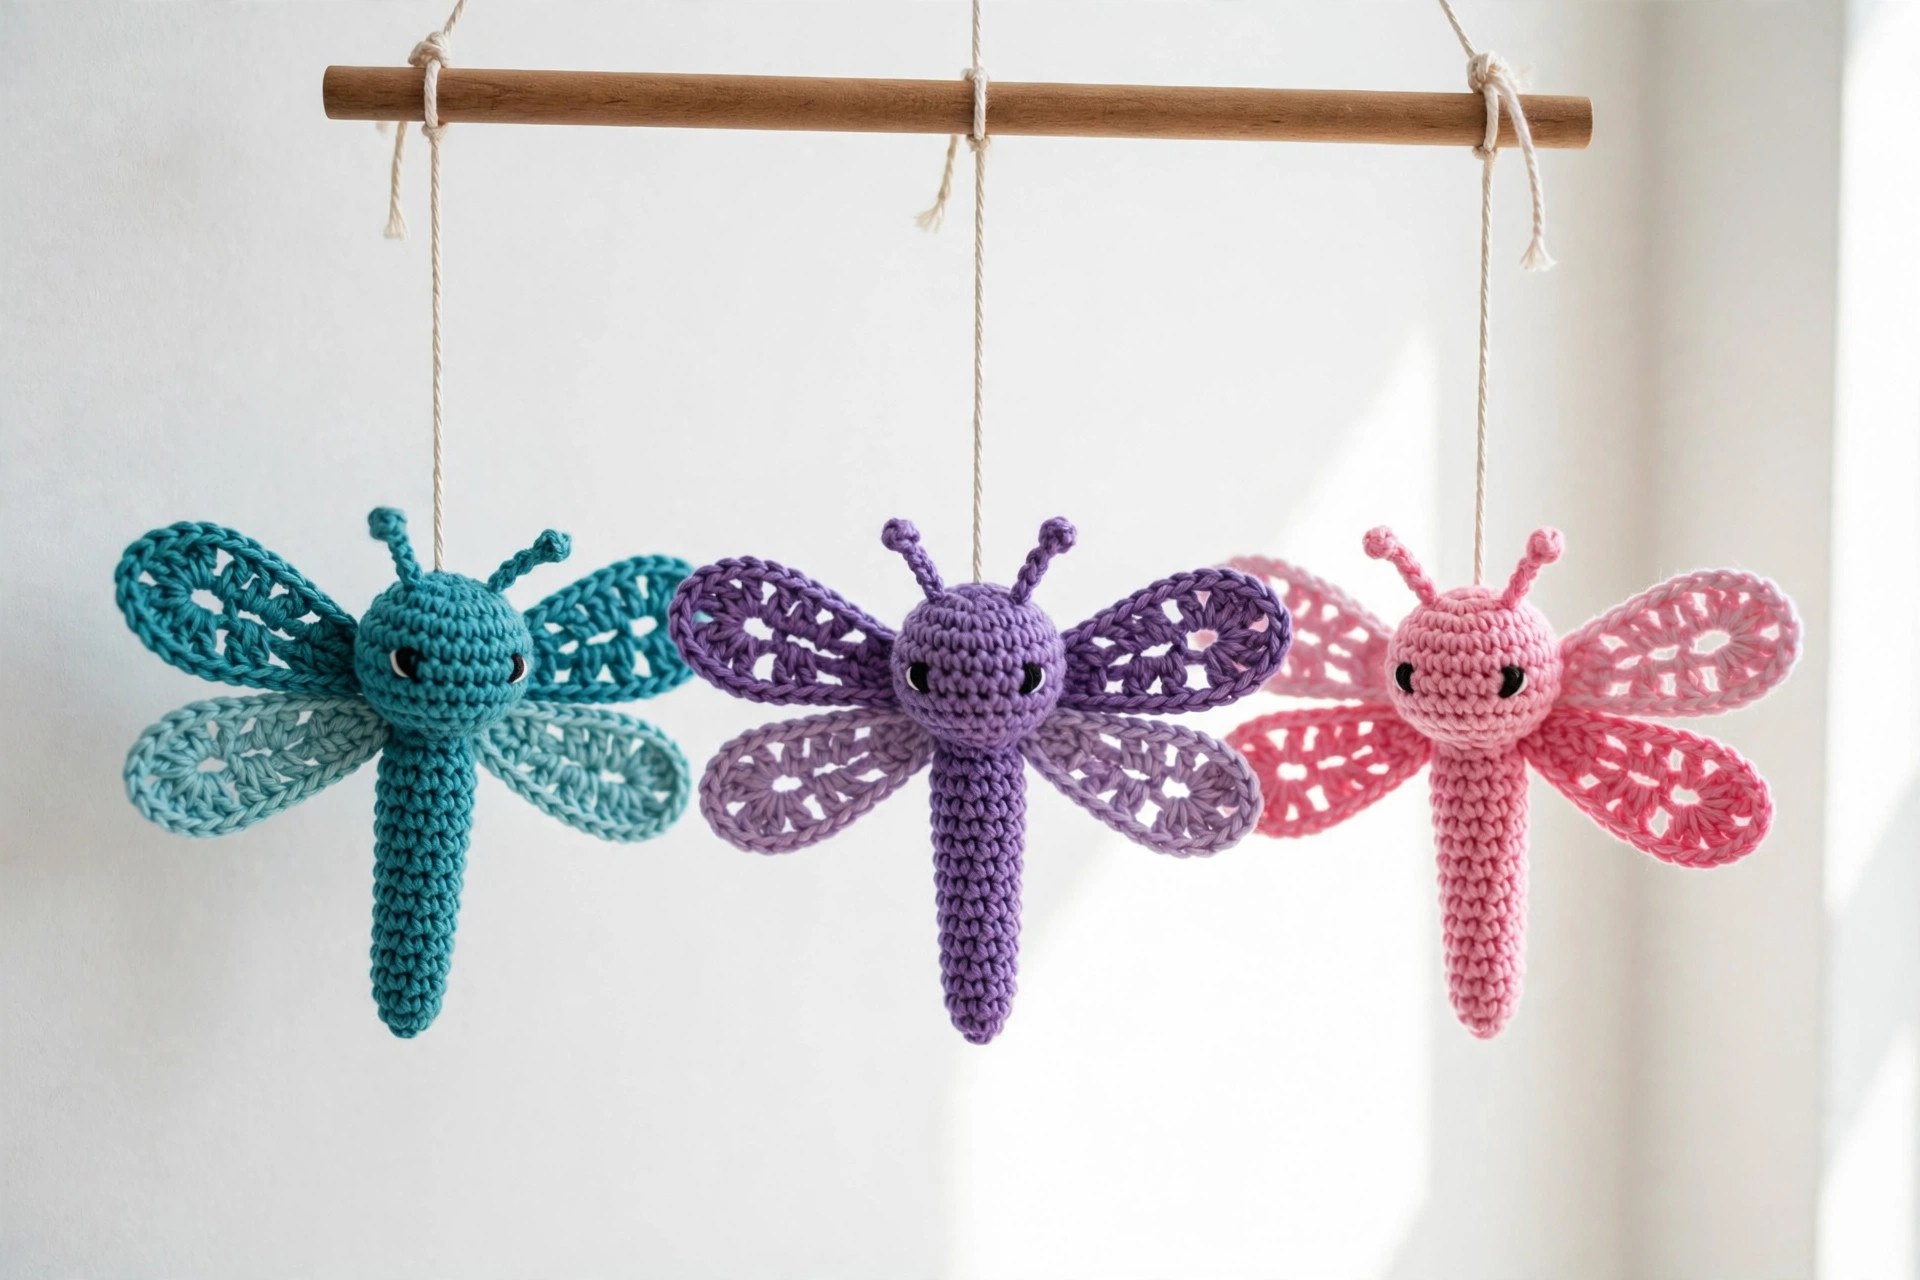
- Classic teal dragonfly: work the dragonfly in teal with lilac stripes and white wings, just as written.
- Purple dragonfly: work the body in purple with teal stripes and pale lilac wings.
- Pink dragonfly: work the body in pink with white stripes and white wings.
Troubleshooting a Dragonfly That Does Not Look Right
- My body is too fat. The gauge is too loose, or the body was overstuffed. Go down a hook size, or take out some stuffing and reshape the body before you sew the head on.
- My wings flop flat. The wing yarn is too heavy. Use a lighter yarn for the wings, or add a short piece of craft wire inside each wing to hold a gentle curve.
- My head wobbles. The neck join is too loose, or the head is understuffed. Add more stuffing to the neck, and sew the head on with smaller, tighter stitches.
Care Instructions
Hand wash a crochet dragonfly in cool water with a mild detergent, and press the water out gently without wringing. Reshape the body and the wings and lay the dragonfly flat to dry away from direct heat. Do not machine wash a dragonfly with craft wire in the wings. Store it where the wings will not be crushed, and keep it out of direct sunlight.
Frequently Asked Questions
Is this crochet dragonfly pattern good for beginners?
Yes, it is best for an easy crocheter who knows single crochet and has made one small amigurumi piece before. You need a magic ring, single crochet, increases, and decreases, and the wings are worked flat in rows.
What yarn is best for a crochet dragonfly?
DK weight yarn is the best choice, because it is light enough for the wings to hold their shape and firm enough for the body to keep its long, slim form. A cotton yarn works well for the body, because it gives clean stitch definition.
How do I make the wings stay up?
Work the wings in a light yarn, and add a short piece of craft wire inside each wing before you sew it on. Bend the wire gently so the wing holds a soft upward curve. Sew each wing to the body with several small stitches through the base, so the join is strong.
Can I make the dragonfly bigger or smaller?
Yes, change the yarn weight and the hook. Use a fingering weight yarn with a US C-2 (2.75 mm) hook for a dragonfly about 6 inches long, or a worsted weight yarn with a US G-6 (4.0 mm) hook for one about 10 inches long. Keep the same stitch counts, and the proportions will stay right.
How is a dragonfly different from a butterfly in crochet?
A dragonfly has a long slim body, four narrow wings, and antennae, while a butterfly has a short round body and two large flat wings. This pattern makes a dragonfly. If you want a butterfly instead, see our crochet butterfly pattern.
Can I sell dragonflies made from this pattern?
Yes, you may sell finished dragonflies made from this free pattern, with credit to Little Loop Finds. Do not sell or republish the pattern text itself. A set of three in different colors sells well as a nursery mobile set.
Happy stitching, and may your little dragonfly bring a touch of summer.