Crochet Tunic Pattern (Easy Lacy Top)
Crochet a loose, lacy A-line tunic in sizes XS to 3XL in about fourteen hours, then wear it all week.

Patterns · Crochet
- Finished size
- 42 in bust (M)
- Making time
- 14 hours
- Hook
- US G-6 (4.0 mm)
- Sizes
- XS to 3XL
- Skill
- Easy
In this post
- Key Takeaways
- Table of Contents
- Why You Will Love This Tunic
- Finished Size, Skill Level, and Time
- Materials You Need
- Abbreviations (US Terms)
- Gauge and Sizing Notes
- Part 1: The Bodice
- Part 2: The Skirt
- Part 3: Sleeves, Edging, and Finishing
- Variations: Colors, Lengths, and Necklines
- Troubleshooting a Tunic That Does Not Fit Right
- Care Instructions
- Frequently Asked Questions
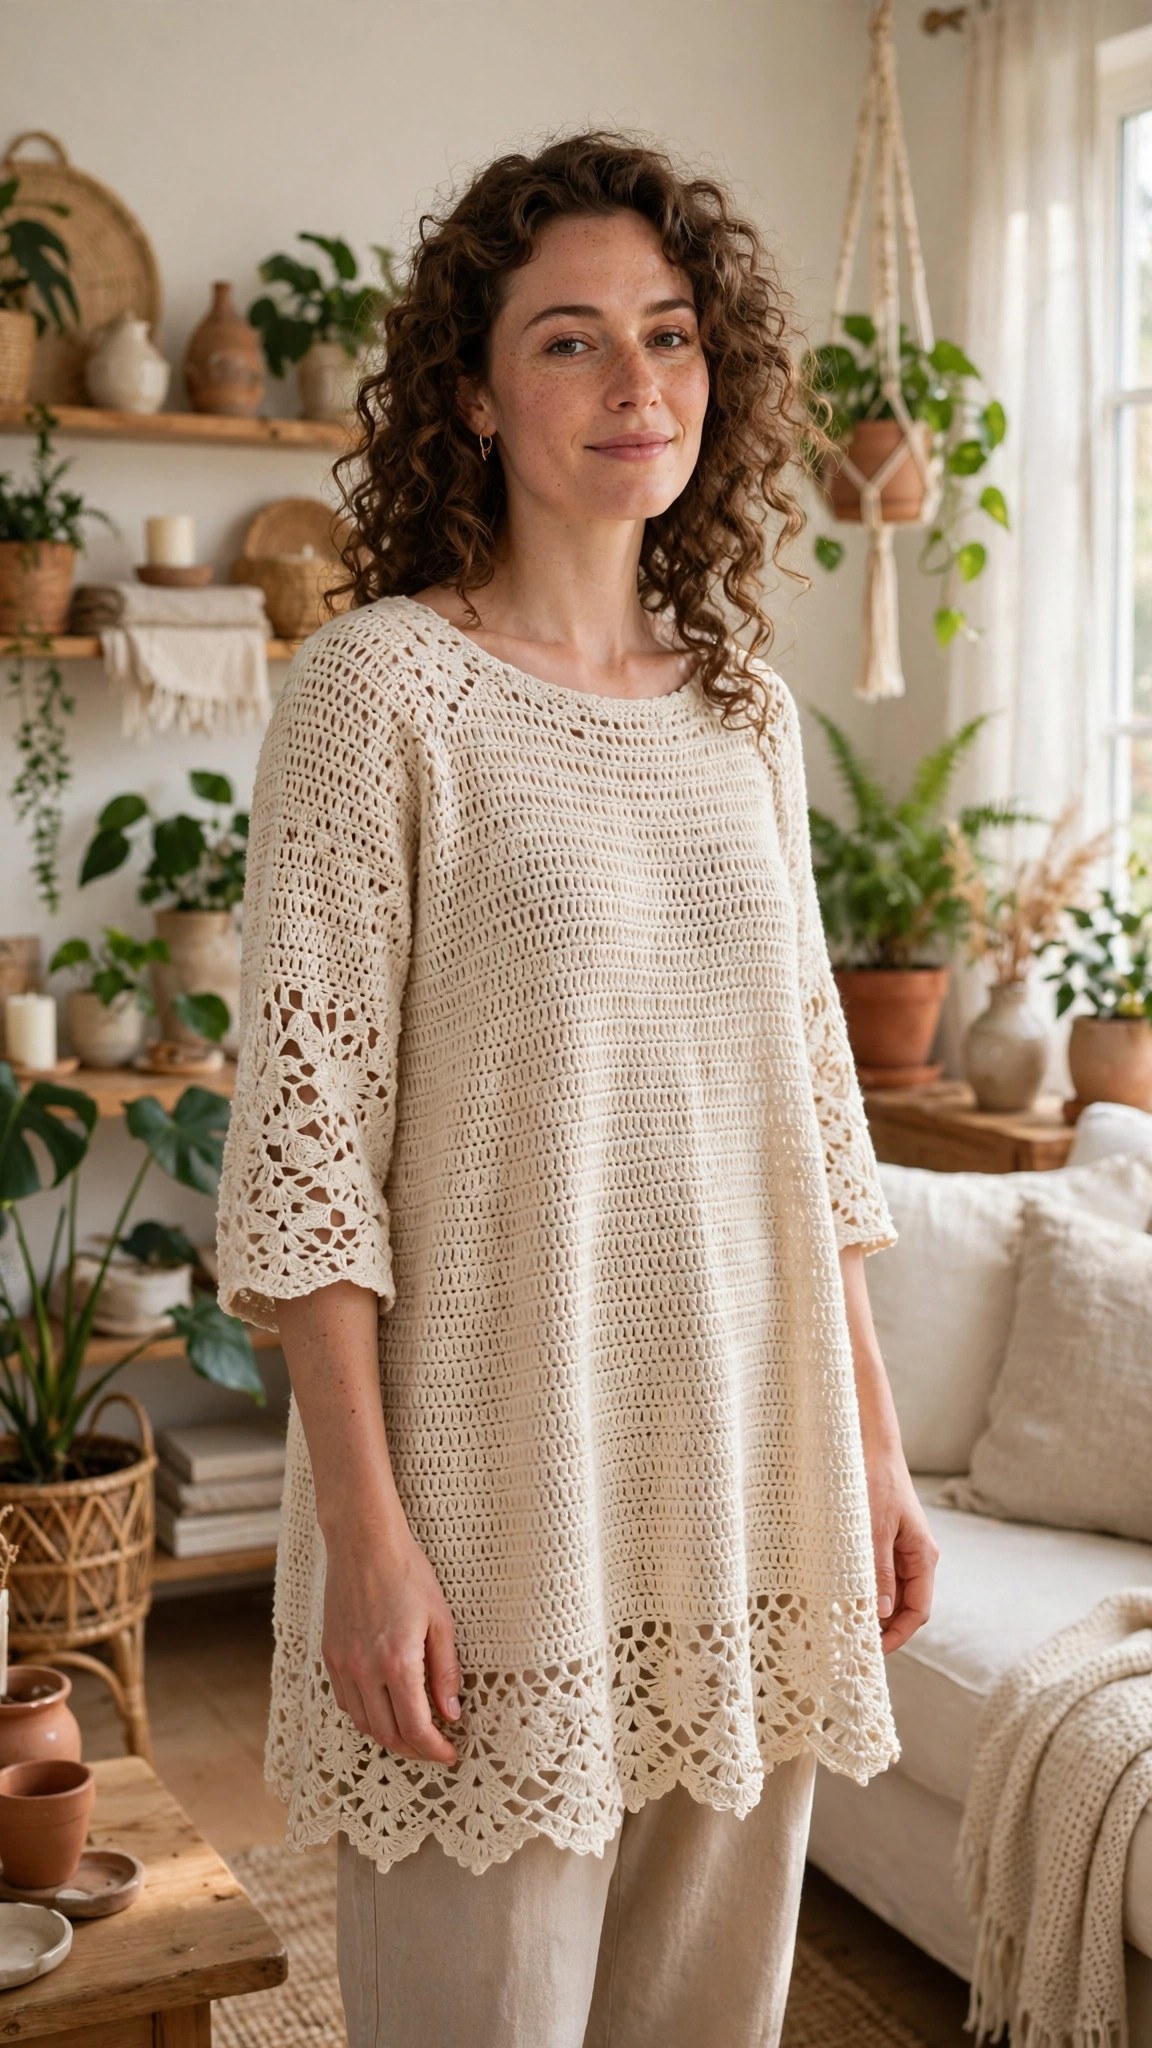
A crochet tunic is the easiest handmade top you will ever love. This free crochet tunic pattern makes a loose, A-line tunic with a lacy openwork bodice, three quarter sleeves, and a gently flared skirt that falls to the hip. It takes about 14 hours, uses about 900 yards of yarn, and comes in sizes XS to 3XL.
This is an original Little Loop Finds design, written in US terms and completely free. The tunic is worked top down from the neckline, so there is no seaming and you can try it on as you go. The lace is simple double crochet shells and chains, so the pattern looks fancy and stays easy.
A quick note on scope: this post is about one specific crochet tunic, a women's pullover top with a flared skirt worn over leggings or jeans. That makes it different from a cardigan, which opens at the front. If you want a front opening layer instead, our crochet cardigan sweater pattern is the matching project.
Key Takeaways
- Free original pattern: a Little Loop Finds original design, written in US terms, and completely free.
- A loose A-line tunic: a lacy openwork bodice, three quarter sleeves, and a flared skirt.
- Sizes XS to 3XL: worked top down in the round, with stitch counts for every size.
- Simple lace stitches: double crochet shells and chains only, with no tricky stitch combinations.
- A 14 hour project: about 14 hours from the first chain to the last stitch.
Table of Contents
- Why You Will Love This Tunic
- Finished Size, Skill Level, and Time
- Materials You Need
- Abbreviations (US Terms)
- Gauge and Sizing Notes
- Part 1: The Bodice
- Part 2: The Skirt
- Part 3: Sleeves, Edging, and Finishing
- Variations: Colors, Lengths, and Necklines
- Troubleshooting a Tunic That Does Not Fit Right
- Care Instructions
- Frequently Asked Questions
Why You Will Love This Tunic
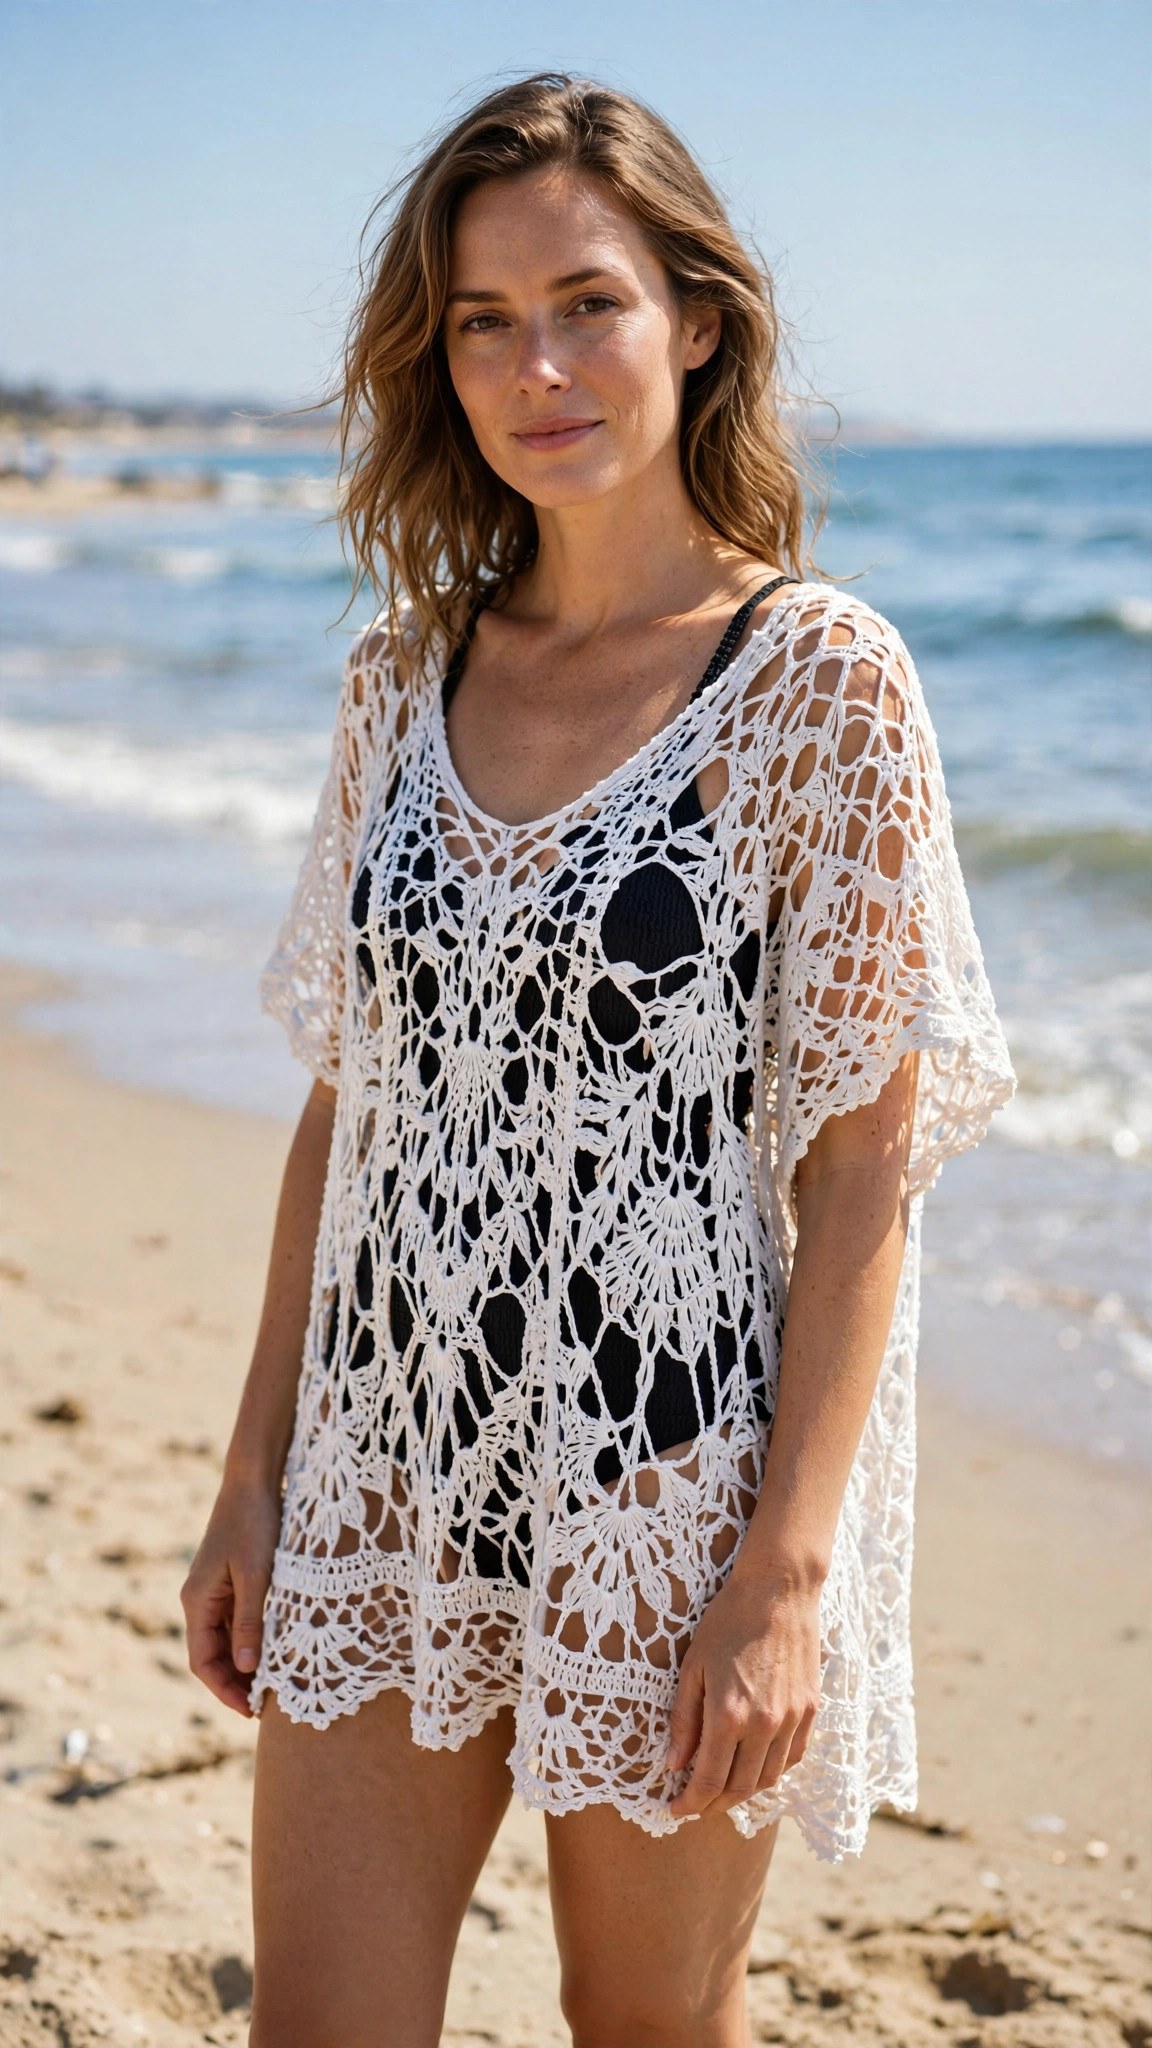
A crochet tunic is the garment you reach for when you want to look put together without trying hard. The loose A-line shape skims over the waist and hips, and the lacy hem adds a handmade touch. Wear it over leggings, over jeans, or over a swimsuit as a cover up.
The tunic is worked top down in the round, which is the kindest way to build a garment. You start at the neckline, grow the yoke, split for the sleeves, and work straight down the body, trying it on at every stage.
The lace looks far harder than it is. Every lacy round is a repeat of a double crochet shell worked into a chain space, with a chain between shells. The openwork also makes the tunic light and breathable.
Finished Size, Skill Level, and Time
- Finished size: sizes XS to 3XL. The finished bust measures 34, 38, 42, 46, 50, 54, and 58 inches for XS, S, M, L, XL, 2XL, and 3XL. The body length is 28 inches for sizes XS to L, and 30 inches for XL to 3XL. The sleeves are three quarter length, about 14 inches from the underarm.
- Skill level: Easy. You need a chain, slip stitch, single crochet, and double crochet. The lace is a simple shell repeat, and the pattern explains each increase round step by step.
- Time: about 14 hours per tunic: 3 hours for the yoke and bodice, 6 hours for the skirt, 3 hours for the sleeves, and 2 hours for finishing.
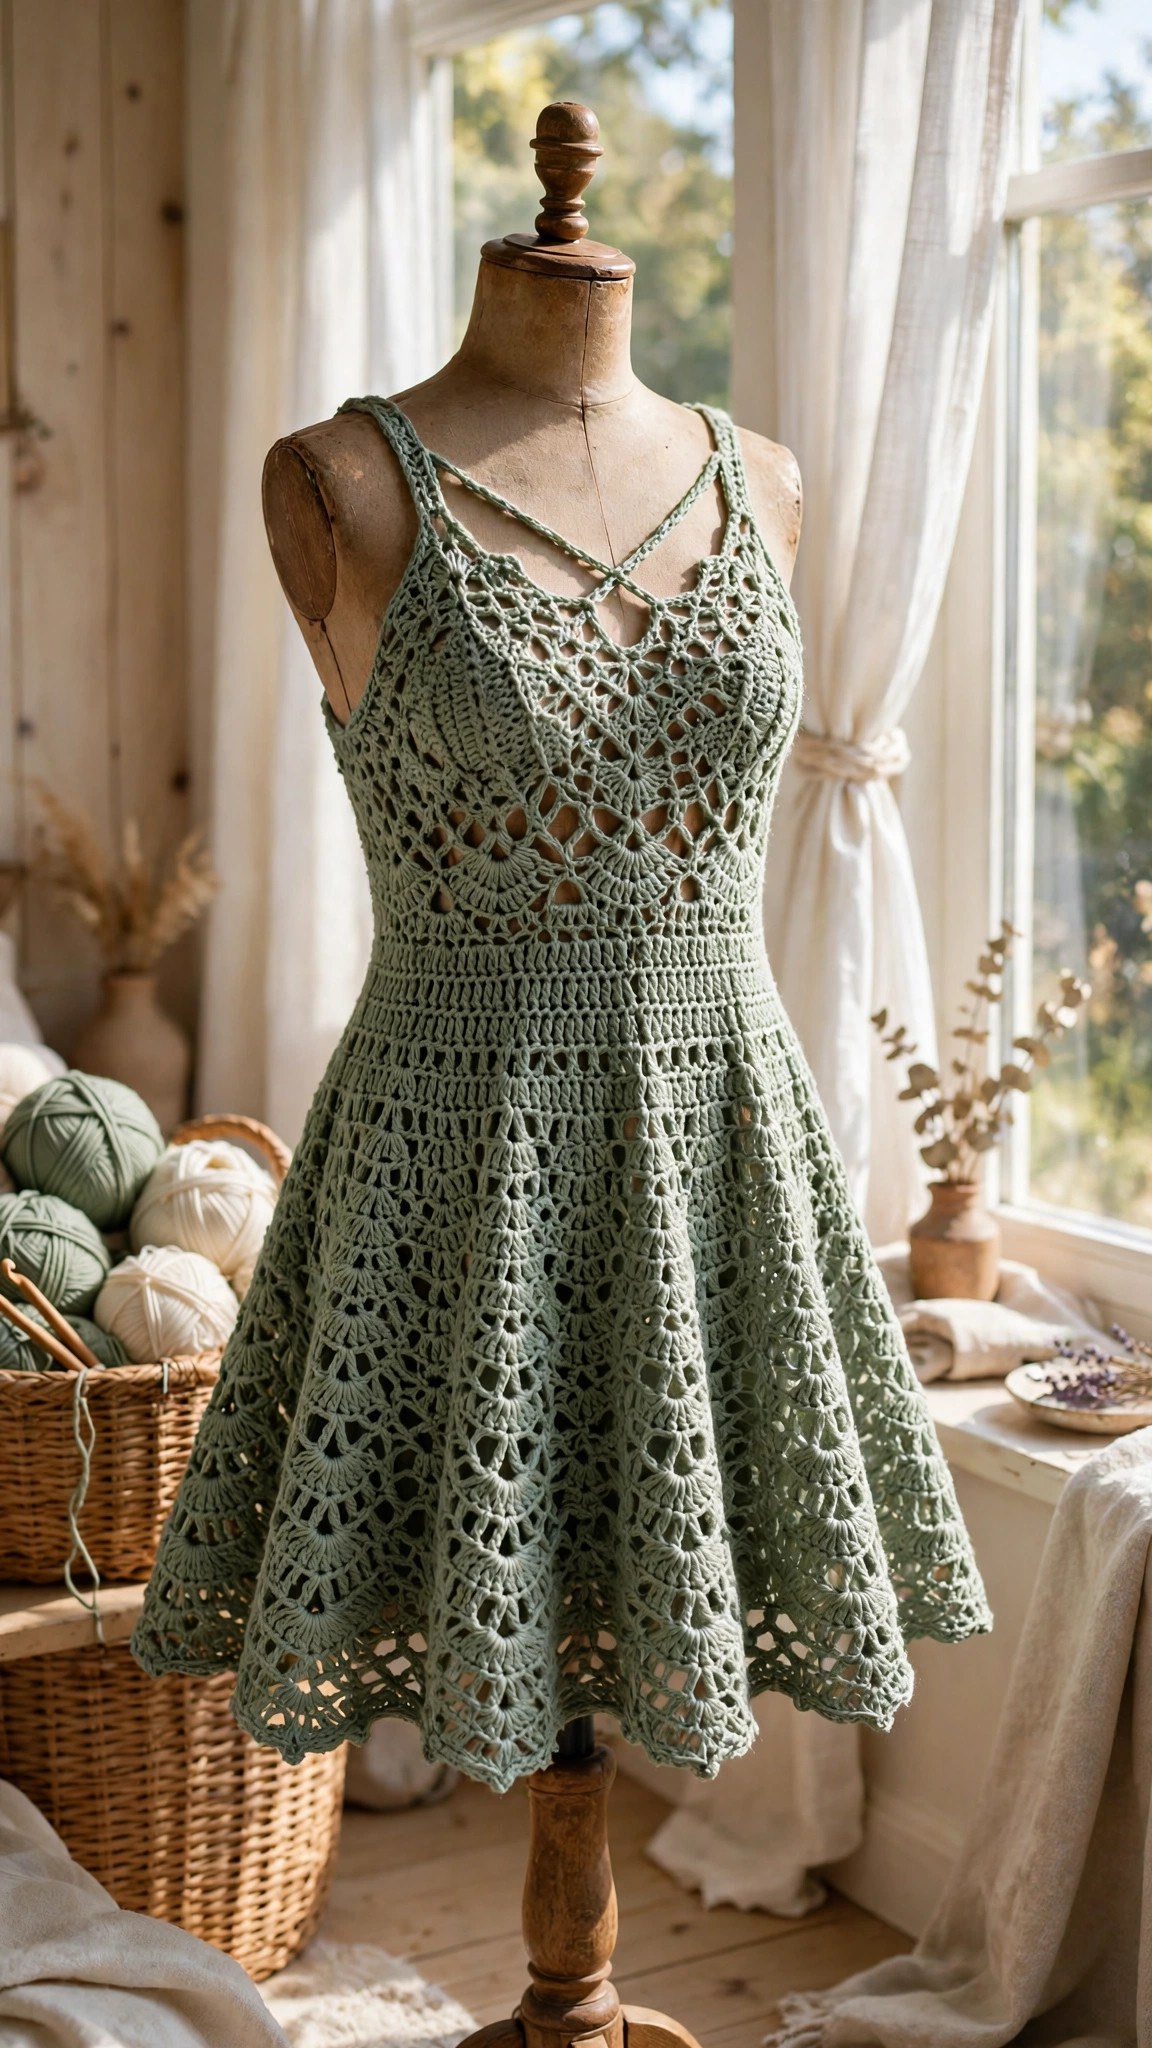
Materials You Need
| Item | What to get |
|---|---|
| Yarn, main color | DK weight cotton or cotton blend yarn, 900 yards for sizes XS to M, 1,100 yards for L to 3XL |
| Hook | US G-6 (4.0 mm), or the size that gives you the gauge below |
| Notions | Tapestry needle, scissors, tape measure, stitch markers |
DK weight cotton yarn is the best choice for a crochet tunic because it drapes nicely, holds the lace open, and breathes in warm weather. A soft acrylic yarn is the cheapest option for a first garment.
A tape measure is the most important notion for this project, because a tunic is sized by inches. Measure your bust and body length before you start, and try the tunic on before you split for the sleeves.
Abbreviations (US Terms)
- ch = chain
- sl st = slip stitch
- sc = single crochet
- hdc = half double crochet
- dc = double crochet
- dc2tog = double crochet two together (decrease)
- shell = 5 dc in the same stitch or chain space
- st(s) = stitch(es)
- sp(s) = space(s)
- rep = repeat
- RS = right side
- WS = wrong side
- FO = fasten off
Gauge and Sizing Notes
Gauge matters on a tunic because a wrong gauge makes it too tight to pull over your head or too loose to hold its shape. Work a swatch of 16 dc and 9 rows. It should be about 4 inches wide and 4 inches tall.
The pattern is written in 7 sizes, XS to 3XL, with 2 inches of positive ease built into every size, so the finished bust is about 2 inches larger than the body bust it fits. Pick the size whose finished bust is 2 inches larger than your own bust. The table below gives the starting chain and the stitch count after the yoke for each size.
| Size | Body bust | Finished bust | Starting chain | Stitches after yoke |
|---|---|---|---|---|
| XS | 32 in | 34 in | 72 | 108 |
| S | 36 in | 38 in | 80 | 120 |
| M | 40 in | 42 in | 88 | 132 |
| L | 44 in | 46 in | 96 | 144 |
| XL | 48 in | 50 in | 104 | 156 |
| 2XL | 52 in | 54 in | 112 | 168 |
| 3XL | 56 in | 58 in | 120 | 180 |
The instructions below give the exact counts for size M, with the other sizes in brackets where they differ. If you are making a different size, follow your column in the table for the starting chain and the yoke increases. Our crochet beach cover up pattern uses the same top down yoke method if you want to practice the shaping on a lighter summer project first.
Part 1: The Bodice
The tunic starts at the neckline and grows down in rounds, with increases in the yoke that shape the shoulders and chest. Work in joined rounds, joining each round with a slip stitch to the top of the first stitch. The right side faces you throughout.
With your main color, chain 88 (72, 80, 96, 104, 112, 120 for other sizes). Join with a sl st to the first ch to form a ring, taking care not to twist the chain.
- Round 1: ch 3 (counts as dc), dc in each ch around, join with a sl st to the top of the ch 3. (88 dc)
- Round 2: ch 3, dc in the next st, (2 dc in the next st, dc in each of the next 3 sts) around, join. (110 dc)
- Round 3: ch 3, dc in each st around, join. (110)
- Round 4: ch 3, dc in the next 2 sts, (2 dc in the next st, dc in each of the next 4 sts) around, join. (132 dc)
- Round 5: ch 3, dc in each st around, join. (132)
- Round 6: ch 1, sc in each st around, join with a sl st to the first sc. (132 sc)
The yoke should measure about 8 inches from the neckline to the last round. Try it on over your head before you go on, because the neckline must pass over your head with room to spare. If it is tight, go up a hook size and start again.
Splitting for the Sleeves
The split for the sleeves is where the tunic stops being a tube and starts being a garment. You work across the front, skip the stitches for one sleeve, work across the back, and skip the stitches for the other sleeve.
- Round 7: ch 3, dc in each of the next 32 sts, skip the next 24 sts for the first sleeve, dc in each of the next 42 sts, skip the next 24 sts for the second sleeve, dc in each of the next 10 sts, join. (84 dc)
- Round 8: ch 3, dc in each st around, join. (84)
- Round 9: ch 3, dc in the next st, (shell in the next st, skip the next 2 sts, dc in the next st) around, join. This is the first lacy shell round.
Work rounds 8 and 9 in turn until the bodice measures 10 inches from the underarm. For size M this is about 12 more rounds, and for larger sizes add 2 rounds per size. The bodice should end just below the natural waist. Our boho crochet top pattern uses the same sleeve split if you want to see it on a shorter top first.
Part 2: The Skirt
The skirt is what makes this a tunic instead of a top. It flares gently from the waist to the hip, using shell increases every few rounds. The skirt is worked in the round, in the same shell pattern as the bodice, with a plain double crochet round between each shell round.
- Round 1: ch 3, dc in each st around, join. (84 dc)
- Round 2: ch 3, (shell in the next st, skip the next 2 sts, dc in the next st) around, join.
- Round 3: ch 3, dc in each st around, working 2 dc in the chain space at the center of each shell, join. (108 dc)
- Round 4: ch 3, (shell in the next st, skip the next 2 sts, dc in the next st) around, join.
- Round 5: ch 3, dc in each st around, join. (108)
- Round 6: ch 3, (shell in the next st, skip the next 2 sts, dc in the next st) around, join.
- Round 7: ch 3, dc in each st around, working 2 dc in the chain space at the center of each shell, join. (132 dc)
Continue in this pattern, working a shell round, then a plain round, then an increase round, until the skirt measures 16 inches from the waist for sizes XS to L, or 18 inches for XL to 3XL. For size M this is about 18 more rounds after round 7. Try the tunic on before the last 4 rounds.
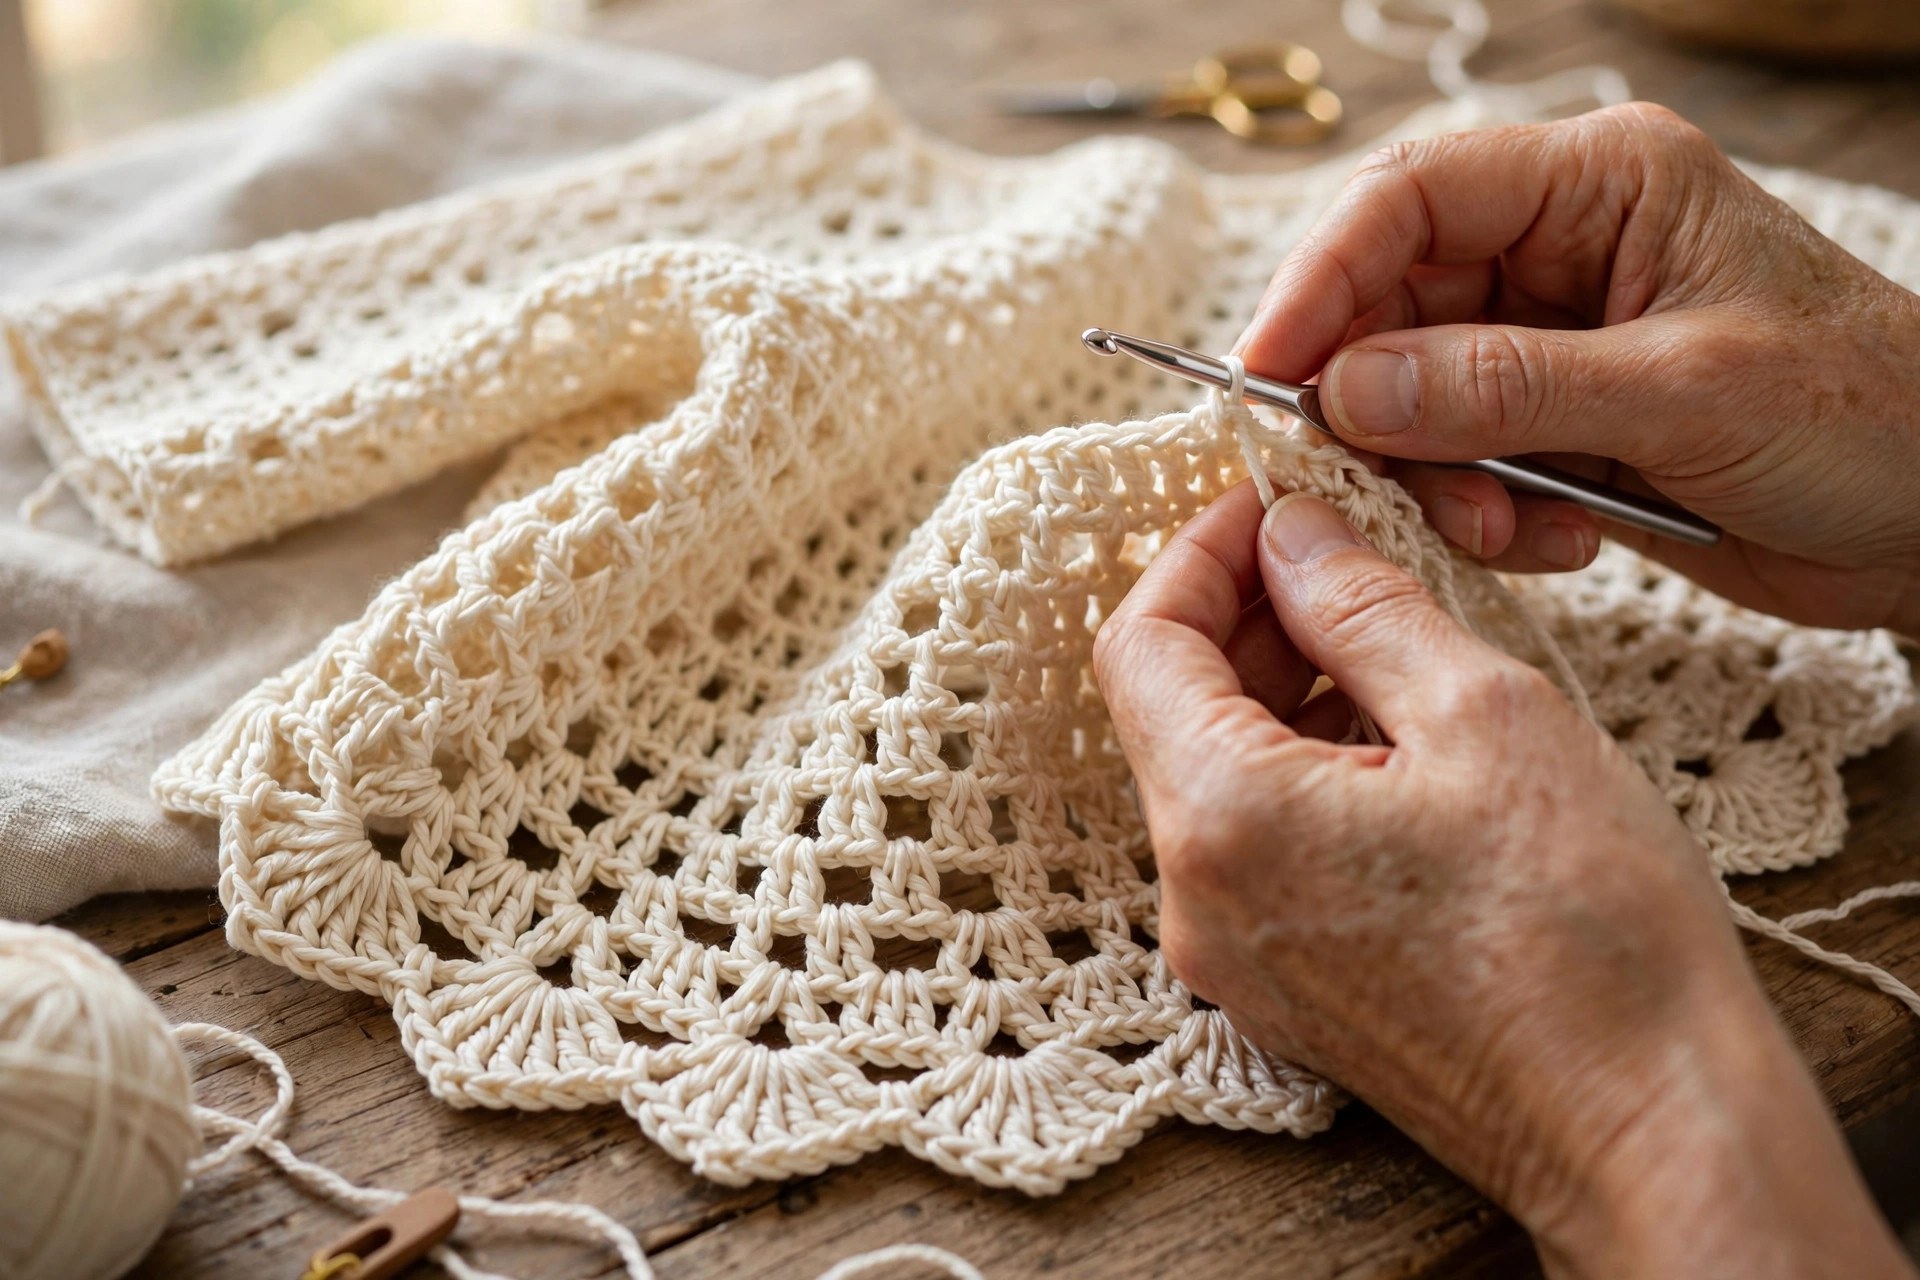
The Hem
The hem is a simple shell edging that finishes the skirt and stops it from curling. It is worked in the same shell stitch as the body.
- Hem round 1: ch 1, sc in each st around, join with a sl st to the first sc.
- Hem round 2: ch 1, (sc in the next st, skip the next st, shell in the next st, skip the next st) around, join.
- Hem round 3: ch 1, sc in each st around, working 1 sc in each dc of the shells, join. Fasten off and weave in the end.
The hem should lie flat when the tunic is laid on a table. If the hem ripples, your shells are too close together, so work one more plain round before the hem.
Part 3: Sleeves, Edging, and Finishing
The sleeves are worked in the round from the armhole down, in the same shell pattern as the body, so they match without any seaming. Each sleeve takes about 90 minutes, so count your rounds on the first sleeve and repeat them on the second.
Join the yarn at the underarm of the first sleeve opening.
- Round 1: ch 3, dc in each st around the sleeve opening, join. (48 dc for size M)
- Round 2: ch 3, (shell in the next st, skip the next 2 sts, dc in the next st) around, join.
- Round 3: ch 3, dc in each st around, join. (48)
- Rounds 4 to 16: repeat rounds 2 and 3 until the sleeve measures 12 inches from the underarm.
- Round 17: ch 3, dc2tog around the first 2 sts, (dc in the next 3 sts, dc2tog) around, join. (38 dc)
- Round 18: ch 1, sc in each st around, join. Fasten off and weave in the end.
Repeat the same rounds for the second sleeve, using the same number of rounds so the sleeves match. If you want full length sleeves, keep working rounds 2 and 3 until the sleeve reaches your wrist.
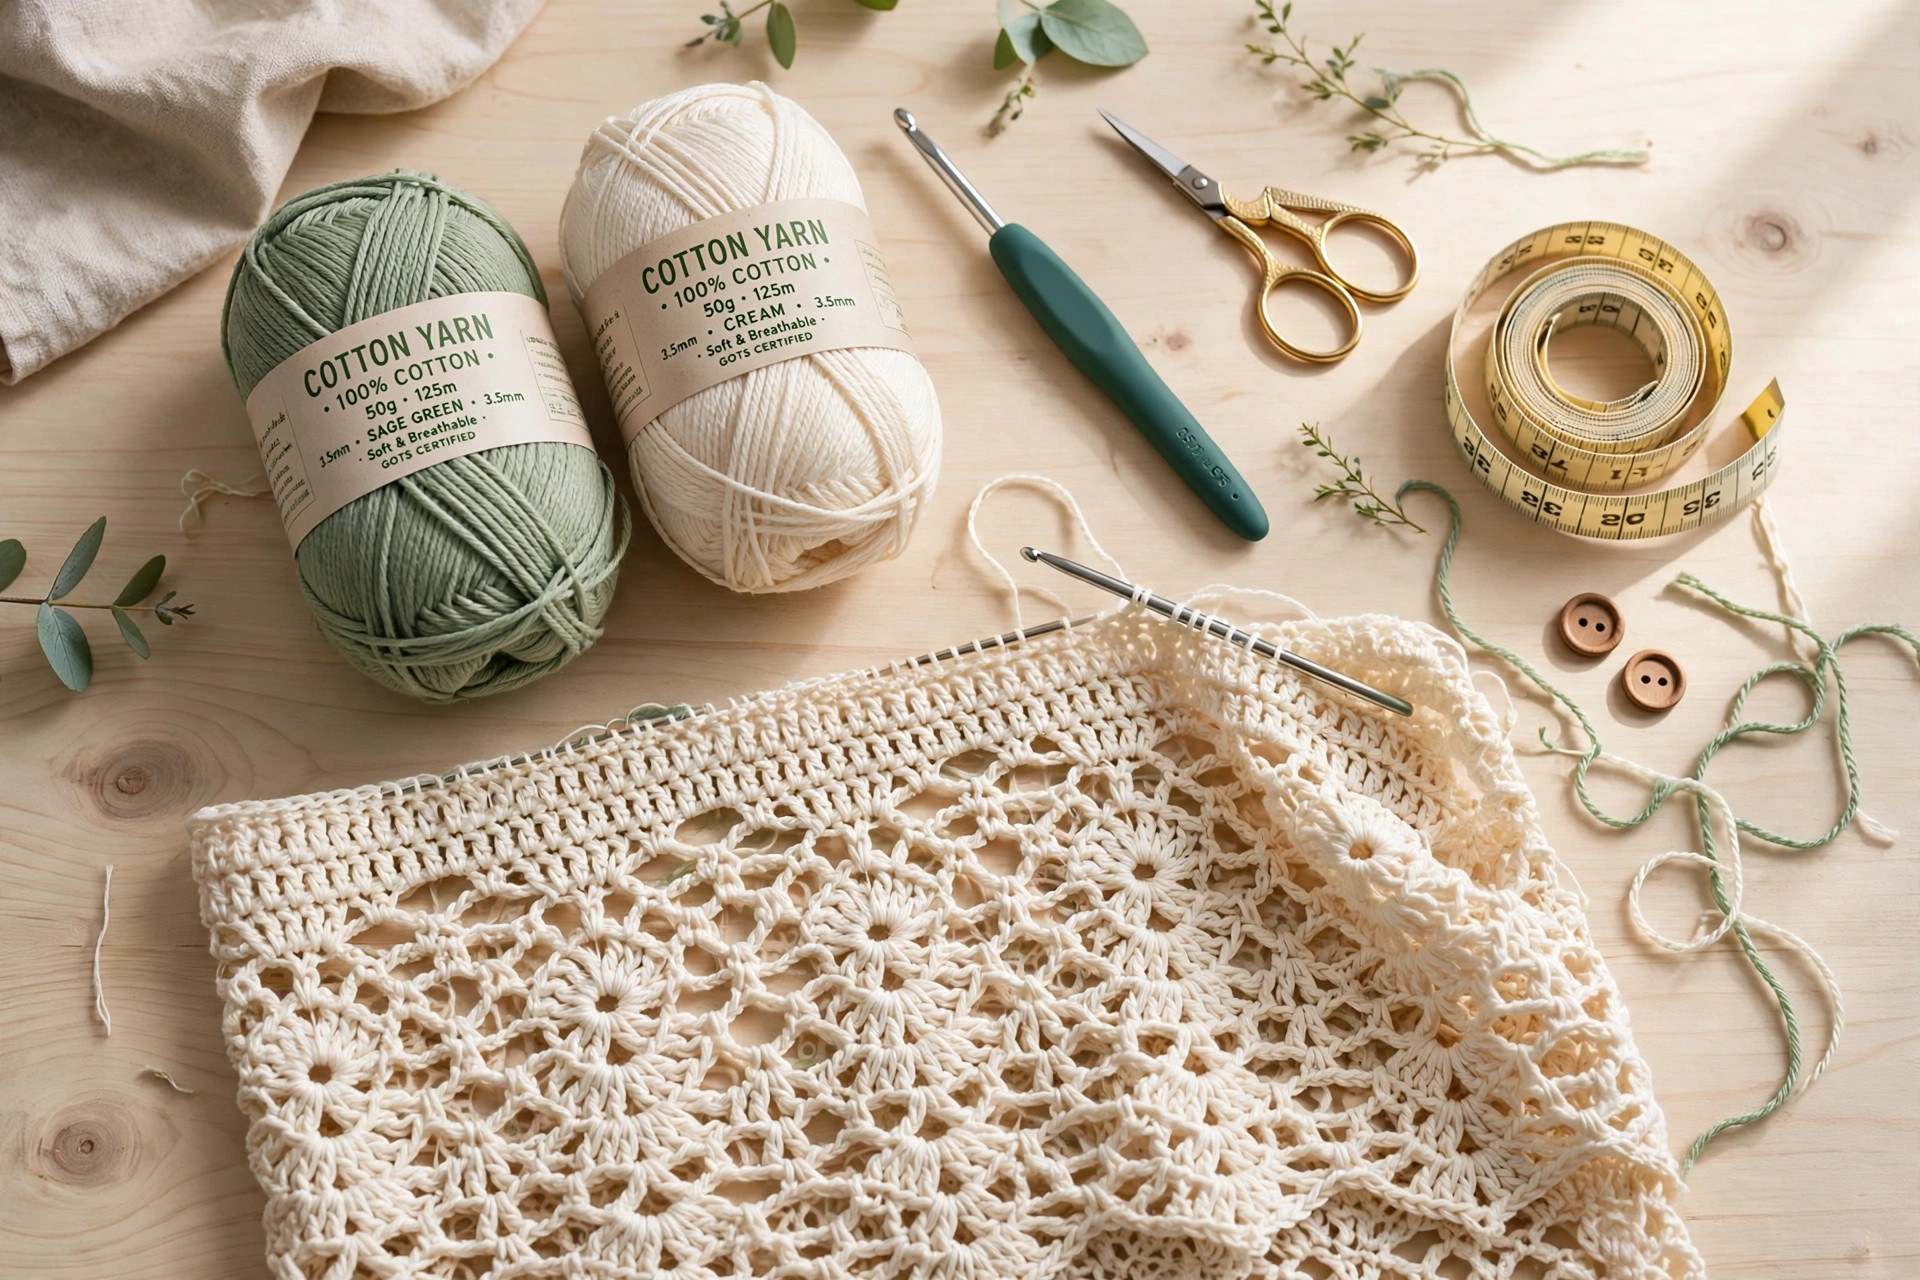
Neckline Edging
The neckline gets a simple single crochet edge so it sits flat and does not stretch out of shape. Join the yarn at the back of the neck with a slip stitch, work 1 round of sc in each stitch around the neckline, and join with a slip stitch to the first sc. Fasten off and weave in the end.
Blocking and Finishing
Weave in all the loose ends on the wrong side of the tunic. Lay it flat on a towel, pin it to the measurements in the size table, and spray it lightly with water. Leave it to dry flat, away from direct heat. Blocking opens up the lace and evens out the shells. Our crochet mini skirt pattern uses the same blocking method if you want to practice it first.
Variations: Colors, Lengths, and Necklines
- Summer white tunic: work the whole tunic in white cotton yarn for a fresh top that goes with everything.
- Sage and cream stripes: work the bodice in sage green and the skirt in cream for a two tone tunic.
- Tunic dress length: keep working the skirt rounds until the hem reaches the knee, for a tunic dress.
- Short sleeve version: work only 6 rounds on each sleeve for a cooler short sleeve tunic.
- V-neck tunic: decrease at the center front for the first 4 yoke rounds for a deeper neckline. Pair it with a crochet kimono pattern in the same color for a layered outfit.
Troubleshooting a Tunic That Does Not Fit Right
- My neckline is too tight. The starting chain was too small, or the gauge is too tight. Go up a hook size and start again.
- My yoke is too short. Too few rounds were worked before the split. Add 2 rounds to the yoke before the split.
- My skirt flares too much. Too many increase rounds were worked too close together. Work 2 plain rounds between each increase round.
- My sleeves are different lengths. The round count was not the same on both sleeves. Count the rounds on the first sleeve and work the same number on the second.
- My hem ripples. The shells are too close together at the hem. Work one more plain round before the hem.
Care Instructions
Hand wash a crocheted tunic in cool water with a mild detergent, and press the water out gently without wringing. Reshape it and lay it flat to dry away from direct heat. Do not hang a wet tunic, because the water stretches the lace. Store it folded flat, never on a hanger.
Frequently Asked Questions
Is this crochet tunic pattern good for beginners?
Yes, it is best for an easy crocheter who knows double crochet and can follow a simple shell repeat. The tunic is worked top down, so there is no seaming.
What yarn is best for a crochet tunic?
DK weight cotton yarn is the best choice, because it drapes nicely, holds the lace open, and breathes in warm weather. A cotton blend with a little acrylic also works well. A soft acrylic yarn is the cheapest option for a first garment.
How do I pick the right size for this tunic?
Measure your bust first, then pick the size whose finished bust is about 2 inches larger than your own bust. The size table gives the finished bust for all 7 sizes, from 34 inches for XS to 58 inches for 3XL. If you fall between sizes, pick the larger size, because a tunic should skim the body, not cling to it.
Can I make the tunic longer or shorter?
Yes, you can change the length easily. The skirt is worked in repeating rounds, so add rounds before the hem to make the tunic longer, or stop sooner to make it shorter. For a tunic dress, keep working until the hem reaches your knee.
How is a tunic different from a cardigan or a sweater?
A crochet tunic is a loose pullover top with a flared skirt that falls to the hip, worn over leggings or jeans. A cardigan opens at the front, and a fitted sweater hugs the body. This pattern makes a pullover tunic, not a cardigan or a sweater. If you want a front opening layer, see our crochet cardigan sweater pattern.
Can I sell tunics made from this pattern?
Yes, you may sell finished tunics made from this free pattern, with credit to Little Loop Finds. Do not sell or republish the pattern text itself. A tunic in a popular color makes a lovely item for a market stall.
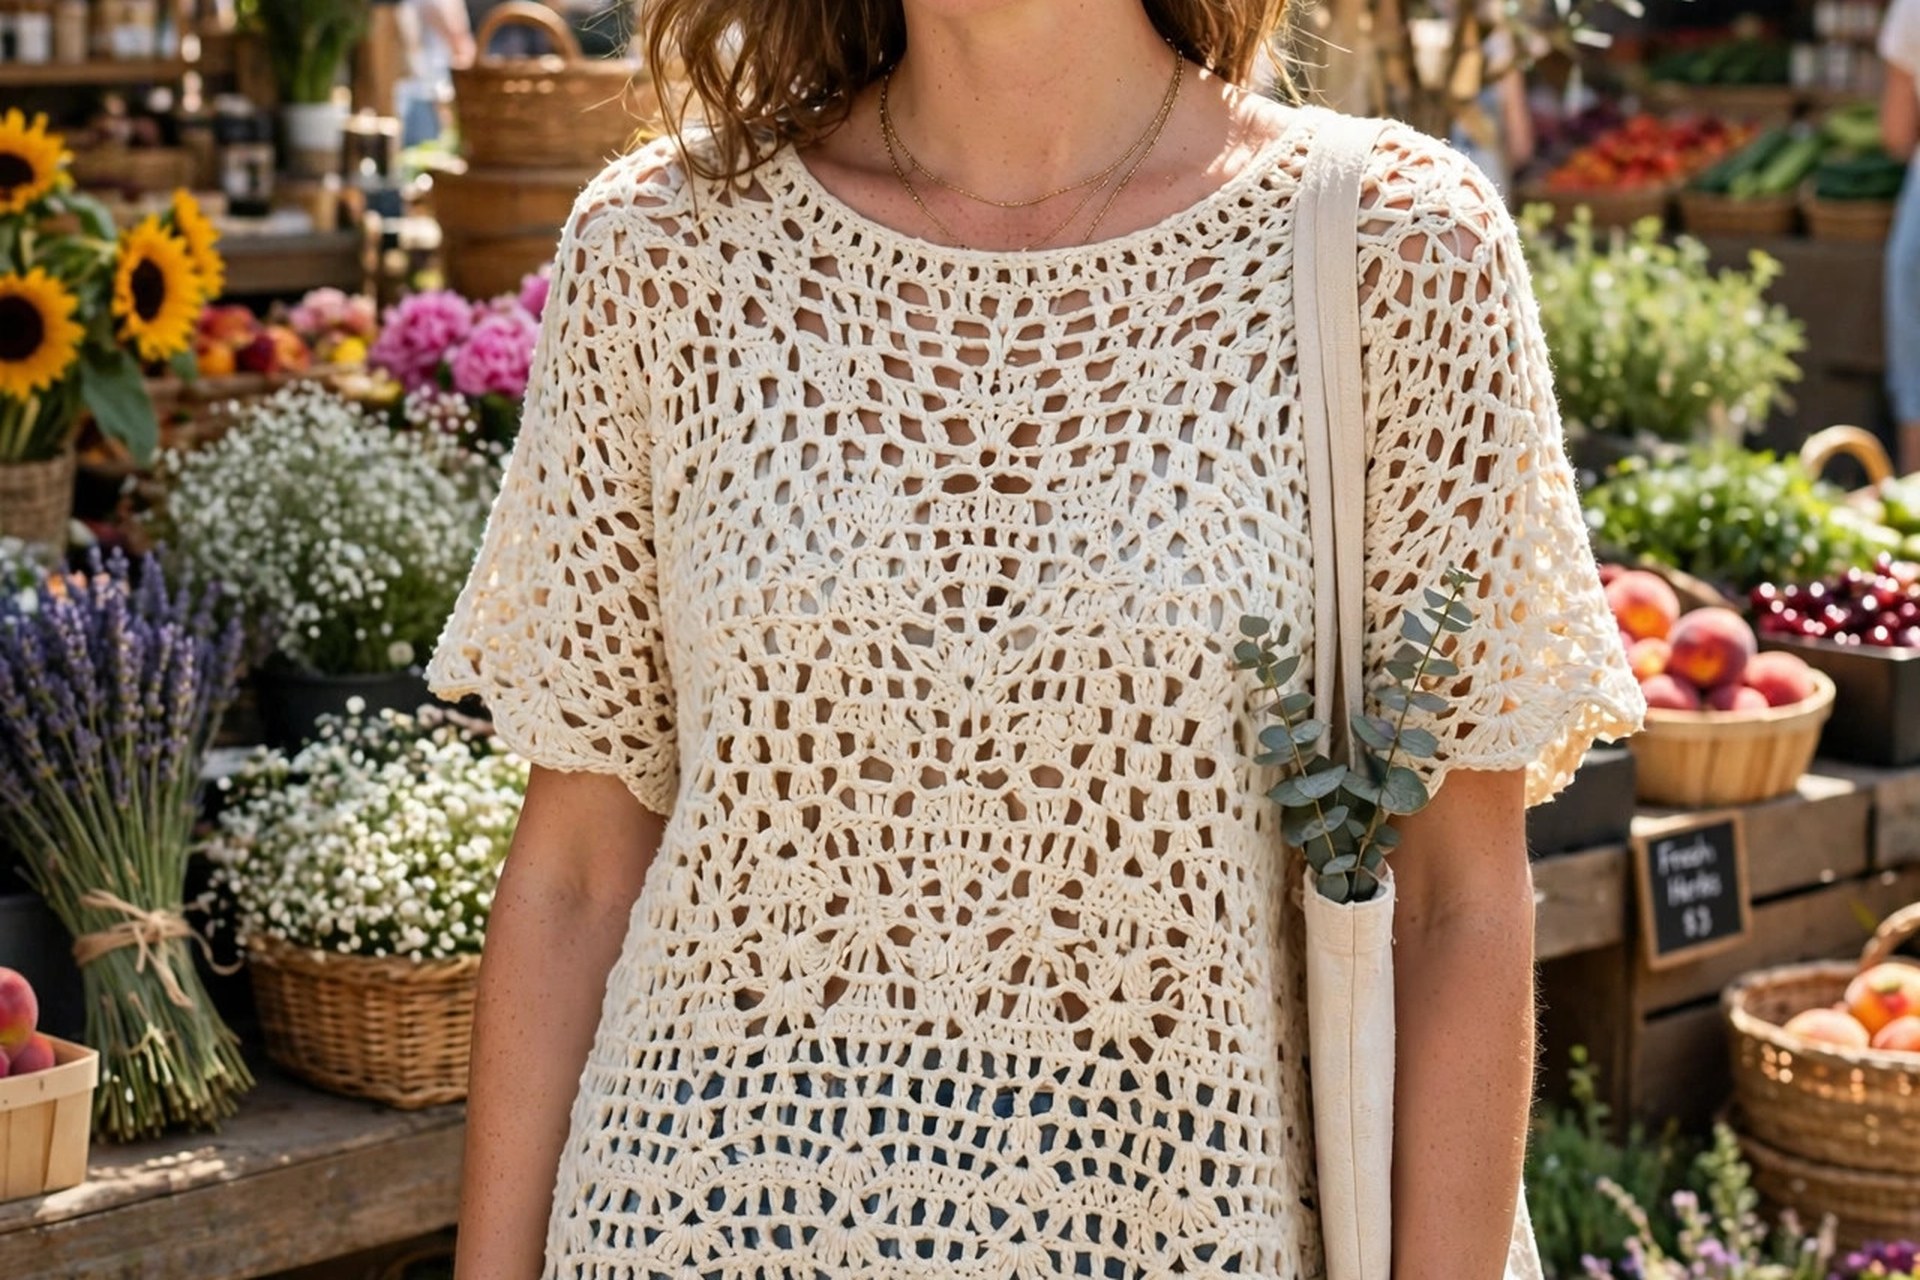
Happy stitching, and may your little tunic become the top you reach for every week.