Crochet Cushion Cover Pattern (Removable Pillow Cover)
Crochet a removable granny square cushion cover for an 18 inch insert in about six hours, then button it on and wash it whenever you like.

Patterns · Crochet
- Finished size
- 18 in square
- Making time
- 6 hours
- Hook
- US H-8 (5.0 mm)
- Set
- 9 squares, buttons
- Skill
- Easy
In this post
- Key Takeaways
- Table of Contents
- Why You Will Love This Cushion Cover
- Finished Size, Skill Level, and Time
- Materials You Need
- Abbreviations (US Terms)
- Gauge and Sizing Notes
- Part 1: The Front Panel (Nine Granny Squares)
- Part 2: The Back Panel and the Button Band
- Part 3: Assembly and Finishing
- Variations: Colors, Sizes, and Uses
- Troubleshooting a Cushion Cover That Does Not Fit Right
- Care Instructions
- Frequently Asked Questions
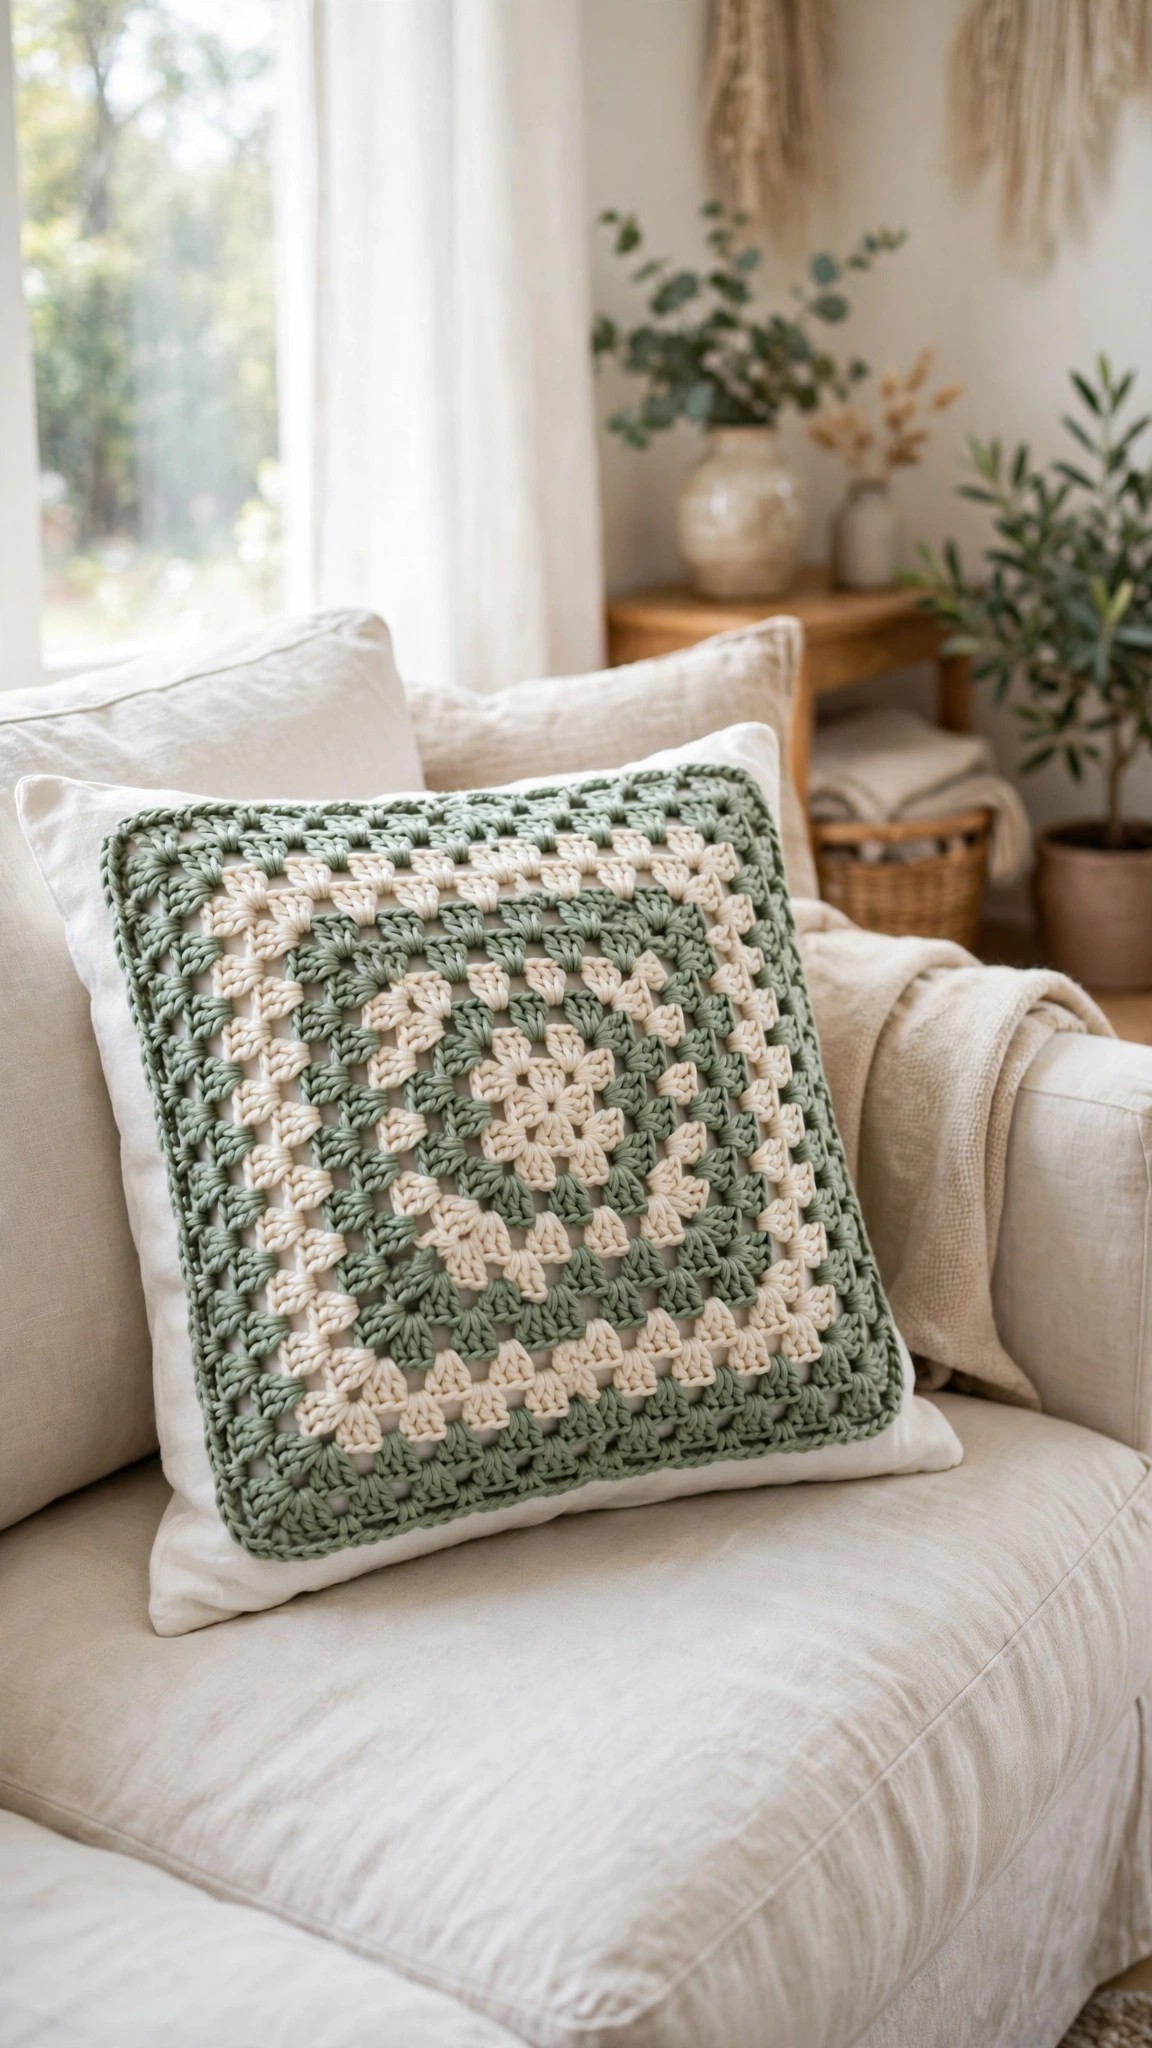
A handmade cushion cover is the quickest way to change the look of a sofa, and the most practical. This free crochet cushion cover pattern makes a removable cover for a standard 18 inch square pillow insert, with a pretty granny square front, a plain back panel, and a button closure that lets you take the cover off for washing. It takes about 6 hours, uses about 400 yards of cotton yarn, and makes a lovely home decor piece or a handmade gift.
This is an original Little Loop Finds design, written in US terms and completely free. The cover is made from 9 granny squares joined into a front panel, plus a back panel worked in double crochet rows with a button band, so it is a great first home decor project and a relaxing way to use up leftover yarn.
A quick note on scope: this post is about a removable cover that slips over a pillow insert and closes with buttons, not a stuffed pillow sewn shut. If you want a stuffed pillow instead, our crochet pillow pattern free is the matching project.
Key Takeaways
- Free original pattern: a Little Loop Finds original design, written in US terms, and completely free.
- A removable cover: a granny square front and a button back, so the cover slips off the insert for washing.
- Fits a standard insert: written for an 18 inch square pillow insert, with easy sizing notes for other sizes.
- Simple stitches: granny squares and double crochet rows, with no shaping tricks and no seaming stress.
- A 6 hour project: one cushion cover takes about 6 hours, worked one square at a time.
Table of Contents
- Why You Will Love This Cushion Cover
- Finished Size, Skill Level, and Time
- Materials You Need
- Abbreviations (US Terms)
- Gauge and Sizing Notes
- Part 1: The Front Panel (Nine Granny Squares)
- Part 2: The Back Panel and the Button Band
- Part 3: Assembly and Finishing
- Variations: Colors, Sizes, and Uses
- Troubleshooting a Cushion Cover That Does Not Fit Right
- Care Instructions
- Frequently Asked Questions
Why You Will Love This Cushion Cover
A crochet cushion cover turns a plain pillow insert into home decor that looks handmade in the best way. The granny square front gives you color and texture, the button back keeps the cover practical, and the whole project uses simple stitches. Make one in a few quiet evenings, and your sofa looks new again.
The cover is 9 granny squares joined into a front panel, plus a back panel in double crochet rows. There is no complicated shaping, no zipper to sew, and no stiff interfacing. Make a few squares an evening, and finish the whole cover in a week.
The button back is the clever part: it lets you pull the cover off in seconds when it needs a wash, with no zipper to sew. The button band is worked right into the back panel, so there is nothing extra to buy.
Finished Size, Skill Level, and Time
- Finished size: one size. The cover fits a standard 18 inch square pillow insert. The finished cover measures about 18 inches square, with a 1 inch overlap at the back opening.
- Skill level: Easy. You need a chain, single crochet, double crochet, and the basic granny square. The squares are worked in the round, which is the only shaping, and the pattern explains each round step by step.
- Time: about 6 hours per cushion cover: 20 minutes for each granny square, 1 hour for the back panel, and 1 hour for joining, the button band, and finishing.
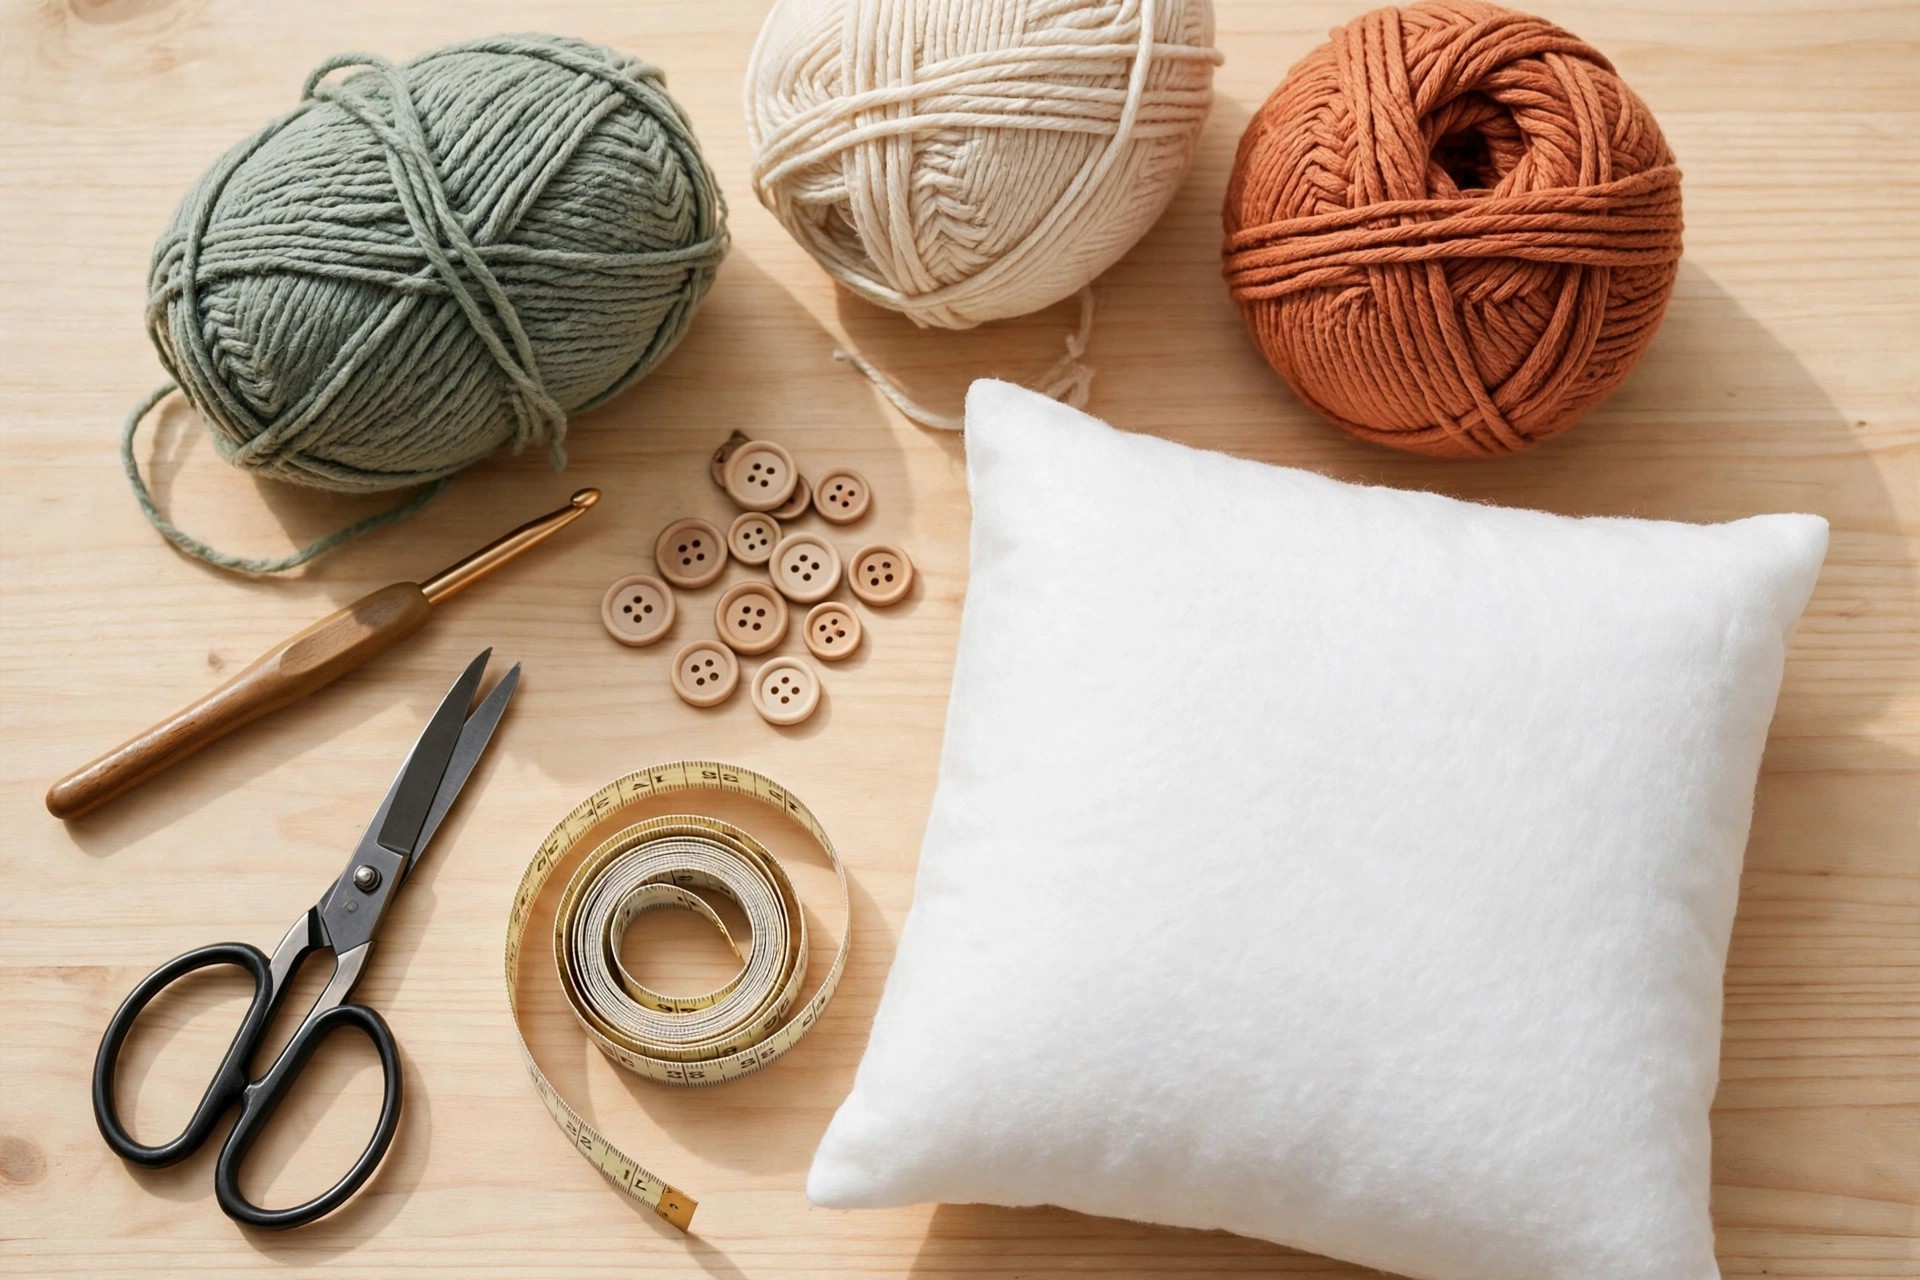
Materials You Need
| Item | What to get |
|---|---|
| Yarn, main colors | Worsted weight cotton yarn in 3 colors, 400 yards total (about 200 yards main color, 100 yards each accent color) |
| Hook | US H-8 (5.0 mm), or the size that gives you the gauge below |
| Pillow insert | One standard 18 inch square pillow insert |
| Buttons | 4 buttons, about 1 inch across |
| Notions | Tapestry needle, scissors, tape measure, stitch markers, sewing needle and thread to match the buttons |
Worsted weight cotton is the best choice for a cushion cover because it is sturdy enough for daily sofa use, holds the granny square texture neatly, and washes well without pilling. A soft acrylic yarn also works, and it is the cheapest option.
A tape measure matters most here, because the squares are sized by inches, not stitch counts alone. Measure each square before you start the next one. Our crochet table runners free patterns use the same measure as you go method.
Abbreviations (US Terms)
- ch = chain
- sl st = slip stitch
- sc = single crochet
- hdc = half double crochet
- dc = double crochet
- tr = treble crochet
- st(s) = stitch(es)
- sp = space
- rep = repeat
- RS = right side
- WS = wrong side
- FO = fasten off
Gauge and Sizing Notes
Gauge matters here because the cover must fit the insert snugly. Too loose, and it bags and wrinkles. Too tight, and it strains the seams. Work a swatch of 14 dc and 8 rows in the main color; it should measure about 4 inches square.
The pattern makes one size: an 18 inch square cover from 9 squares of 6 inches each, joined 3 by 3. The back panel is the same 18 inch square, with a 2 inch overlap where the flaps meet. For a 16 inch insert, stop each square after round 4 and use a smaller hook. For a 20 inch insert, add one more round to each square and work the back panel to 20 inches. Measure your insert before you pick a size.
Part 1: The Front Panel (Nine Granny Squares)
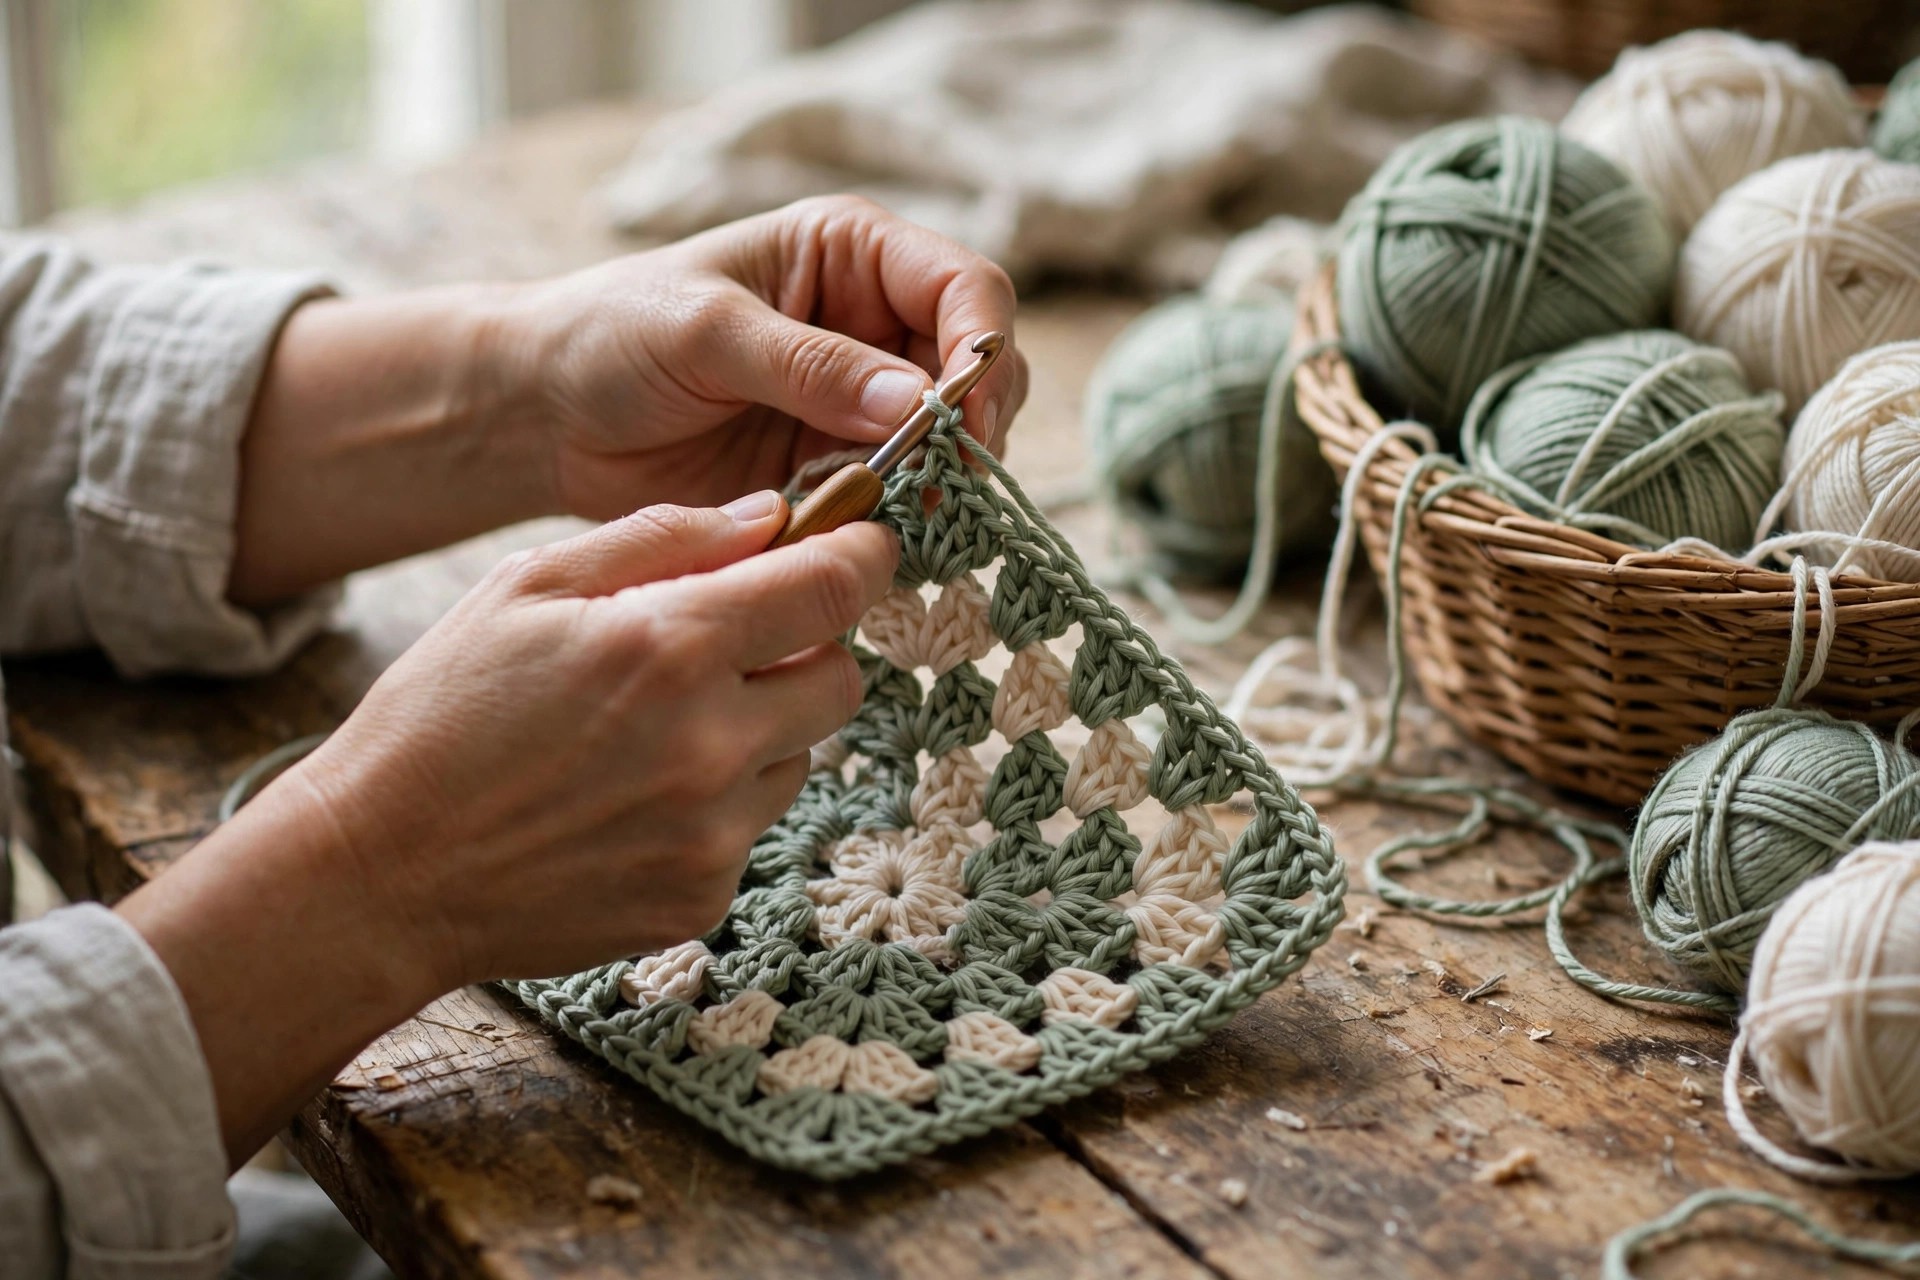
The front is 9 granny squares worked in the round from the center out, then joined into a 3 by 3 panel. Each square uses two colors, a center and an outer, for a planned patchwork look. Make 9 squares, 3 in each color combination.
Start each square with a magic ring in the center color, or chain 4 and join into a ring if you prefer.
- Round 1 (center color): ch 3 (counts as dc), 2 dc in the ring, ch 2, (3 dc in the ring, ch 2) 3 times, join with a sl st to the top of the ch 3. (12 dc, 4 ch-2 corner spaces)
- Round 2 (center color): sl st to the next ch-2 corner space, ch 3 (counts as dc), 2 dc in the same corner space, ch 2, 3 dc in the same corner space, ch 1, (3 dc, ch 2, 3 dc) in the next corner space, ch 1, repeat around, join with a sl st to the top of the ch 3. (24 dc)
- Round 3 (outer color): join the outer color in any corner space, ch 3 (counts as dc), 2 dc in the same corner space, ch 2, 3 dc in the same corner space, ch 1, 3 dc in the next ch-1 side space, ch 1, (3 dc, ch 2, 3 dc) in the next corner space, ch 1, 3 dc in the next ch-1 side space, ch 1, repeat around, join with a sl st to the top of the ch 3. (36 dc)
- Round 4 (outer color): sl st to the next ch-2 corner space, ch 3 (counts as dc), 2 dc in the same corner space, ch 2, 3 dc in the same corner space, ch 1, (3 dc in the next ch-1 side space, ch 1) twice, (3 dc, ch 2, 3 dc) in the next corner space, ch 1, (3 dc in the next ch-1 side space, ch 1) twice, repeat around, join with a sl st to the top of the ch 3. (48 dc)
- Round 5 (outer color): sl st to the next ch-2 corner space, ch 3 (counts as dc), 2 dc in the same corner space, ch 2, 3 dc in the same corner space, ch 1, (3 dc in the next ch-1 side space, ch 1) 3 times, (3 dc, ch 2, 3 dc) in the next corner space, ch 1, (3 dc in the next ch-1 side space, ch 1) 3 times, repeat around, join with a sl st to the top of the ch 3. (60 dc)
Each square should be 6 inches across after round 5. Measure it after a gentle stretch, because cotton relaxes with handling. If it is smaller, go up a hook size for the next square. Fasten off with a 6 inch tail, and count your clusters at the end of every round, because a missed cluster makes the square lopsided.
Make the squares in a repeating color order, so the panel looks planned. A good order is sage center with cream outer, cream center with sage outer, and terracotta center with cream outer, repeated for all 9 squares. Our crochet bunting pattern uses the same repeating color idea.
Joining the Squares
Lay the 9 squares in 3 rows of 3, right sides up, with no two matching squares touching. Join the squares in rows first, then join the rows, using a whip stitch through the back loops only. Hold two squares right sides together and whip stitch along one edge, 1 stitch in each stitch. Join all 3 squares in a row, then join the 3 rows, until you have one 18 inch square panel.
Check the panel from a distance: the squares should sit in straight rows with the corners lined up. If a square sits crooked, re-sew it with the corners lined up.
Part 2: The Back Panel and the Button Band
The back is two overlapping flaps in double crochet rows, so the insert slips in through the overlap and the buttons hold the flaps closed. The top flap carries the buttonholes, and the bottom flap carries the buttons. Make both flaps in the main color, so the back looks calm next to the busy front.
The Top Flap (With Buttonholes)
With the main color, chain 56. This chain gives a flap about 16 inches wide, which is the full width of the cover.
- Row 1: dc in the 4th ch from the hook and in each ch across. (53 dc)
- Row 2: ch 3 (counts as dc), turn, dc in each st across. (53)
- Rows 3 to 12: repeat row 2, working 1 dc in each stitch across. (53)
The top flap should be about 10 inches tall after row 12. If it is shorter, work 2 more rows. Do not fasten off yet, because the buttonhole row comes next.
- Buttonhole row: ch 3 (counts as dc), turn, dc in the next 4 sts, ch 2, skip 2 sts, dc in the next 9 sts, ch 2, skip 2 sts, dc in the next 9 sts, ch 2, skip 2 sts, dc in the next 9 sts, ch 2, skip 2 sts, dc in the last 5 sts. (45 dc, 4 ch-2 buttonholes)
- Last row: ch 3 (counts as dc), turn, dc in each st across, working 2 dc in each ch-2 buttonhole space. (53)
The 4 buttonholes should sit about 4 inches apart, each big enough for a 1 inch button. If one is too tight, work it again with a chain of 3. Fasten off with a 6 inch tail.
The Bottom Flap (Plain)
With the main color, chain 56, the same as the top flap.
- Row 1: dc in the 4th ch from the hook and in each ch across. (53 dc)
- Row 2: ch 3 (counts as dc), turn, dc in each st across. (53)
- Rows 3 to 14: repeat row 2, working 1 dc in each stitch across. (53)
The bottom flap should be about 12 inches tall after row 14, 2 inches taller than the top flap, so the flaps overlap by 2 inches when closed. Fasten off with a 6 inch tail.
Part 3: Assembly and Finishing
Now the front panel and the two back flaps become a cushion cover: join the panels, add the buttons, and slip the insert inside.
Joining the Front and Back
Lay the front panel right side down. Lay the bottom flap on top, wrong side up, lining up the bottom and side edges. Lay the top flap on top, wrong side up, overlapping the bottom flap by 2 inches and lining up the top and side edges. Pin the layers so nothing shifts.
With the main color, whip stitch around all four sides through the front panel and both flap edges, 1 stitch in each stitch and 3 in each corner. Keep the stitches small and even, then fasten off and weave in the tail inside the cover.
Turn the cover right side out and push the corners square with your fingers. The back opening should sit in the middle with a 2 inch overlap.
Sewing on the Buttons
Slip the insert in, smooth the cover flat, and mark the button positions on the bottom flap through the buttonholes. Take the insert out and sew one button at each mark, passing the needle through 4 or 5 times, then knot the thread inside the flap.
Button the cover closed and slip the insert back in. The buttons should sit flat and the cover should hug the insert without bagging. Our crochet Christmas coasters free patterns use the same small button finish if you want to practice sewing buttons on a smaller project first.
Variations: Colors, Sizes, and Uses
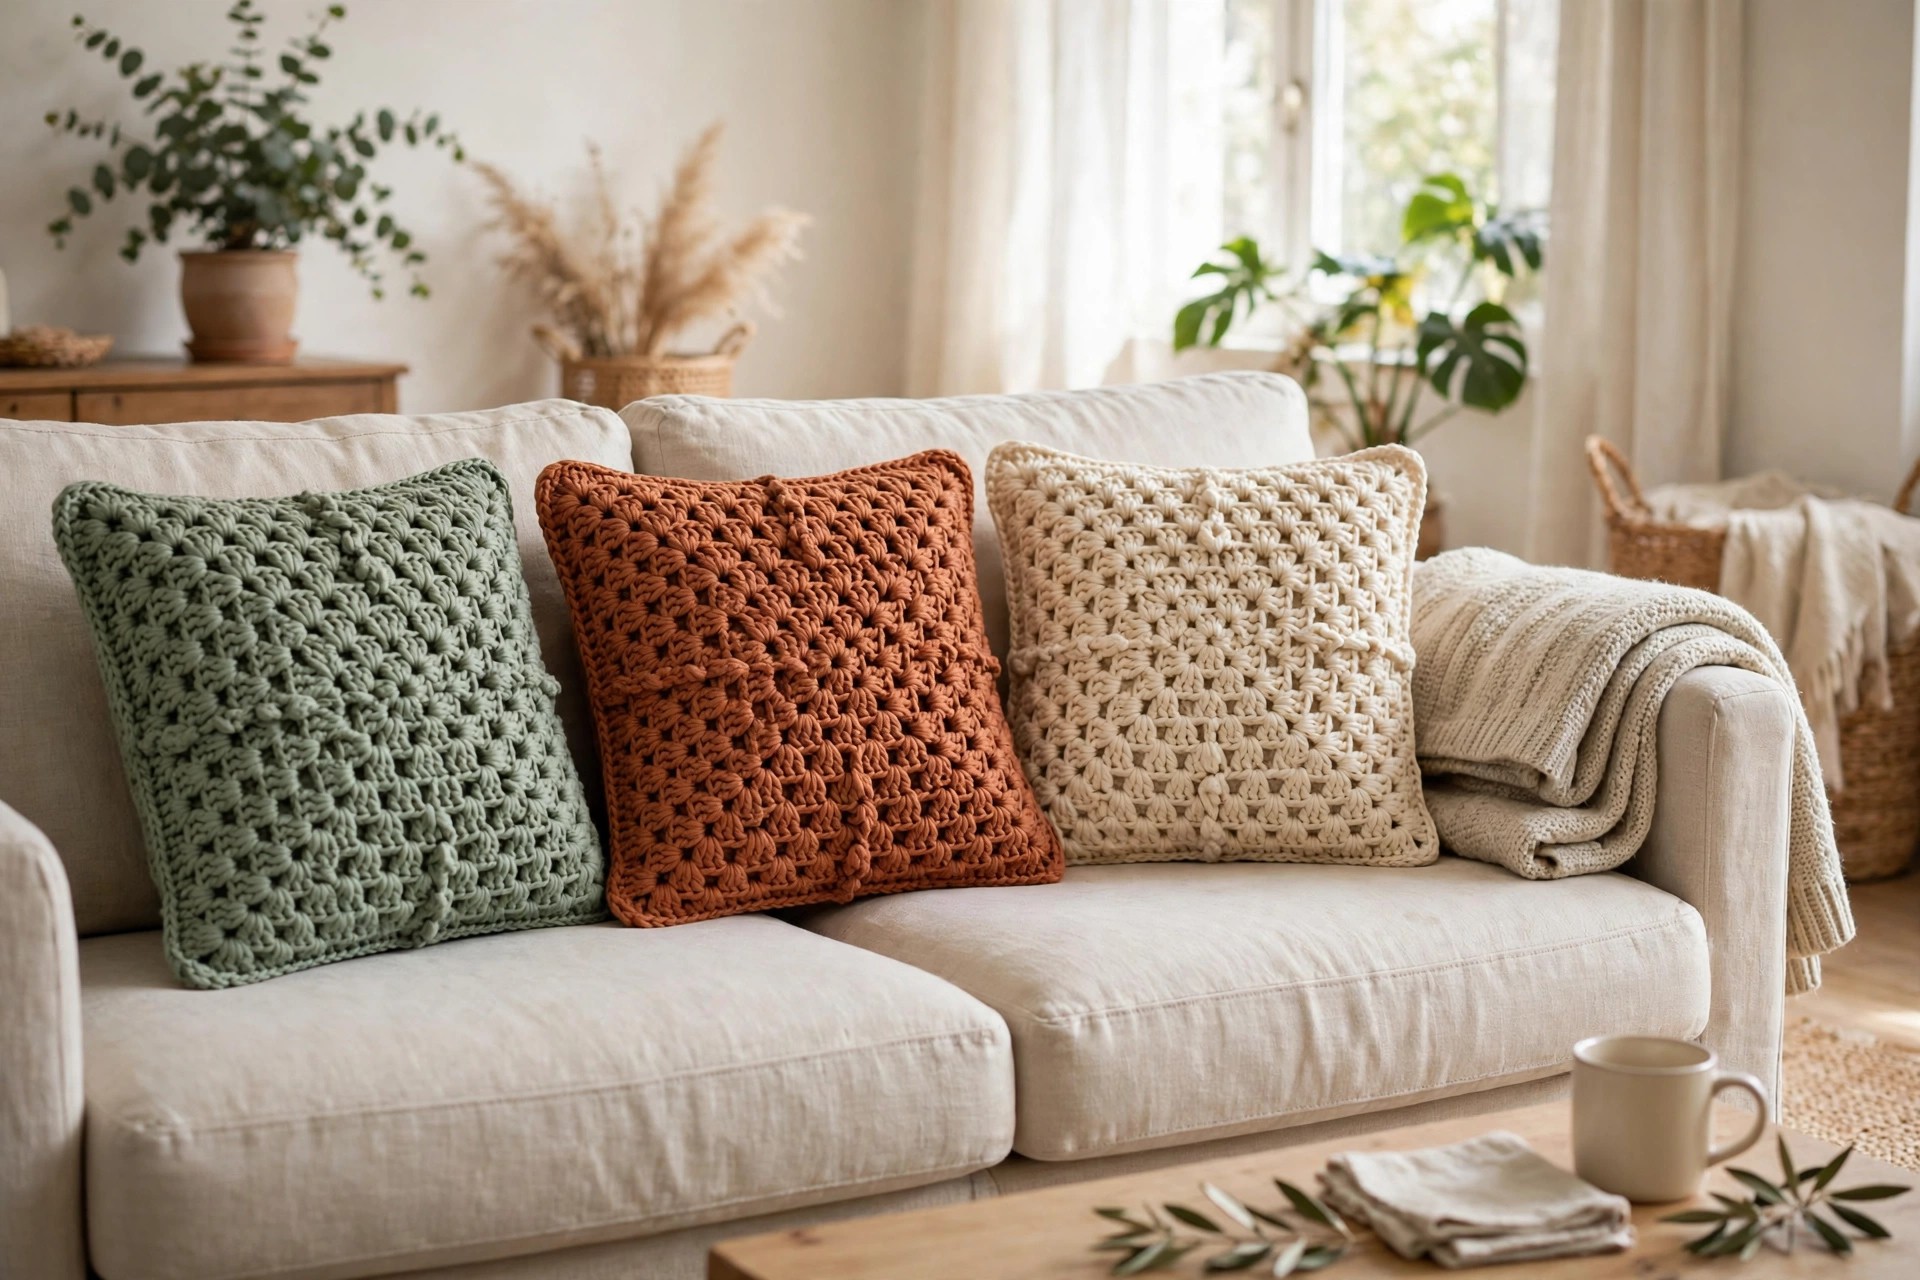
- Sage and cream cover: work the squares in sage and cream, just as written, for a calm living room look.
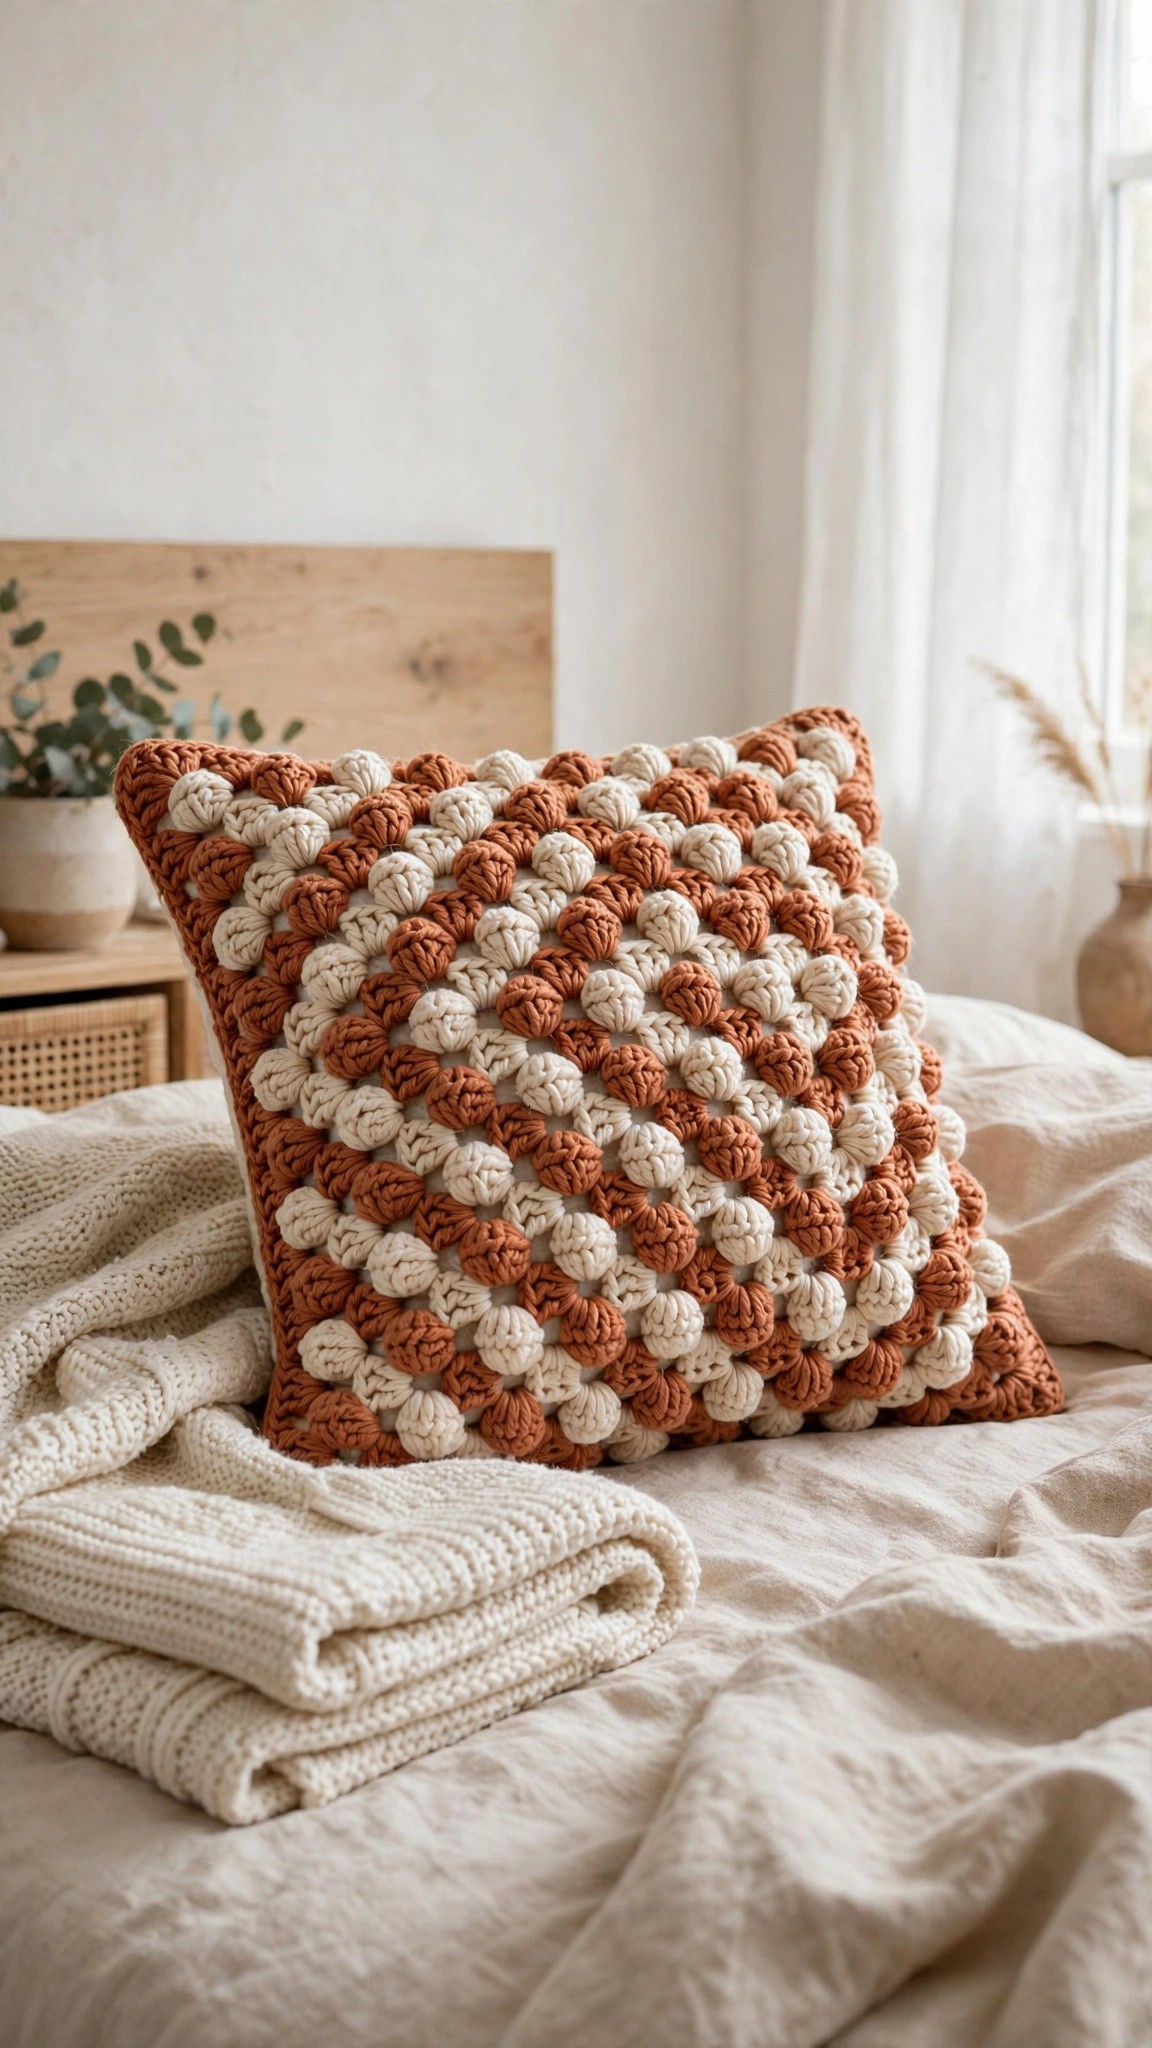
- Terracotta cover: work the squares in terracotta, cream, and rust for a warm autumn sofa.
- Nursery cover: work the squares in soft yellow, mint, and cream for a baby room pillow.
- Small lumbar cover: work 6 squares in a 3 by 2 panel for a 12 by 18 inch lumbar pillow, and adjust the back flaps to match.
- Bedroom set: pair a cushion cover with matching crochet beach cover up pattern colors for a holiday bedroom that looks planned.
Troubleshooting a Cushion Cover That Does Not Fit Right
- My squares are different sizes. The gauge changed, or a round was missed. Count your clusters on each round, and measure each square before joining.
- My cover bags on the insert. The cover is too big, or the gauge is too loose. Go down a hook size, or use a slightly larger insert.
- My cover pulls at the seams. The cover is too small, or the seams are too tight. Go up a hook size, or add one more round to each square.
- My buttonholes are too tight. The chain space is too small, or the buttons are too big. Work the buttonholes with a chain of 3, or use smaller buttons.
- My back flaps gape open. The overlap is too small. Work 2 more rows on the bottom flap, and check the buttons sit at the center of each hole.
- My seams show on the right side. The whip stitch went through the front loops. Re-sew it through the back loops only.
Care Instructions
Take the cover off the insert, then hand wash it in cool water with a mild detergent. Press the water out gently without wringing, reshape, and lay flat to dry away from direct heat. Store a spare cover folded flat, never hung, because hanging stretches the squares out of shape.
Frequently Asked Questions
Is this crochet cushion cover pattern good for beginners?
Yes, it is best for an easy crocheter who knows single and double crochet. The pattern explains each granny square round step by step, so it is a great first home decor project.
What yarn is best for a crochet cushion cover?
Worsted weight cotton yarn is the best choice, because it is sturdy enough for daily sofa use, holds the granny square texture neatly, and washes well without pilling. A soft acrylic yarn is the cheapest option.
What size pillow insert does this cover fit?
This cover fits a standard 18 inch square pillow insert, with a 1 inch overlap at the back opening. If your insert is a different size, adjust the squares and the back panel using the sizing notes in the gauge section.
How do I wash a crochet cushion cover?
Take the cover off the insert first, because the button back lets you remove it in seconds. Hand wash it in cool water with a mild detergent, press the water out gently, reshape, and lay flat to dry.
Can I make this cushion cover in a different size?
Yes. For a 16 inch insert, stop each square after round 4 and use a smaller hook. For a 20 inch insert, add one round to each square and work the back panel to 20 inches.
Can I sell cushion covers made from this pattern?
Yes, you may sell finished cushion covers made from this free pattern, with credit to Little Loop Finds. Do not sell or republish the pattern text itself.
Happy stitching, and may your little cushion cover make your sofa the coziest seat in the house.