Crochet Cupcake Pattern (Amigurumi Cupcake)
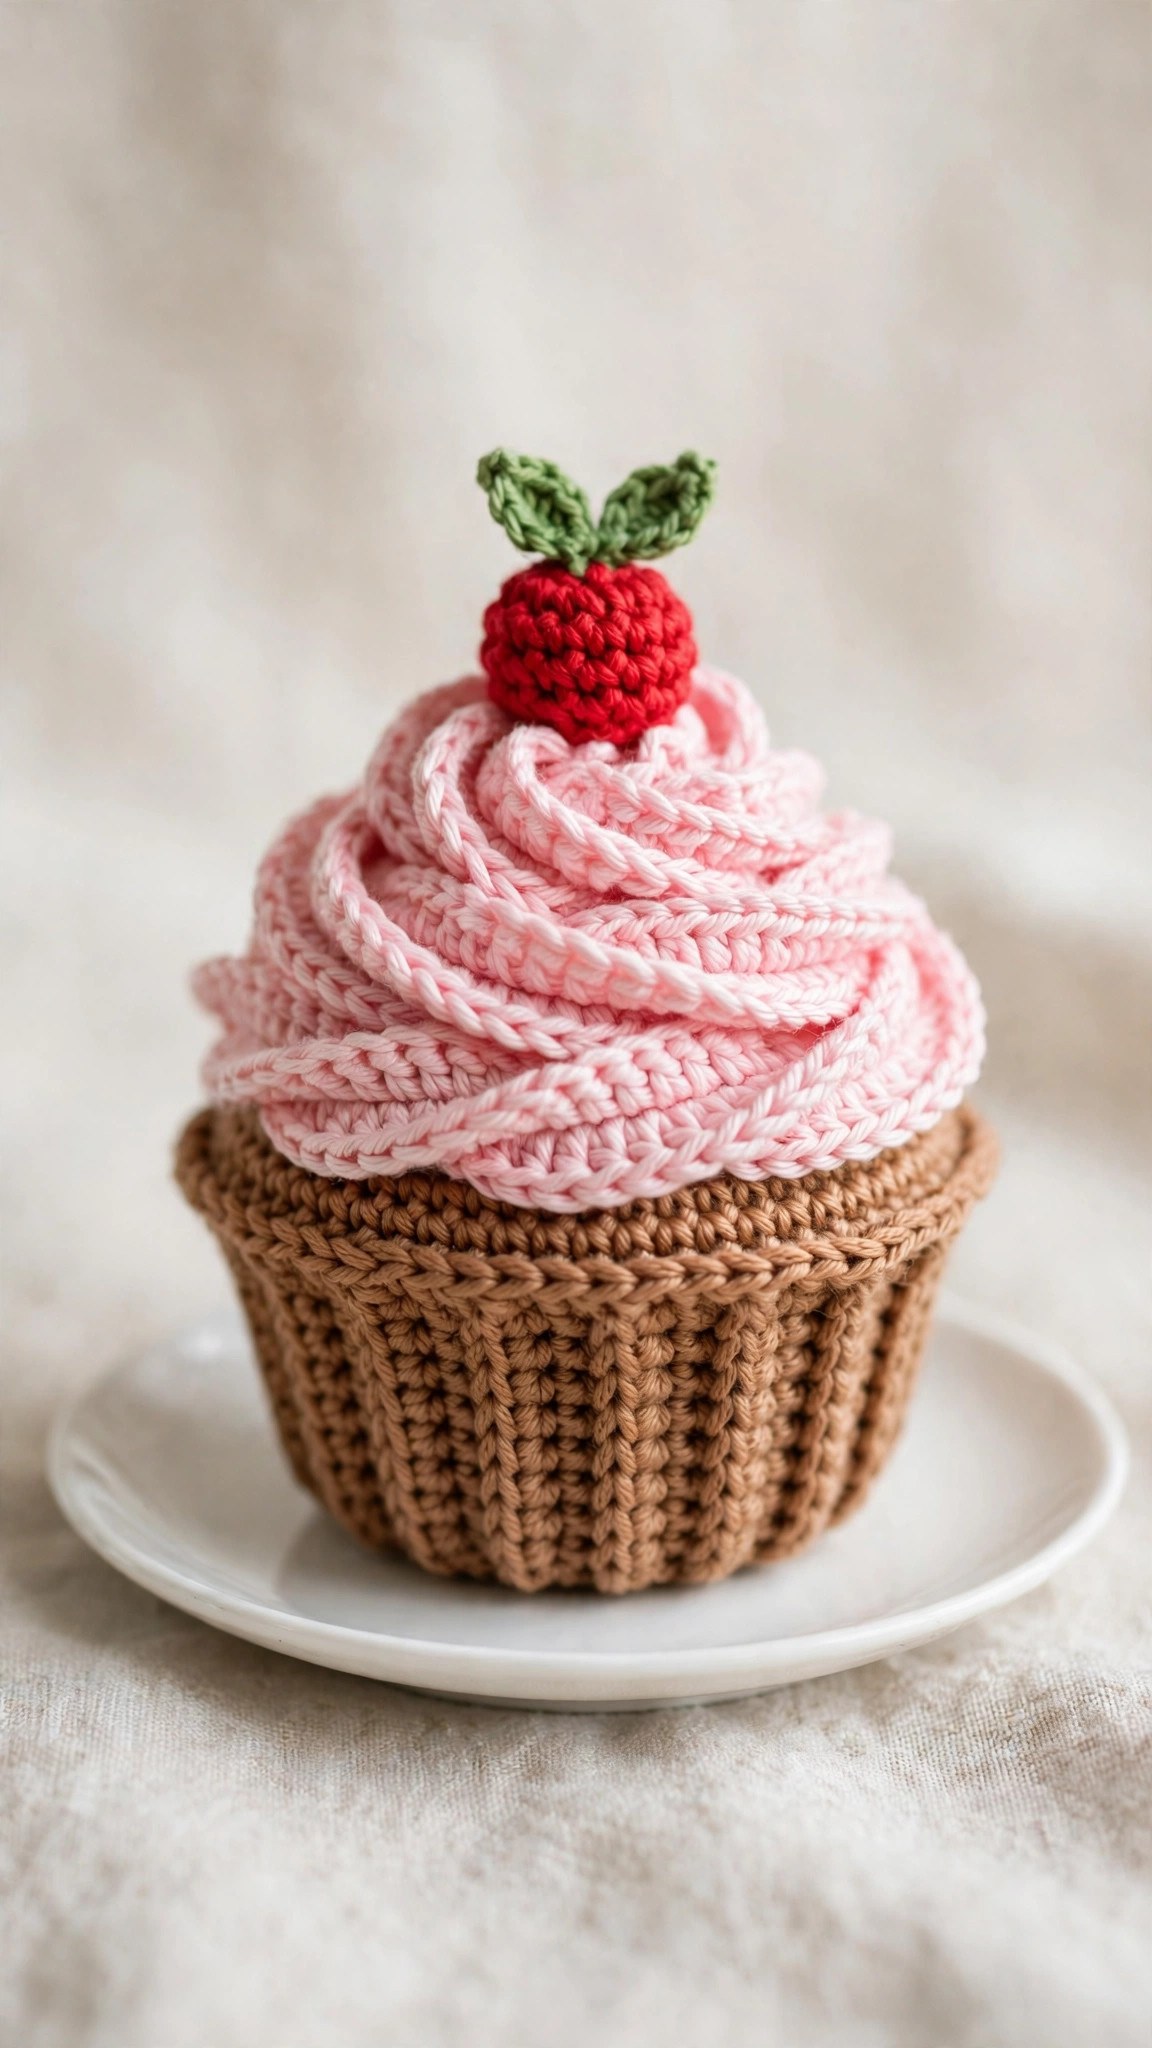
Crochet a soft amigurumi cupcake with a swirly pink frosting top, sprinkles, and a cherry in about three hours, then gift it or play with it.

Patterns · Crochet
- Finished size
- 4 in tall
- Making time
- 3 hours
- Hook
- US E-4 (3.5 mm)
- Set
- Cupcake, cherry
- Skill
- Easy
In this post
- Key Takeaways
- Table of Contents
- Why You Will Love This Cupcake
- Finished Size, Skill Level, and Time
- Materials You Need
- Abbreviations (US Terms)
- Gauge and Sizing Notes
- Part 1: The Cake Base and the Cupcake Case
- Part 2: The Frosting Swirl
- Part 3: Assembly, Sprinkles, and the Cherry
- Variations: Colors, Flavors, and Uses
- Troubleshooting a Cupcake That Does Not Look Right
- Care Instructions
- Frequently Asked Questions
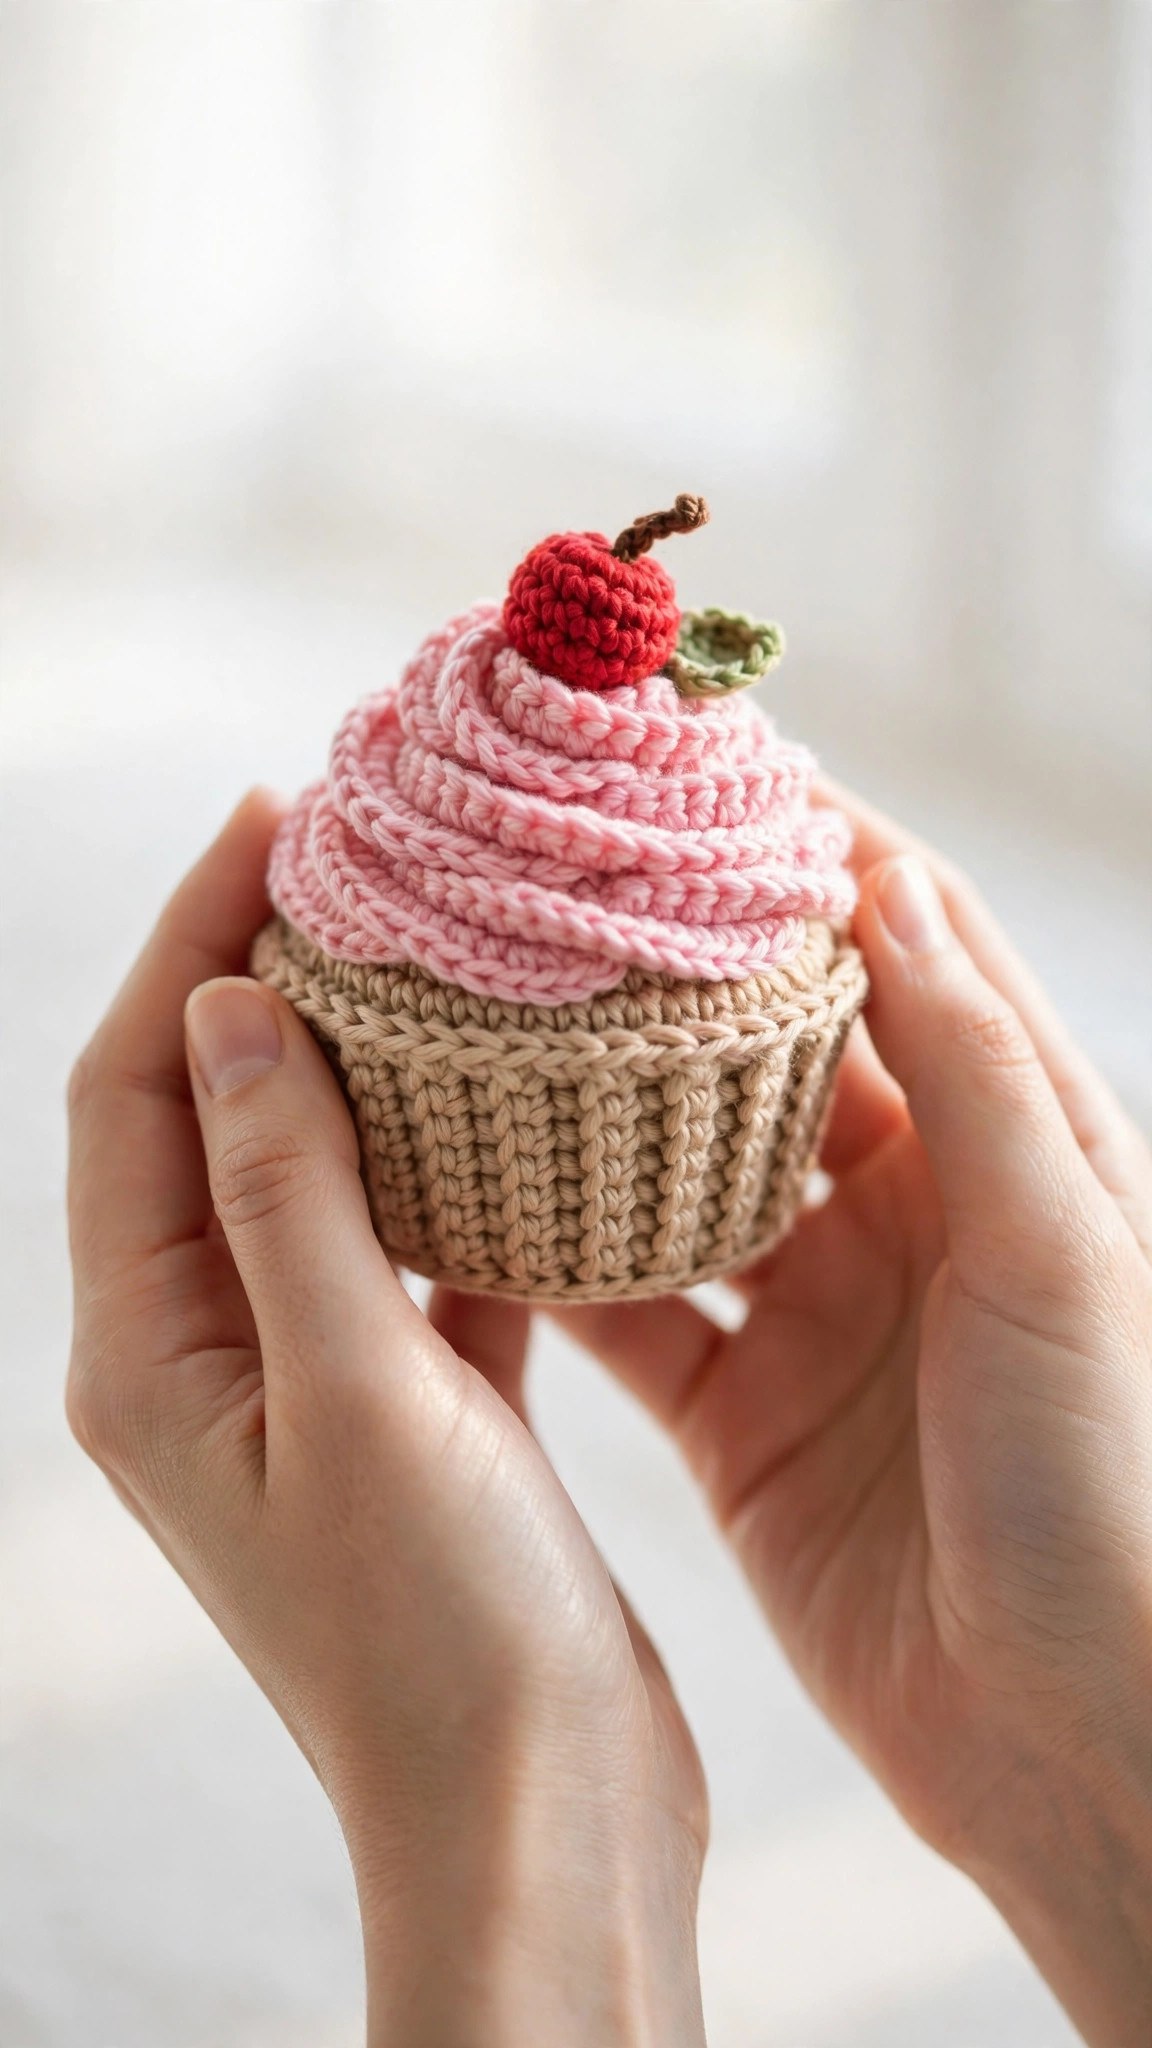
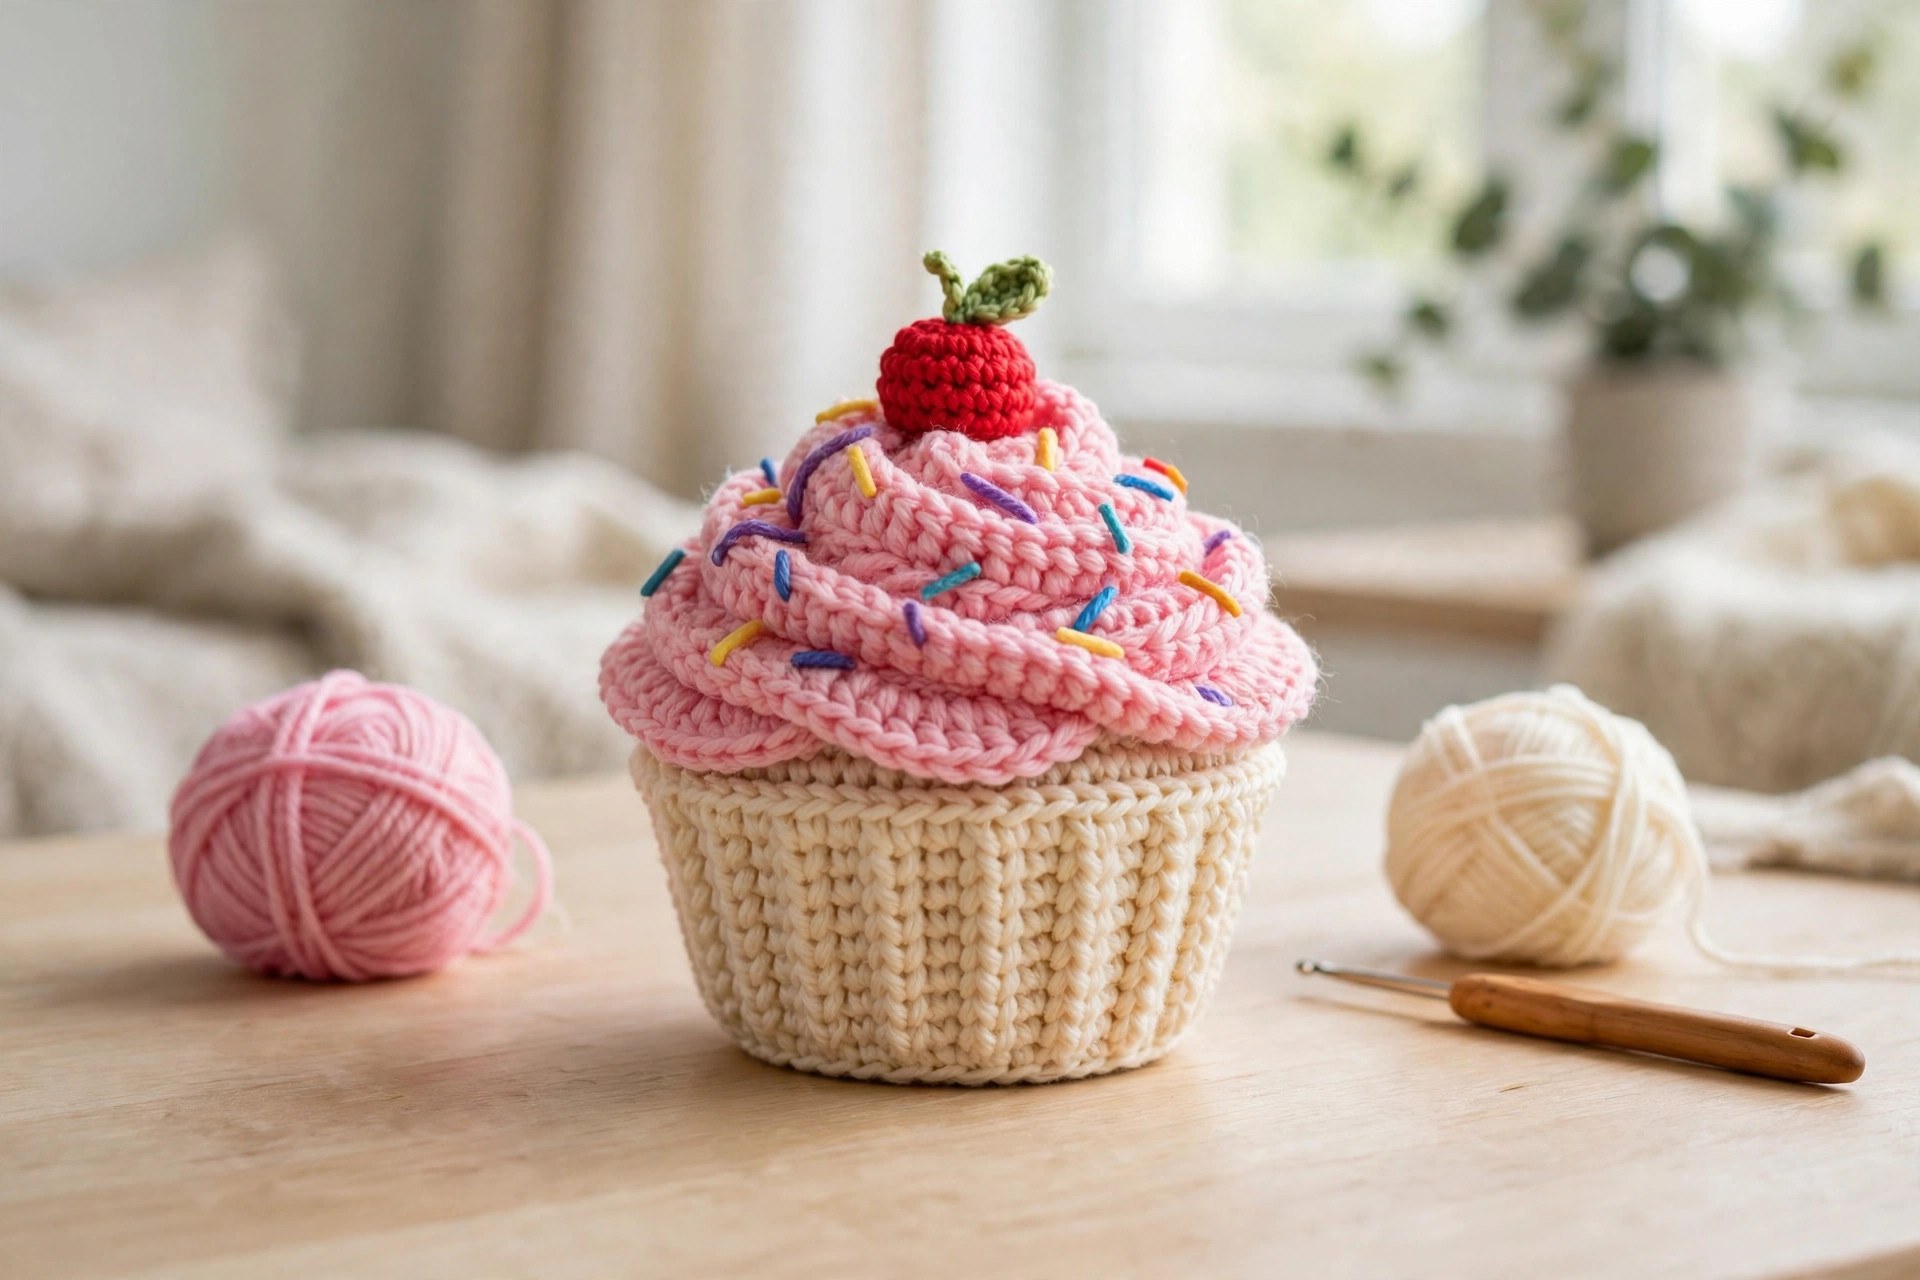
A crochet cupcake is one of the cutest small amigurumi projects you can make, and it works up fast enough to finish in a single evening. This free crochet cupcake pattern makes a soft amigurumi cupcake with a golden cake base, a swirly pink frosting top, colorful sprinkles, and a bright red cherry. It takes about 3 hours, uses less than 100 yards of yarn, and makes a lovely gift or a cheerful decoration.
This is an original Little Loop Finds design, written in US terms and completely free. The cupcake is worked in the round with single crochet, so there are no seams to sew except for joining the frosting and the cherry. The base is a simple cup shape, the frosting is a soft swirl worked in rounds, and the cherry is a tiny ball on top.
A quick note on scope: this post is about one specific crochet cupcake, a soft amigurumi cupcake with frosting, sprinkles, and a cherry, made to sit on a shelf or to play with. That makes it different from a flat cupcake applique, which is a flat shape sewn onto a blanket or a bag. If you want a larger sweet treat to pair with it, our crochet cake pattern is a good next project.
Key Takeaways
- Free original pattern: a Little Loop Finds original design, written in US terms, and completely free.
- A soft amigurumi cupcake: a golden cake base, a swirly pink frosting top, sprinkles, and a cherry.
- One size, about 4 inches tall: the cupcake measures about 4 inches tall and 3 inches wide at the base.
- Simple stitches: worked in the round with single crochet, increases, and decreases only.
- A 3 hour project: one cupcake takes about 3 hours, worked one small piece at a time.
Table of Contents
- Why You Will Love This Cupcake
- Finished Size, Skill Level, and Time
- Materials You Need
- Abbreviations (US Terms)
- Gauge and Sizing Notes
- Part 1: The Cake Base and the Cupcake Case
- Part 2: The Frosting Swirl
- Part 3: Assembly, Sprinkles, and the Cherry
- Variations: Colors, Flavors, and Uses
- Troubleshooting a Cupcake That Does Not Look Right
- Care Instructions
- Frequently Asked Questions
Why You Will Love This Cupcake
A crochet cupcake never goes stale, never melts, and never needs to be eaten before it goes bad. The golden base and the pink frosting swirl give it a sweet bakery look that brightens a kitchen shelf, a party table, or a child's play kitchen.
The cupcake is made from small pieces, so it is a perfect project for using up leftover yarn. The base uses one warm color, the case uses a second color, the frosting uses a soft pink, and the cherry uses a scrap of red.
Finished Size, Skill Level, and Time
- Finished size: one size. The cupcake measures about 4 inches tall from the bottom of the case to the top of the cherry.
- Skill level: Easy. You need a magic ring, single crochet, increases, decreases, and basic sewing to join the pieces. The frosting is worked in the round with a simple spiral.
- Time: about 3 hours per cupcake: 1 hour for the cake base and the case, 1 hour for the frosting swirl, and 1 hour for assembly.
Materials You Need
| Item | What to get |
|---|---|
| Yarn, cake color | DK weight yarn in golden yellow, about 40 yards |
| Yarn, case color | DK weight yarn in lilac or mint, about 25 yards |
| Yarn, frosting color | DK weight yarn in soft pink, about 40 yards |
| Yarn, cherry color | DK weight yarn in red, about 10 yards |
| Hook | US E-4 (3.5 mm), or the size that gives you the gauge below |
| Notions | Tapestry needle, scissors, stitch markers, toy stuffing, small bits of yarn in white, yellow, and blue for sprinkles |
DK weight yarn is the best choice for a crochet cupcake because it is light enough for the frosting to hold a soft swirl, and firm enough for the base to keep its cup shape. A cotton yarn works well for the base and the case, because it gives a clean stitch definition. A soft acrylic yarn also works, and it is the best choice if you want a cupcake that can be washed often. Toy stuffing gives the cupcake its plump shape. Stuff the base firmly enough that it stands up on its own, and stuff the frosting lightly so the swirl keeps its soft curves. A stitch marker is the most important notion here, because the base and the frosting are worked in a continuous spiral. Mark the first stitch of every round, and move the marker up as you work.
Abbreviations (US Terms)
- ch = chain
- sl st = slip stitch
- sc = single crochet
- hdc = half double crochet
- dc = double crochet
- inc = increase (2 sc in the same stitch)
- dec = decrease (sc 2 together)
- st(s) = stitch(es)
- rep = repeat
- rnd = round
- RS = right side
- WS = wrong side
- FO = fasten off
Gauge and Sizing Notes
Gauge matters on an amigurumi cupcake because the stuffing shows through if the stitches are too loose. Work a swatch of 10 sc and 10 rows in the cake color. It should be about 2 inches wide and 2 inches tall. If it is wider, go down a hook size. If it is narrower, go up a hook size.
The pattern is written in one size, and the cupcake measures about 4 inches tall at the gauge above. For a smaller cupcake, use a fingering weight yarn with a US C-2 (2.75 mm) hook. For a larger one, use worsted weight yarn with a US G-6 (4.0 mm) hook. The case is worked in the back loops only, which makes the ridges that look like a real paper cupcake case. Keep your tension even when you work into the back loops. Our crochet strawberry pattern uses the same back loop texture.
Part 1: The Cake Base and the Cupcake Case
The cupcake starts with the cake base, a simple cup shape worked in the round from the bottom up. The case is worked over the base in a second color, using back loop stitches to make the ridges of a paper case. Work in continuous rounds.
The Cake Base
With the cake color, make a magic ring.
- Rnd 1: 6 sc in the ring. (6)
- Rnd 2: inc in each st around. (12)
- Rnd 3: (sc, inc) rep 6 times. (18)
- Rnd 4: (sc in the next 2 sts, inc) rep 6 times. (24)
- Rnd 5: (sc in the next 3 sts, inc) rep 6 times. (30)
- Rnd 6: work in the back loop only, sc in each st around. (30)
- Rnds 7 to 12: sc in each st around. (30)
The base should be a neat cup shape, flat on the bottom and straight up the sides. The back loop round at round 6 makes a clean edge where the bottom meets the sides, and it helps the cupcake stand up straight.
- Rnd 13: (sc in the next 3 sts, dec) rep 6 times. (24)
- Rnd 14: sc in each st around. (24)
Stuff the base firmly now, so it holds its cup shape and the frosting will sit flat on top. Do not overstuff the top, because a domed top makes the frosting slide to one side. Fasten off, leaving a 12 inch tail for sewing the frosting on later.
The Cupcake Case
With the case color, chain 31 and join with a sl st to form a ring, taking care not to twist the chain.
- Rnd 1: ch 1, sc in each ch around, join with a sl st. (30)
- Rnd 2: ch 1, work in the back loop only, (sc in the next 4 sts, inc) rep 6 times, join with a sl st. (36)
- Rnd 3: ch 1, work in the back loop only, sc in each st around, join with a sl st. (36)
- Rnd 4: ch 1, work in the back loop only, (sc in the next 5 sts, inc) rep 6 times, join with a sl st. (42)
- Rnd 5: ch 1, work in the back loop only, sc in each st around, join with a sl st. (42)
The case should be a flared ring, wider at the top than at the bottom, with clear ridges from the back loop stitches. Slip the case over the cake base, with the narrow end at the bottom, and check that it fits snugly around the sides. The top edge of the case should sit just below the top edge of the base, so the golden cake shows in a thin line above the case.
Fasten off, leaving a 10 inch tail. Sew the case to the base with small whip stitches around the bottom edge, then sew a few stitches around the top edge as well, so the case cannot slip down. Weave in the ends on the inside.
Part 2: The Frosting Swirl
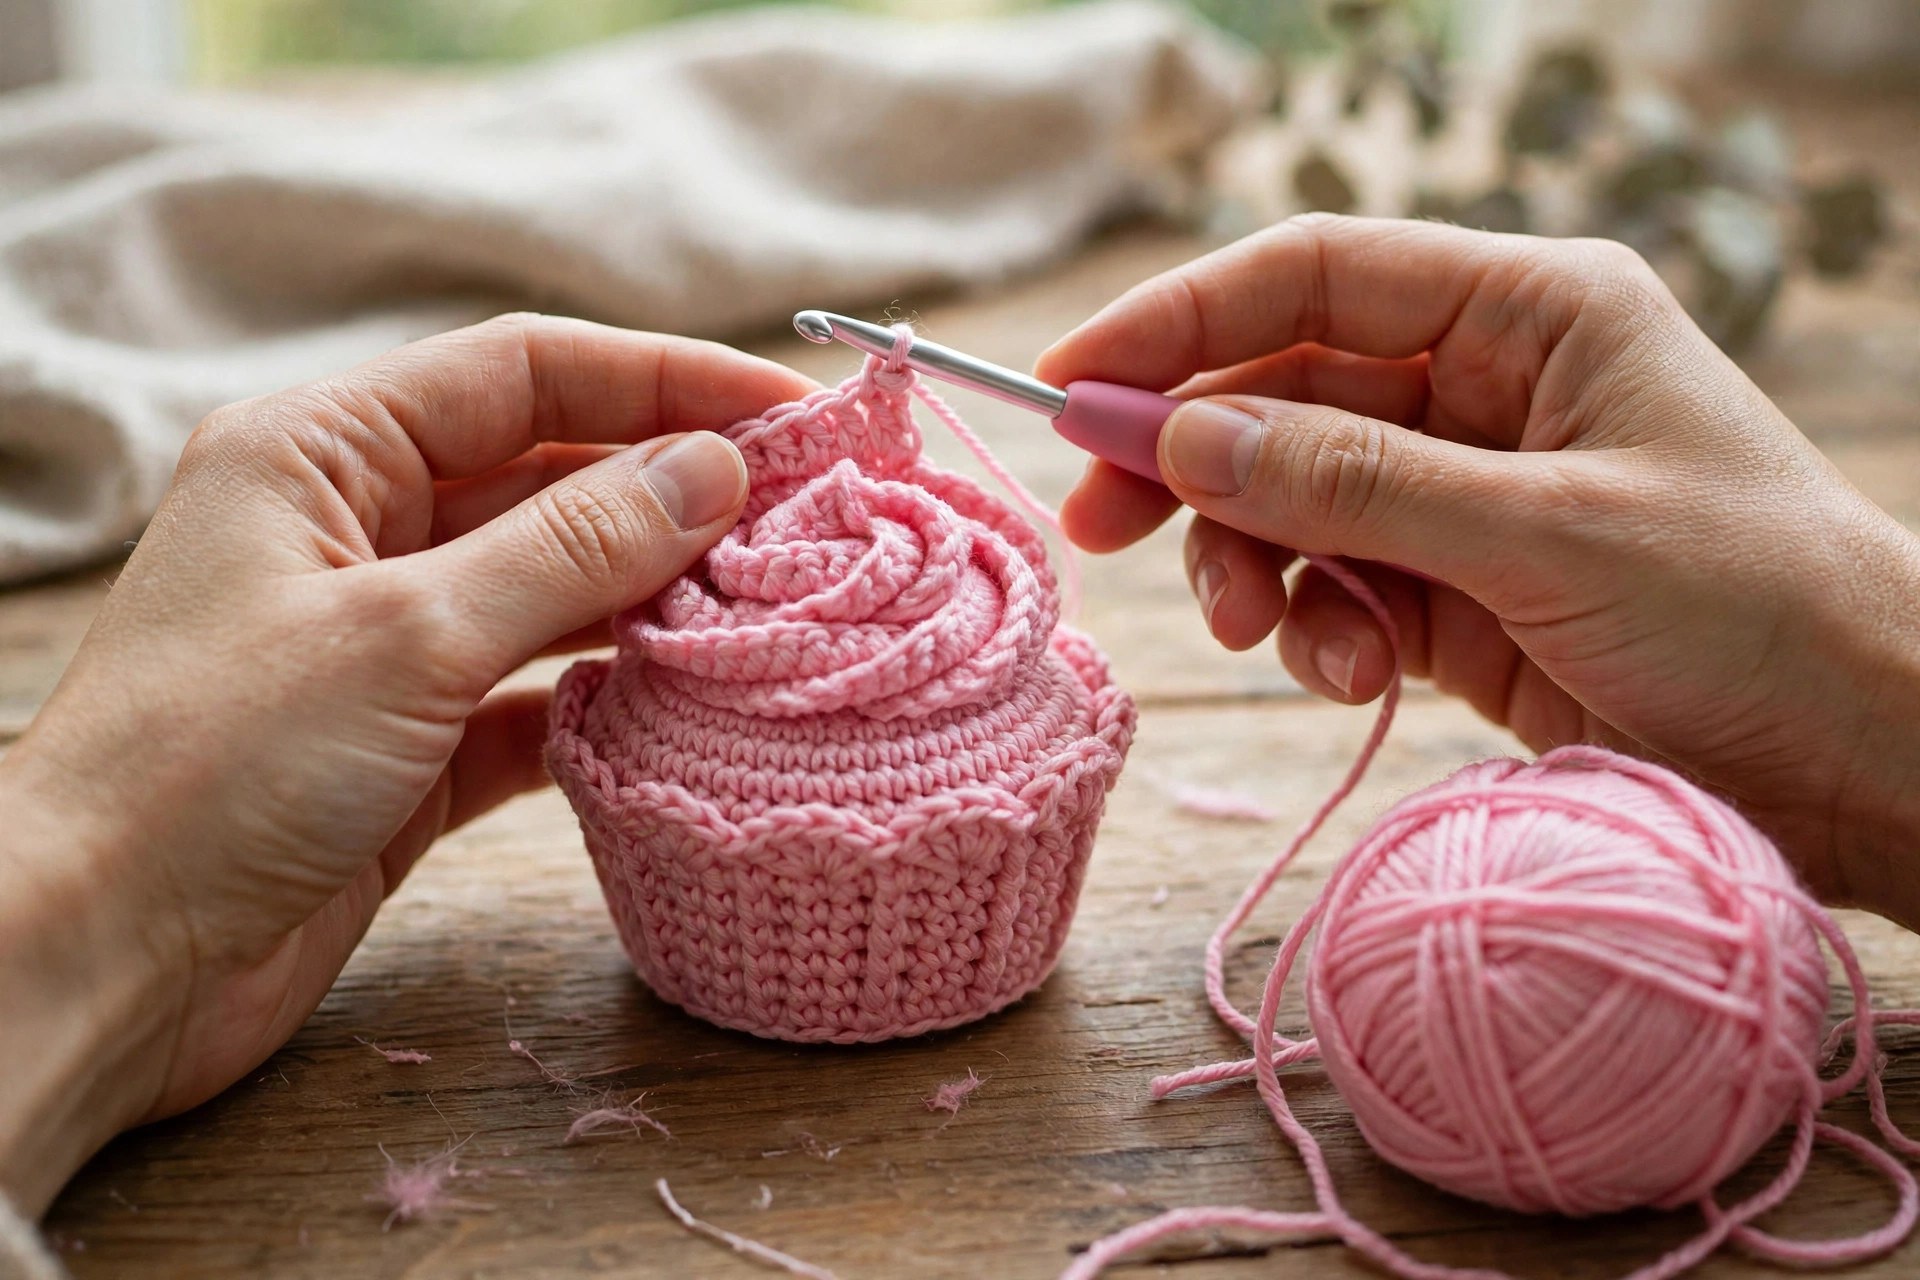
The frosting is the part that makes a cupcake look like a cupcake, so take your time with it. It is a soft dome worked in the round, starting with a flat circle and narrowing in steps to make the swirl shape.
The Frosting Dome
With the frosting color, make a magic ring.
- Rnd 1: 6 sc in the ring. (6)
- Rnd 2: inc in each st around. (12)
- Rnd 3: (sc, inc) rep 6 times. (18)
- Rnd 4: (sc in the next 2 sts, inc) rep 6 times. (24)
- Rnd 5: (sc in the next 3 sts, inc) rep 6 times. (30)
- Rnd 6: (sc in the next 4 sts, inc) rep 6 times. (36)
- Rnd 7: (sc in the next 5 sts, inc) rep 6 times. (42)
- Rnd 8: sc in each st around. (42)
The frosting dome should be about 3 inches across at this point, the same width as the top of the base. Now begin the swirl, narrowing the dome in steps so it rises to a peak. Stuff the frosting lightly as you work, so the swirl keeps its soft curves.
- Rnd 9: (sc in the next 5 sts, dec) rep 6 times. (36)
- Rnd 10: sc in each st around. (36)
- Rnd 11: (sc in the next 4 sts, dec) rep 6 times. (30)
- Rnd 12: sc in each st around. (30)
- Rnd 13: (sc in the next 3 sts, dec) rep 6 times. (24)
- Rnd 14: sc in each st around. (24)
- Rnd 15: (sc in the next 2 sts, dec) rep 6 times. (18)
- Rnd 16: sc in each st around. (18)
- Rnd 17: (sc, dec) rep 6 times. (12)
- Rnd 18: dec in each st around. (6)
Fasten off, leaving a 12 inch tail. Thread the tail through the remaining 6 stitches and pull it closed to shape the tip of the swirl, then pull the tail down through the center of the frosting and out of the bottom, so the peak pulls down slightly and the swirl looks piped instead of pointed. The frosting should be about 2 inches tall, with a soft rounded peak.
The Cherry
With the cherry color, make a magic ring.
- Rnd 1: 6 sc in the ring. (6)
- Rnd 2: inc in each st around. (12)
- Rnd 3: (sc, inc) rep 6 times. (18)
- Rnds 4 to 6: sc in each st around. (18)
- Rnd 7: (sc, dec) rep 6 times. (12)
Stuff the cherry lightly, so it holds a round shape without going hard. Fasten off, leaving a 10 inch tail for sewing the cherry to the top of the frosting. The cherry should be about 1 inch across. For the stem, cut a piece of green yarn about 3 inches long, thread it through the top of the cherry, and knot it in place, trimming the ends to about half an inch.
Part 3: Assembly, Sprinkles, and the Cherry
This is the part where the pieces become a cupcake. Sew the frosting to the base, add the sprinkles, and finish with the cherry on top.
Joining the Frosting to the Base
Thread the tail from the frosting onto a tapestry needle, and sew the frosting to the top of the base with small whip stitches, working around the edge one stitch at a time. The bottom edge of the frosting should line up with the top edge of the base all the way around, with no gap and no overhang. Pull each stitch snug so the seam lies flat and no stuffing shows through. Check the cupcake from the side before you finish the seam, because the frosting should sit straight on the base.
Adding the Sprinkles
Cut short lengths of yarn in white, yellow, and blue, each about half an inch long. You will need about 12 sprinkles in total, 4 of each color. Thread one sprinkle at a time onto a tapestry needle, and sew it onto the frosting with a single straight stitch, spacing the sprinkles evenly around the swirl. For a neater finish, sew each sprinkle through the frosting twice, once in each direction, so it cannot come loose with play. Trim any long ends close to the surface, and weave the tails into the frosting. Our crochet apple pattern uses the same stitch for its seeds if you want to practice the technique first.
Sewing on the Cherry
Thread the tail from the cherry onto a tapestry needle, and sew the cherry to the top of the frosting, right on the peak of the swirl. Work small stitches around the base of the cherry, pulling each one snug so the cherry sits firmly and does not wobble. Check the cherry from the front and from the side, because it should sit straight up on the peak.
Variations: Colors, Flavors, and Uses
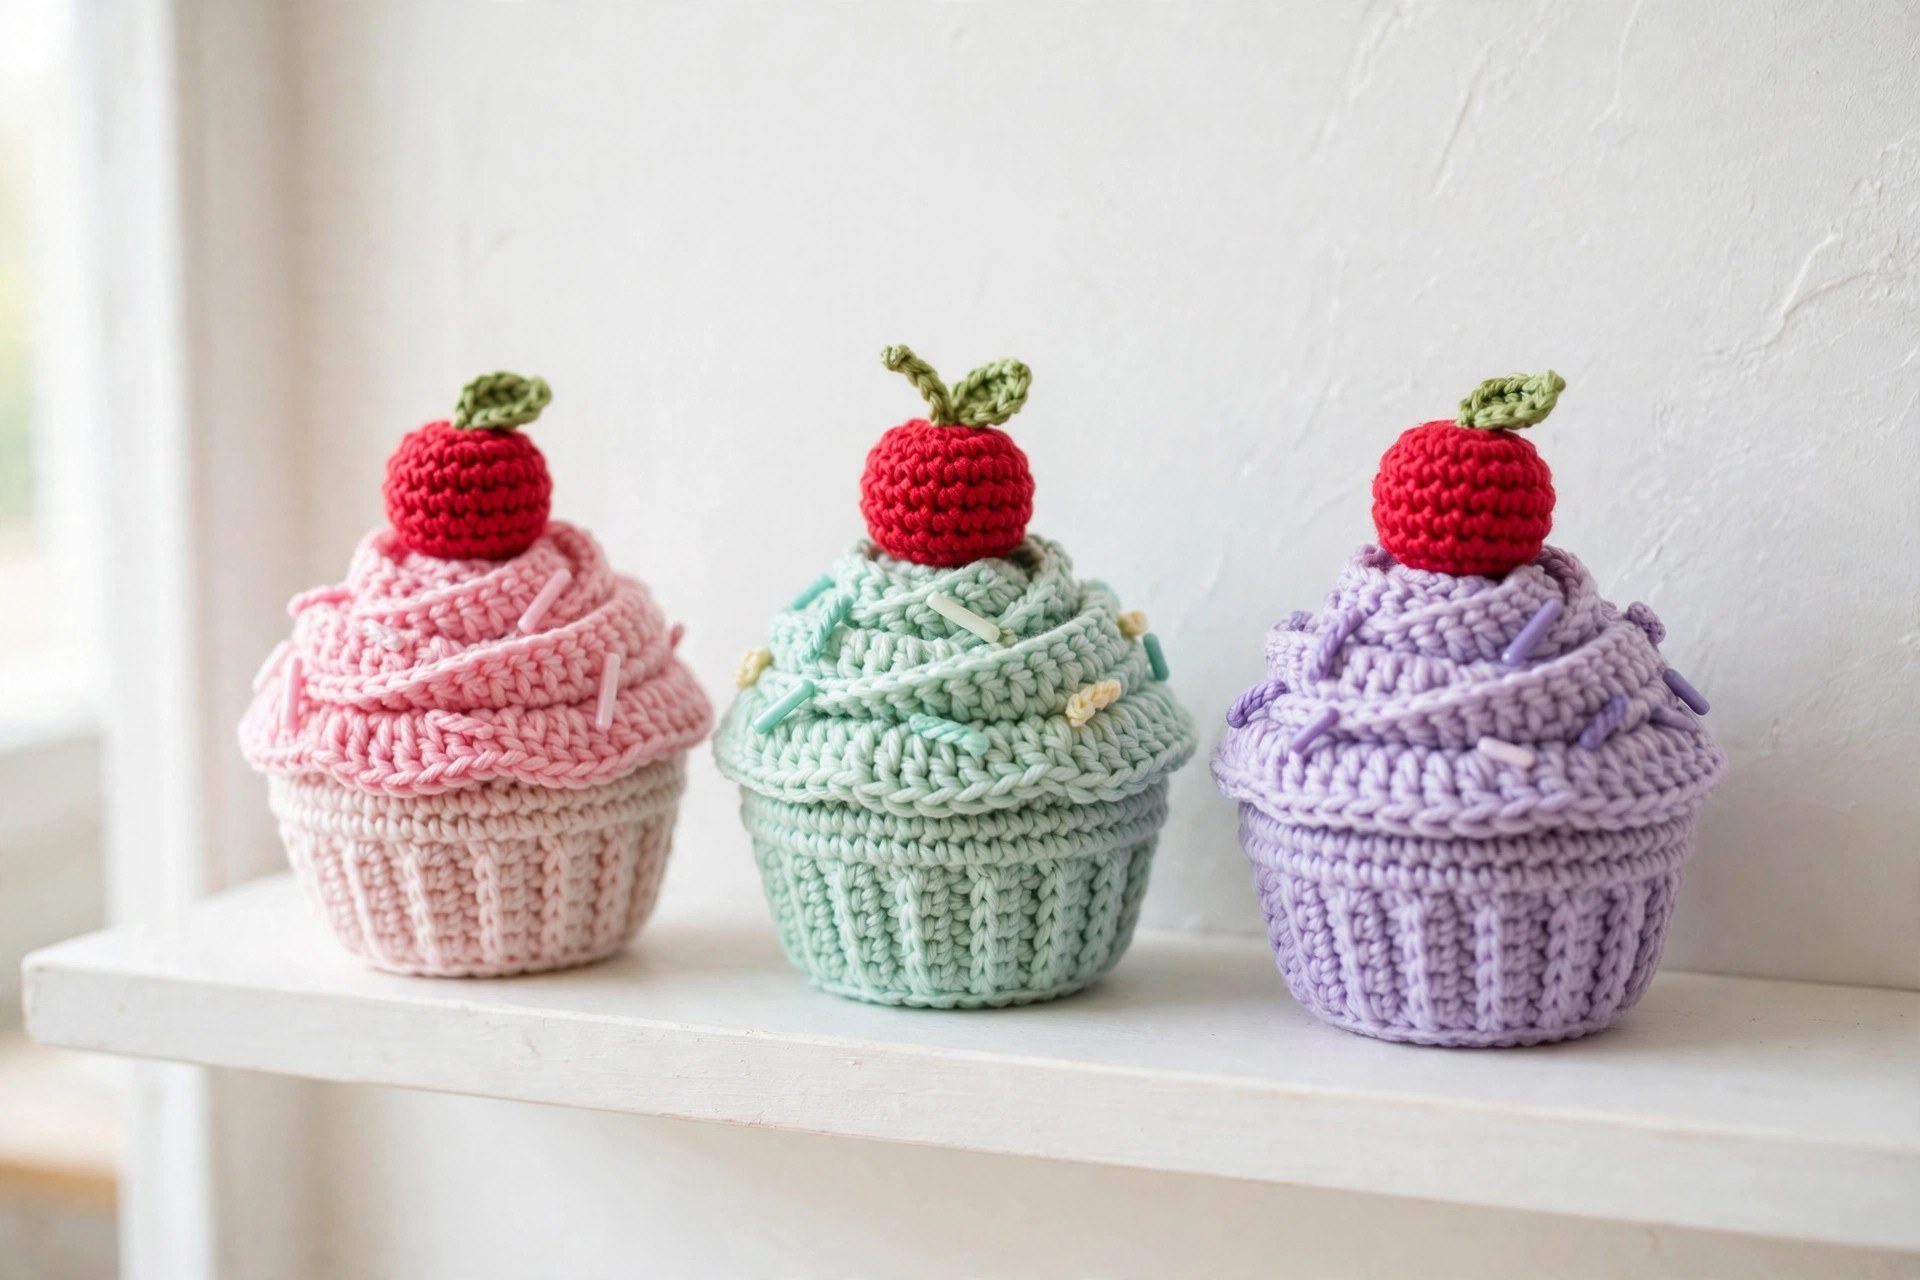
- Classic strawberry cupcake: work the cupcake in pink frosting with a red cherry, just as written, and pair it with our crochet pineapple pattern for a play food set.
- Chocolate cupcake: work the base in brown, the frosting in cream, and the cherry in red.
- Mint cupcake: work the frosting in mint green with a white cherry.
Troubleshooting a Cupcake That Does Not Look Right
- My cupcake will not stand up. The base is uneven, or the bottom round was worked too loosely. Check that the increases in the first five rounds were even, and stuff the base firmly so it holds its cup shape.
- My frosting sags to one side. The frosting was sewn on unevenly, or it was understuffed on one side. Take out the seam, add stuffing to the low side, and sew it on again with small, even stitches.
- My case ridges look wobbly. The back loop stitches were worked too loosely. Work the case rounds in the back loop only with an even tension, and go down a hook size if the ridges still look loose.
- My swirl peak is too sharp. The last rounds were decreased too fast, or the frosting was understuffed at the top. Add a little more stuffing to the peak, and pull the tail down through the center to soften the point.
Care Instructions
Hand wash a crochet cupcake in cool water with a mild detergent, and press the water out gently without wringing. Reshape the base and the frosting and lay the cupcake flat to dry away from direct heat. Do not put a cupcake in the washing machine, because the frosting swirl can lose its shape. Store the cupcake where the frosting will not be squashed, and keep it out of direct sunlight.
Frequently Asked Questions
Is this crochet cupcake pattern good for beginners?
Yes, it is best for an easy crocheter who knows single crochet and has made one small amigurumi piece before. You need a magic ring, single crochet, increases, and decreases, and the frosting is worked in the round with a simple spiral.
What yarn is best for a crochet cupcake?
DK weight yarn is the best choice, because it is light enough for the frosting to hold a soft swirl and firm enough for the base to keep its cup shape. A cotton yarn works well for the base and the case, because it gives clean stitch definition.
How do I make the frosting swirl look piped?
Work the frosting in rounds, decreasing in steps so it rises to a peak, and stuff it lightly so the swirl keeps its soft curves. When you finish, pull the tail down through the center of the frosting and out of the bottom, so the peak pulls down slightly and looks piped instead of pointed.
Can I make the cupcake bigger or smaller?
Yes, change the yarn weight and the hook. Use a fingering weight yarn with a US C-2 (2.75 mm) hook for a cupcake about 3 inches tall, or a worsted weight yarn with a US G-6 (4.0 mm) hook for one about 5 inches tall. Keep the same stitch counts, and the proportions will stay right.
How is a cupcake different from a cake in crochet?
A cupcake is a single serving with a cup shaped base, a paper case, and a swirled frosting top with a cherry, while a cake is a larger layered shape with flat sides and a flat top. This pattern makes a cupcake. If you want a cake instead, see our crochet cake pattern.
Can I sell cupcakes made from this pattern?
Yes, you may sell finished cupcakes made from this free pattern, with credit to Little Loop Finds. Do not sell or republish the pattern text itself. A set of three in different flavors sells well as a play food set.
Happy stitching, and may your little cupcake bring a sweet smile.