Candy Corn Crochet Pattern (Free Amigurumi)
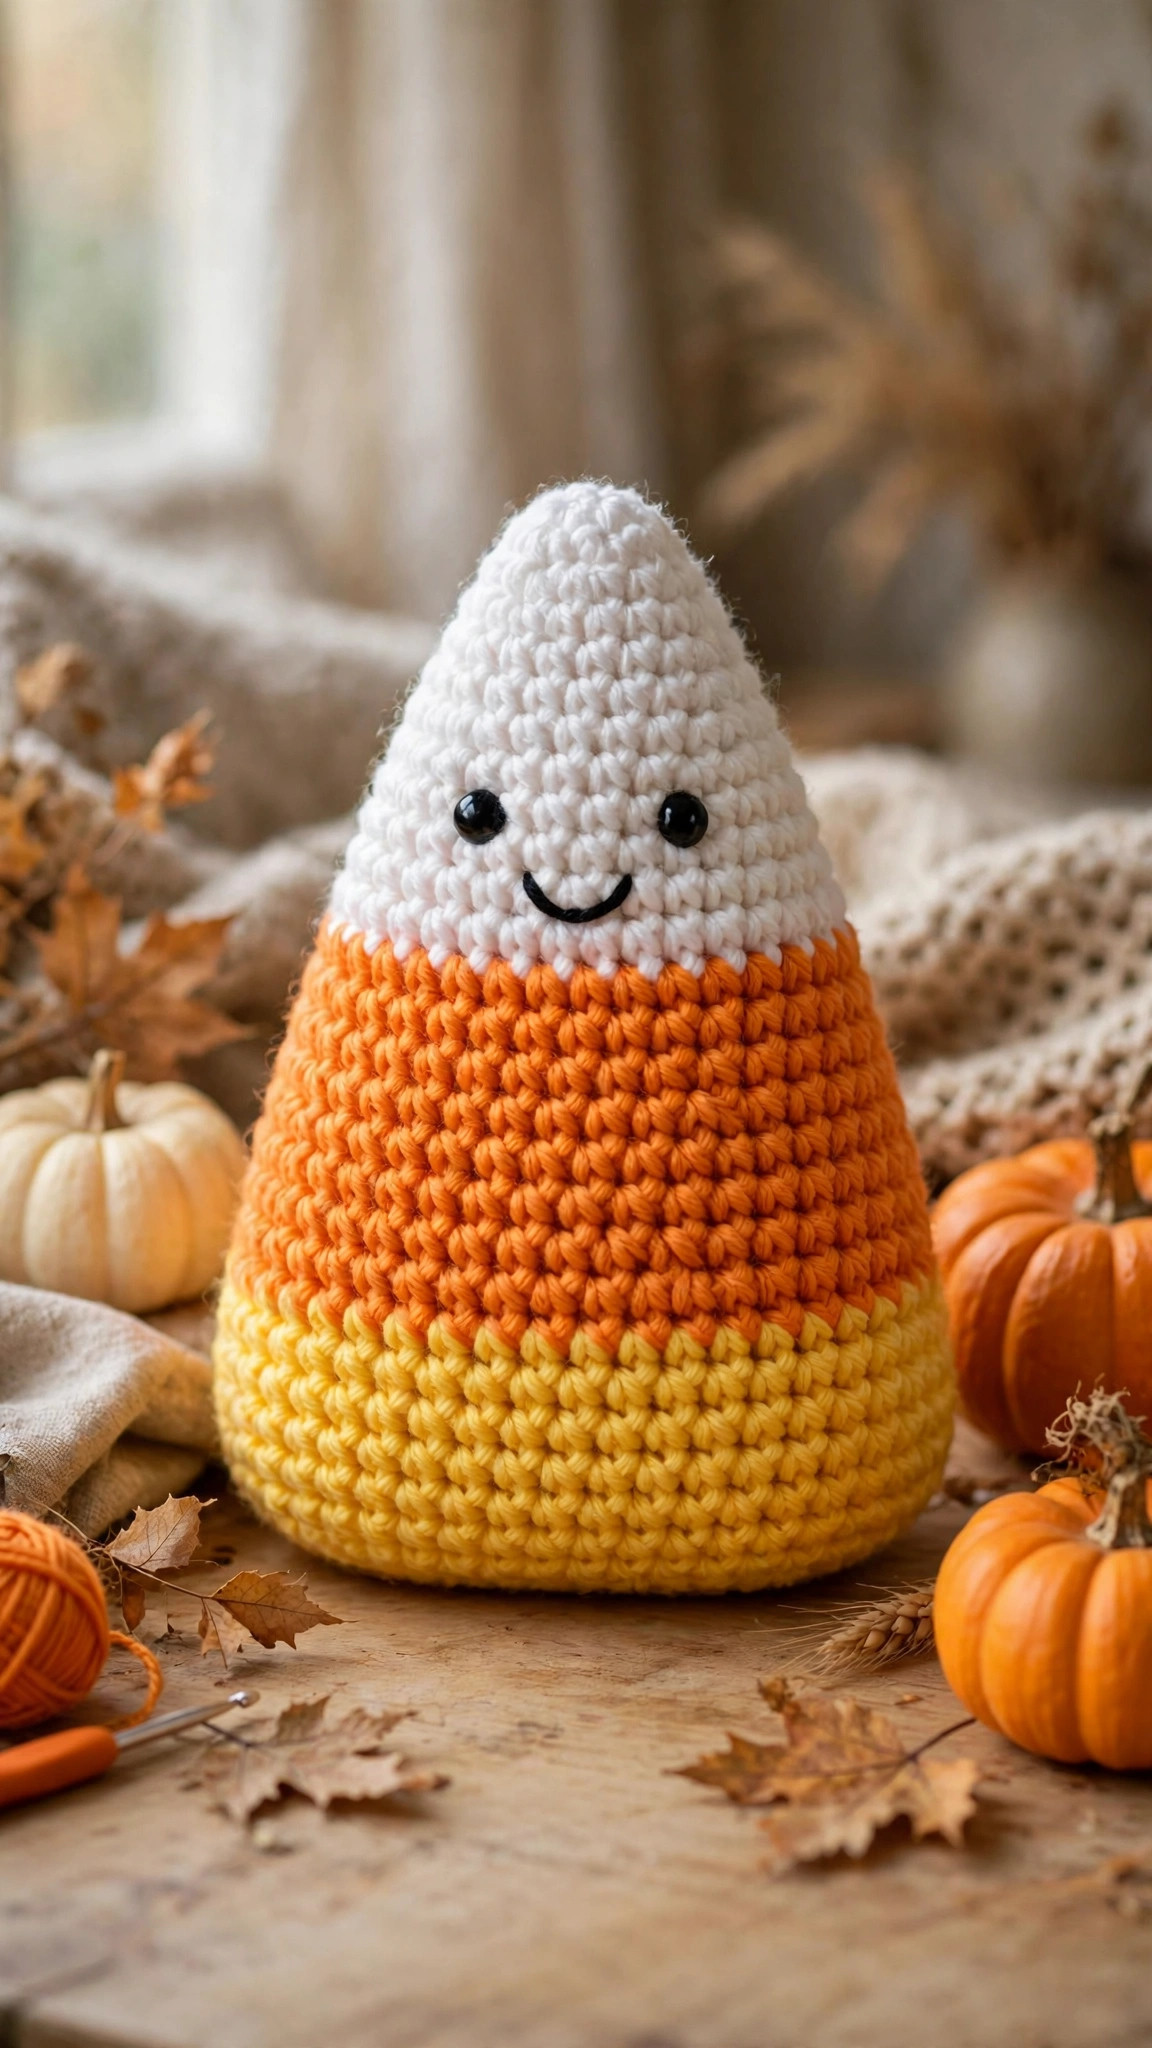
Crochet a tri-color Halloween candy corn amigurumi with yellow, orange, and white stripes and a smiling face, then display it or gift it.

Patterns · Crochet
- Finished size
- 7 in tall, 4 in wide
- Making time
- 2.5 hours per candy corn
- Hook
- US H-8 (5.0 mm)
- Set
- Body, arms, face
- Skill
- Easy
In this post
- Key Takeaways
- Table of Contents
- Why You Will Love This Crochet Candy Corn
- Finished Size, Skill Level, and Time
- Materials You Need
- Abbreviations (US Terms)
- Gauge and Sizing Notes
- Part 1: The Candy Corn Body
- Part 2: Arms and Base
- Part 3: Face and Assembly
- Variations: Colors, Sizes, and Uses
- Troubleshooting Candy Corns That Lean or Wobble
- Care Instructions
- Frequently Asked Questions
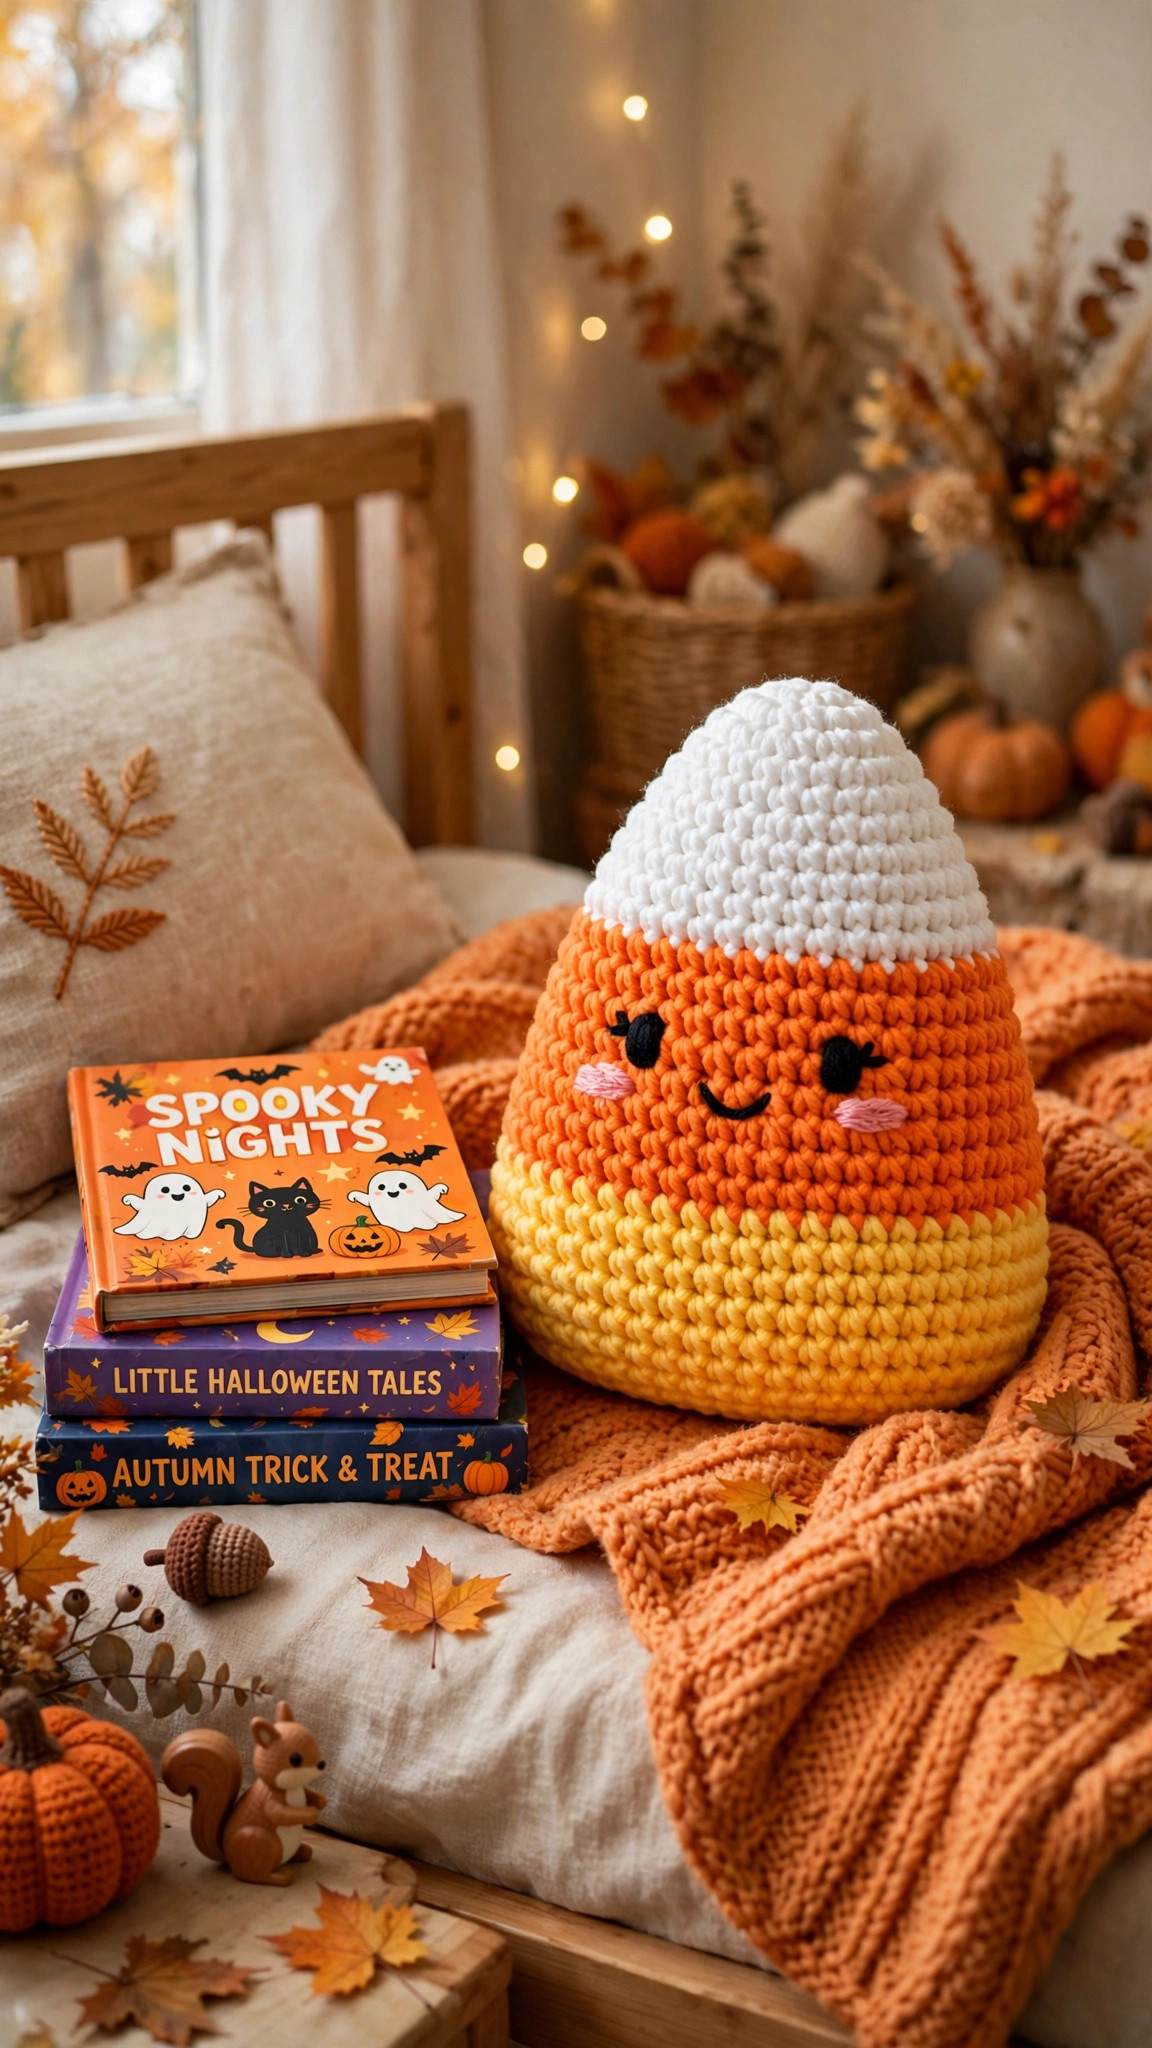
A crochet candy corn is one of the sweetest Halloween projects you can make. Yellow, orange, and white stripes, a little smiling face, and a shape that everyone recognizes at a glance, all in a plush you can finish in an evening. This free candy corn crochet pattern walks you through every part, from the white tip to the yellow base.
This is an original Little Loop Finds design, written in US terms and completely free. The candy corn is a classic tri-color Halloween amigurumi plush, worked in the round from the tip down, with color changes for the stripes, plus tiny arms and a smiling face. If you can crochet a magic ring, a single crochet increase, and a decrease, you can crochet this candy corn.
A quick note on scope: this post is about one specific candy corn amigurumi plush, a tri-color Halloween candy corn with yellow, orange, and white stripes and a cute face. It is not a candy cane. If you want that version, our crochet candy cane pattern is a separate pattern with red and white stripes and a hooked top.
Key Takeaways
- Free original pattern: this candy corn crochet pattern is a Little Loop Finds original amigurumi design, written in US terms, and completely free.
- A classic tri-color candy corn: a white tip, an orange middle, and a yellow base, with a stitch count at the end of every round.
- Beginner friendly amigurumi: simple single crochet shaping and clean color changes, with the face explained step by step.
- Quick evening project: one candy corn takes about 2.5 hours, and it uses about 120 yards of worsted weight yarn.
- Endlessly giftable: make it for Halloween parties, fall table displays, trick or treat baskets, and autumn themed rooms.
Table of Contents
- Why You Will Love This Crochet Candy Corn
- Finished Size, Skill Level, and Time
- Materials You Need
- Abbreviations (US Terms)
- Gauge and Sizing Notes
- Part 1: The Candy Corn Body
- Part 2: Arms and Base
- Part 3: Face and Assembly
- Variations: Colors, Sizes, and Uses
- Troubleshooting Candy Corns That Lean or Wobble
- Care Instructions
- Frequently Asked Questions
Why You Will Love This Crochet Candy Corn
There is something about candy corn that makes people smile. Maybe it is the bright stripes, or the way a little plush candy corn looks sweet and friendly at the same time. A crochet candy corn sits on a Halloween table, peeks out of a trick or treat basket, or waits in a gift basket, and it always gets picked up and hugged.
A crochet candy corn is also a wonderful way to learn amigurumi. The body teaches you how to increase and decrease in the round, the stripes teach you clean color changes, and the face teaches you how to place eyes and stitch a smile. Every round ends with a stitch count, and the candy corn is forgiving: the stripes hide small wobbles, and the little arms cover the joins.
Finished Size, Skill Level, and Time
- Finished size: about 7 inches tall and 4 inches wide after stuffing, in worsted weight yarn, not counting the little arms.
- Skill level: Easy. You need a magic ring, chains, slip stitches, single crochet, increases, and invisible decreases.
- Time: about 2.5 hours per candy corn: roughly 1.5 hours for the body, 30 minutes for the arms and base, and 30 minutes for the face and assembly.
Materials You Need
| Item | What to get |
|---|---|
| Yarn, yellow | Worsted weight (size 4) yarn in bright yellow, about 50 yards |
| Yarn, orange | Worsted weight (size 4) yarn in bright orange, about 40 yards |
| Yarn, white | Worsted weight (size 4) yarn in white, about 30 yards |
| Hook | US H-8 (5.0 mm), or the size that gives you tight stitches with no stuffing showing through |
| Eyes | Two 10 mm black safety eyes with washers |
| Stuffing | Polyester fiberfill, about 4 ounces per candy corn |
| Notions | Tapestry needle, scissors, stitch markers, pins, black embroidery floss |
Worsted weight yarn is the best choice for a candy corn amigurumi because it works up quickly, the stitches are tight enough to hold the stuffing inside, and the finished candy corn is soft but firm. A smooth acrylic or cotton blend shows clean stitch definition and washes easily. Avoid fuzzy yarns, because they hide the shaping and the color changes. Choose bright, cheerful colors that match real candy corn: sunny yellow, warm orange, and clean white.
Abbreviations (US Terms)
- ch = chain
- sl st = slip stitch
- sc = single crochet
- hdc = half double crochet
- inc = increase, 2 sc in the same stitch
- dec = decrease, single crochet 2 stitches together
- st(s) = stitch(es)
- rnd(s) = round(s)
- rep = repeat
- MR = magic ring
Gauge and Sizing Notes
Gauge for an amigurumi candy corn is about keeping the stuffing inside, not about hitting an exact number. Work the first 5 rounds of the body and look at the fabric. You should not be able to see through the stitches, and the fabric should feel firm, not loose and holey. If you can see daylight through your stitches, go down a hook size. If the fabric is stiff and hard to work, go up a hook size.
To make a smaller candy corn, use DK weight yarn with a 4.0 mm hook and 8 mm safety eyes for a piece about 5 inches tall. To make a larger candy corn, use bulky weight yarn with a 6.5 mm hook and 12 mm safety eyes for a piece about 10 inches tall. The stitch counts stay the same in every size.
Part 1: The Candy Corn Body
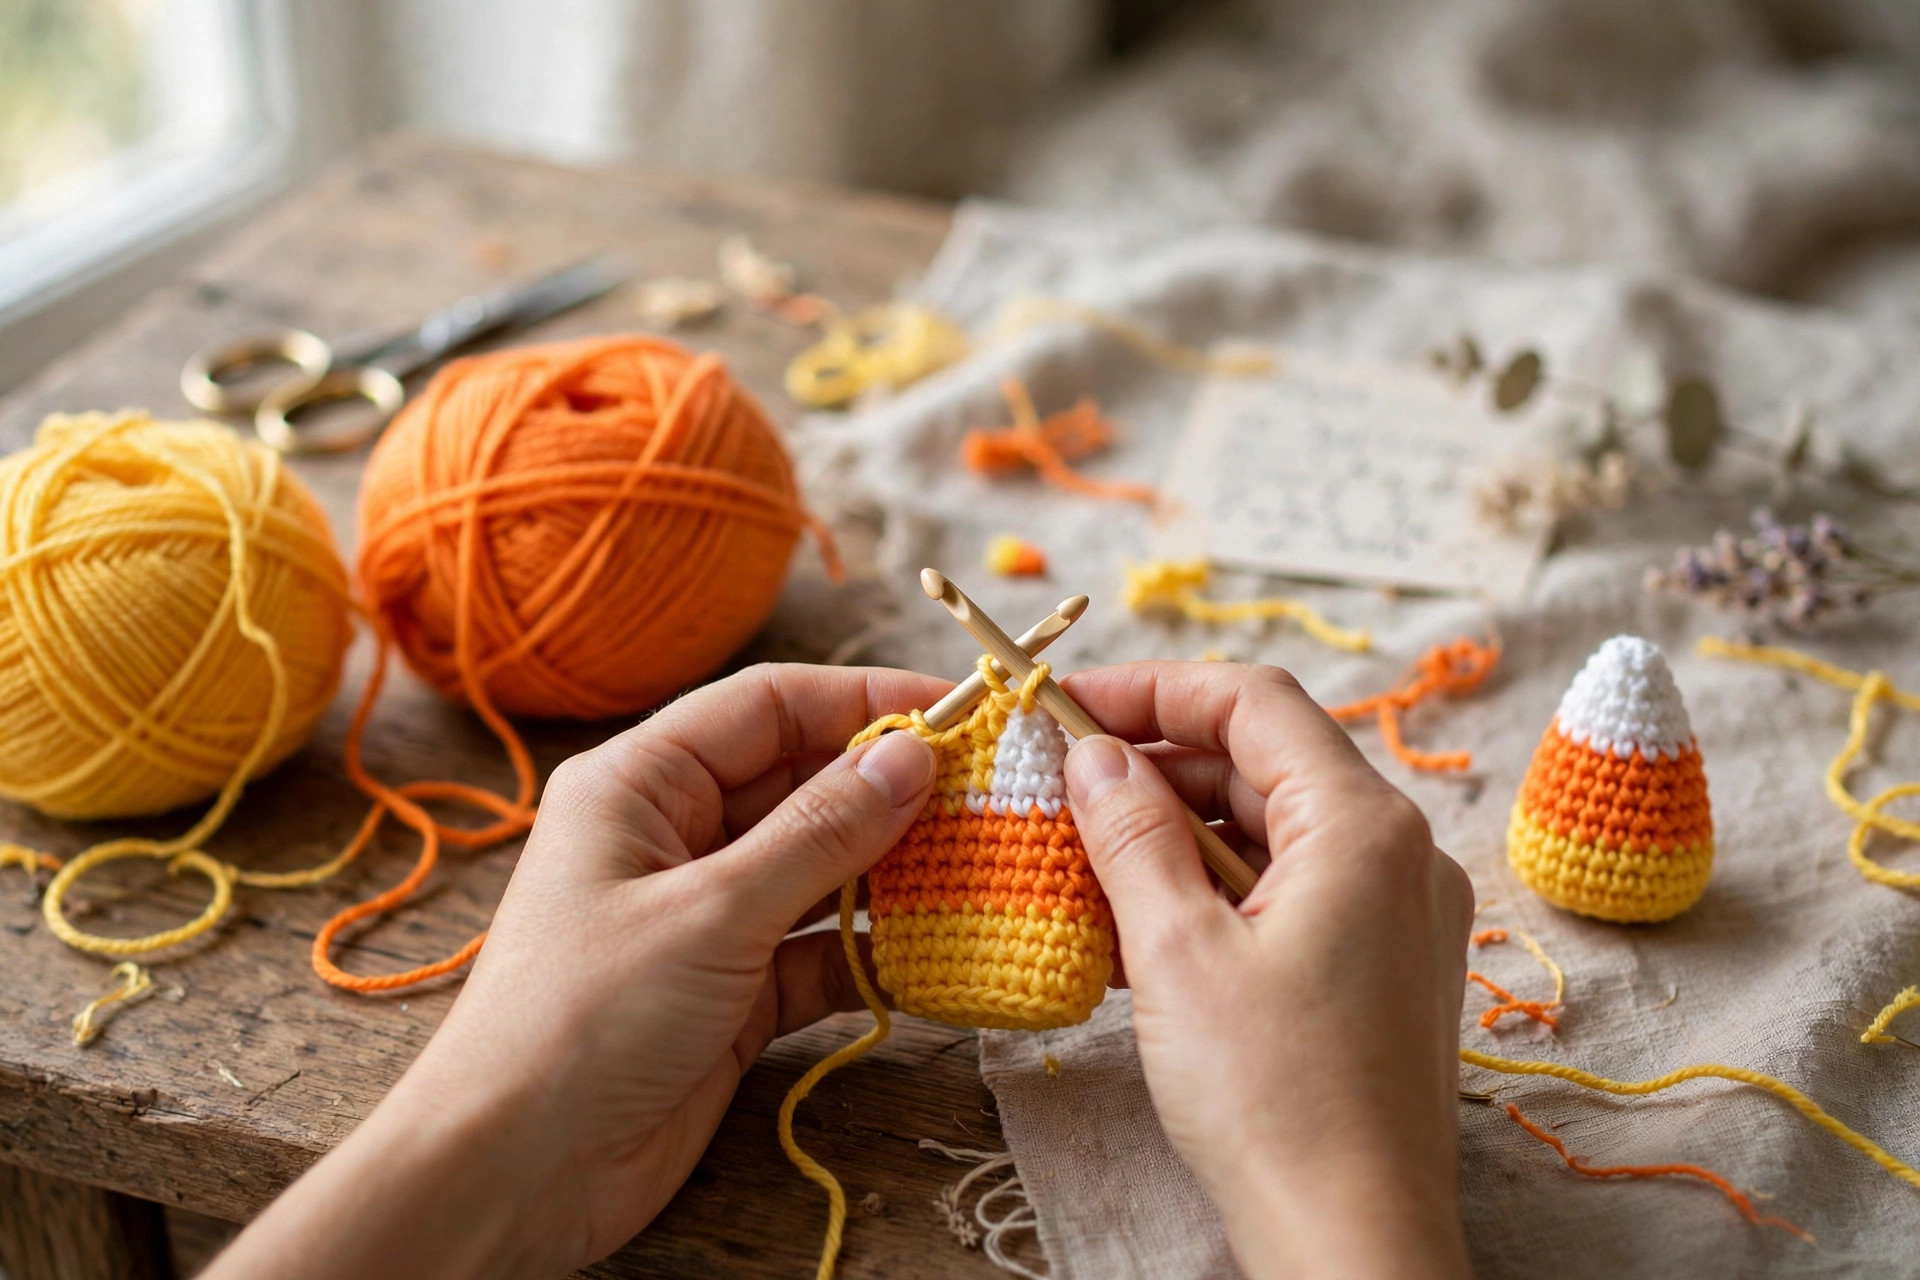
The body is worked in the round from the white tip down to the yellow base, starting with a magic ring and increasing out to the widest part, then working even for several rounds before decreasing slightly to close the base. Work in a continuous spiral and use a stitch marker to mark the first stitch of every round. Change colors at the start of the round, and carry the new color up cleanly so the stripes look crisp.
Body, White Tip
With white yarn, MR, ch 1.
- Rnd 1: 6 sc in MR. (6 sc)
- Rnd 2: inc in each st around. (12 sc)
- Rnd 3: (sc in next st, inc in next st) rep 6 times. (18 sc)
- Rnd 4: (sc in next 2 sts, inc in next st) rep 6 times. (24 sc)
- Rnd 5: sc in each st around. (24 sc)
The white tip should now look like a small rounded cone about 1.5 inches tall.
Body, Orange Middle
Change to orange yarn at the start of round 6. To change color, finish the last stitch of round 5 with the new color, then continue with orange.
- Rnd 6: (sc in next 3 sts, inc in next st) rep 6 times. (30 sc)
- Rnd 7: (sc in next 4 sts, inc in next st) rep 6 times. (36 sc)
- Rnd 8-12: sc in each st around. (36 sc)
The orange middle should now be about 2.5 inches tall, and the body should look like a candy corn taking shape. Keep the color change line neat by pulling the new yarn snugly on the first stitch.
Body, Yellow Base
Change to yellow yarn at the start of round 13.
- Rnd 13: (sc in next 5 sts, inc in next st) rep 6 times. (42 sc)
- Rnd 14-19: sc in each st around. (42 sc)
The body should now be about 6 inches tall, with a white tip, an orange middle, and a wide yellow base.
- Rnd 20: (sc in next 5 sts, dec) rep 6 times. (36 sc)
- Rnd 21: sc in each st around. (36 sc)
- Rnd 22: (sc in next 4 sts, dec) rep 6 times. (30 sc)
Stop here and stuff the body firmly, pushing the fiberfill into the white tip first so the tip holds its pointed shape. Add a little more than you think you need, because fiberfill settles with use.
- Rnd 23: (sc in next 3 sts, dec) rep 6 times. (24 sc)
- Rnd 24: (sc in next 2 sts, dec) rep 6 times. (18 sc)
- Rnd 25: (sc in next st, dec) rep 6 times. (12 sc)
- Rnd 26: dec 6 times. (6 sc)
- Fasten off, leaving a long tail. Weave the tail through the front loops of the last 6 stitches, pull it tight to close the hole, and weave in the end.
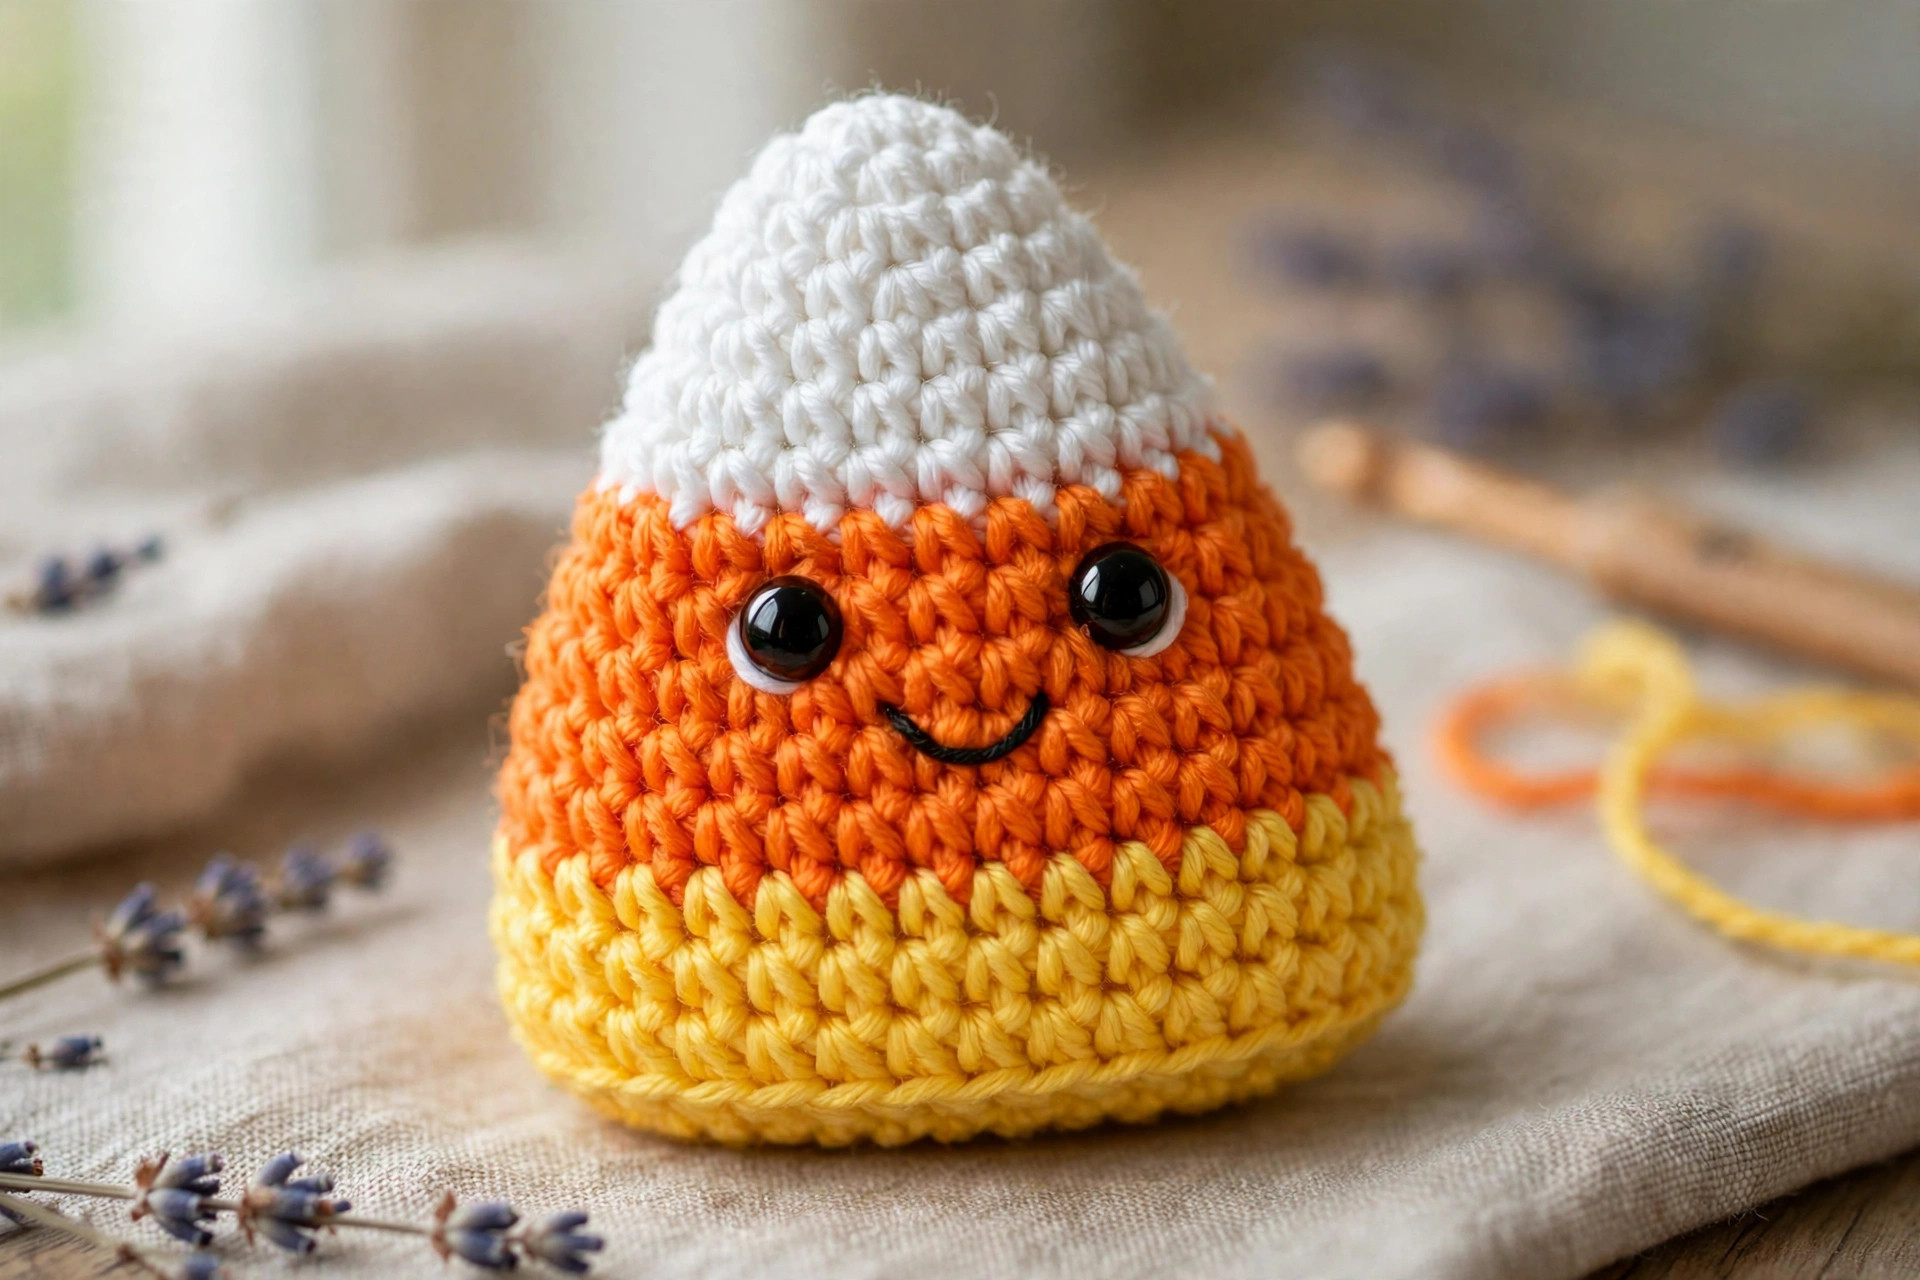
Your finished body should stand up on its own, about 7 inches tall, with a pointed white tip, an orange middle, and a wide yellow base.
Part 2: Arms and Base
The arms are tiny tubes worked in the round. Make two arms in orange, and keep the tails long for sewing.
Arms (make 2)
With orange yarn, MR, ch 1.
- Rnd 1: 6 sc in MR. (6 sc)
- Rnd 2: (sc in next st, inc in next st) rep 3 times. (9 sc)
- Rnd 3-6: sc in each st around. (9 sc)
- Rnd 7: (sc in next st, dec) rep 3 times. (6 sc)
- Fasten off, leaving a long tail for sewing. (6 sc)
Each arm is a small tube about 2 inches long and half an inch wide. Do not stuff the arms, or stuff them very lightly, so they stay soft and floppy.
Base Circle (optional)
If your candy corn wobbles when it stands, add a flat yellow base circle.
With yellow yarn, MR, ch 1.
- Rnd 1: 6 sc in MR. Join with a sl st to the first sc. (6 sc)
- Rnd 2: inc in each st around. Join with a sl st to the first sc. (12 sc)
- Rnd 3: (sc in next st, inc in next st) rep 6 times. Join with a sl st to the first sc. (18 sc)
- Rnd 4: (sc in next 2 sts, inc in next st) rep 6 times. Join with a sl st to the first sc. (24 sc)
- Fasten off, leaving a long tail for sewing. (24 sc)
The base circle is a flat disc about 3 inches across. Sew it onto the bottom of the candy corn with a whip stitch.
Part 3: Face and Assembly
Assembly is where the candy corn comes to life. Pin every part in place before you sew anything, then step back and check it from the front. The eyes should sit level, the smile should sit centered, and the arms should sit at the same height. Moving a pin is easy, but moving a sewn seam is not.
Eyes
Push a 10 mm safety eye through the body on each side of the orange middle, about 1 inch apart and centered on the front of the candy corn, and fasten the washer on the inside before the body is fully stuffed. If you have already stuffed the body, push the eye posts through the stitches and fasten the washers while pressing the fiberfill aside with your fingers. The eyes should sit level with each other, right in the middle of the orange stripe.
Mouth
Using black embroidery floss and a tapestry needle, stitch a gentle curved smile on the orange stripe, about half an inch below and between the eyes. Make the curve about 1 inch wide, with small stitches that sit neatly on the surface of the crochet. A simple curved line is all you need, and it gives the candy corn its sweet expression.
Assembly
Pin the arms to the sides of the body at the join between the orange middle and the yellow base, angled slightly downward, and sew them on along the top edge only, so the arms hang free. If you made the base circle, sew it onto the bottom now. Check that the candy corn stands up on its own, weave in all ends, and your candy corn is done.
Variations: Colors, Sizes, and Uses
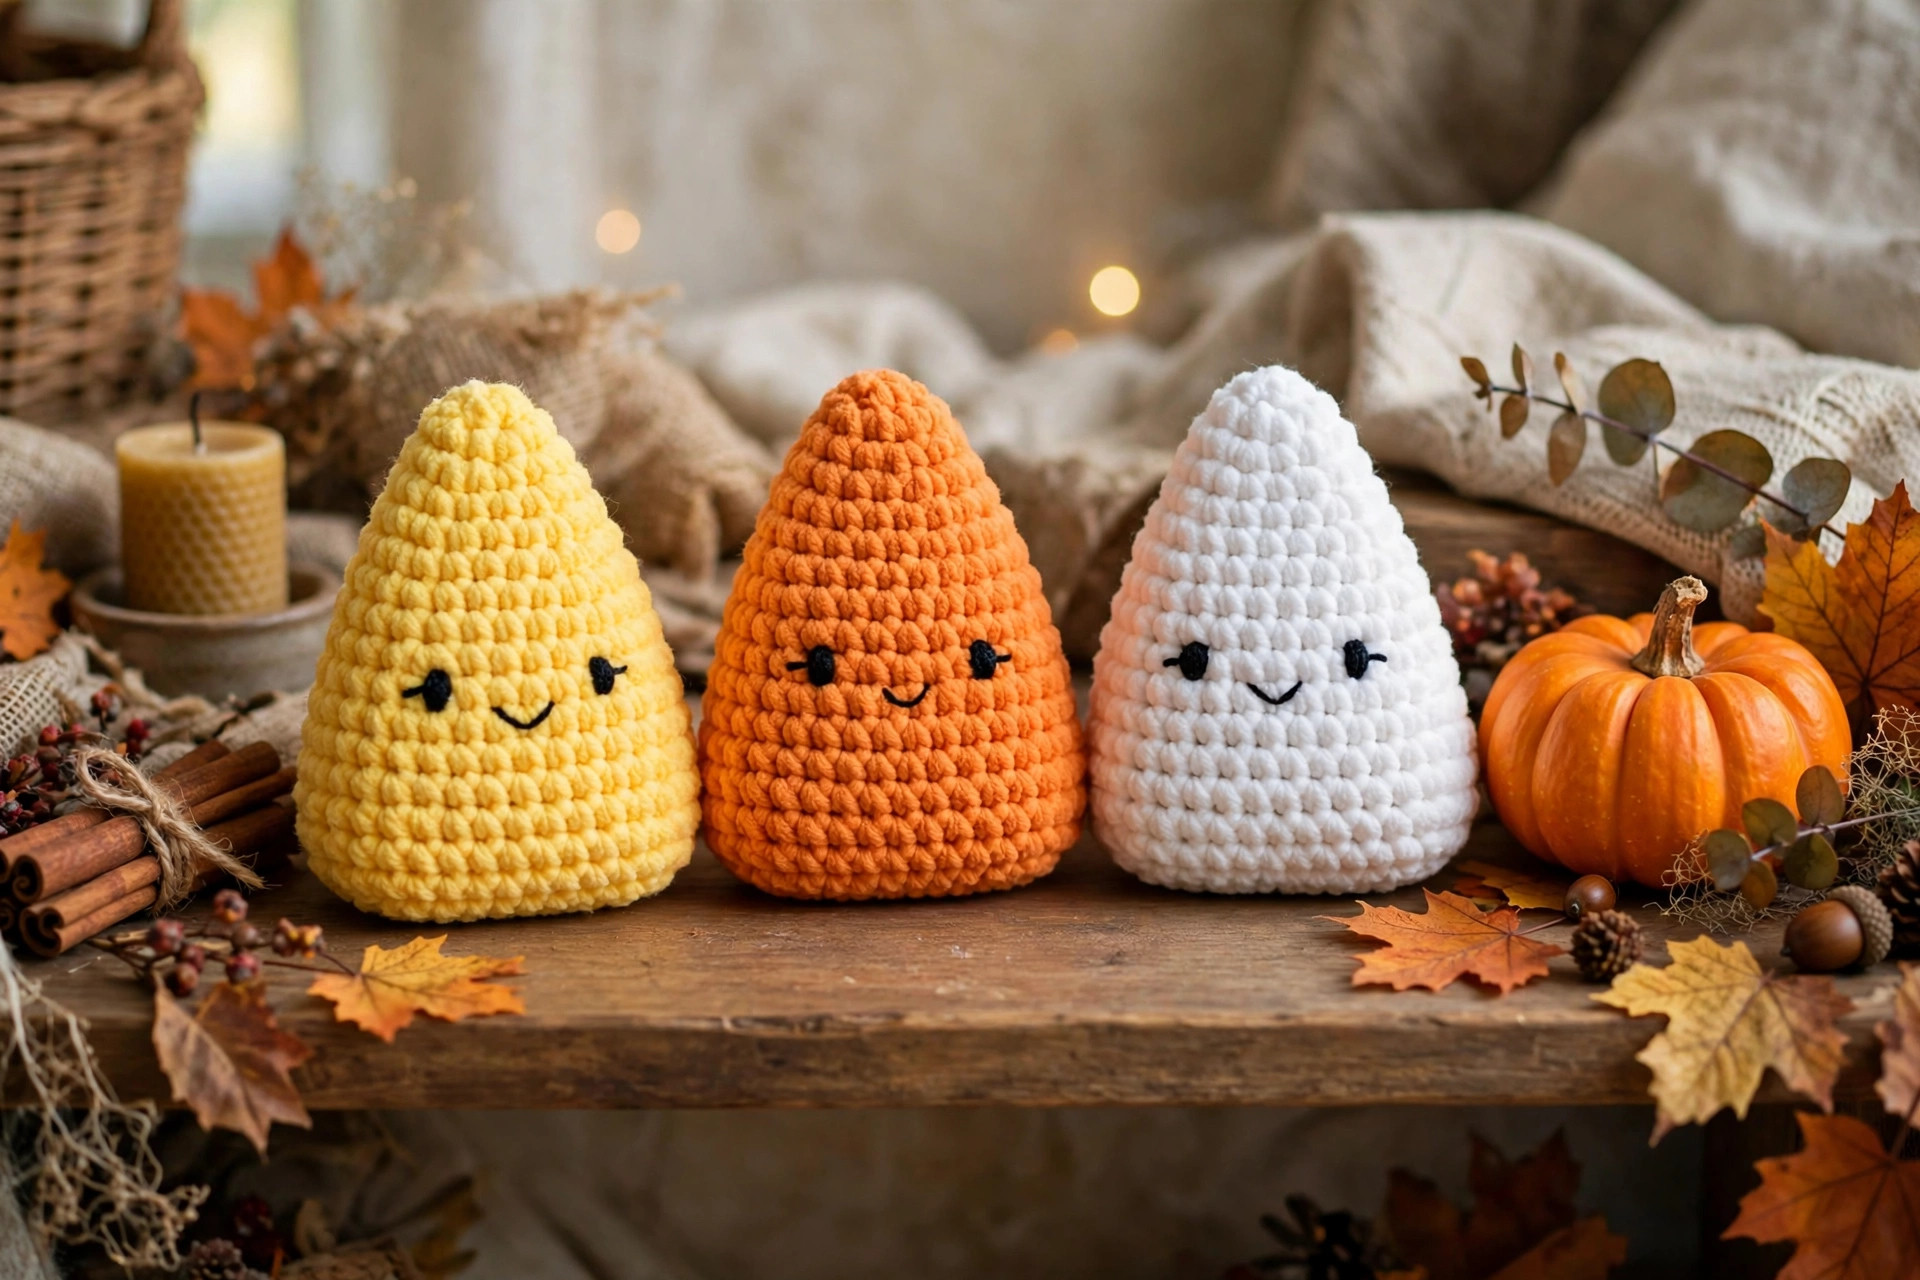
- Classic candy corn: work the body in white, orange, and yellow, the colorway in the photos, for a Halloween candy corn that everyone recognizes at once. Our crochet ghost pattern free makes a matching Halloween friend.
- Pastel candy corn: make the candy corn in soft pastel yellow, peach, and cream for a gentle autumn decoration. Our crochet bat free pattern is another Halloween amigurumi in the same size.
- Candy corn garland: make five small candy corns in DK weight yarn and string them together with a chain for a Halloween garland. Our crochet pumpkin toilet paper holder pattern is another fall project that looks lovely beside a garland.
- Witchy candy corn: make the candy corn in purple, black, and white for a spooky twist on the classic. Our crochet witch hat pattern free makes a matching Halloween decoration.
- Candy corn family: make a large candy corn and two small candy corns in matching colors for a family set. Change only the yarn weight and hook size, and the same pattern makes all three sizes.
Troubleshooting Candy Corns That Lean or Wobble
- My candy corn leans to one side. The stuffing is uneven, or the tip was not stuffed firmly enough. Add more fiberfill to the tip, pushing it in with the end of your hook, and check that the candy corn stands on a flat surface.
- My candy corn wobbles when it stands. The base is too rounded. Flatten the base with your fingers and press it gently on the table, or sew on the base circle from Part 2 for extra stability.
- My color stripes look wavy. The color change was made in the middle of a round. Always change color at the start of a round, and pull the new yarn snugly on the first stitch so the stripe line stays straight.
- My eyes are not level. The eyes were placed before the candy corn was pinned and checked. Always mark both eye spots with pins first, step back, and check them from the front before you push the posts through.
- My stuffing shows through the stitches. Your stitches are too loose for the yarn. Go down a hook size on the next candy corn, and use a slightly denser fiberfill so it does not poke through the gaps.
Care Instructions
Hand wash a crochet candy corn gently in cool water with a tiny amount of mild soap, squeeze gently without wringing, and lay it flat to dry so it keeps its shape. If the yarn label says machine washable, use a gentle cycle in a mesh laundry bag, and lay it flat to dry. Do not put an amigurumi candy corn in the dryer on high heat, because the fiberfill can clump. Fluff the candy corn by hand after washing, keep it out of direct sunlight, and check the safety eyes now and then to make sure the washers are still tight.
Frequently Asked Questions
Is this candy corn crochet pattern good for beginners?
Yes, it is a great first amigurumi project. You need chains, single crochet, increases, and decreases, and every round ends with a stitch count. One candy corn takes about 2.5 hours.
What yarn is best for a crochet candy corn?
Worsted weight yarn is the best choice, because it works up quickly and the stitches are tight enough to hold the stuffing inside. A smooth acrylic or cotton blend works well and washes easily. Avoid fuzzy yarns, because they hide the shaping and the color changes.
How big is the finished candy corn?
About 7 inches tall and 4 inches wide after stuffing, in worsted weight yarn with a 5.0 mm hook, not counting the little arms. Use DK weight yarn for a small 5 inch version, or bulky weight yarn for a large 10 inch version.
How do I get clean color changes between the stripes?
Change color at the start of a round by finishing the last stitch of the old color with the new color. Pull the new yarn snugly on the first stitch, and the stripe line will stay straight and crisp.
Are safety eyes safe for babies?
Safety eyes are safe when installed correctly with the washer snapped firmly onto the post, but no toy is chew proof. For babies under three, many makers prefer embroidered eyes instead.
How much yarn do I need for one candy corn?
About 120 yards of worsted weight yarn in total: roughly 50 yards of yellow, 40 yards of orange, and 30 yards of white. A set of three candy corns needs about 360 yards.
Can I sell candy corns made from this pattern?
Yes, you may sell finished candy corns made from this free pattern, with credit to Little Loop Finds. Please do not sell or republish the pattern text itself.
Happy stitching, and may your little candy corn bring a sweet little smile to whoever hugs it.