Positive Potato Crochet Pattern (Free Gift)
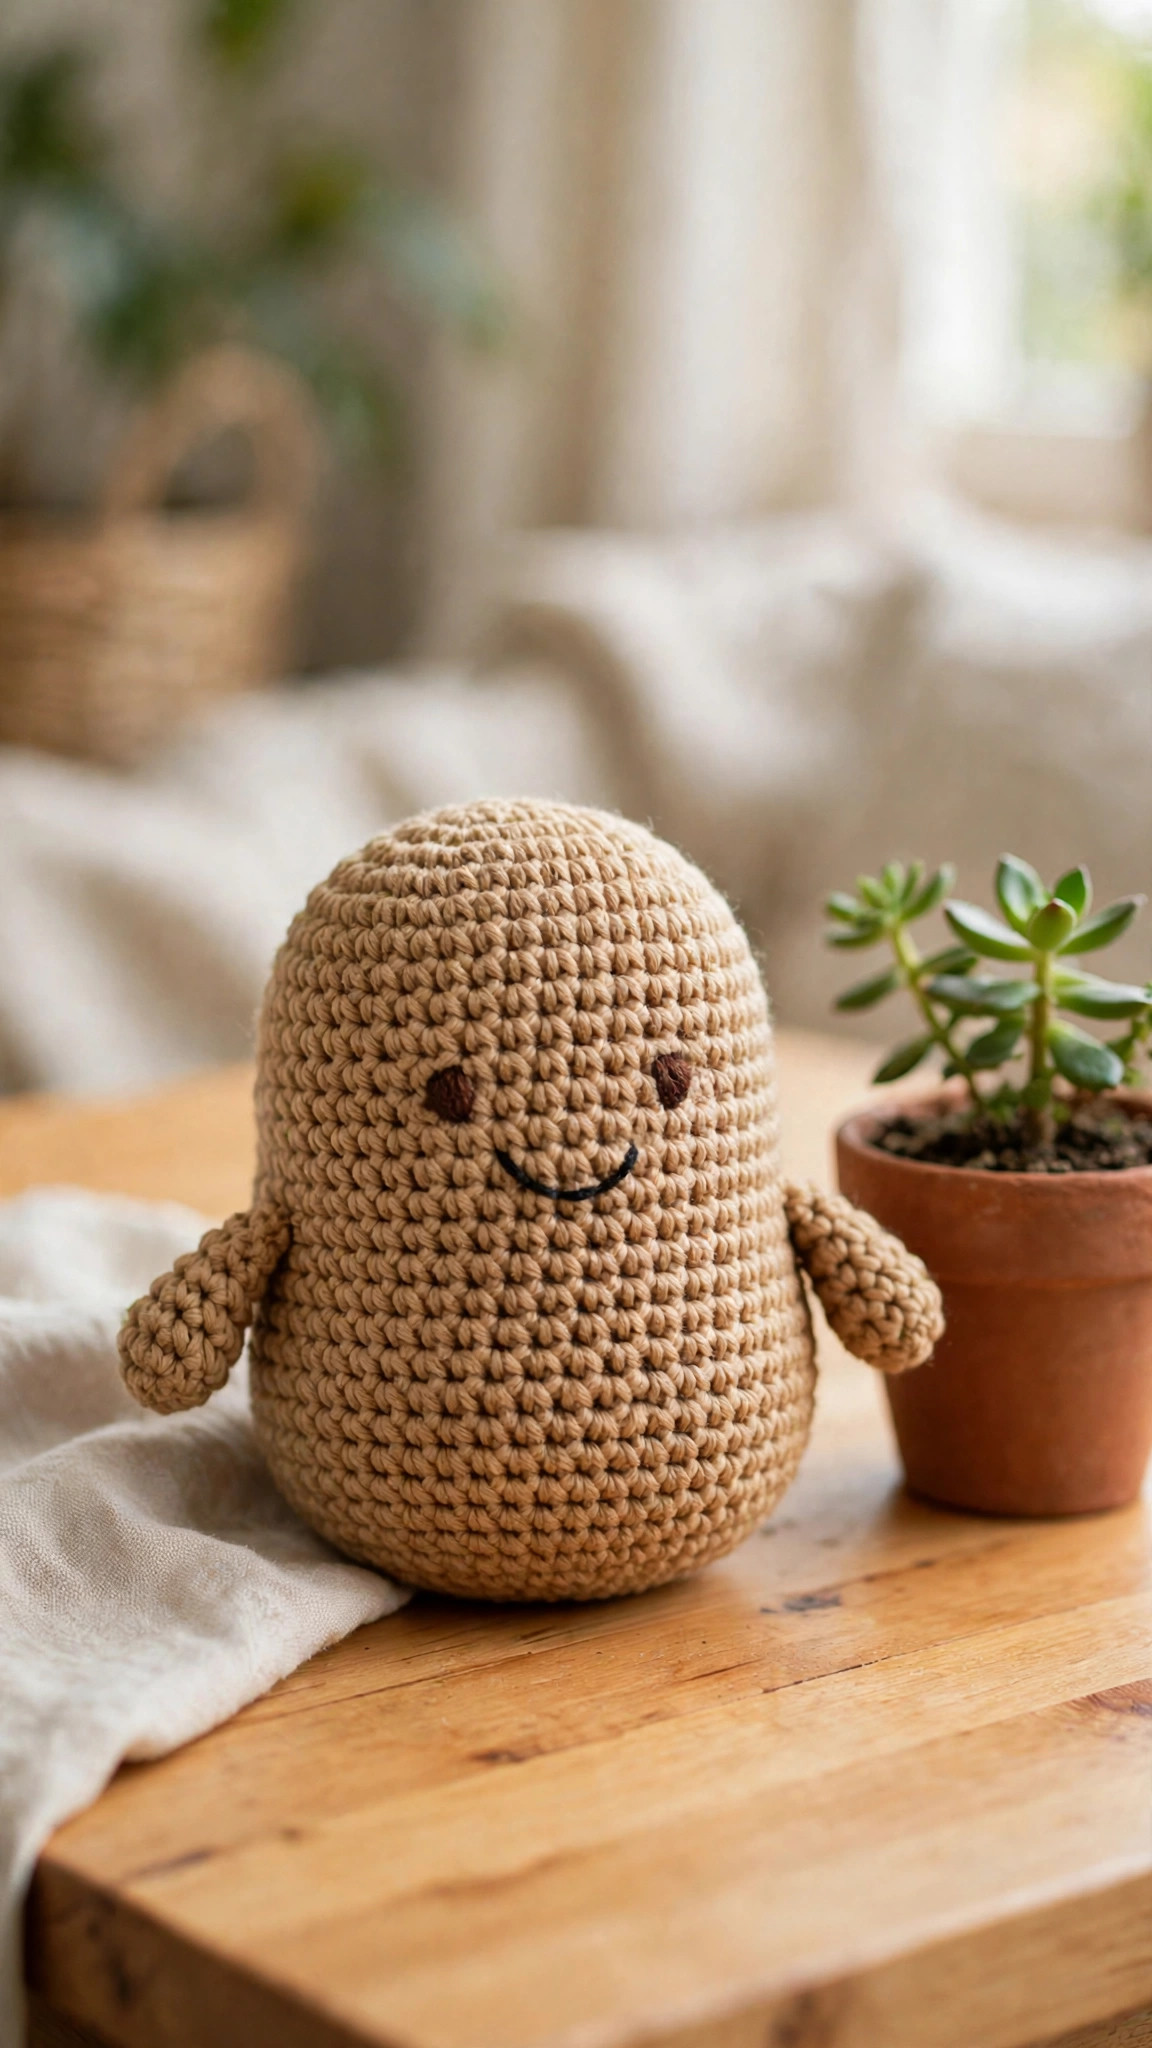
Crochet a smiling positive potato with tiny arms and an encouraging message, then gift it to someone who needs a lift.

Patterns · Crochet
- Finished size
- 4.5 in tall, 3 in wide
- Making time
- 2 hours per potato
- Hook
- US H-8 (5.0 mm)
- Set
- Body, arms, face
- Skill
- Easy
In this post
- Key Takeaways
- Table of Contents
- Why You Will Love This Positive Potato
- Finished Size, Skill Level, and Time
- Materials You Need
- Abbreviations (US Terms)
- Gauge and Sizing Notes
- Part 1: The Potato Body
- Part 2: Arms, Face, and Potato Spots
- Part 3: Assembly and the Encouraging Message
- Variations: Colors, Sizes, and Uses
- Troubleshooting Potatoes That Lean or Wobble
- Care Instructions
- Frequently Asked Questions
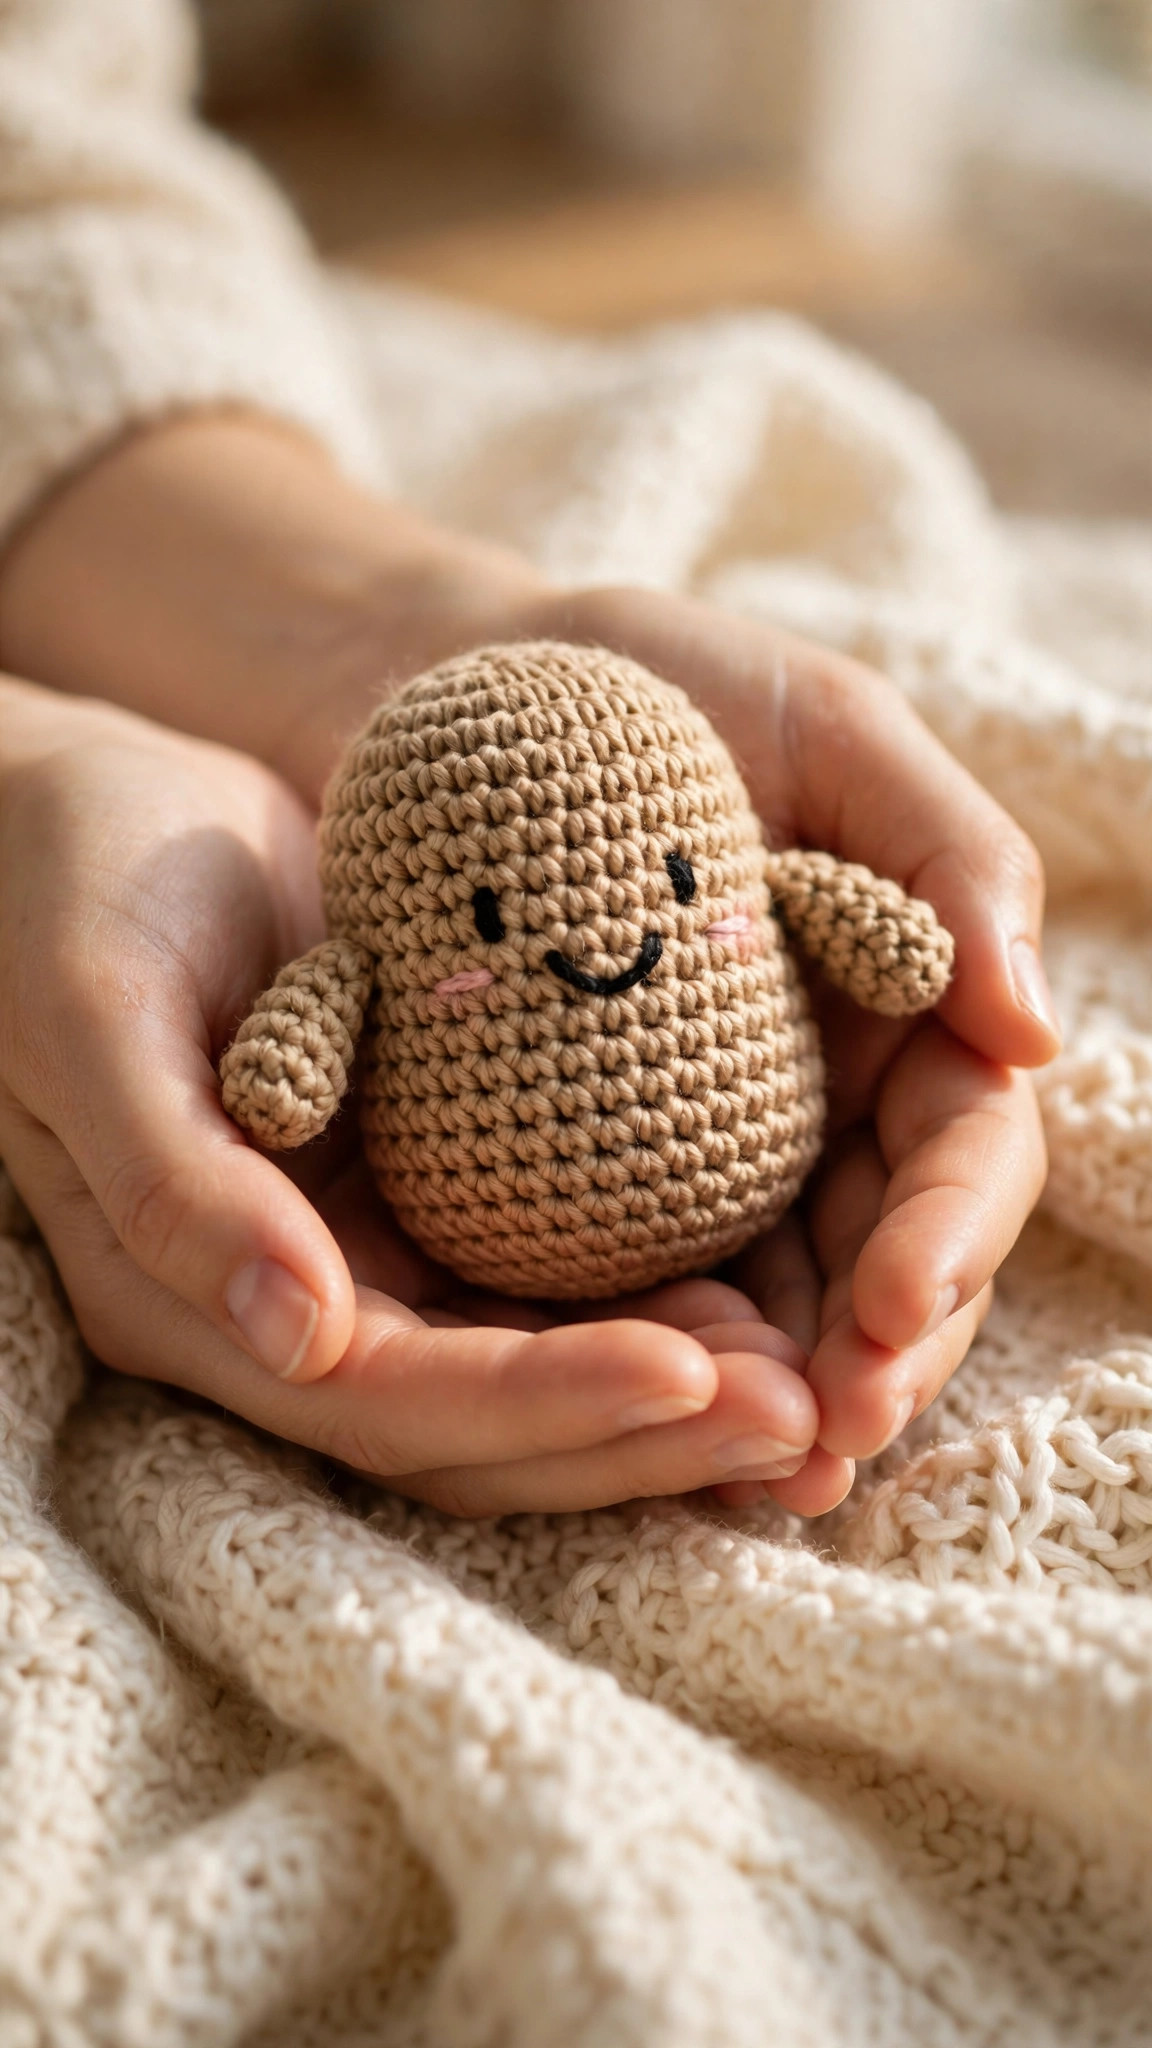
A positive potato is a small crochet potato with a smile, tiny arms, and a big job: cheering someone up. It went viral because it is funny, sweet, and impossible to frown at, and this free positive potato crochet pattern shows you how to make one in about two hours. It is the perfect little gift for a friend who needs encouragement, a coworker starting a new job, or anyone who could use a reminder that they are doing great.
This is an original Little Loop Finds design, written in US terms and completely free. The potato is a classic amigurumi shape, worked in the round from the bottom up, with separate arms and an embroidered face sewn on at the end. The encouraging message idea is described in the text of this post, so you can write it on your own card or note. If you can crochet a magic ring, a single crochet increase, and a decrease, you can crochet this potato.
A quick note on scope: this post is about one specific potato amigurumi plush, a soft toy potato with a smiling face and little arms. It is not a potato-shaped bag or a kitchen item. If you want another funny food plush, our crochet pickle pattern free is a great next project.
Key Takeaways
- Free original pattern: this positive potato crochet pattern is a Little Loop Finds original amigurumi design, written in US terms, and completely free.
- A viral cheer up gift: a small smiling potato plush with tiny arms, made to be handed to someone with an encouraging message.
- Beginner friendly amigurumi: simple single crochet shaping, with the face embroidered on, so there are no safety eyes to install.
- Quick two hour project: one potato takes about 2 hours, and it uses about 80 yards of worsted weight yarn.
- Endlessly giftable: make it in tan, russet brown, or cream for birthdays, exam weeks, new jobs, get well gifts, and just because days.
Table of Contents
- Why You Will Love This Positive Potato
- Finished Size, Skill Level, and Time
- Materials You Need
- Abbreviations (US Terms)
- Gauge and Sizing Notes
- Part 1: The Potato Body
- Part 2: Arms, Face, and Potato Spots
- Part 3: Assembly and the Encouraging Message
- Variations: Colors, Sizes, and Uses
- Troubleshooting Potatoes That Lean or Wobble
- Care Instructions
- Frequently Asked Questions
Why You Will Love This Positive Potato
There is something about a smiling potato that makes people laugh out loud. Maybe it is the contrast between an ordinary vegetable and a face full of cheer, or the way those tiny arms look ready for a hug. A positive potato sits on a desk, waits in a mailbox, or pops out of a gift bag, and it always gets a smile.
A positive potato is also a wonderful first amigurumi project. The body teaches you how to increase and decrease in the round, the arms teach you how to crochet a tiny tube, and the face teaches you simple embroidery.
Finished Size, Skill Level, and Time
- Finished size: about 4.5 inches tall and 3 inches wide after stuffing, in worsted weight yarn, not counting the arms. The pattern also gives notes for a small 3.5 inch version and a large 6 inch version.
- Skill level: Easy. You need a magic ring, chains, slip stitches, single crochet, increases, and invisible decreases, plus a little simple embroidery for the face.
- Time: about 2 hours per potato: roughly 1 hour for the body, 20 minutes for the arms, and 40 minutes for the face, spots, and assembly.
Materials You Need
| Item | What to get |
|---|---|
| Yarn, body | Worsted weight (size 4) yarn in tan or light brown, about 60 yards |
| Yarn, accent | Worsted weight (size 4) yarn in black, about 5 yards, for the face |
| Yarn, cheeks | Worsted weight (size 4) yarn in pink, about 3 yards, for the cheeks |
| Hook | US H-8 (5.0 mm), or the size that gives you tight stitches with no stuffing showing through |
| Stuffing | Polyester fiberfill, about 3 ounces per potato |
| Notions | Tapestry needle, scissors, stitch markers, pins, black embroidery floss (optional) |
Worsted weight yarn is the best choice for a potato amigurumi because it works up quickly, the stitches are tight enough to hold the stuffing inside, and the finished potato is soft but firm. A smooth acrylic or cotton blend yarn works well, because it shows clean stitch definition and it washes easily. Avoid fuzzy or eyelash yarns, because they hide the shaping and make the decreases hard to see. Choose a warm tan or russet brown for a classic potato look, or try cream for a peeled potato.
Abbreviations (US Terms)
- ch = chain
- sl st = slip stitch
- sc = single crochet
- hdc = half double crochet
- inc = increase, 2 sc in the same stitch
- dec = decrease, single crochet 2 stitches together
- st(s) = stitch(es)
- rnd(s) = round(s)
- rep = repeat
- MR = magic ring
Gauge and Sizing Notes
Gauge for an amigurumi potato is about keeping the stuffing inside, not about hitting an exact number. Work the first 4 rounds of the body and look at the fabric. You should not be able to see through the stitches, and the fabric should feel firm, not loose and holey. If you can see daylight through your stitches, go down a hook size. If the fabric is stiff and hard to work, go up a hook size.
To make a smaller potato, use DK weight yarn with a 4.0 mm hook for a piece about 3.5 inches tall. To make a larger potato, use bulky weight yarn with a 6.5 mm hook for a piece about 6 inches tall. The stitch counts stay the same in every size.
Part 1: The Potato Body
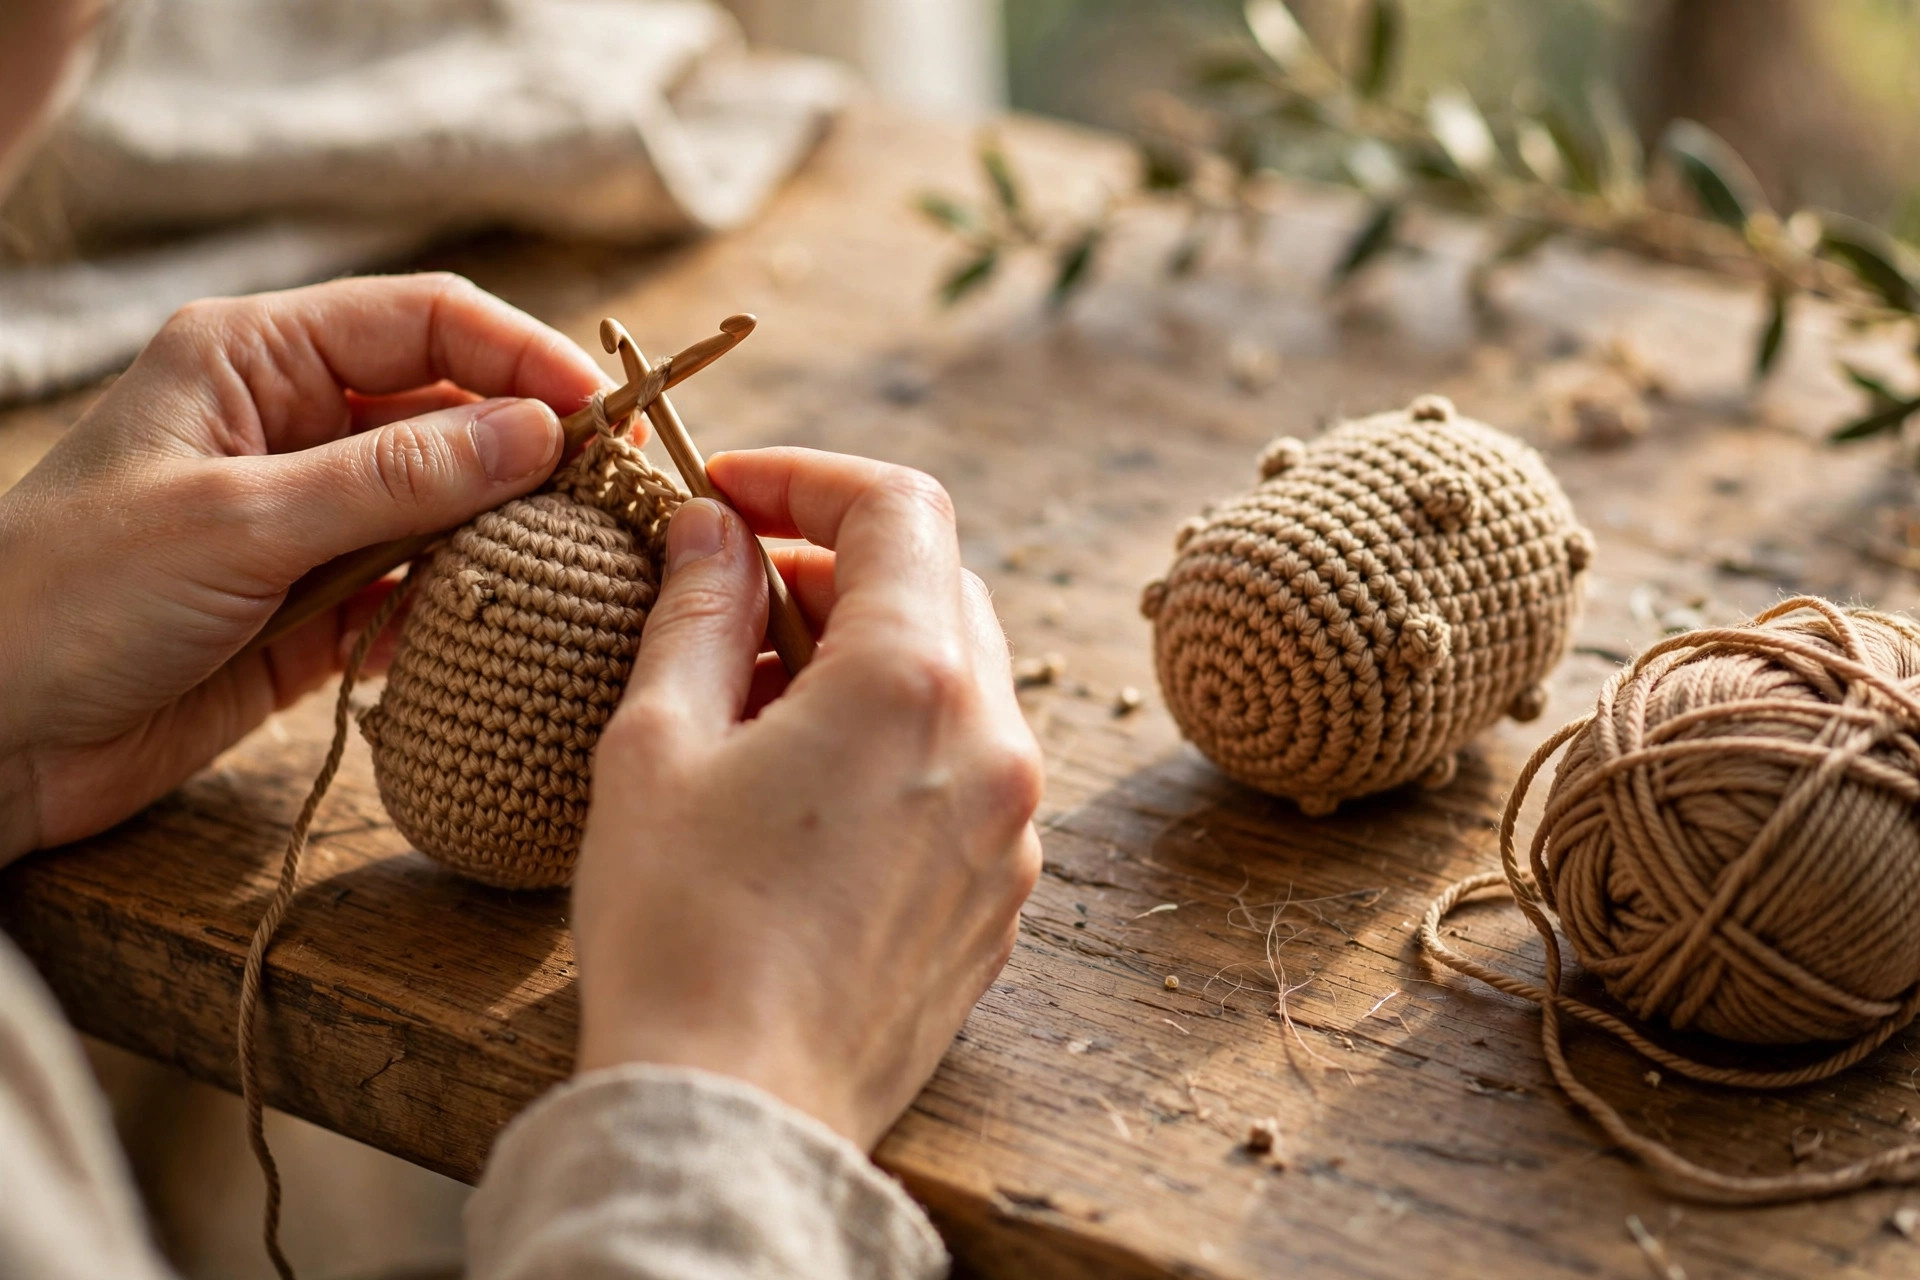
The body is worked in the round from the bottom up, starting with a magic ring and increasing out to the widest part, then working even for several rounds before decreasing to close the top. Work in a continuous spiral and use a stitch marker to mark the first stitch of every round.
Body
With the body color, MR, ch 1.
- Rnd 1: 6 sc in MR. (6 sc)
- Rnd 2: inc in each st around. (12 sc)
- Rnd 3: (sc in next st, inc in next st) rep 6 times. (18 sc)
- Rnd 4: (sc in next 2 sts, inc in next st) rep 6 times. (24 sc)
- Rnd 5: (sc in next 3 sts, inc in next st) rep 6 times. (30 sc)
- Rnd 6: (sc in next 4 sts, inc in next st) rep 6 times. (36 sc)
- Rnd 7-13: sc in each st around. (36 sc)
The body should now look like a rounded tube about 3 inches tall, with a flat base at the bottom. Check that the base sits flat on the table: if it rocks, your first rounds were too tight.
- Rnd 14: (sc in next 4 sts, dec) rep 6 times. (30 sc)
- Rnd 15: sc in each st around. (30 sc)
- Rnd 16: (sc in next 3 sts, dec) rep 6 times. (24 sc)
- Rnd 17: sc in each st around. (24 sc)
- Rnd 18: (sc in next 2 sts, dec) rep 6 times. (18 sc)
- Rnd 19: (sc in next st, dec) rep 6 times. (12 sc)
Stop here and stuff the body firmly, pushing the fiberfill down into the base first so the potato stands up on its own. Add a little more than you think you need, because fiberfill settles with use. Shape the potato gently with your hands, making it slightly wider at the bottom than at the top, like a real potato.
- Rnd 20: dec 6 times. (6 sc)
- Fasten off, leaving a long tail. Weave the tail through the front loops of the last 6 stitches, pull it tight to close the hole, and weave in the end.
Your finished body should stand up on its own, about 4.5 inches tall, with a flat base and a gently rounded top.
Part 2: Arms, Face, and Potato Spots
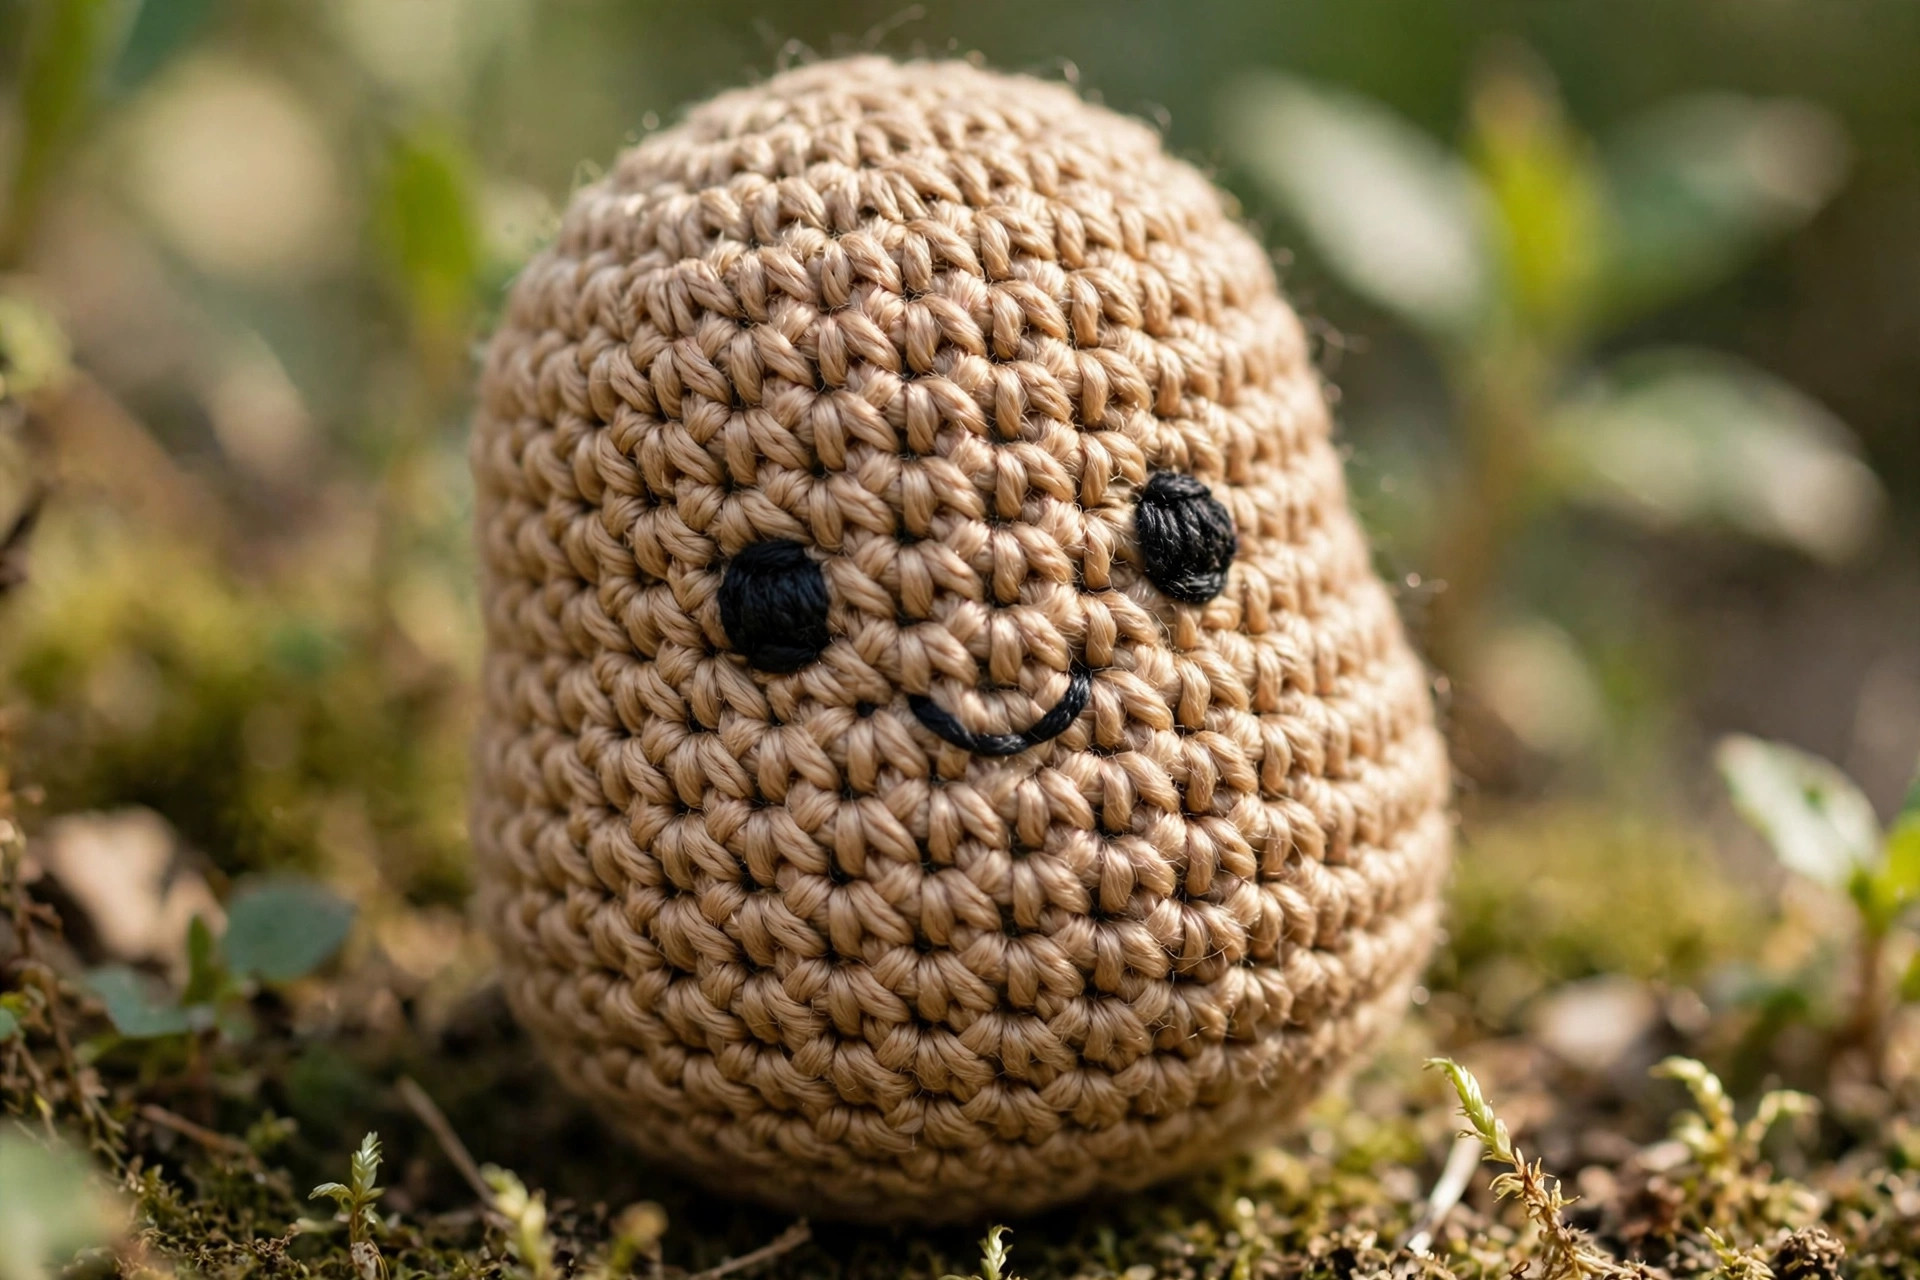
The arms are small tubes worked in the round, the face is embroidered with black yarn, and the potato spots are tiny French knots in a darker brown. Make two arms, and keep the tails long for sewing.
Arms (make 2)
With the body color, MR, ch 1.
- Rnd 1: 6 sc in MR. (6 sc)
- Rnd 2: (sc in next st, inc in next st) rep 3 times. (9 sc)
- Rnd 3-6: sc in each st around. (9 sc)
- Rnd 7: (sc in next st, dec) rep 3 times. (6 sc)
- Fasten off, leaving a long tail for sewing. Do not stuff the arms.
Each arm should be about 1.5 inches long and half an inch wide, slightly tapered at the end. Flatten the open end with your fingers and pinch it closed before sewing, so the arm lies flat against the body.
Face
The face is embroidered onto the front of the body with black yarn or embroidery floss and a tapestry needle. Work it after the body is stuffed, so you can see the true shape of the potato.
First, embroider two eyes. Each eye is a small vertical oval, about 3 stitches wide and 4 stitches tall, placed about 5 stitches apart and about 6 rounds down from the top of the body. Make each eye by working 3 or 4 short vertical stitches side by side, then going over them once more so the eye looks solid and neat. Next, embroider the smile. Start about 2 rounds below the left eye and work a gentle curve down and up to the right eye, using a backstitch or a simple running stitch. The smile should be about 6 stitches wide. Finally, add two pink cheeks, one small horizontal stitch on each side of the smile, about 2 stitches out from the ends of the mouth. Keep the cheeks light, just one or two stitches each, so the face stays sweet and simple.
If you prefer, you can use 6 mm safety eyes instead of embroidered eyes. Push them through the body before stuffing, and fasten the washers firmly on the inside. For gifts to babies and toddlers, embroidered eyes are the safer choice, because there is nothing that can come loose.
Potato Spots
Potato spots are the little darker marks that make your potato look like a real potato instead of a plain brown egg. They are optional, but they add a lot of charm.
With a darker brown yarn, work 3 or 4 French knots scattered on the back and sides of the body, away from the face. To make a French knot, bring the needle up through the fabric, wrap the yarn twice around the needle, and push the needle back down close to where it came up, holding the wraps snug as you pull through. Each knot should be about the size of a pea. Place the spots unevenly, because real potatoes are never symmetrical.
Part 3: Assembly and the Encouraging Message
Assembly is where the potato comes to life. Pin every part in place before you sew anything, then step back and look at the potato from the front. The arms should sit at the same height on both sides, and the face should sit centered.
Pin the arms to the sides of the body, about halfway up, with the flattened end against the body and the rounded end pointing down and slightly out, like little arms ready for a hug. Sew each arm on with a whip stitch through the flattened end only, so the arm hangs free. Weave in all ends, fluff the potato with your hands, and your potato is done.
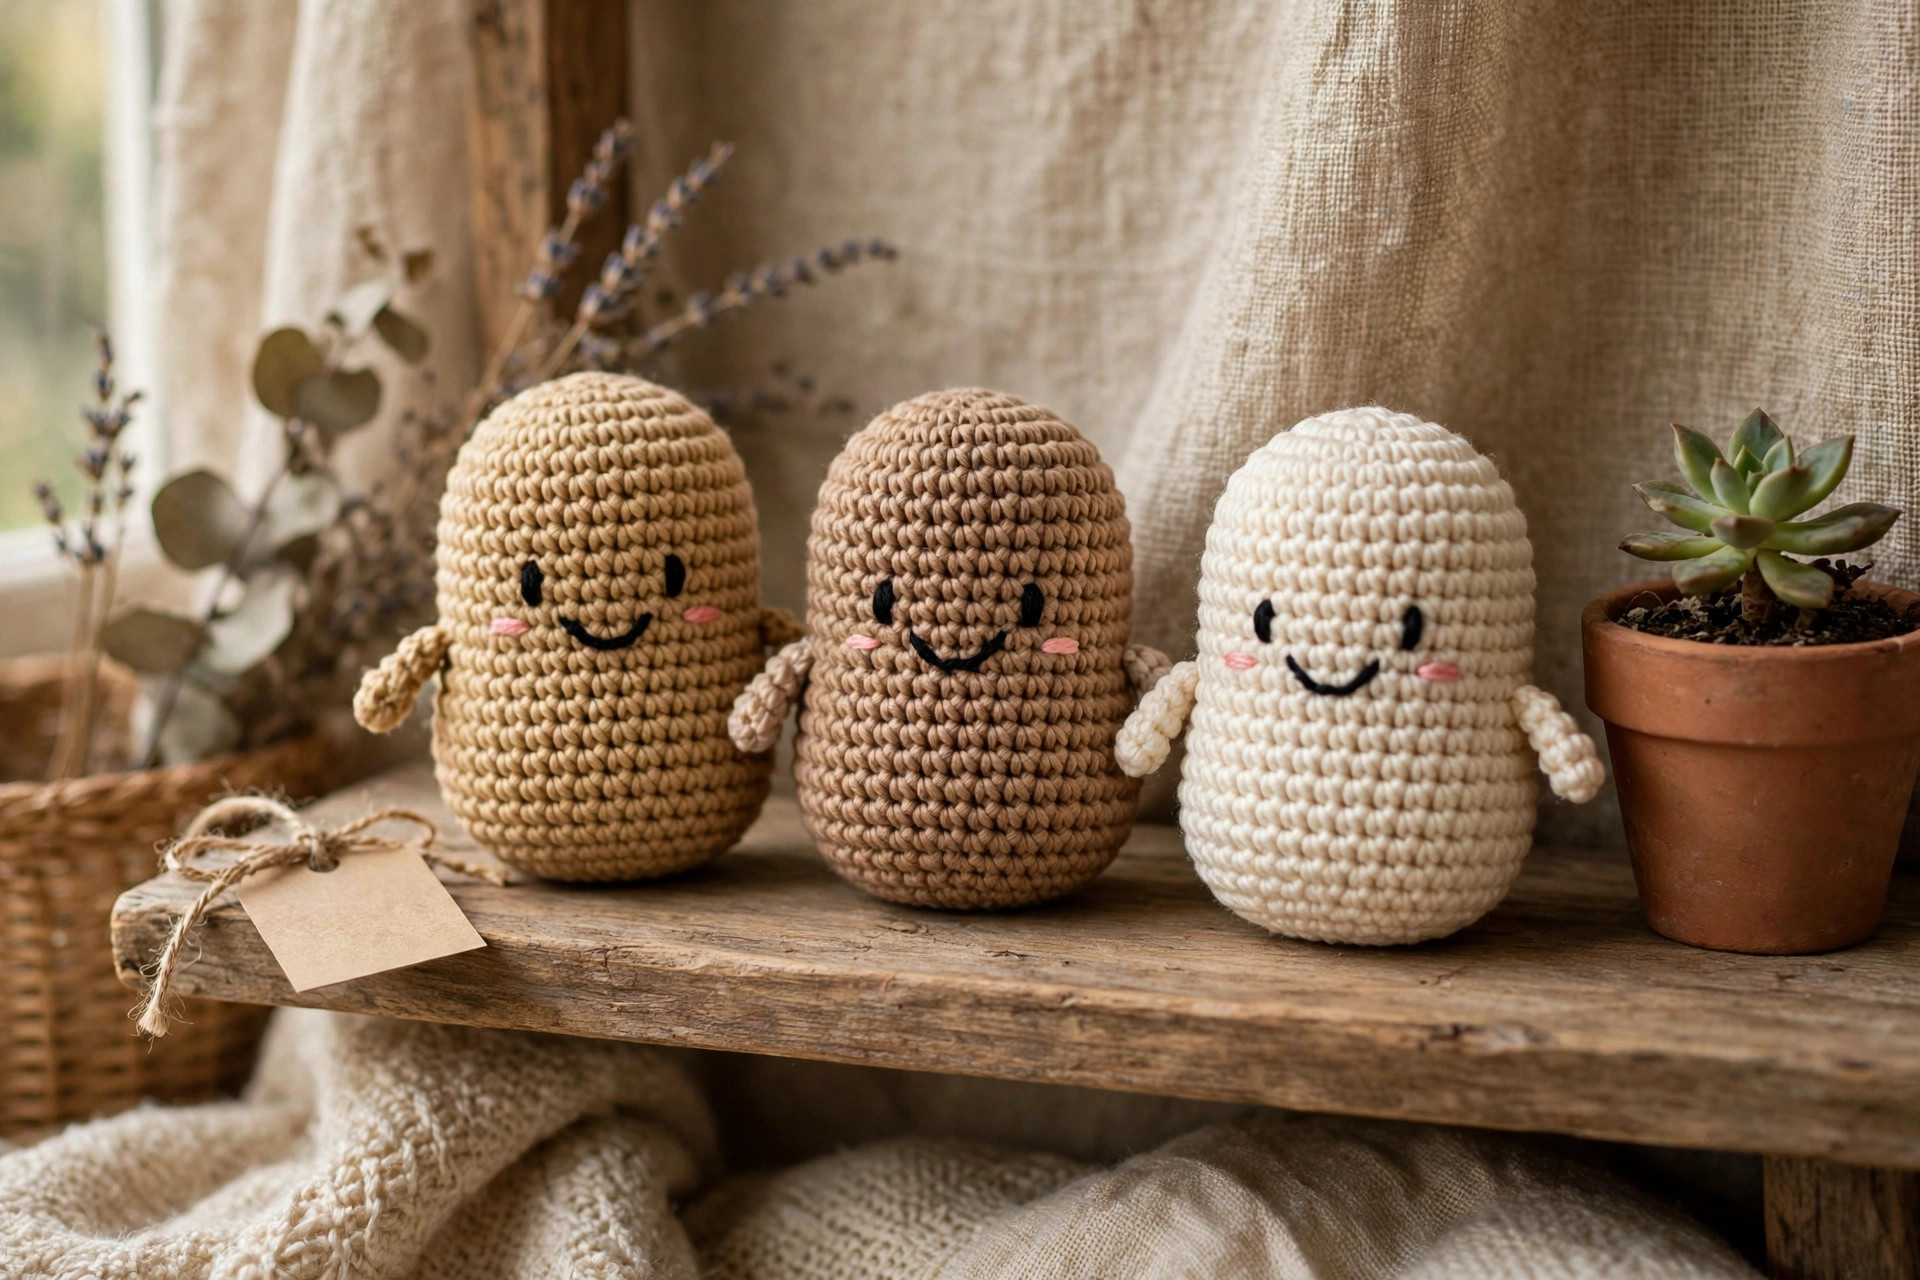
Now comes the part that makes a positive potato special: the encouraging message. The potato is the gift, and the message is the reason for it. Write your message by hand on a small card, a gift tag, or a folded note, and tuck it beside the potato or tie it on with a short piece of twine. Here are some message ideas you can copy or adapt.
- "You are a-maize-ing, and I am rooting for you."
- "You are totally a-peel-ing. Keep going."
- "I am rooting for you, always."
- "You are a real spud-tacular friend."
- "Stay positive. You are doing better than you think."
- "You have got this. I believe in you."
- "Just a little potato to remind you that you are loved."
Variations: Colors, Sizes, and Uses
- Classic russet potato: work the body in russet brown with darker brown spots for a potato that looks freshly dug. Our crochet mushroom pattern makes a matching garden friend.
- Cream peeled potato: make the potato in cream with a pale pink cheek for a soft, sweet version. Our heart pillow crochet pattern is another quick plush that looks lovely beside a cream potato.
- Baby potato: make a tiny potato with DK weight yarn for a pocket sized cheer up gift that fits in an envelope with a card. Our worry worm crochet pattern is another small comfort gift in the same size.
- Big hug potato: make the large 6 inch version with bulky yarn for a potato that is big enough to hug. Our crochet octopus plush is another huggable amigurumi in the same size.
- Potato family: make three potatoes in tan, brown, and cream for a gift set, one for each person in a family or a team. Change only the yarn color, and the same pattern makes the whole set.
Troubleshooting Potatoes That Lean or Wobble
- My potato leans to one side. The stuffing is uneven, or the base was not stuffed firmly enough.
- My potato wobbles when it stands. The base is too rounded. Flatten the base with your fingers and press it gently on the table, or add a small circle of felt to the bottom for extra stability.
- My eyes are not level. The face was embroidered before the potato was stuffed. Always stuff first, then pin or mark the eye positions with pins, step back, and check them from the front before you embroider. A ruler laid across the top of the eyes helps.
- My stuffing shows through the stitches. Your stitches are too loose for the yarn. Go down a hook size on the next potato, and use a slightly denser fiberfill so it does not poke through the gaps.
- My arms stick out sideways. Sew only the flattened end of each arm, so the arm hangs down against the body instead of poking straight out.
Care Instructions
Hand wash a crochet potato gently in cool water with a tiny amount of mild soap, squeeze gently without wringing, and lay it flat to dry so the potato keeps its shape. If the yarn label says machine washable, use a gentle cycle in a mesh laundry bag, and lay the potato flat to dry. Do not put an amigurumi potato in the dryer on high heat, because the fiberfill can clump and the potato can lose its shape. Fluff the potato by hand after washing, and keep it out of direct sunlight, so the colors stay bright.
Frequently Asked Questions
Is this positive potato crochet pattern good for beginners?
Yes, it is a great first amigurumi project. You need chains, single crochet, increases, and decreases, and every round ends with a stitch count. One potato takes about 2 hours, and the face is simple embroidery.
What yarn is best for a positive potato?
Worsted weight yarn is the best choice, because it works up quickly and the stitches are tight enough to hold the stuffing inside. A smooth acrylic or cotton blend works well and washes easily. Tan, light brown, or russet brown all look like a real potato.
How big is the finished potato?
About 4.5 inches tall and 3 inches wide after stuffing, in worsted weight yarn with a 5.0 mm hook, not counting the arms. Use DK weight yarn for a small 3.5 inch version, or bulky weight yarn for a large 6 inch version. The stitch counts stay the same in every size.
What message should I send with a positive potato?
Any short encouraging line works. Popular choices are "I am rooting for you," "You are doing better than you think," and "You have got this." Write it by hand on a small card or gift tag, and add a longer personal note on the back if you like.
Are safety eyes safe for a potato gift?
Safety eyes are safe when installed correctly with the washer snapped firmly onto the post, but no toy is chew proof. For babies under three, many makers prefer the embroidered eyes in this pattern instead: stitch two small ovals with black yarn and skip the safety eyes.
Can I sell potatoes made from this pattern?
Yes, you may sell finished potatoes made from this free pattern, with credit to Little Loop Finds. Please do not sell or republish the pattern text itself. If you sell them as gifts, a handwritten message card is a lovely extra, and our free crochet heart pattern makes a sweet matching add on for a gift set.
Happy stitching, and may your little potato bring a big smile to whoever receives it.