Crochet Brain Pattern (Cute Amigurumi Brain)
Crochet a cute amigurumi brain with pink folds and cream ridges in about four hours, then gift it to a science lover.

Patterns · Crochet
- Finished size
- 6 in wide
- Making time
- 4 hours
- Hook
- US G-6 (4.0 mm)
- Set
- Halves, ridges, stem
- Skill
- Easy
In this post
- Key Takeaways
- Table of Contents
- Why You Will Love This Brain
- Finished Size, Skill Level, and Time
- Materials You Need
- Abbreviations (US Terms)
- Gauge and Sizing Notes
- Part 1: The Brain Halves
- Part 2: The Ridges and the Brain Stem
- Part 3: Assembly and Face
- Variations: Colors, Sizes, and Uses
- Troubleshooting a Brain That Does Not Look Right
- Care Instructions
- Frequently Asked Questions
- More Free Patterns to Try
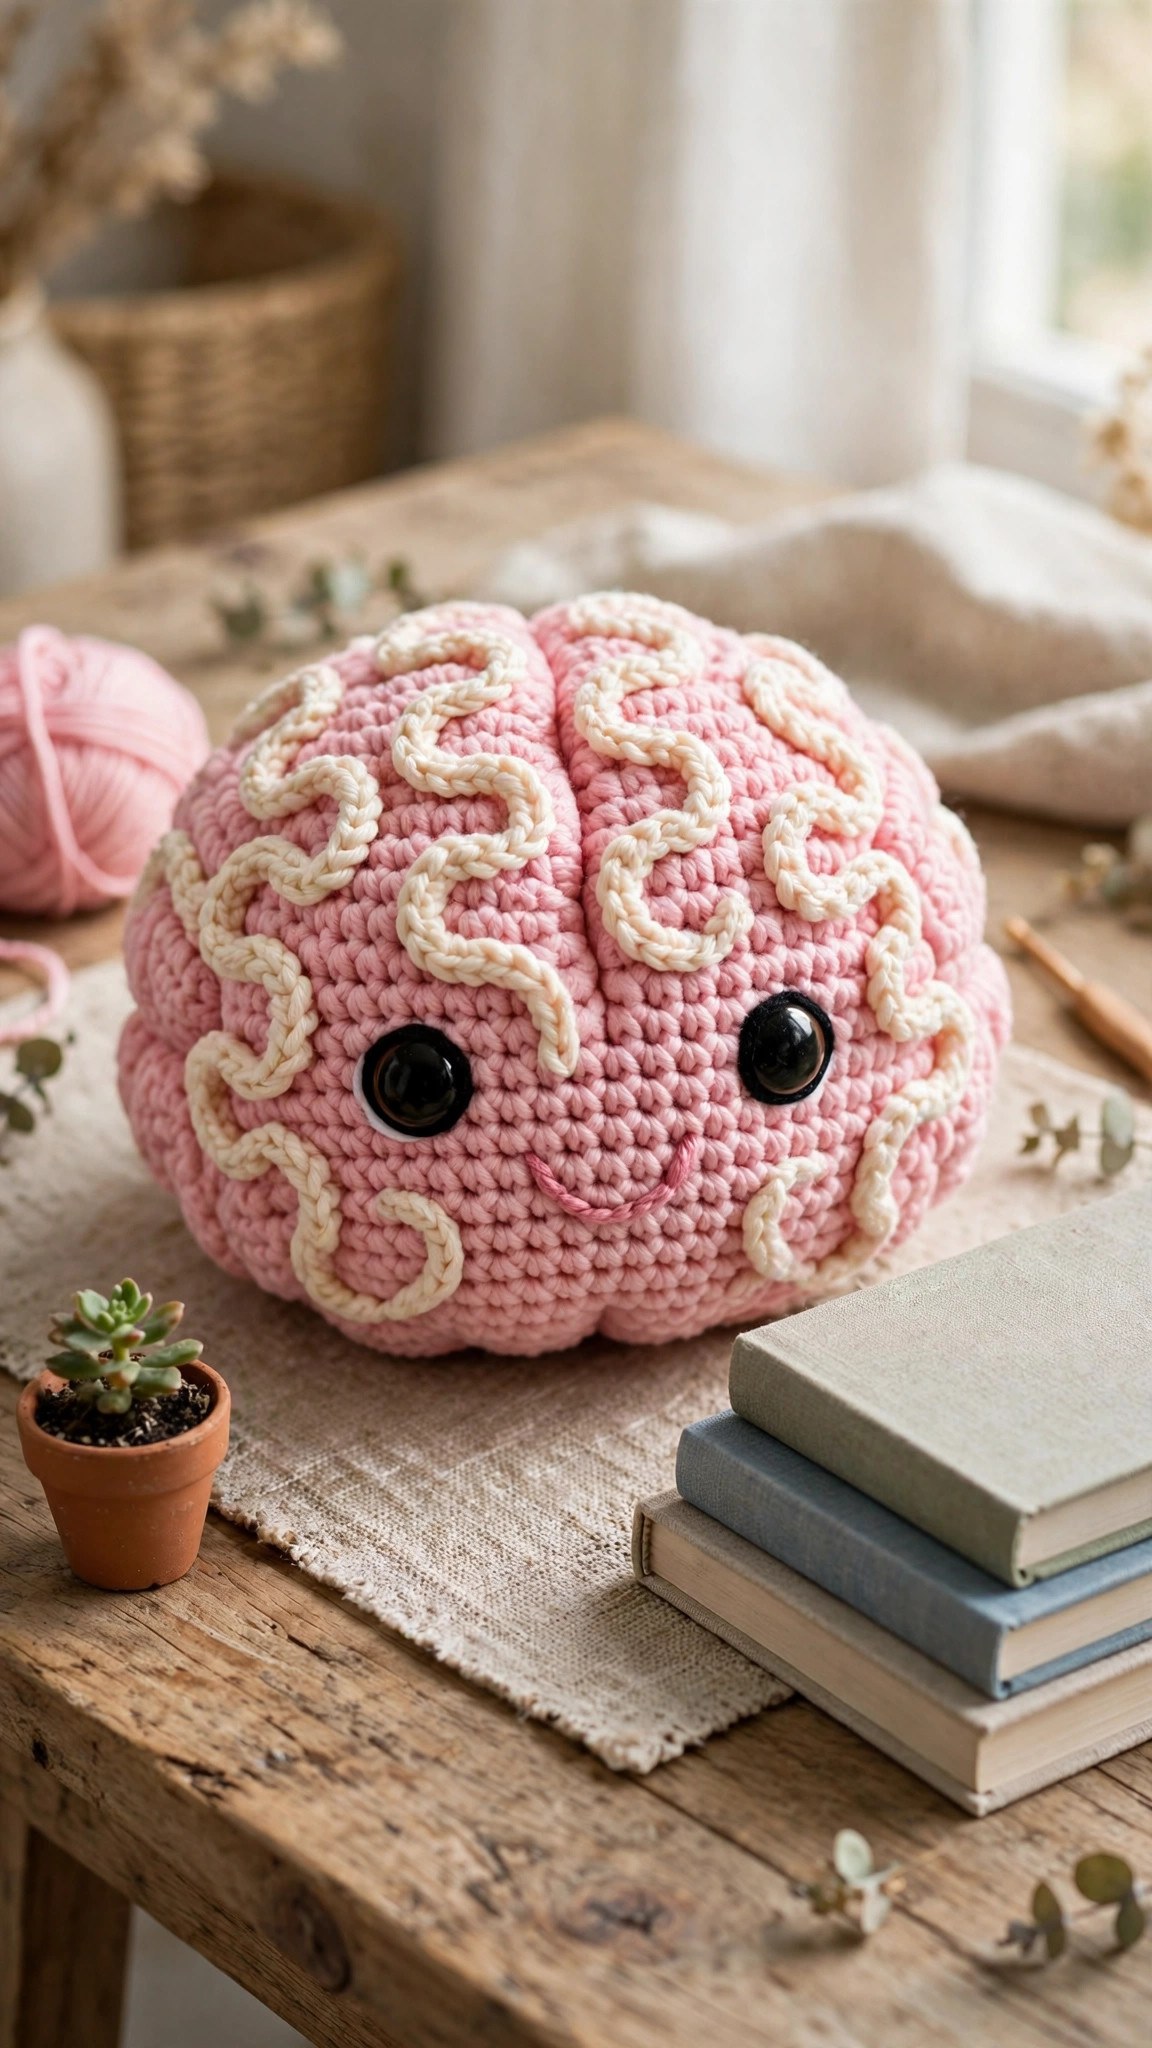
A crocheted brain is one of the funniest little amigurumi projects you can make, and this free crochet brain pattern turns soft pink yarn into a cute amigurumi brain about 6 inches wide. It takes about 4 hours, uses about 160 yards of yarn, and makes a wonderful gift for a science teacher, a medical student, or an anatomy lover.
This is an original Little Loop Finds design, written in US terms and completely free. The brain is made from two soft rounded halves, a set of squiggly ridges worked in a pale cream yarn, a small brain stem, and a sweet smiling face, all worked in single crochet in the round.
A quick note on scope: this post is about one specific crochet brain, a small amigurumi brain with soft pink folds, pale cream ridges, and a friendly face. It is cute and cuddly, made to sit on a desk or a shelf and make people smile.
Key Takeaways
- Free original pattern: a Little Loop Finds original design, written in US terms, and completely free.
- A cute amigurumi brain: two soft rounded halves, pale cream squiggly ridges, a small brain stem, and a friendly face, about 6 inches wide.
- Simple stitches: worked in the round with single crochet, increases, and decreases only.
- A 4 hour project: one brain takes about 4 hours, worked one piece at a time.
- Great for gifts: a fun gift for a science teacher, a medical student, an anatomy lover, or a clever friend.
Table of Contents
- Why You Will Love This Brain
- Finished Size, Skill Level, and Time
- Materials You Need
- Abbreviations (US Terms)
- Gauge and Sizing Notes
- Part 1: The Brain Halves
- Part 2: The Ridges and the Brain Stem
- Part 3: Assembly and Face
- Variations: Colors, Sizes, and Uses
- Troubleshooting a Brain That Does Not Look Right
- Care Instructions
- Frequently Asked Questions
- More Free Patterns to Try
Why You Will Love This Brain
A crocheted brain is a small project with a big personality. The pieces are quick, so you can finish one brain half in about 30 minutes, and the finished brain sits nicely on a desk or a bookshelf where everyone can see it.
The brain is worked in the round, so there are no rows to count and no turning to remember. You start with a magic ring, increase evenly to make a round shape, and work the two halves the same way. The ridges are simple cords sewn on top in a wavy line.
This brain also makes a wonderful gift for a science lover. It is soft enough to squeeze, cute enough to display, and clever enough to start a conversation. Teachers love it on their desks, students love it as a study buddy, and nurses and doctors love it as a lighthearted desk friend. It is also a fun Halloween project, because a cute pink brain is much friendlier than a spooky one.
If you have made amigurumi animals before, this brain will feel familiar, because it uses the same round shapes as a ball. If it is your first amigurumi project, the brain is a forgiving place to start, because the ridges hide small mistakes.
Finished Size, Skill Level, and Time
- Finished size: one size. The brain is about 6 inches wide from side to side, about 4.5 inches deep from front to back, and about 4 inches tall from the bottom to the top of the ridges. Each brain half is about 3 inches wide.
- Skill level: Easy. You need a magic ring, single crochet, increases, and decreases.
- Time: about 4 hours per brain: 30 minutes for each brain half, 45 minutes for the ridges, 20 minutes for the brain stem, 15 minutes for the face, and 50 minutes for assembly and finishing.
Materials You Need
| Item | What to get |
|---|---|
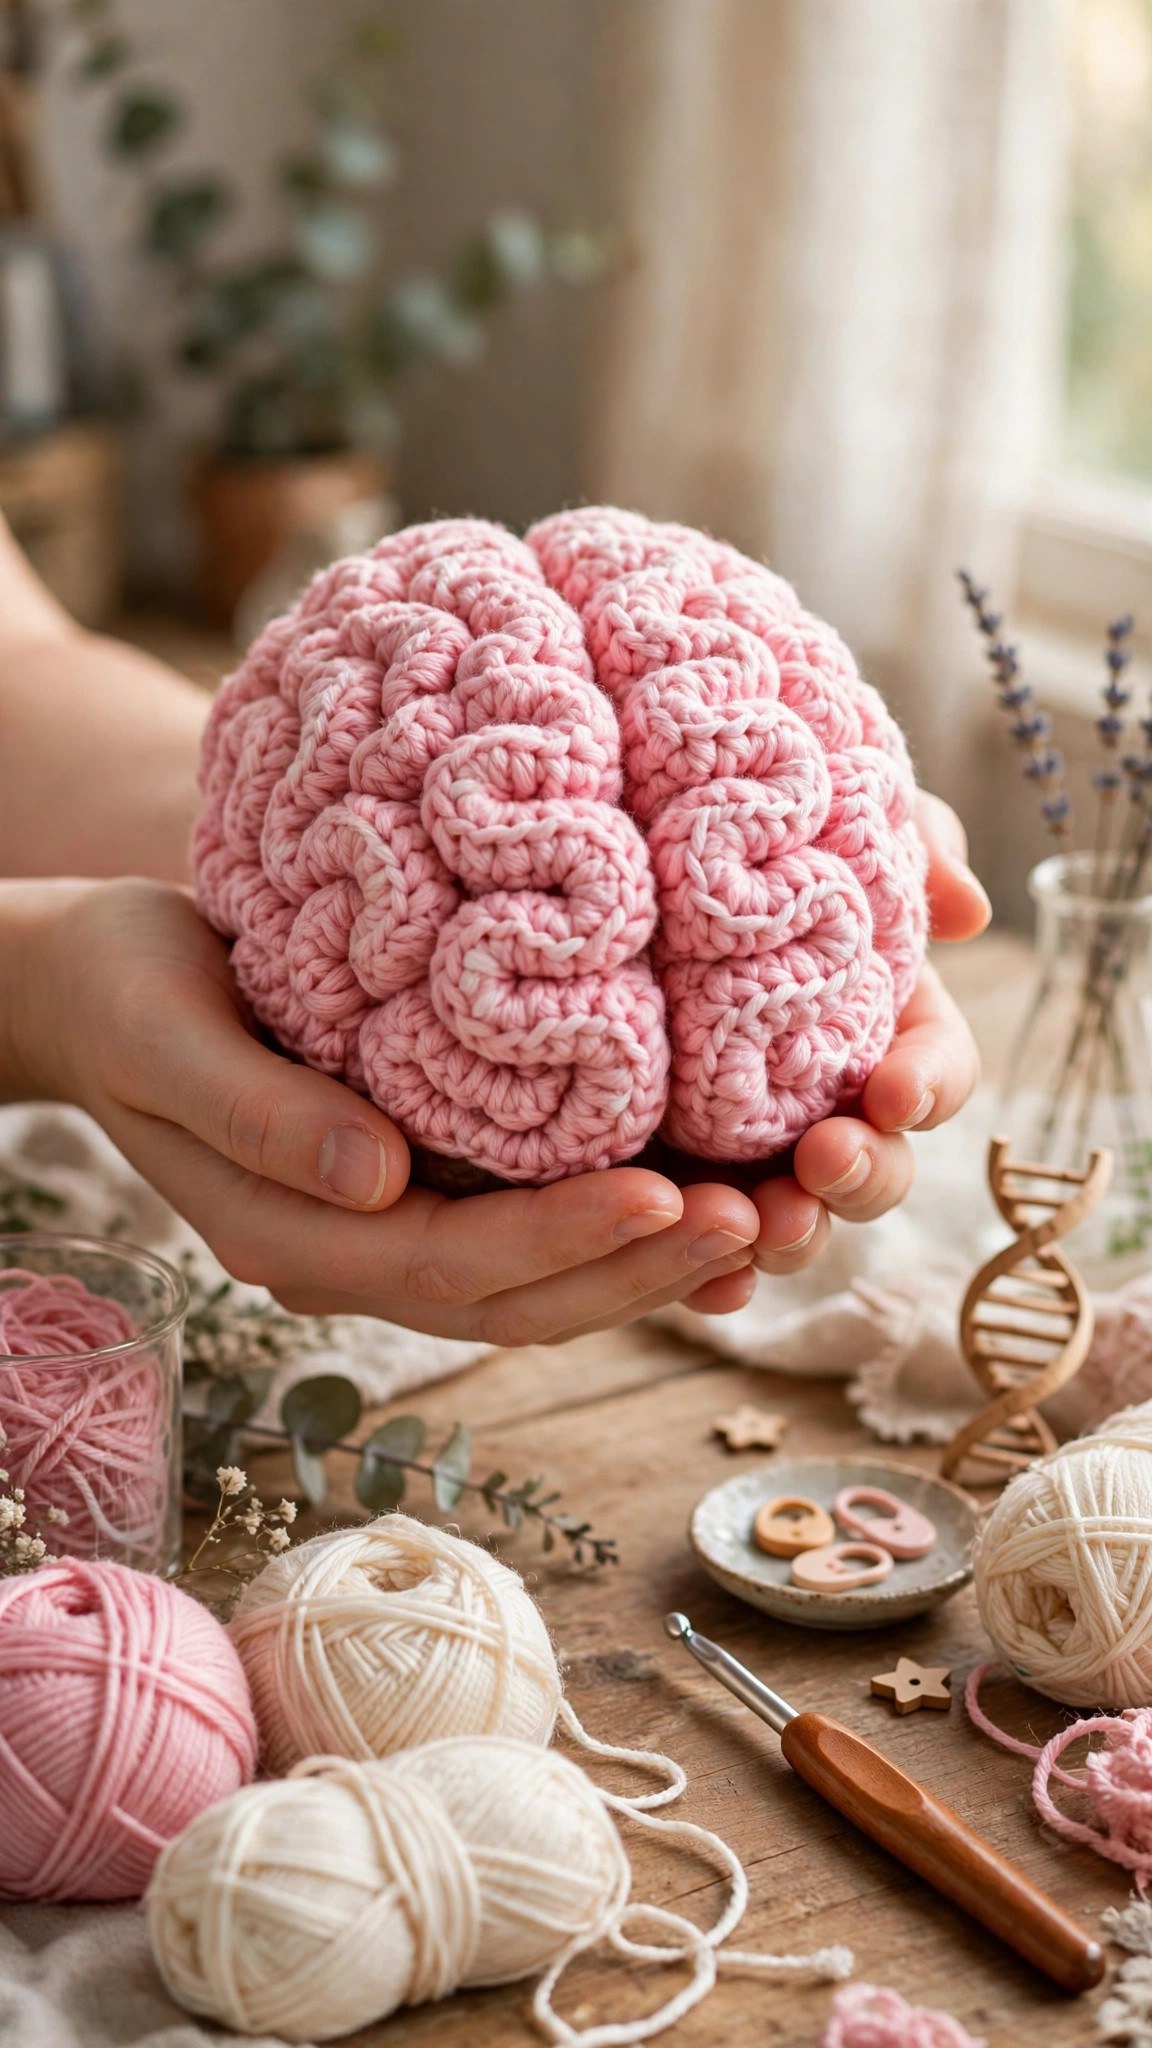
| Yarn, pink | DK weight yarn in soft pink, about 120 yards |
| Yarn, cream | DK weight yarn in pale cream, about 40 yards |
| Hook | US G-6 (4.0 mm), or the size that gives you the gauge below |
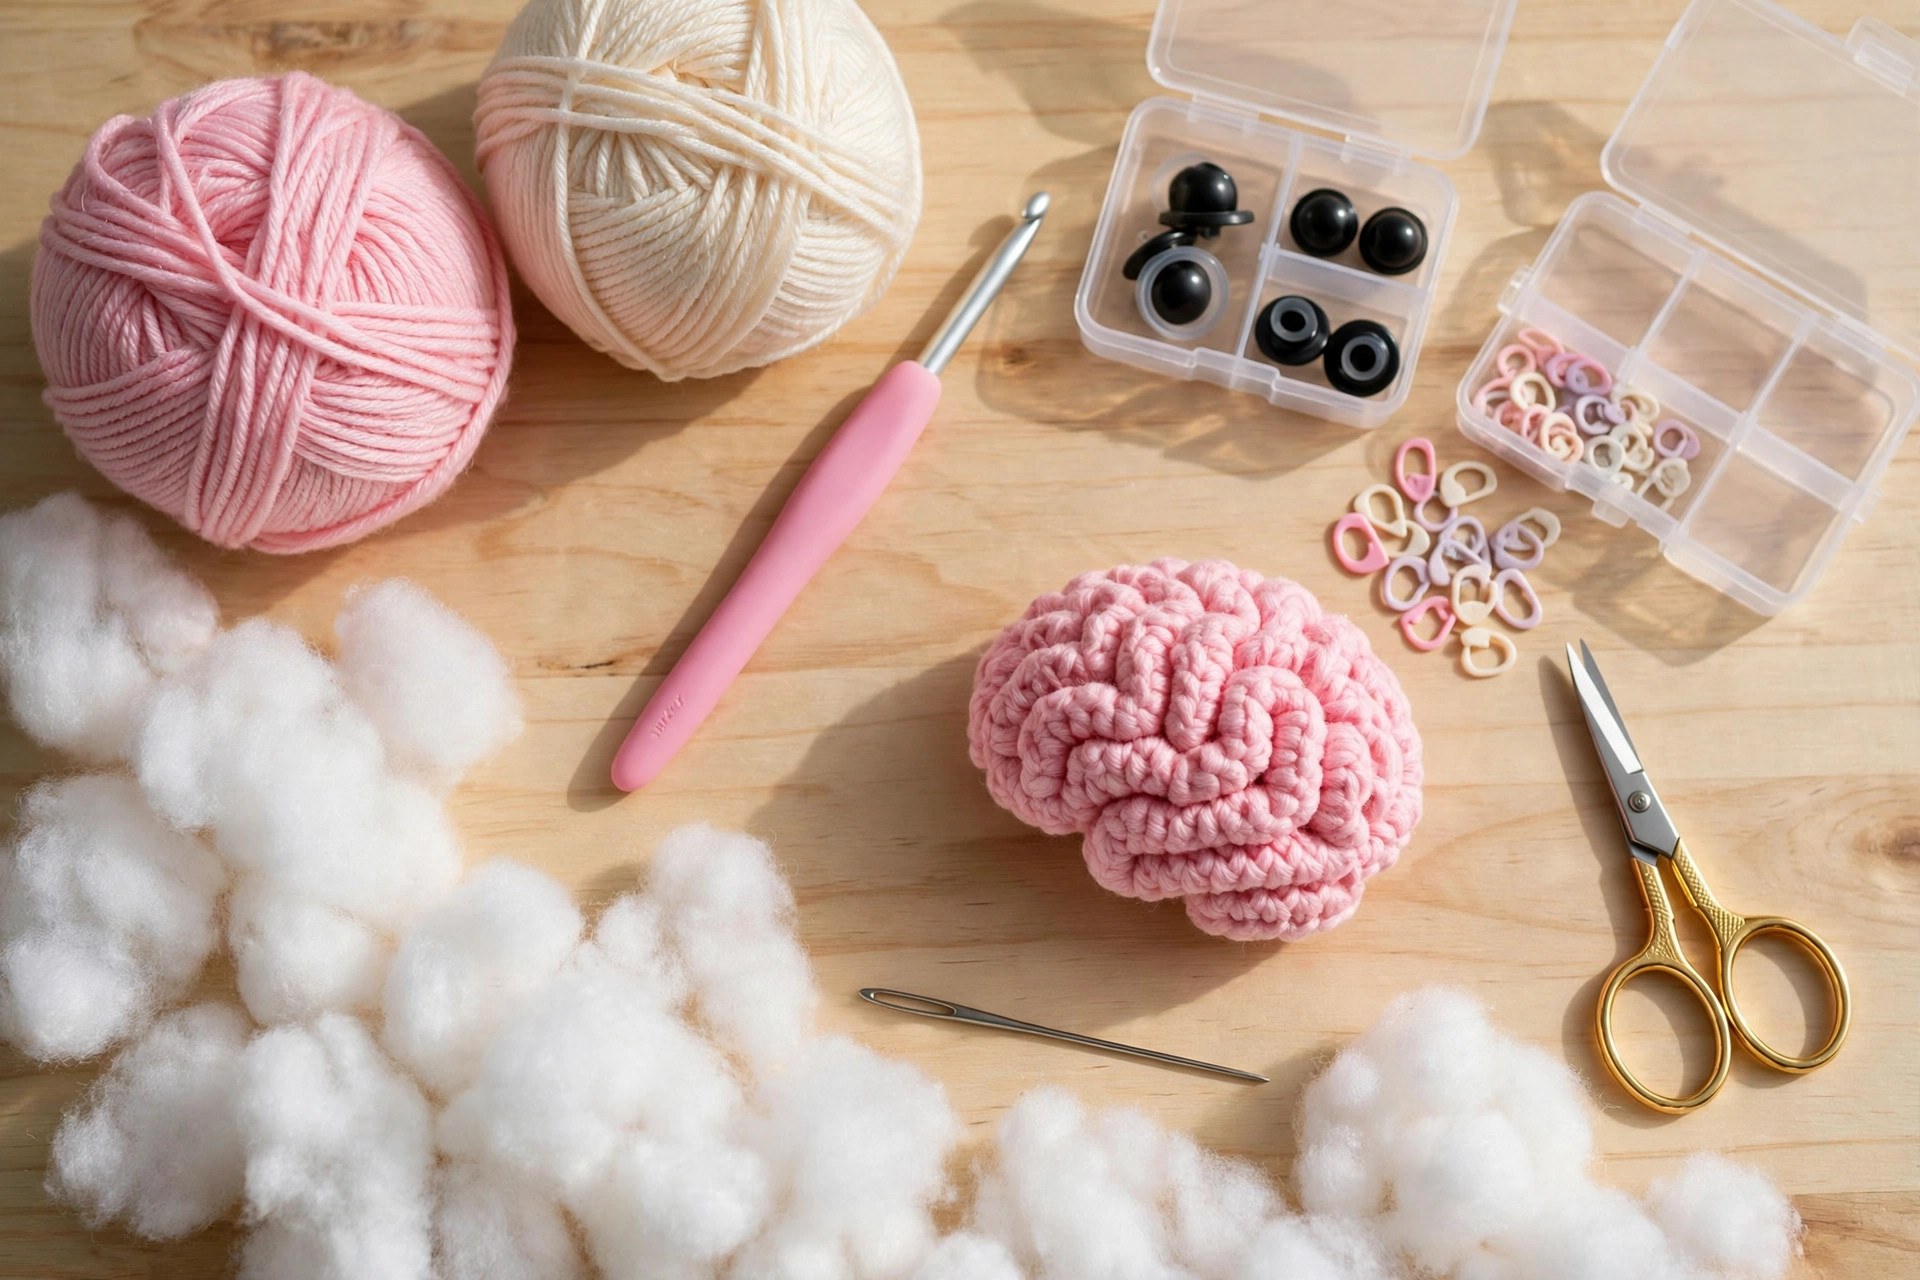
| Notions | Tapestry needle, scissors, stitch markers, polyester fiberfill, 2 safety eyes (10 mm), black and pink embroidery floss |
Soft pink DK yarn is the best choice for a crochet brain because it gives the brain a gentle, friendly color that looks like a cartoon brain rather than a scary one. A pale cream yarn works best for the ridges, because the light color stands out against the pink and makes the squiggly folds easy to see.
A stitch marker is the most important notion for this project, because the brain halves are worked in a spiral with no joining. Polyester fiberfill is the best stuffing for a brain, because it is light, washable, and easy to shape. Use dark safety eyes so they stand out against the pink yarn, and keep a little black embroidery floss ready for the smile.
Abbreviations (US Terms)
- ch = chain
- sl st = slip stitch
- sc = single crochet
- inc = increase (2 sc in the same stitch)
- dec = decrease (sc 2 together)
- st(s) = stitch(es)
- rep = repeat
- MR = magic ring
- FO = fasten off
Gauge and Sizing Notes
Gauge matters on amigurumi because the stuffing shows through if the stitches are too loose, and the brain looks lumpy if they are too tight. Work a swatch of 12 sc and 14 rounds in the pink yarn. It should be about 2 inches wide and 2 inches tall.
The pattern is written in one size, about 6 inches wide and 4 inches tall. To make a smaller brain, use a smaller hook and stop each brain half after round 7, which gives a brain about 4.5 inches wide. To make a larger brain, add one more increase round to each half, which gives a brain about 7.5 inches wide.
Part 1: The Brain Halves
The brain starts with two rounded halves, each one a half ball worked in pink yarn. Work each half in a spiral in the round, with a stitch marker in the first stitch of each round. Make two halves exactly the same way.
With the pink yarn, make a magic ring for the first brain half.
- Round 1: 6 sc in the ring. (6)
- Round 2: inc in each st around. (12)
- Round 3: (sc in the next st, inc in the next st) rep 6 times. (18)
- Round 4: (sc in the next 2 sts, inc in the next st) rep 6 times. (24)
- Round 5: (sc in the next 3 sts, inc in the next st) rep 6 times. (30)
- Round 6: (sc in the next 4 sts, inc in the next st) rep 6 times. (36)
- Round 7: (sc in the next 5 sts, inc in the next st) rep 6 times. (42)
- Round 8: sc in each st around. (42)
- Rounds 9-10: sc in each st around. (42)
- Round 11: (sc in the next 5 sts, dec) rep 6 times. (36)
- Round 12: (sc in the next 4 sts, dec) rep 6 times. (30)
- Round 13: (sc in the next 3 sts, dec) rep 6 times. (24)
- Round 14: (sc in the next 2 sts, dec) rep 6 times. (18)
- Round 15: (sc in the next st, dec) rep 6 times. (12)
- Round 16: dec in each st around. (6)
Stuff the half firmly before round 14, because the opening gets too small after that. Sl st in the next st and fasten off, leaving a 12 inch tail for sewing. Make a second half the same way, and stuff it the same way.
Count your stitches at the end of every increase round, because a missed increase will make the half lopsided instead of round. The two halves should match each other closely, so measure them side by side before you sew them together.
Part 2: The Ridges and the Brain Stem
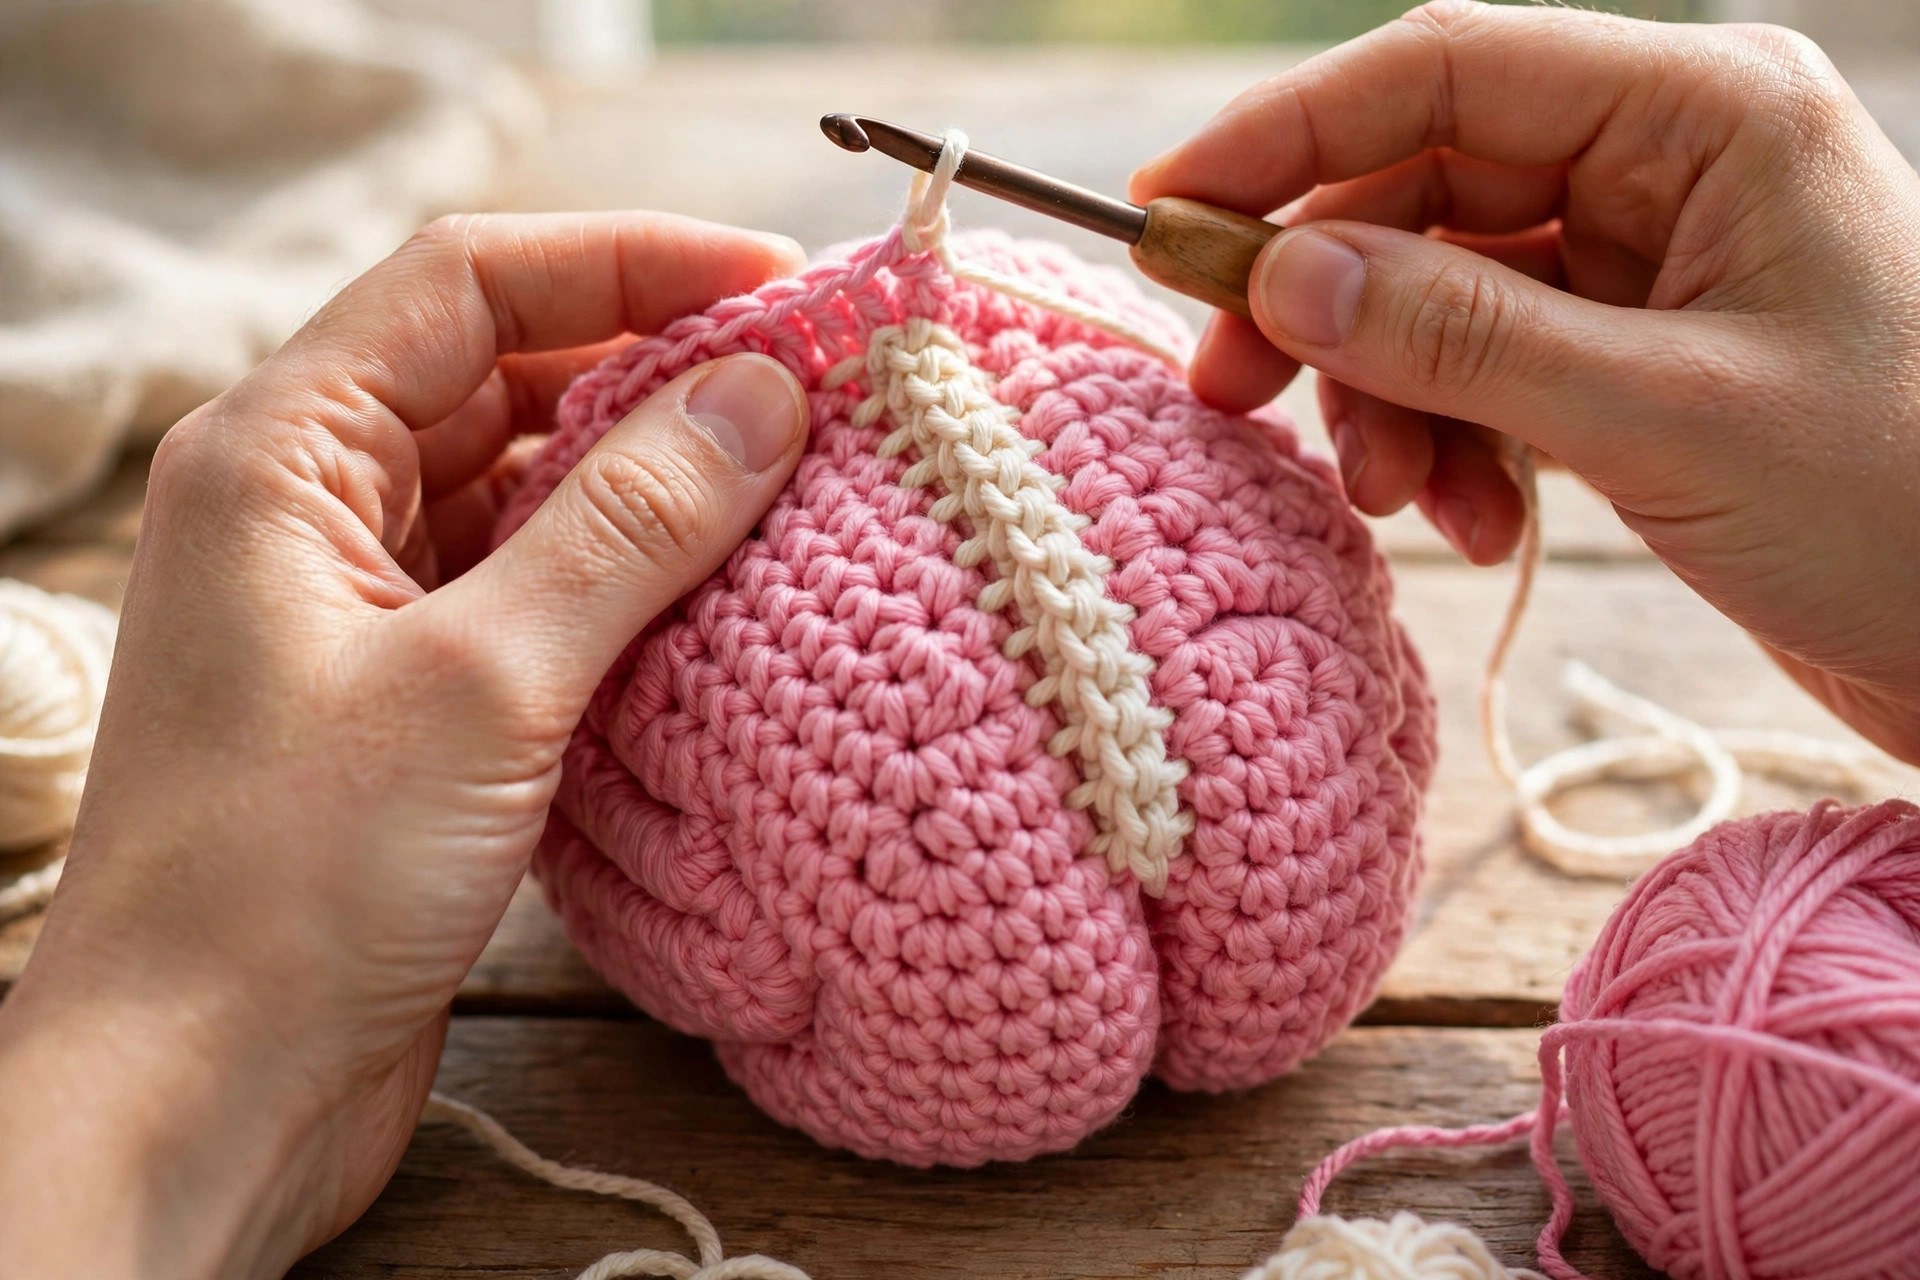
The ridges are what make a round pink ball look like a brain. They are simple cords worked in cream yarn, sewn onto each brain half in wavy lines. The brain stem is a small tube worked in pink yarn, sewn to the bottom of the brain.
Making the Ridge Cords
With the cream yarn, make a chain of 40 stitches for one ridge cord. Work 1 sc in the second ch from the hook, then 1 sc in each ch across. You should have 39 sc. Fasten off, leaving a 6 inch tail at each end for sewing. Make 6 ridge cords the same way, 3 for each brain half. If you want a brain with more ridges, make 8 cords instead of 6, 4 for each half.
Each cord should be about 7 inches long when you finish it. The cords are a little longer than they need to be, because a wavy line uses more yarn than a straight line. Do not cut them shorter, because a short cord will pull the brain out of shape.
Sewing the Ridges On
Take one brain half and lay it flat side down, with the round side facing up. Pin one end of a ridge cord near the top center of the half, curve the cord in a gentle S shape across the top, and pin it in place every inch or so. Thread a tapestry needle with the cord tail, and sew the cord to the brain with a whip stitch, one stitch at a time. Keep the stitches loose enough that the cord sits on top like a raised fold, not pulled flat into the stitches.
Work the second cord in a wavy line beside the first one, about half an inch away, curving the opposite way so the two lines look like folds. Work the third cord the same way, curving it around the side. Then do the same thing on the other half, so each half has 3 wavy ridges.
Take your time with the ridges, because they are the detail that makes the brain easy to recognize. If a cord looks too straight, unpick a few stitches and curve it more. The ridges do not need to match each other exactly, because real brains are not symmetrical.
Making the Brain Stem
The brain stem is a short tube worked in pink yarn. With the pink yarn, make a magic ring.
- Round 1: 6 sc in the ring. (6)
- Round 2: inc in each st around. (12)
- Rounds 3-6: sc in each st around. (12)
- Round 7: (sc in the next 2 sts, dec) rep 3 times. (9)
- Round 8: sc in each st around. (9)
The stem should be about 1.5 inches long when you reach round 8. Stuff it lightly with fiberfill, and fasten off, leaving a 8 inch tail for sewing.
Part 3: Assembly and Face
This is the part where two brain halves, six ridges, and a small stem become a brain. Sew the halves together first, then the stem, and add the face last.
Joining the Two Halves
Hold the two brain halves flat side to flat side, with the ridges facing outward. Pin the halves together around the edge, so the flat sides line up evenly. Thread a tapestry needle with the tail from one half, and sew the two halves together with a whip stitch, one stitch at a time around the whole join. Pull each stitch snug but not so tight that it puckers the pink yarn.
When you have sewn about three quarters of the way around, stop and add a little extra fiberfill through the opening, so the center feels firm and round. Then finish the seam and weave in the end. Our free crochet bunny pattern uses the same pin first, sew second method on another soft animal, and it works just as well here.
Attaching the Brain Stem
Turn the brain upside down, so the bottom faces up. Mark the center of the bottom with a stitch marker. Take the brain stem and pin its wider end to the bottom center of the brain, with the stem pointing down. Thread a tapestry needle with the tail from the stem, and sew the stem to the brain with a whip stitch, working around the join one stitch at a time. The stem should sit straight, not tilted to one side.
Adding the Face
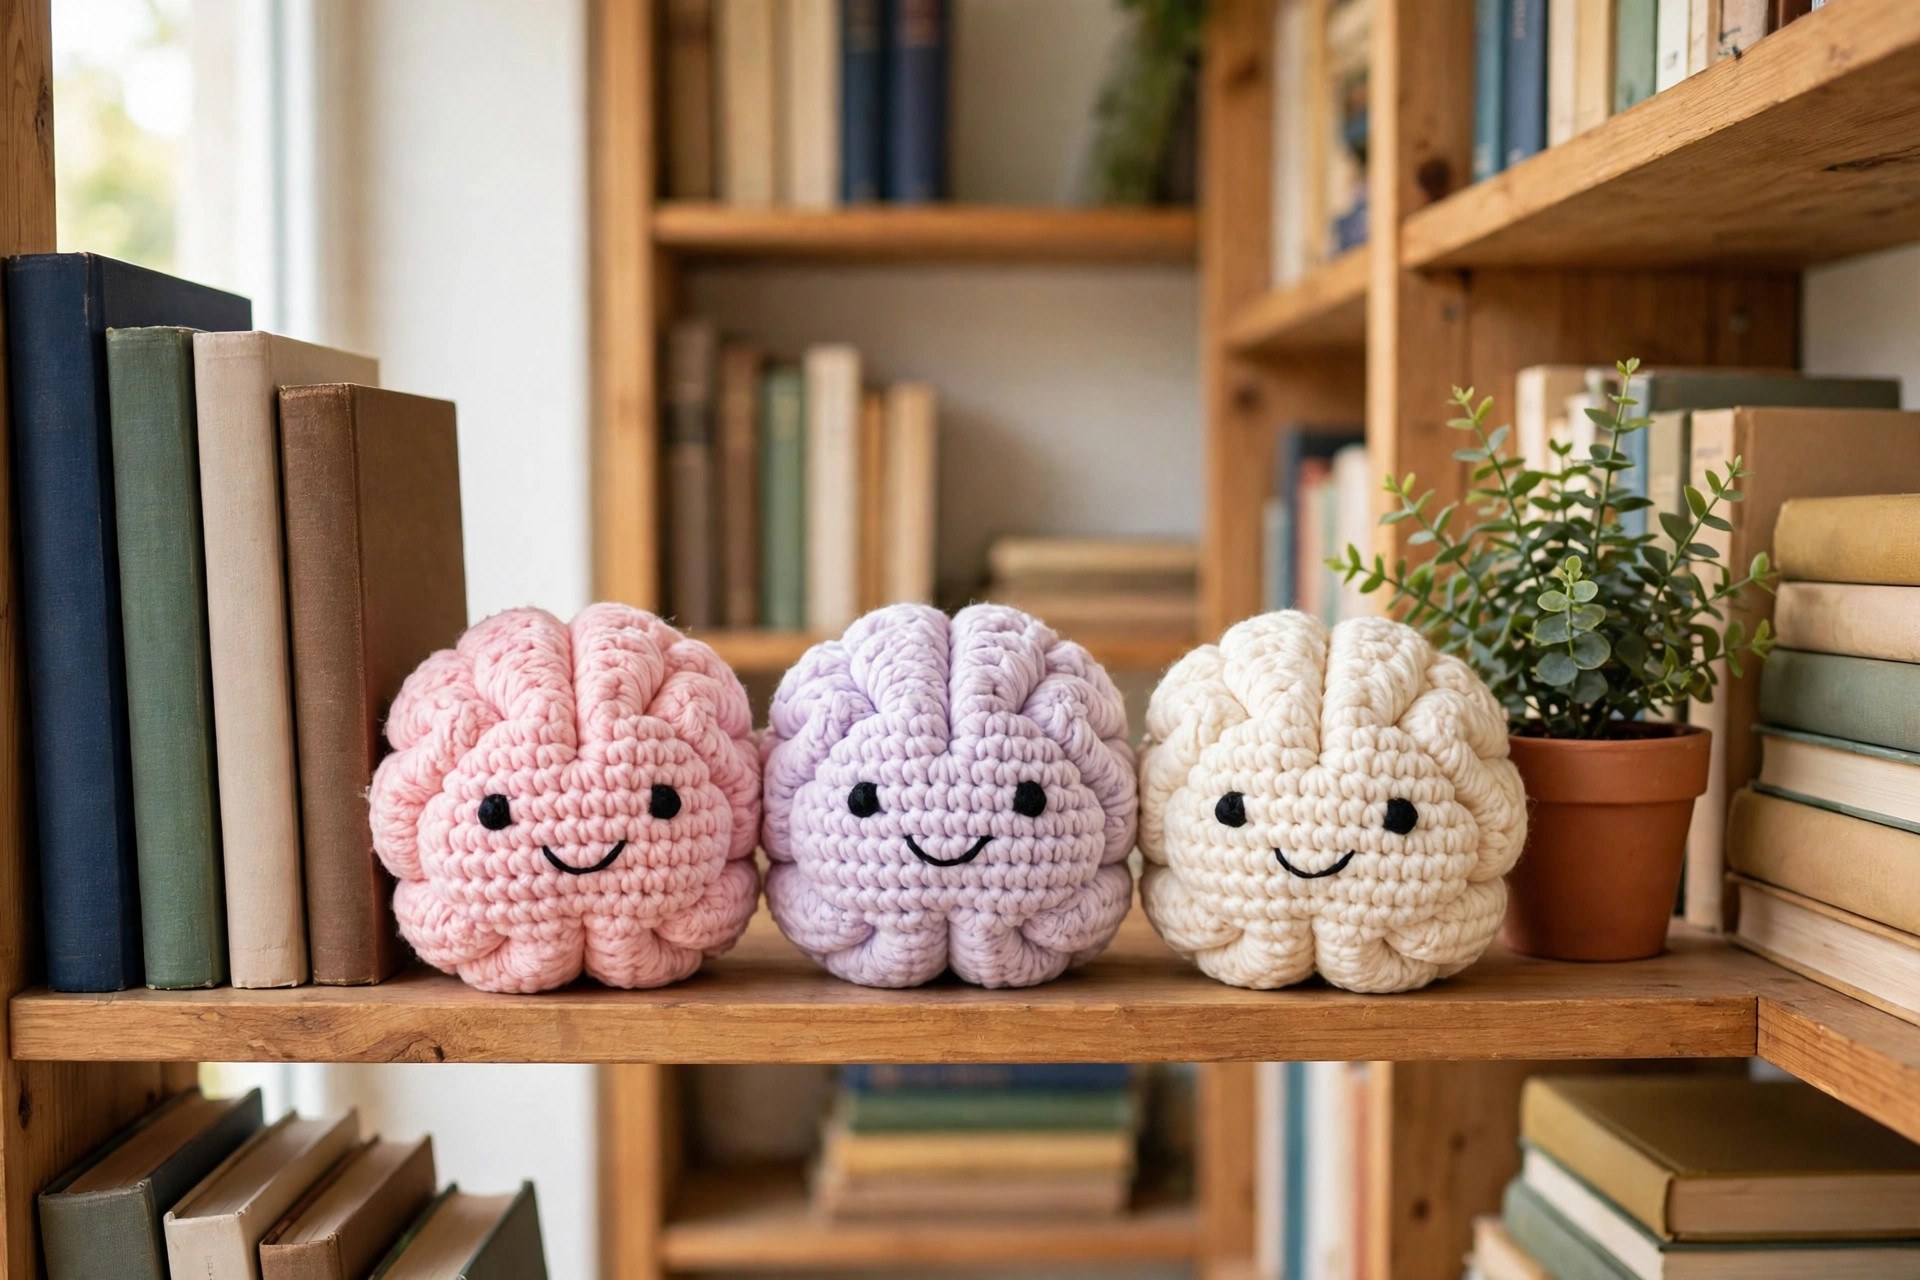
Place the safety eyes on the front of the brain, about 1.5 inches apart and just above the center line. Push the eyes through the stitches from the front, and press the washers on firmly from the inside. If you add the eyes after the halves are joined, use embroidered eyes instead, with black yarn and a French knot for each eye. Embroider a small smile below and between the eyes with black floss, using a simple curved backstitch. Add two tiny pink cheeks with pink floss, one small circle on each side of the smile.
Stand the brain on its stem and check that it sits flat. If it wobbles, press the bottom gently with your palm to flatten it a little.
Variations: Colors, Sizes, and Uses
- Classic pink brain: work the brain in soft pink yarn with pale cream ridges for the friendly science gift in this pattern.
- Bright pink brain: work the brain in a brighter pink yarn with white ridges for a bold, fun desk toy.
- Lilac brain: work the brain in soft lilac yarn with cream ridges for a gentle, modern nursery shelf.
- Brain keychain: work the brain with a smaller hook and stop each half after round 7, then add a keychain ring for a bag charm.
- Science gift set: pair a brain with matching crochet monkey pattern and hamster crochet pattern for a clever animal and science set that looks planned.
Troubleshooting a Brain That Does Not Look Right
- My brain looks like a ball, not a brain. The ridges are missing or too flat. Add more ridge cords, space them closer together, and sew them on loosely so they sit raised.
- My ridges look too straight. You sewed them in straight lines. Unpick a few stitches and re-pin each cord in a gentle S curve before you sew it on.
- My two halves do not match. One half was stuffed more firmly than the other, or you missed an increase. Count your stitches on every increase round, and add a pinch more fiberfill to the flatter half.
- My brain wobbles when it sits. The stem is tilted, or the bottom is too round. Press the bottom gently to flatten it, and re-sew the stem so it points straight down.
- I cannot see my stitches in the pink yarn. The loops hide in the yarn, which is normal for darker colors. Count your stitches out loud, feel for each stitch with your fingers, and use a stitch marker in the first stitch of every round.
Care Instructions
Hand wash a crocheted brain in cool water with a mild detergent, and press the water out gently without wringing. Reshape the halves and the ridges and lay the brain flat to dry away from direct heat. If the brain is a child's toy, check the safety eyes now and then, and re-sew any loose ridges before they come off.
Frequently Asked Questions
Is this crochet brain pattern good for beginners?
Yes, it is best for an easy crocheter who knows single crochet, increases, and decreases. The brain halves are worked in the round, and the ridges are simple cords.
What yarn is best for a crochet brain?
Soft pink DK weight yarn is the best choice for the brain, because it gives the brain a friendly, cartoon look. A pale cream yarn works best for the ridges, because the light color stands out against the pink. A cotton yarn also works if you prefer a firmer feel.
How big is the finished brain?
The finished brain is about 6 inches wide, about 4.5 inches deep, and about 4 inches tall. Each brain half is about 3 inches wide.
Can I make the brain without safety eyes?
Yes, you can embroider the eyes instead, which is safer for babies and toddlers. Use black yarn and a French knot for each eye, placed about 1.5 inches apart just above the center line of the front.
Is a crochet brain a good gift for a teacher or a medical student?
Yes, it is a wonderful gift for a science teacher, a medical student, an anatomy lover, or a nurse. It is soft, clever, and fun to display on a desk, and it makes a thoughtful handmade gift that is hard to find in a shop.
Can I sell brains made from this pattern?
Yes, you may sell finished brains made from this free pattern, with credit to Little Loop Finds. Do not sell or republish the pattern text itself.
More Free Patterns to Try
If you loved this brain, try another free original pattern next. Make a tuxedo cat crochet pattern for a black and white cat plush, or a crochet highland cow plush for a shaggy farm friend. Each one is free, written in US terms, and uses the same simple stitches you just practiced.
Happy stitching, and may your little brain bring a clever, happy smile to every desk it sits on.